Adding non-trade items to transactions
Introduction
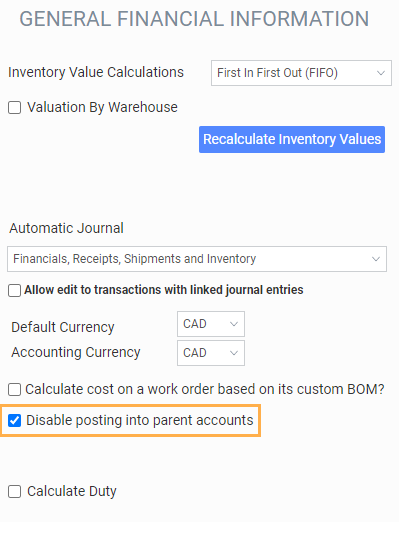
Configure which GL accounts can be posted to as non-trade items
Each GL account has an accessible as a non-trade item attribute that determines whether the account will show up in the list of non-trade items.




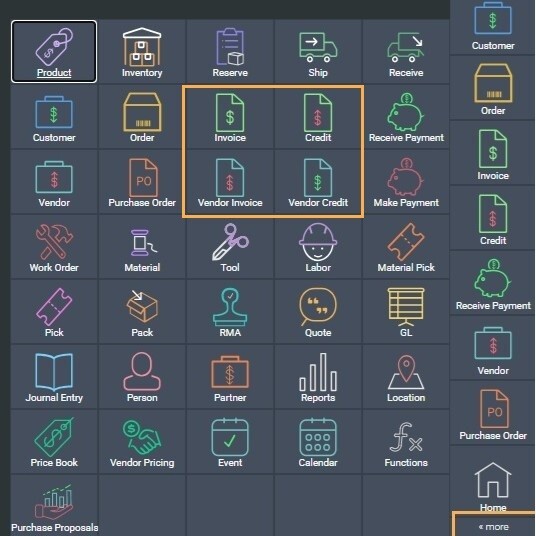
Create a manual transaction
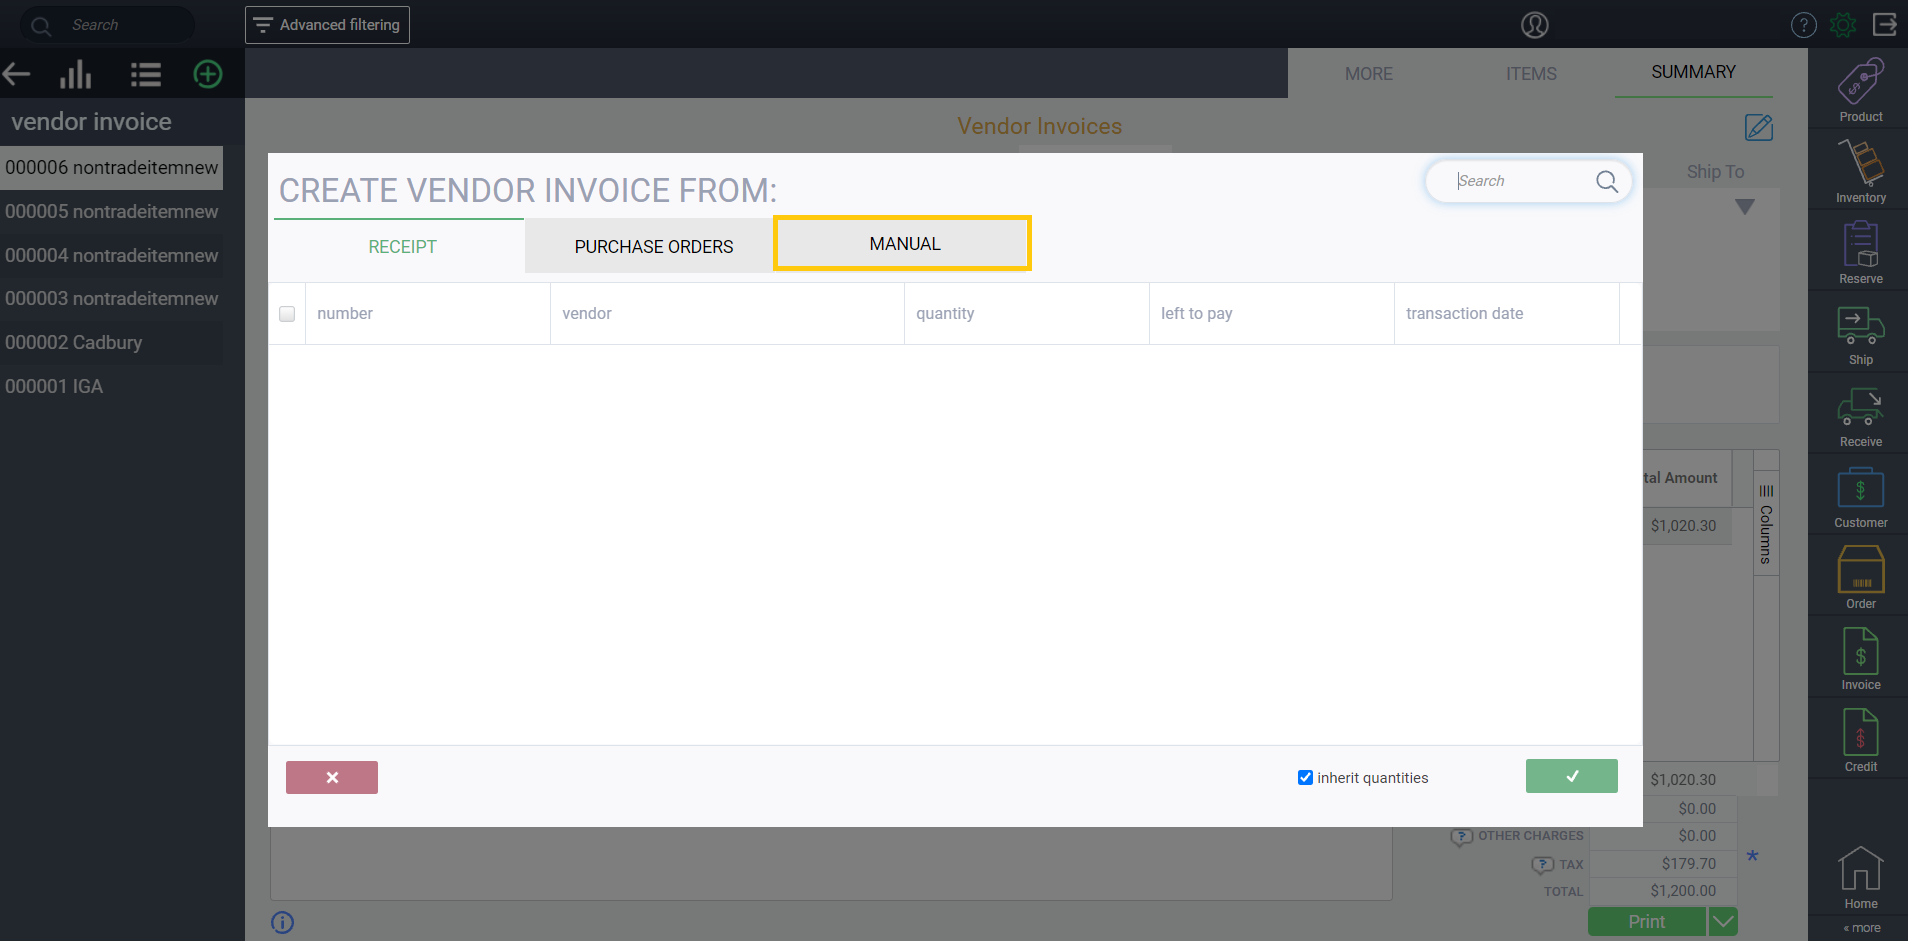
To add a new transaction, simply click the add new button from any of the above mentioned modules in the top left and then select manual.

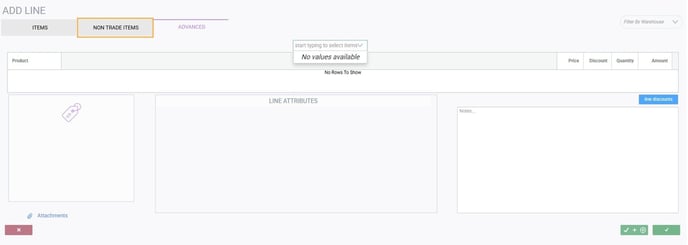
Add non-trade items
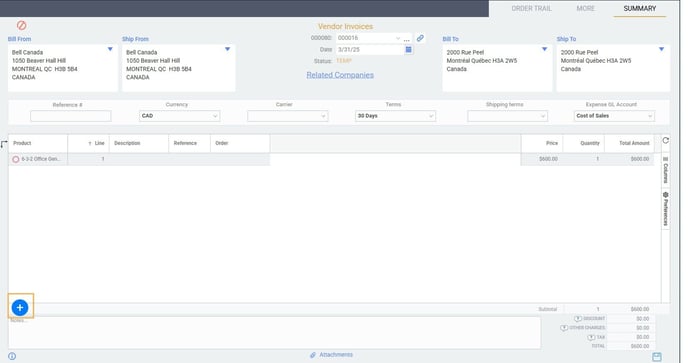
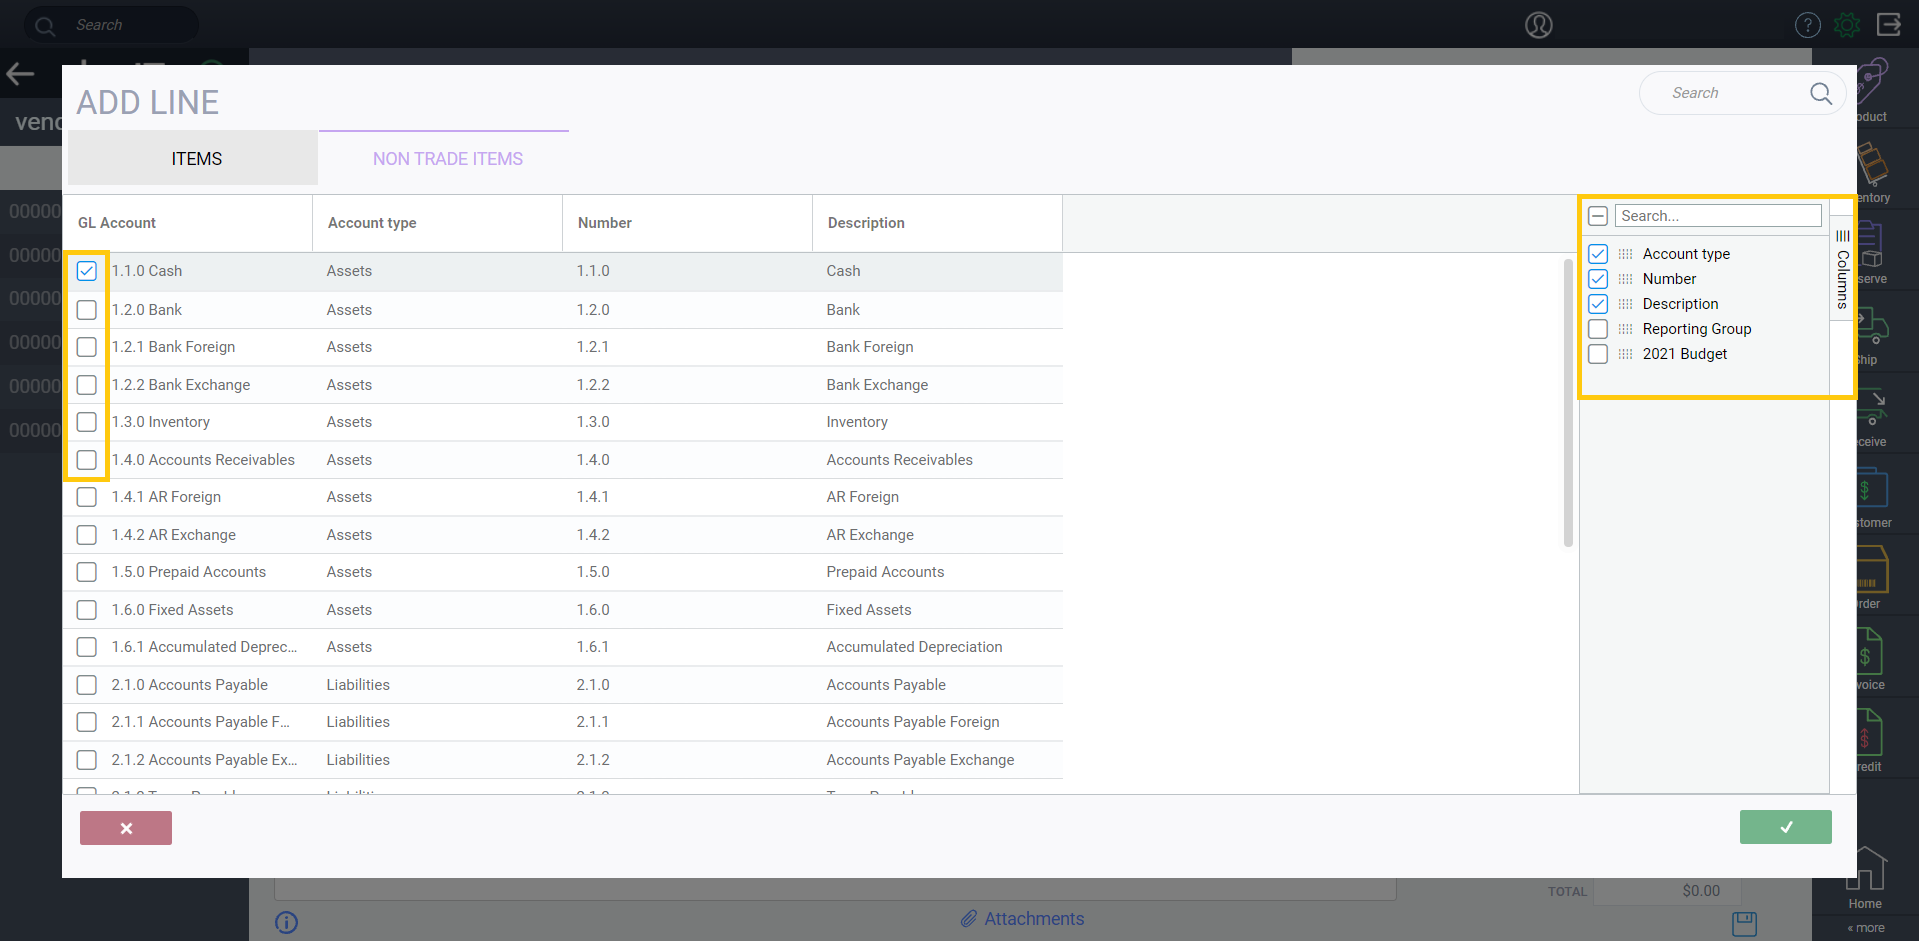
You can also add columns to the transaction grid for the attributes you have for your GL accounts by expanding the columns tab on the right side of the modal.
Non-trade items in payments
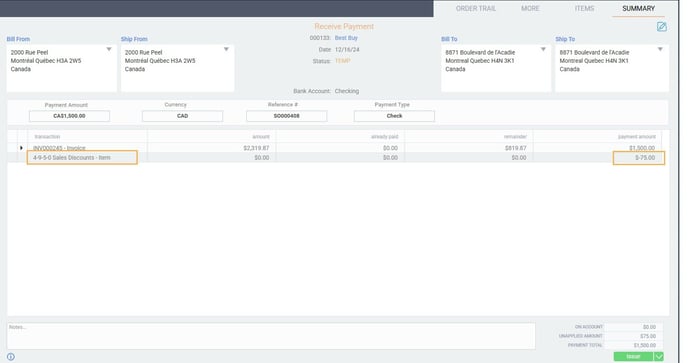
Add early payment discounts for customers
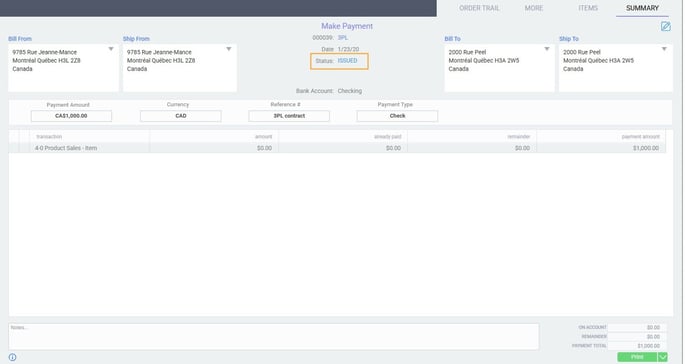
Create a receive payment for the original invoice, then add a non-trade line for the GL account that the discount should be booked to.
You have to enter the total on the line as a negative amount so that the full invoice is marked as paid and cleared from your AR.
Action button
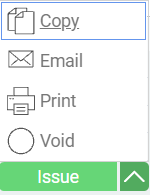
After saving your transaction you can proceed using the action button. From here you can use the default action (in this case, issue), or you can use the more actions arrow to email, copy, print, or void the transaction.
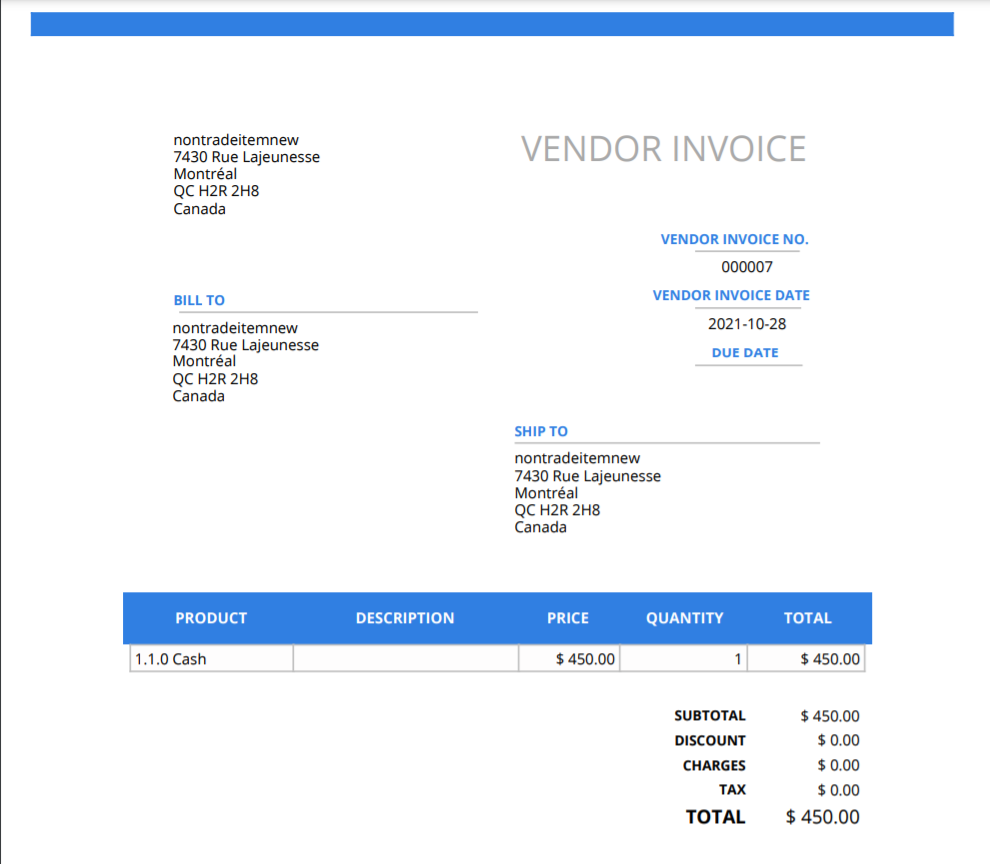
Even though you have non-trade items on this transaction, you can still print as usual.
What can I do after issuing?
When you have issued a transaction with non-trade items you can proceed the same way you would with that transaction normally. This means you can use it to create and link other transactions as well as proceed to make or receive payments. One example could be that you created a vendor invoice for your rent or utilities. Once that is issued you can create a new make payment from this to keep track of any payments you have made towards that invoice.
Journal entry
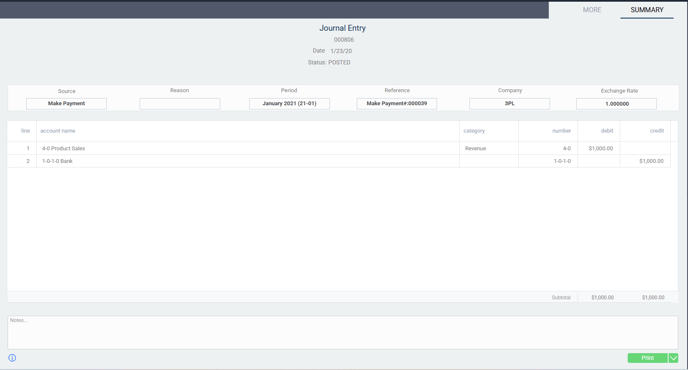
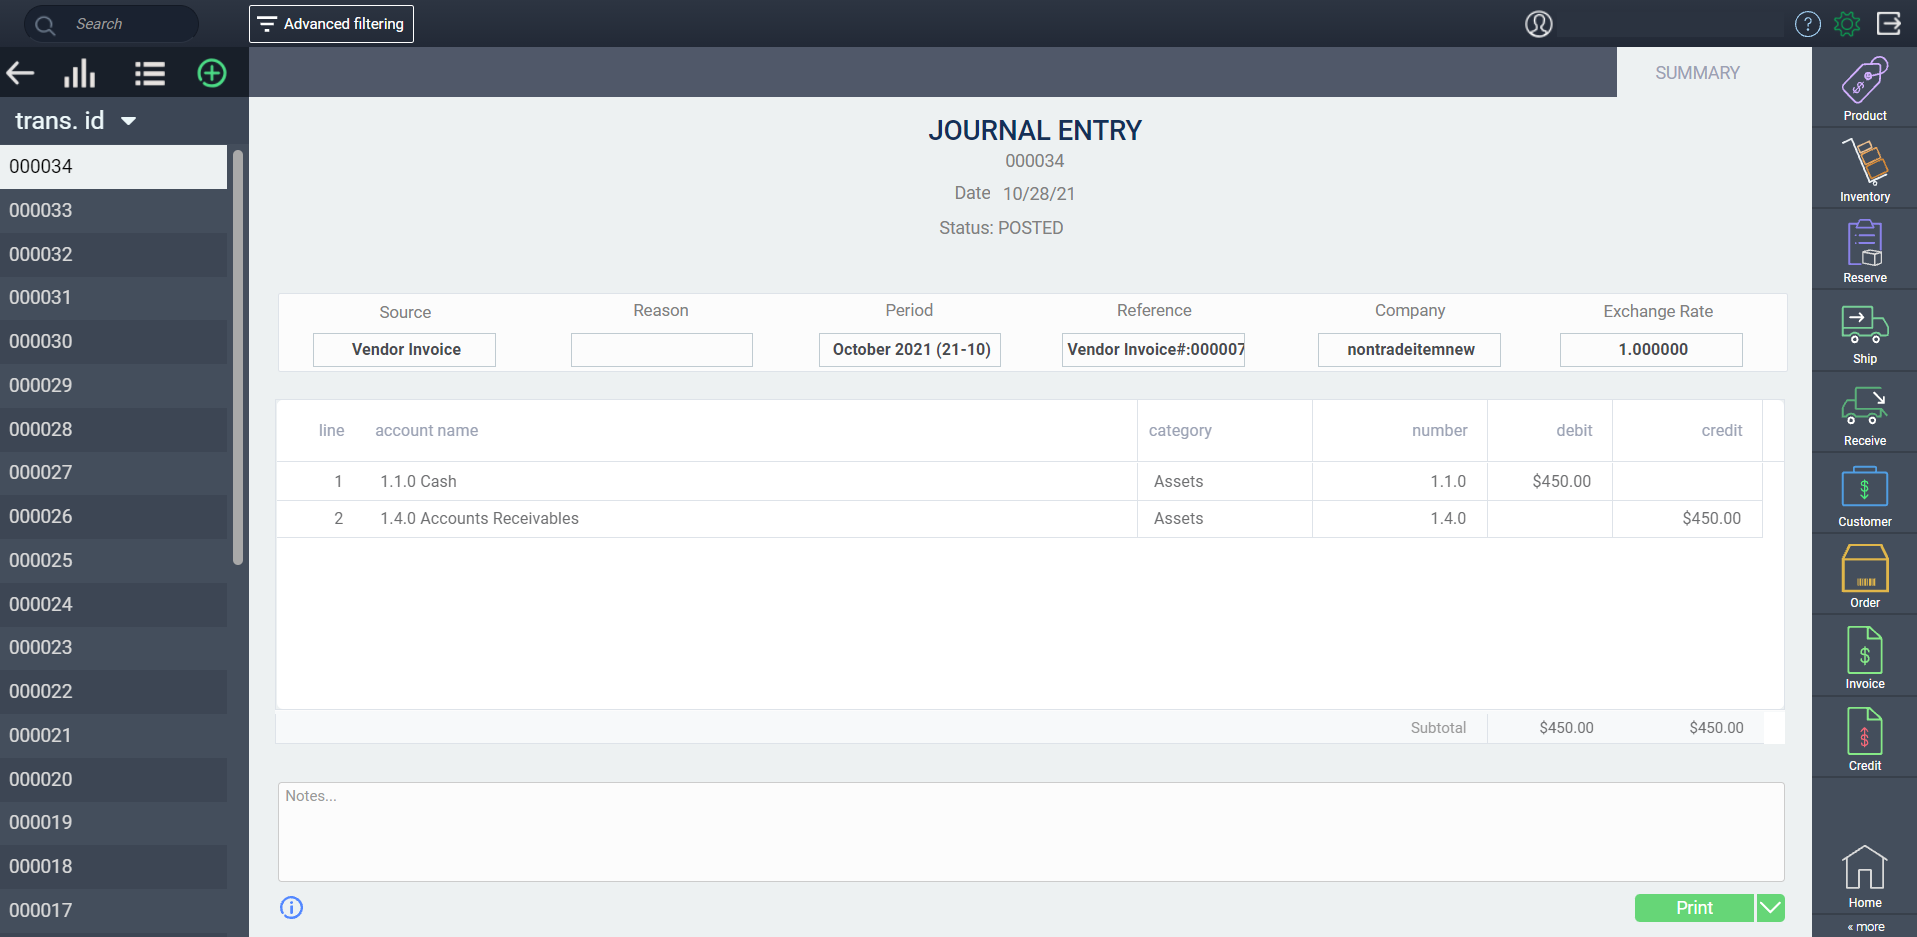
Issue your transaction from the action button and you will receive a notification that you have created a journal entry.
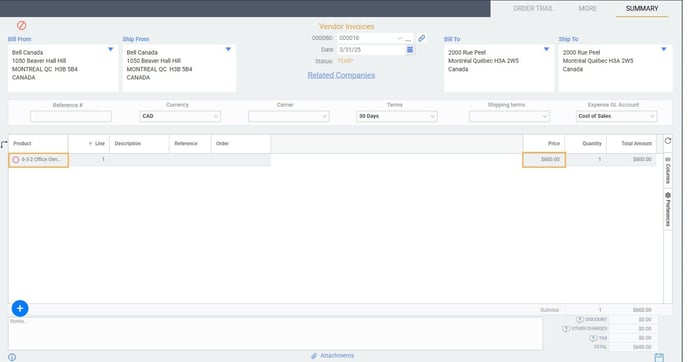
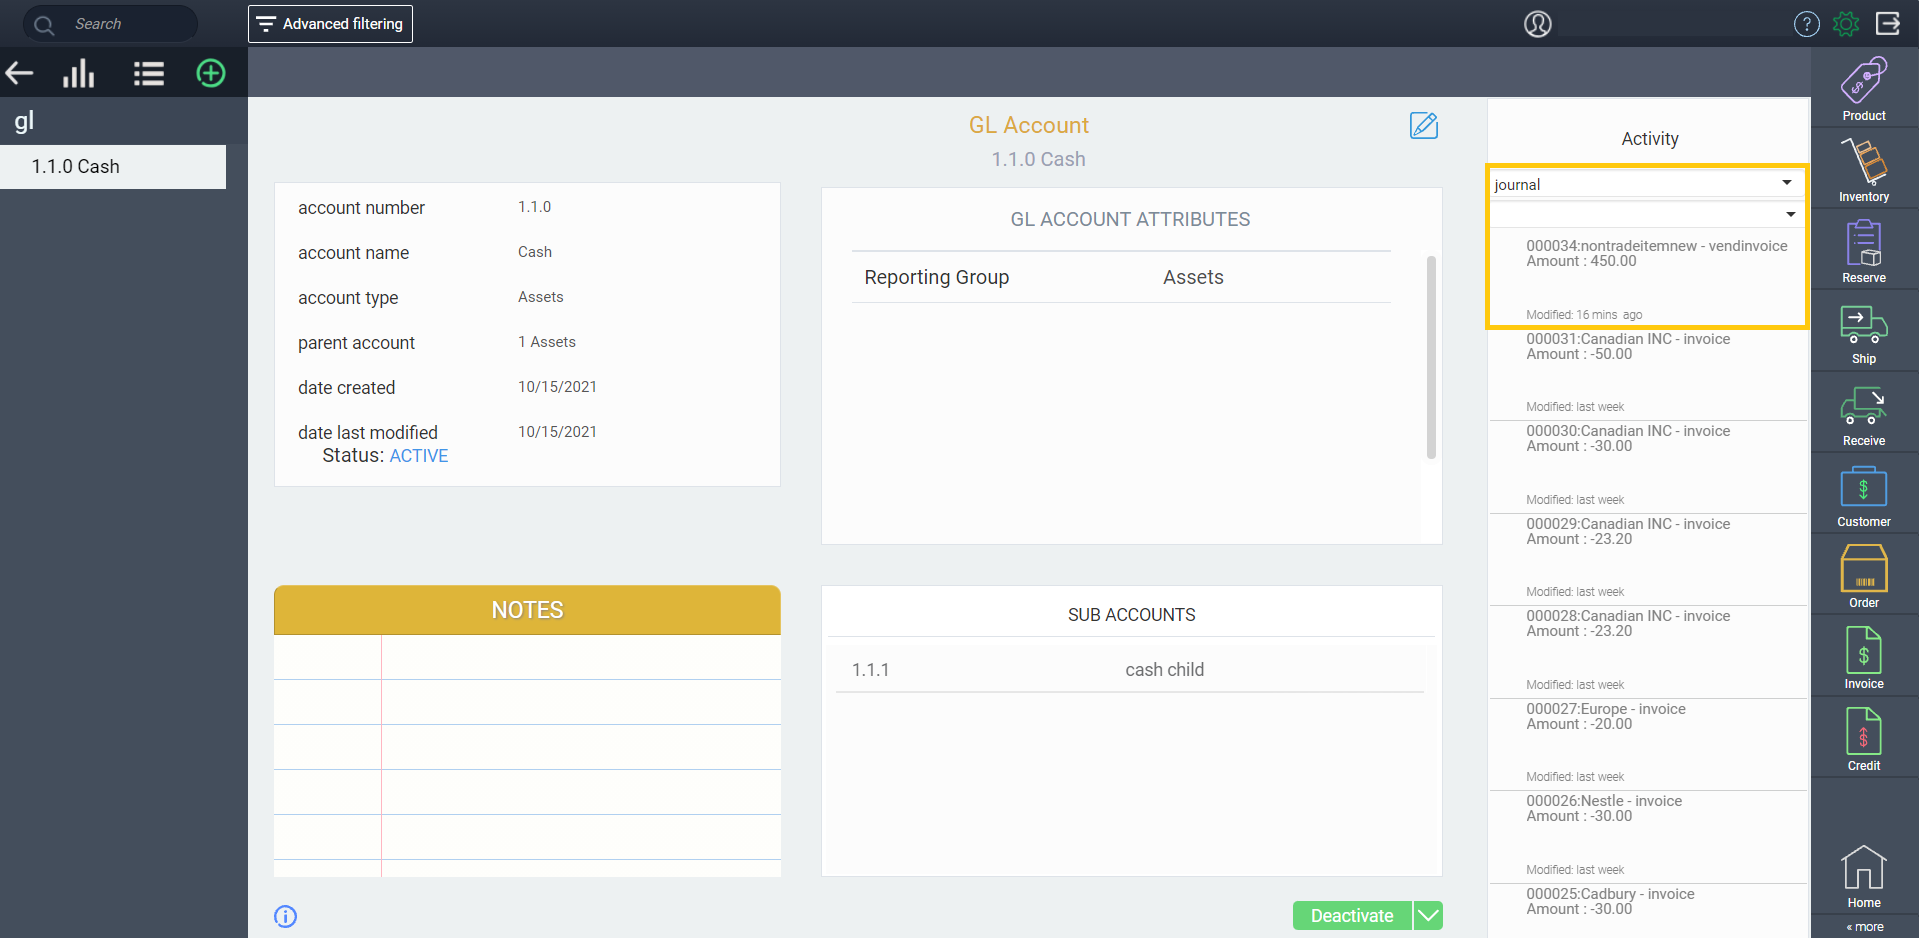
As mentioned above, you can navigate to the account used on your transaction by clicking the product line. From here you will be able to see your new journal entry in the activity panel of your GL account.
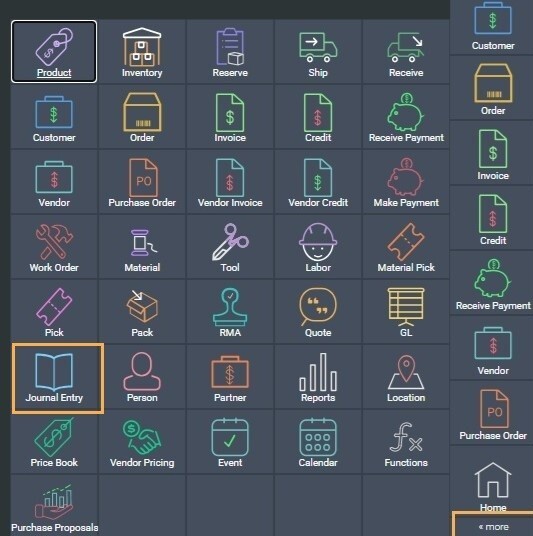
You can also view this journal entry by clicking the more button on the navigation bar and clicking journal entry.
Non-trade items on detail reports
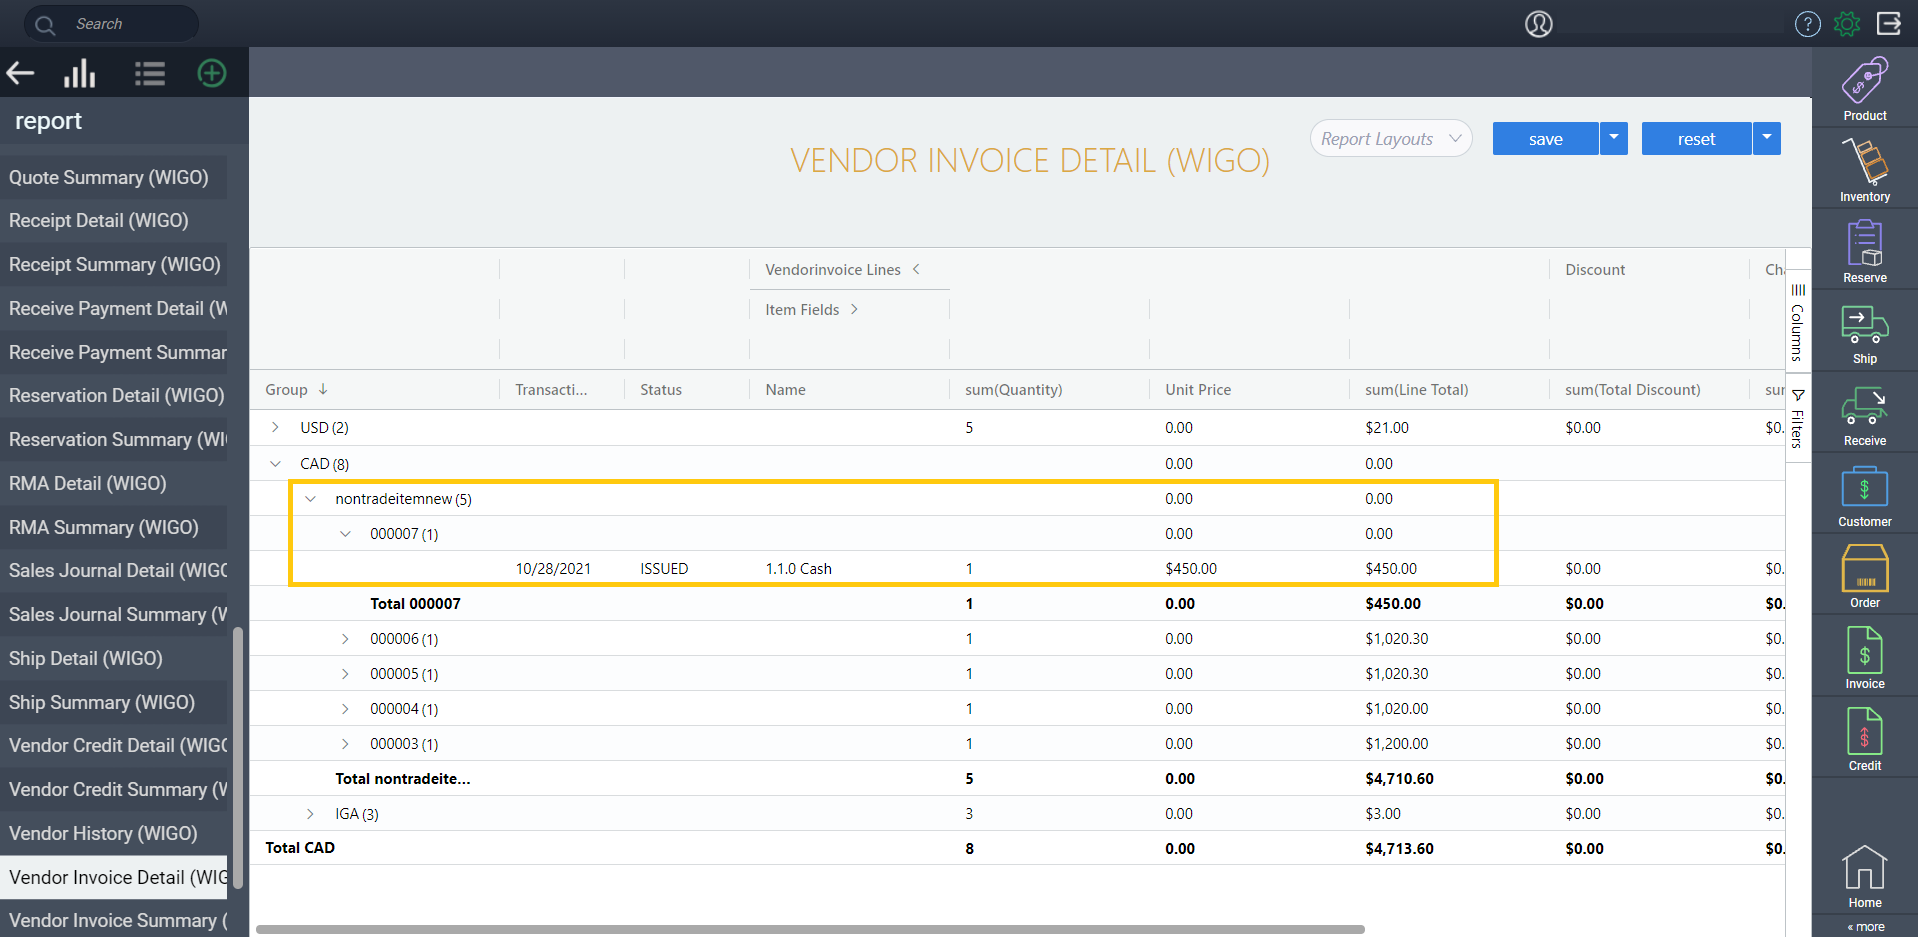
Your non-trade items will also be available in the corresponding WIGO detail reports. For example, we can see our vendor invoice from the example and our GL account is listed in the item field.
Your GL account attributes will not be available in the column selector. You can always go back to your transaction or GL account to view these attributes.
What's next?
If you're looking for more information on GL accounts or getting around the transaction screen, why not take a look at these articles:
Setting up fiscal years and GL periods
How do transaction screens work
![paragon logo-1.png]](https://support.paragon-erp.com/hs-fs/hubfs/paragon%20logo-1.png?height=50&name=paragon%20logo-1.png)