![paragon logo-1.png]](https://support.paragon-erp.com/hs-fs/hubfs/paragon%20logo-1.png?width=240&height=75&name=paragon%20logo-1.png)
Introduction
The following document explains how to associate a location with a particular picking ticket.
Create a location
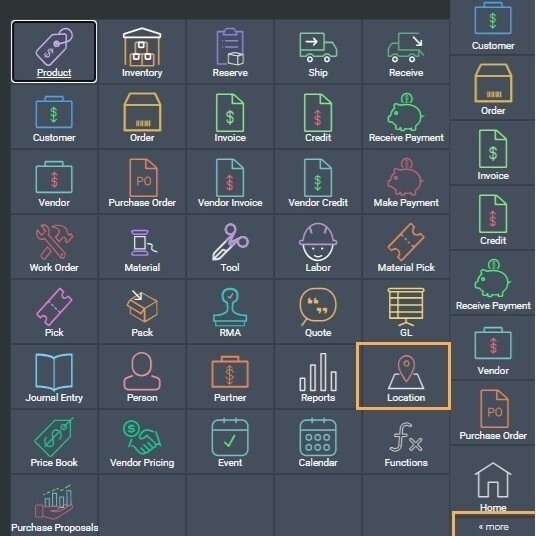
Select the location module.
When creating the location, on the right-hand side there is the option to select the transaction type.
For this example, the location that is being selected is for picking, so default picking is selected.

Make sure to also have the pick location attribute checked.

Add the location to the pick ticket
When creating a picking ticket, there is a location column in the line item grid where you can select the picking location for each line item. The list will be based on the available stock at the location that matches the ship from address on the pick ticket.

While in edit mode, click on the field corresponding to the line item and select the appropriate location.

Once the appropriate location has been selected, click on the save button. The system will set the address of the pick transaction to match the address of the first assigned location.
Issuing the transaction
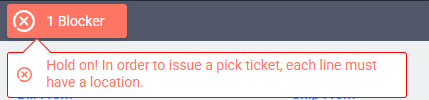
Once the location has been entered, you can issue the pick ticket. However, some situations will prevent that action.
- Any pick ticket with quantities to be picked, must have a location identified for picking. The system won't allow the transaction to be issued if some lines don't have a location and there is a quantity to be picked. On the other hand, if the pick ticket line does not have a quantity to be picked, you will not be forced to enter a location.
- The system won't allow the transaction to be issued if the ship from is empty.
- The system won't allow the transaction to be issued if the warehouse address does not match the ship from address.
- The system will show a warning message if the pick ticket has locations from more than one warehouse.
Finally, once issued, the ship from of the transaction cannot be changed.