![paragon logo-1.png]](https://support.paragon-erp.com/hs-fs/hubfs/paragon%20logo-1.png?width=240&height=75&name=paragon%20logo-1.png)
Introduction
Turn on filters
From any screen, click the settings button at the top right corner.
![]()
Select my company from the system settings card.


Click the edit button.
![]()
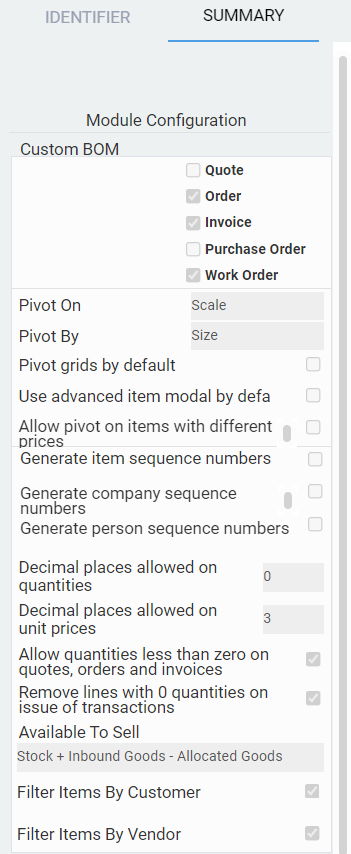
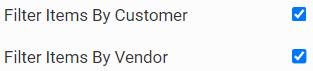
In the summary screen, turn on the option to filter items by customer and/or vendor by checking the appropriate boxes.
Save and log out, then log in.
Associate your item to a customer or vendor
Here we'll be using product as an example. The same association can be made for other reference data such as materials, tools, and labor.
Once you have created your product, click the associated tab.

You will then need to create your attribute association.

Use the associated product on a transaction
Select your transaction.
Here we will be using the purchase order module as an example. The same can also be done for other transaction modules. Click the add button to create a new manual transaction.

Enter the vendor associated to your product.

Click the add items button.

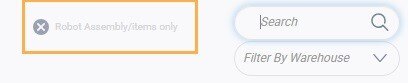
As long as there are any associations for the vendor you chose, the add items modal will only list those items.

You can always clear the filter in order to show all items by clicking the X in the filter option next to the search field.
What's next?
Check out these articles related to associations.