![paragon logo-1.png]](https://support.paragon-erp.com/hs-fs/hubfs/paragon%20logo-1.png?width=240&height=75&name=paragon%20logo-1.png)
Introduction
The reservation module is used to reserve inventory for expected orders, based on forecasting, previous sales, and bulk orders from large customers.
Here, we'll walk you through how to create a reservation manually, from an order, from a workorder or from a receipt.
The reservation module uses Paragon's standard transaction screen.
Before you reserve inventory, make sure there is sufficient initial inventory to start with. See the inventory articles for further information on how to add, adjust, and move inventory across locations.
Create a reservation manually
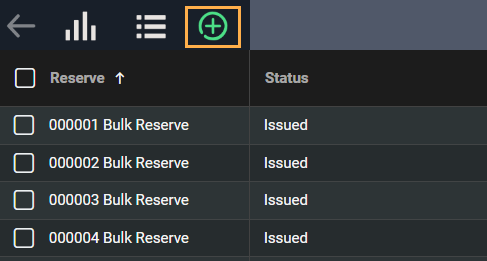
Open the reservation module
You can open the reservation module in two ways. By clicking the reserve button in the right hand navigation bar or through the more menu.

Create a new reservation
To create a new reservation, click the add new reservation button at the top left hand side of the screen.
Select the manual option
A new screen will appear where you can select how you would like to create the reservation. Click on the manual tab.
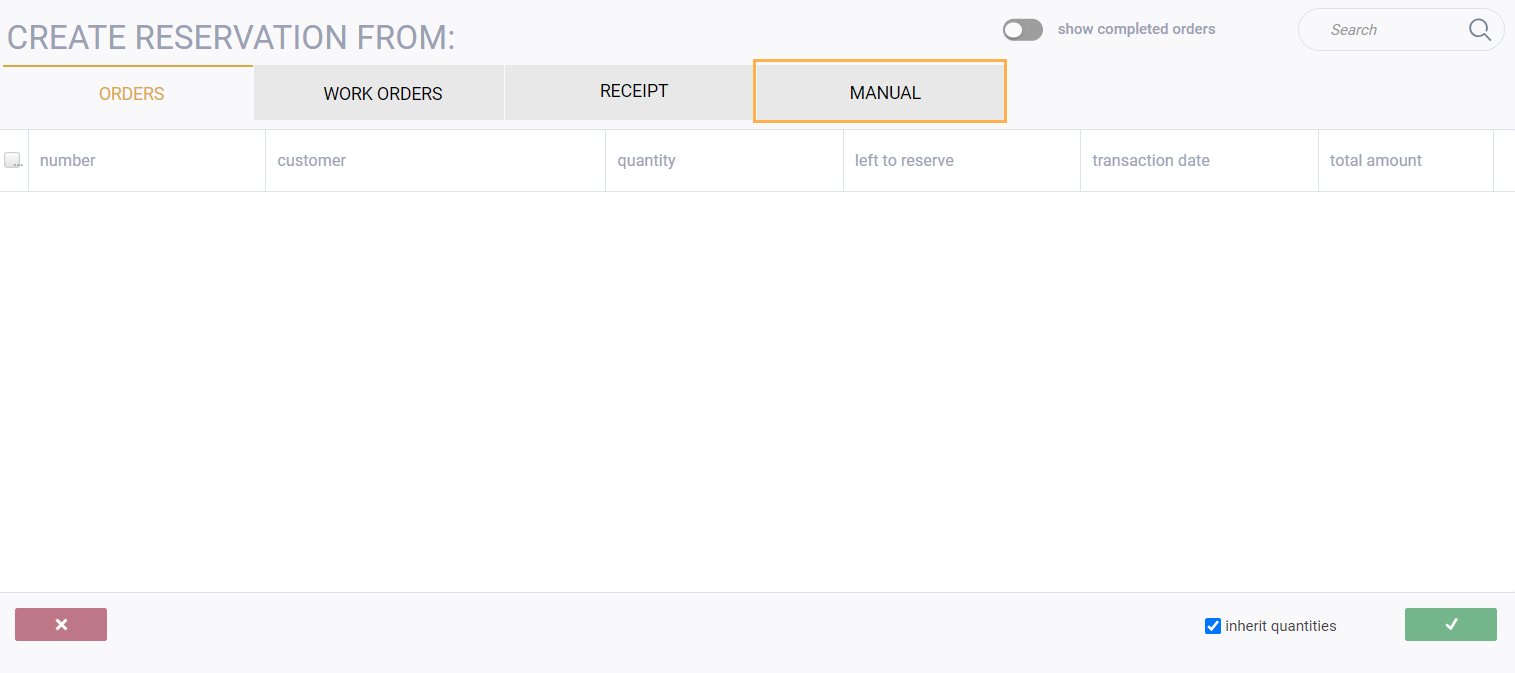
This blank reservation screen will automatically be displayed after selecting the manual tab.

Add information to your reservation
Select a company name from the drop down menu.
Note that the reservation will not have a transaction number until it is saved. Once a transaction number is assigned, it will replace #####.
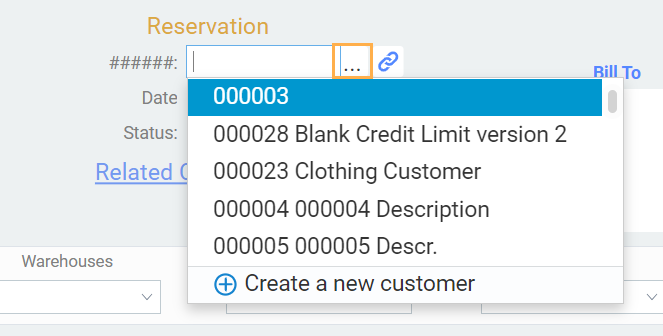
Once the company is selected, it will auto-populate the bill from and ship from addresses found in my company and the ship to and bill to addresses found in the customer file.

Products can then be added to the reservation by clicking the add product button.

The add product screen will appear, where product(s) can be selected by checking the boxes that appear on the left of the screen. When you're ready to add products to your reservation, click the green accept button. You can exit from this screen without adding products to the reservation by clicking the red cancel button.
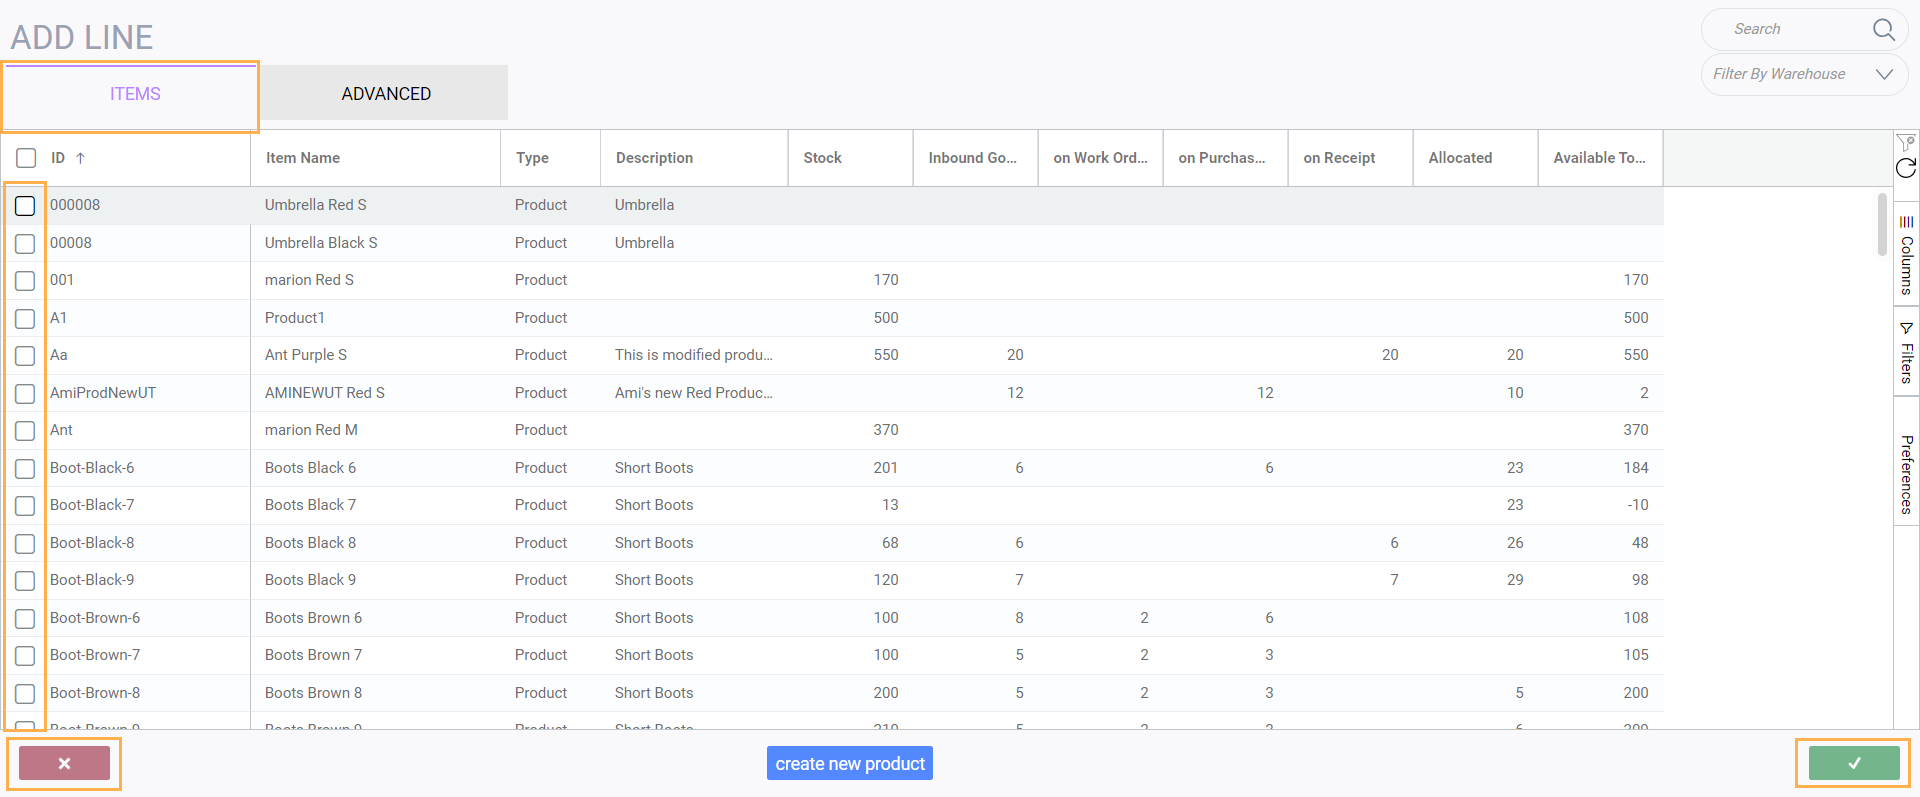
The quantity of the product can be manually entered on the lines that have just been added.

Select the date by clicking the calendar button and selecting the appropriate date. If you do not select a date, today's date will be entered automatically when the reservation is saved.
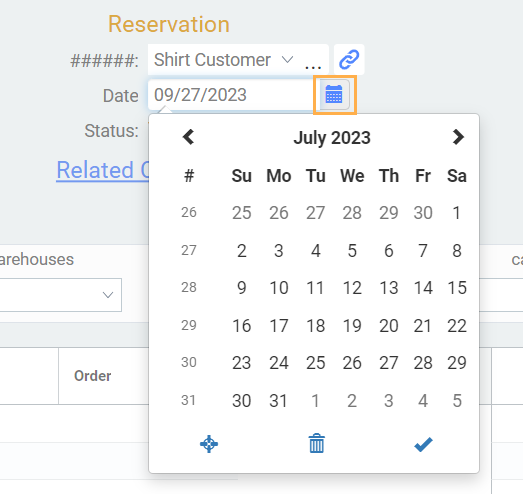
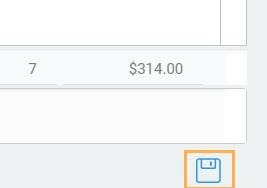
Once you have filled in all the relevant information you can save your reservation by clicking save in the bottom right hand corner.
To cancel the reservation, click the cancel button at the top left hand corner.
![]()
Once you click the accept button, the reservation will be created and you'll be brought to your newly created reservation screen.
Note that once the reservation is created, it will automatically be assigned a reservation number and a temp status.

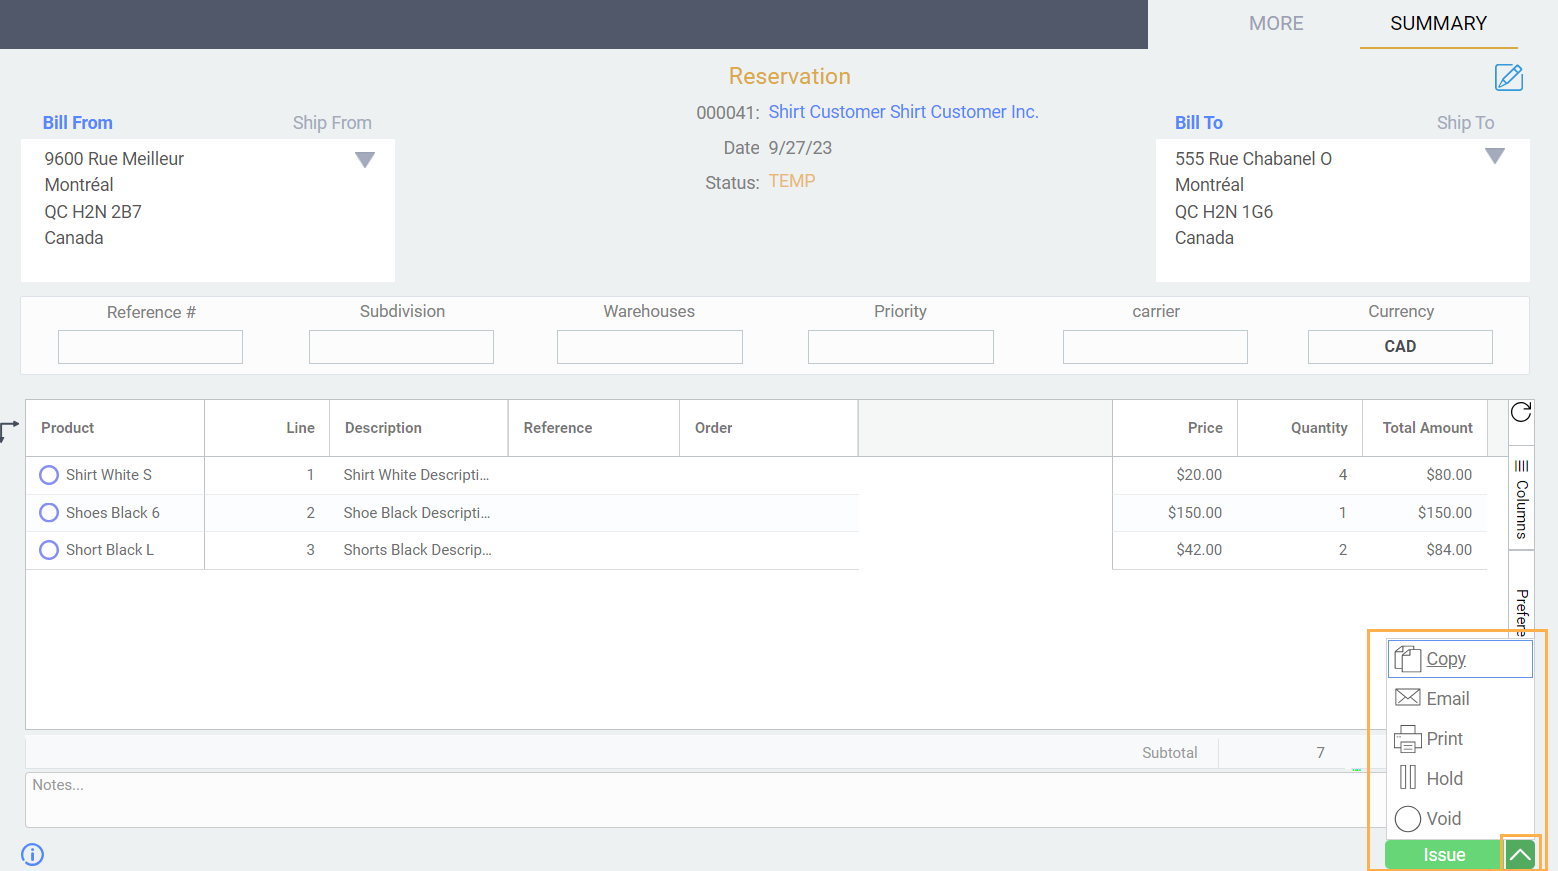
I've created my reservation, now what?
Once a reservation has been created you can proceed in a number of ways using the green action button in the bottom right hand corner.
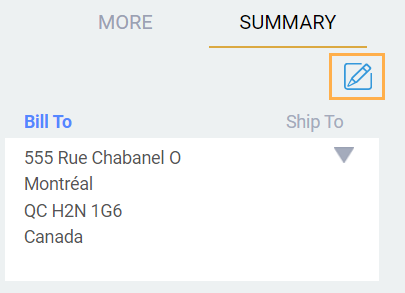
You can also edit a reservation by clicking the edit button at the top right-hand corner of the screen.
Create a reservation from an order
Once you click the add new button on the reservation list view screen, a new screen will appear for you to select how you would like to create the reservation. In this case, make sure the order tab is selected. It is selected when it is highlighted in orange.
Select the order(s) you want to use to create the reservation by checking the corresponding box on the left.

As soon as you select one order, the screen will change to show only the orders that belong to that specific customer.

Select one or multiple orders, and click on the accept button to return to the transaction lines. Follow the remaining instructions for creating a manual reservation to complete your reservation from an order.
Create a reservation from a work order
Select how you would like to create the reservation. In this case, make sure the work orders tab is selected. It is selected when it is highlighted in red.

As soon as you select one work order, the screen will change to show only the work orders that belong to that specific customer.
Select one or multiple work orders, and click on the accept button to return to the transaction lines. Follow the remaining instructions for creating a manual reservation to complete your reservation from a work order.
Create a reservation from a receipt
Select how you would like to create the reservation. In this case, make sure the receipt tab is selected. It is selected when it is highlighted in green.

As soon as you select one receipt the screen will change to show only the receipts that belong to that specific customer.
Select one or multiple receipts, and click on the accept button to return to the transaction lines. Follow the remaining instructions for creating a manual reservation to complete your reservation from a receipt.
What's next?
Here is another article related to reservations that you may find helpful:
Using the bulk reservation function