Creating an RMA
Introduction
Here we'll walk you through how to create an RMA (return merchandise authorization) from scratch or from an invoice.
The RMA module is based on Paragon's standard transaction screen. If you are not familiar with the format of transaction screens, get yourself oriented on transaction screens.
Open the RMA module
Open the RMA module by selecting it in the more menu.

Add a new RMA
This is the list view of the RMA module. To add a new RMA, click on the add new RMA button.

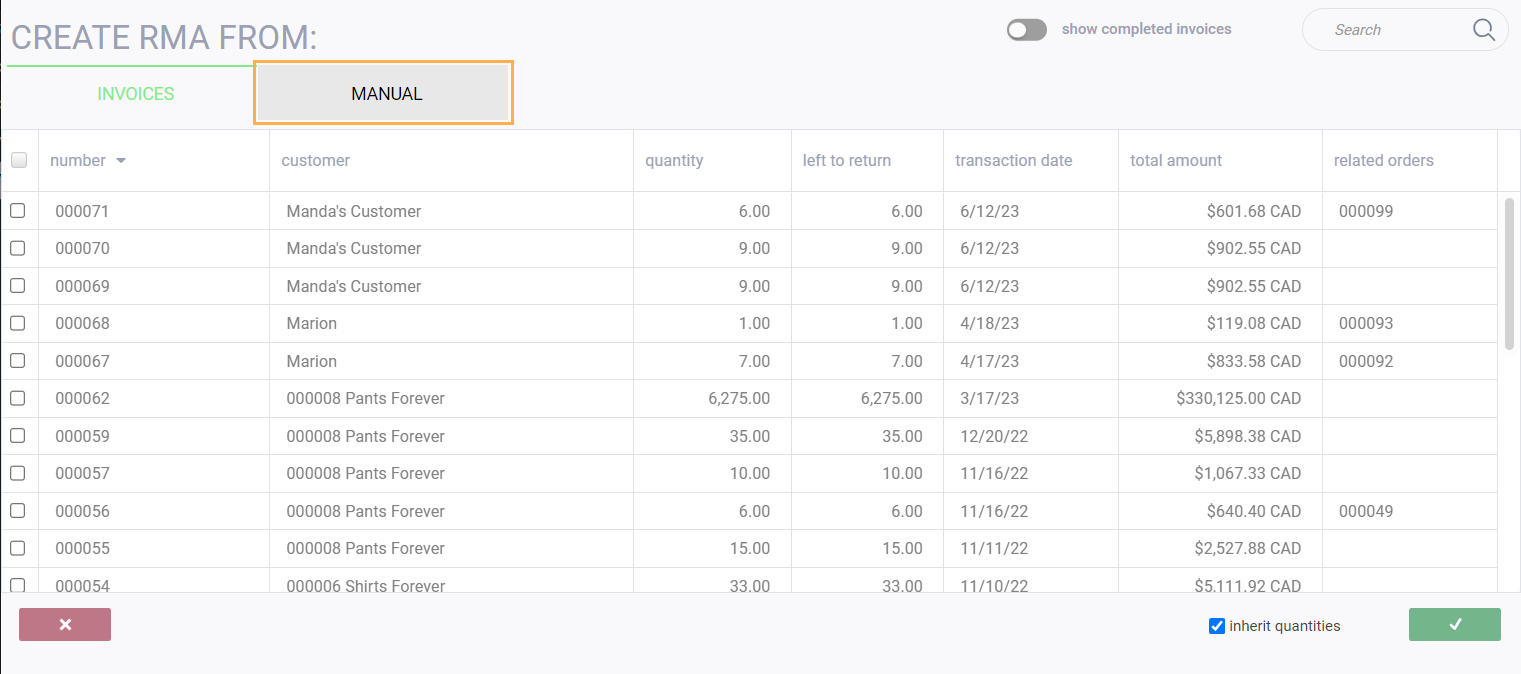
Select the manual tab
Select how you'd like to create the RMA by choosing one of the tabs.

In this case select the manual tab.
Complete the RMA form
A blank RMA will appear.
Enter the required information to complete the RMA.
This information will include the customer account and products to be authorized for return.

Save the RMA
When you are done entering the required information, click the save button on the bottom right hand corner.

Once you click the save button, your transaction will be assigned a temp status and a transaction number.

Create an RMA from an invoice
To create an RMA from an invoice, choose invoices instead of manual.

Once you select one of the invoices, the screen will change to show only invoices for that specific customer. In this example, only invoices for the customer Drones n Things show.

You can choose one or multiple invoices for that customer to create your RMA. Click on the accept button to add lines from those invoices to your new RMA.
![]()
If the selected invoice has already been fully credited, the RMA will be created but a warning notification will be displayed.


Once your RMA has been created you can proceed in a number of ways using the green action button in the bottom right hand corner.

Issue the RMA
You must issue the RMA to change the status to issued. Once issued, you will be able to use the RMA to create a credit note or a receipt.
If the RMA was created from an invoice with no units left to credit, a blocker notification will be displayed and the RMA will remain in Temp status.

What's next?
Take a look at these relevant articles next.
![paragon logo-1.png]](https://support.paragon-erp.com/hs-fs/hubfs/paragon%20logo-1.png?height=50&name=paragon%20logo-1.png)