![paragon logo-1.png]](https://support.paragon-erp.com/hs-fs/hubfs/paragon%20logo-1.png?width=240&height=75&name=paragon%20logo-1.png)
Introduction
Your Paragon build is connected to your QuickBooks Online account and all of your reference data is already imported into Paragon. You are ready to start exporting your payments and transactions.
This article will walk you through how to set up and automatically export both your make and receive payments from Paragon to QuickBooks.
Export make payment
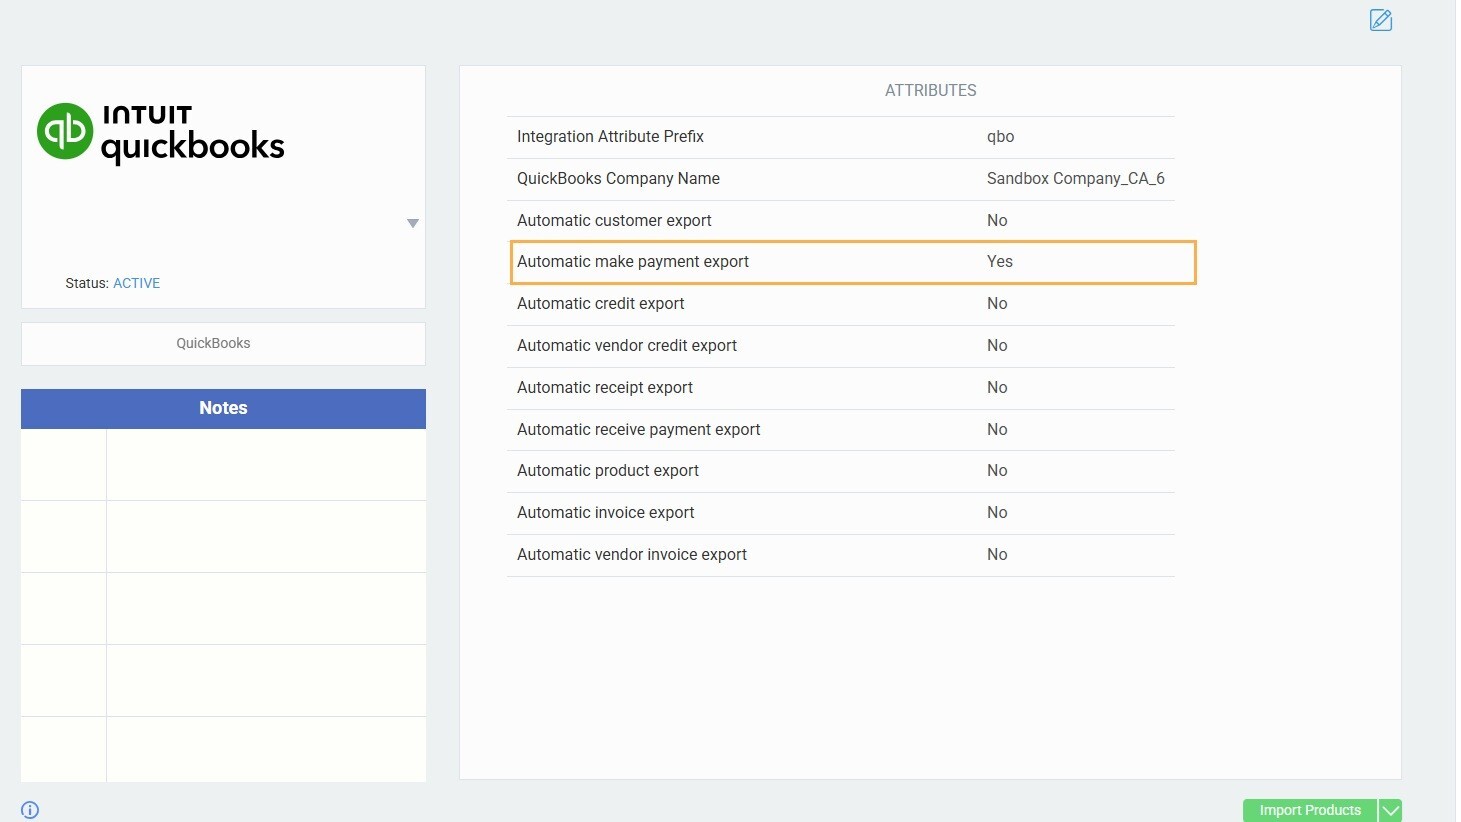
To get started with exporting your make payments, you will first need to make sure that the attribute for automatic make payment export has been selected in the QuickBooks Setup screen.
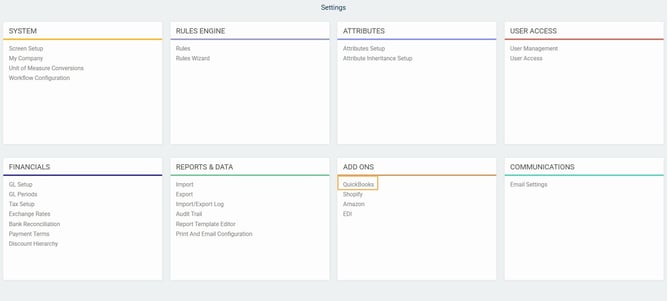
From anywhere in Paragon, navigate to the QuickBooks setup screen from the settings page.

From the QuickBooks setup screen, tick the box labeled automatic make payment option while in edit mode and the attribute will be activated - Don't forget to save!
Next, you will need to make sure that you have previously exported a vendor invoice from your Paragon build to QuickBooks.
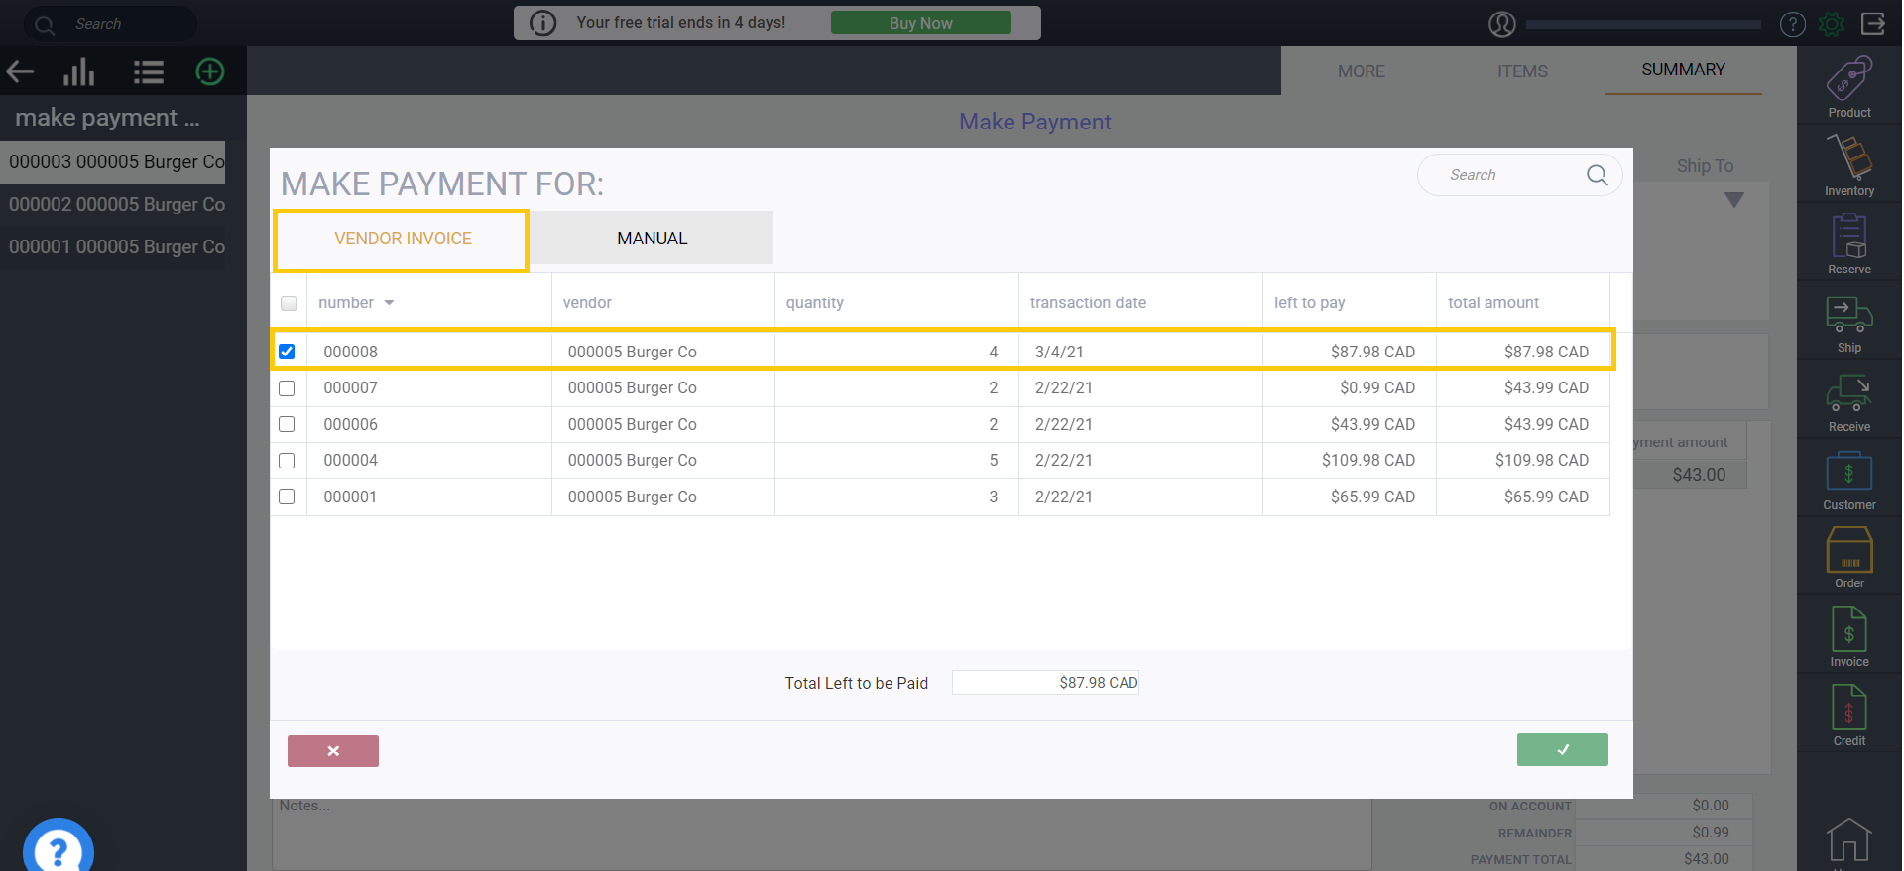
Once you have created and exported your vendor invoice(s), you will need to create a make payment from that exported vendor invoice.
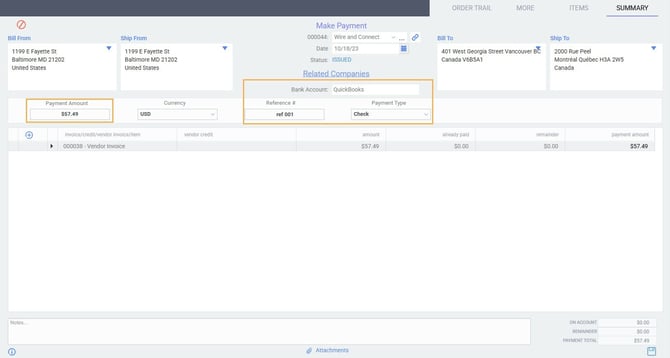
When creating your make payment, you will need to confirm that the following fields are filled :
- Payment Amount
- Reference #
- Payment Type
- Bank Account
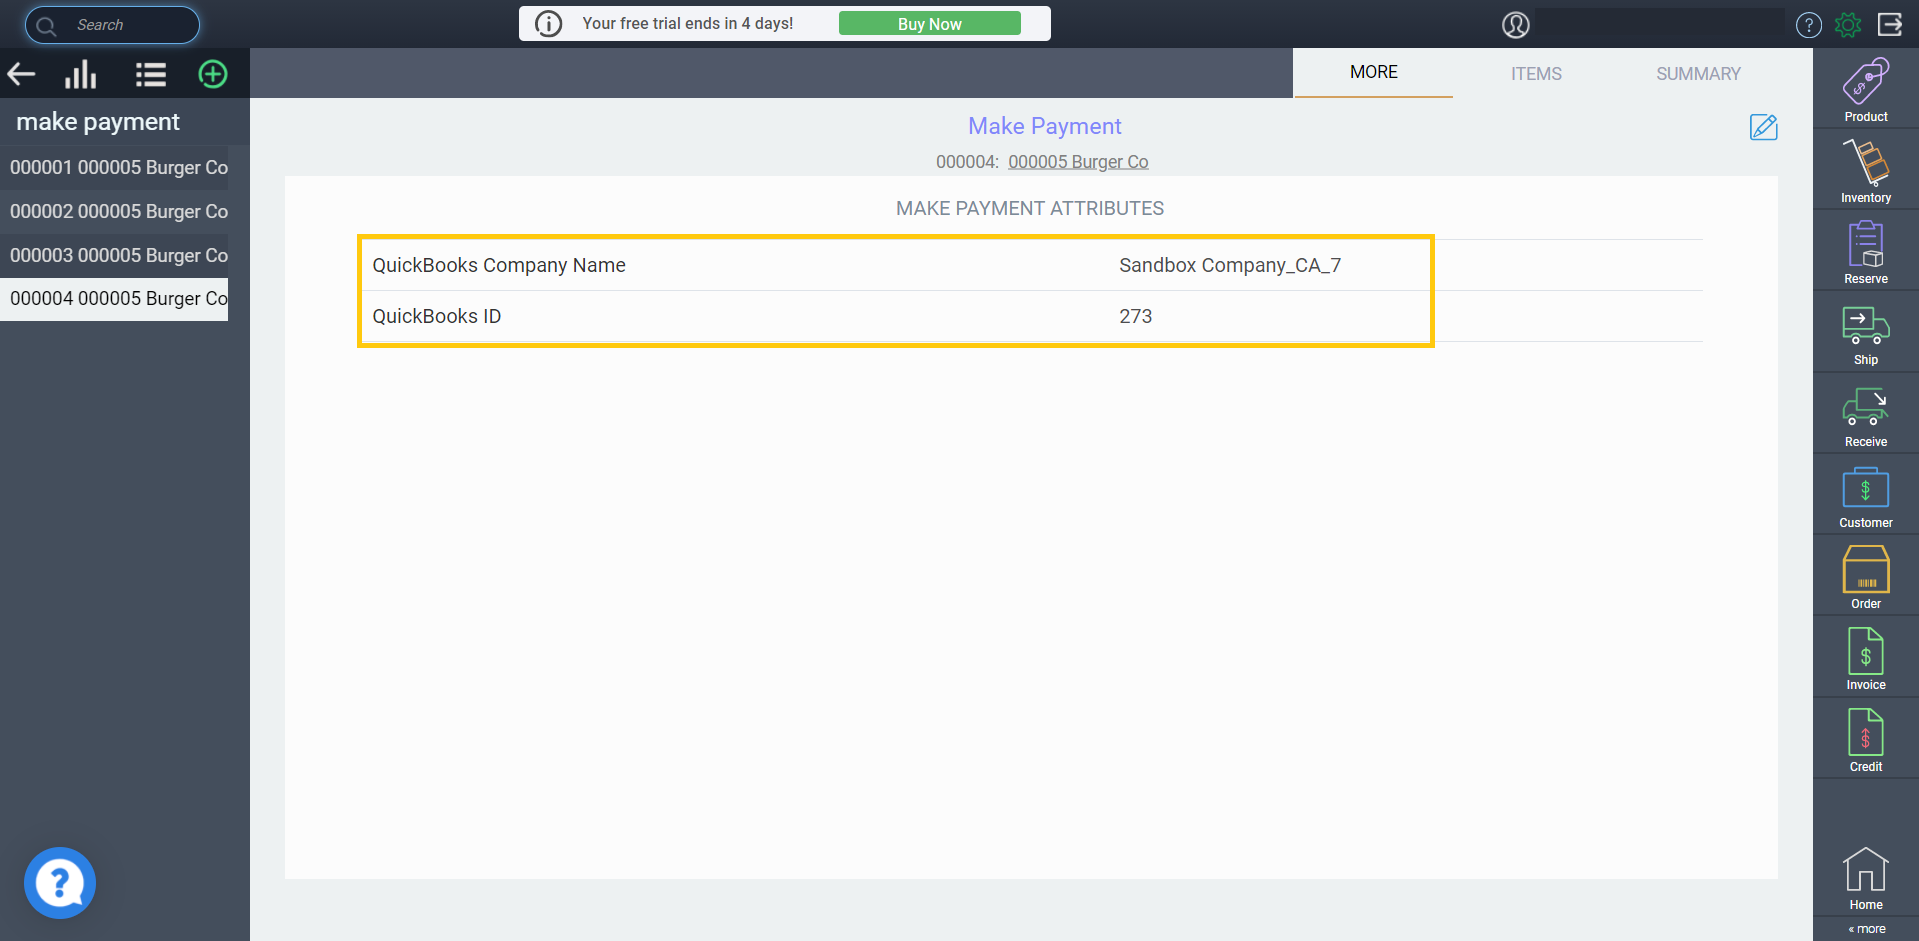
After issuing your make payment, navigate to the more tab and you should now see the QuickBooks Company Name and the QuickBooks ID appear.
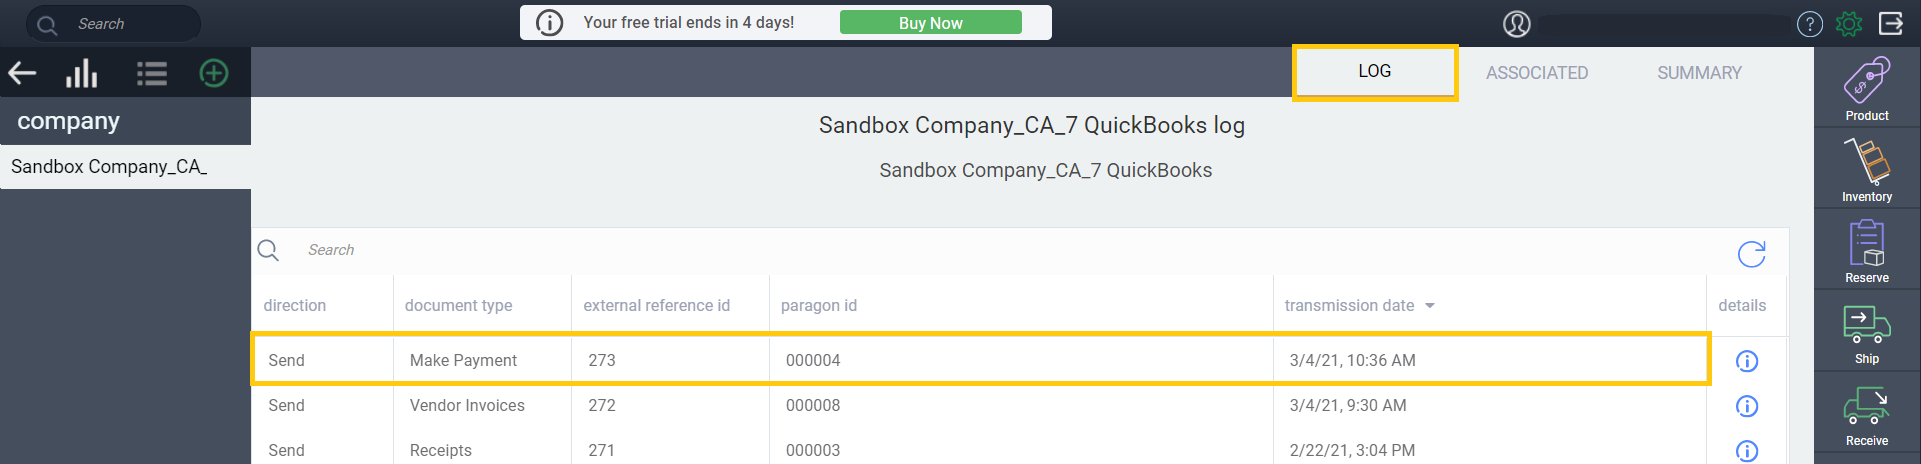
If you check the log tab on the QuickBooks setup page, you will see your make payment was automatically sent to QuickBooks.
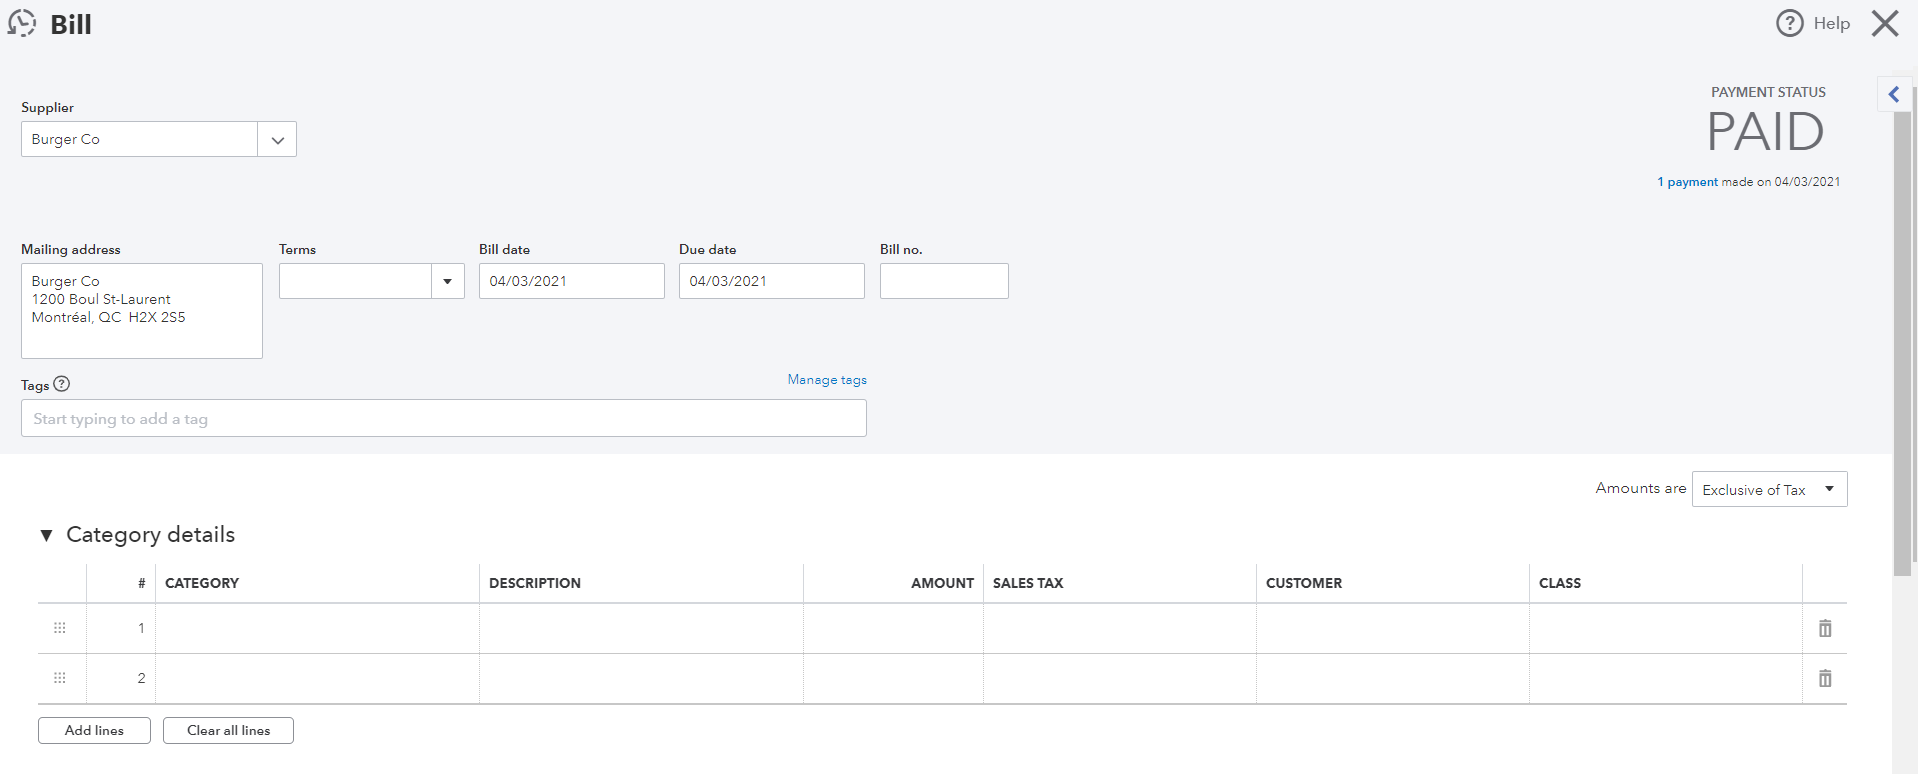
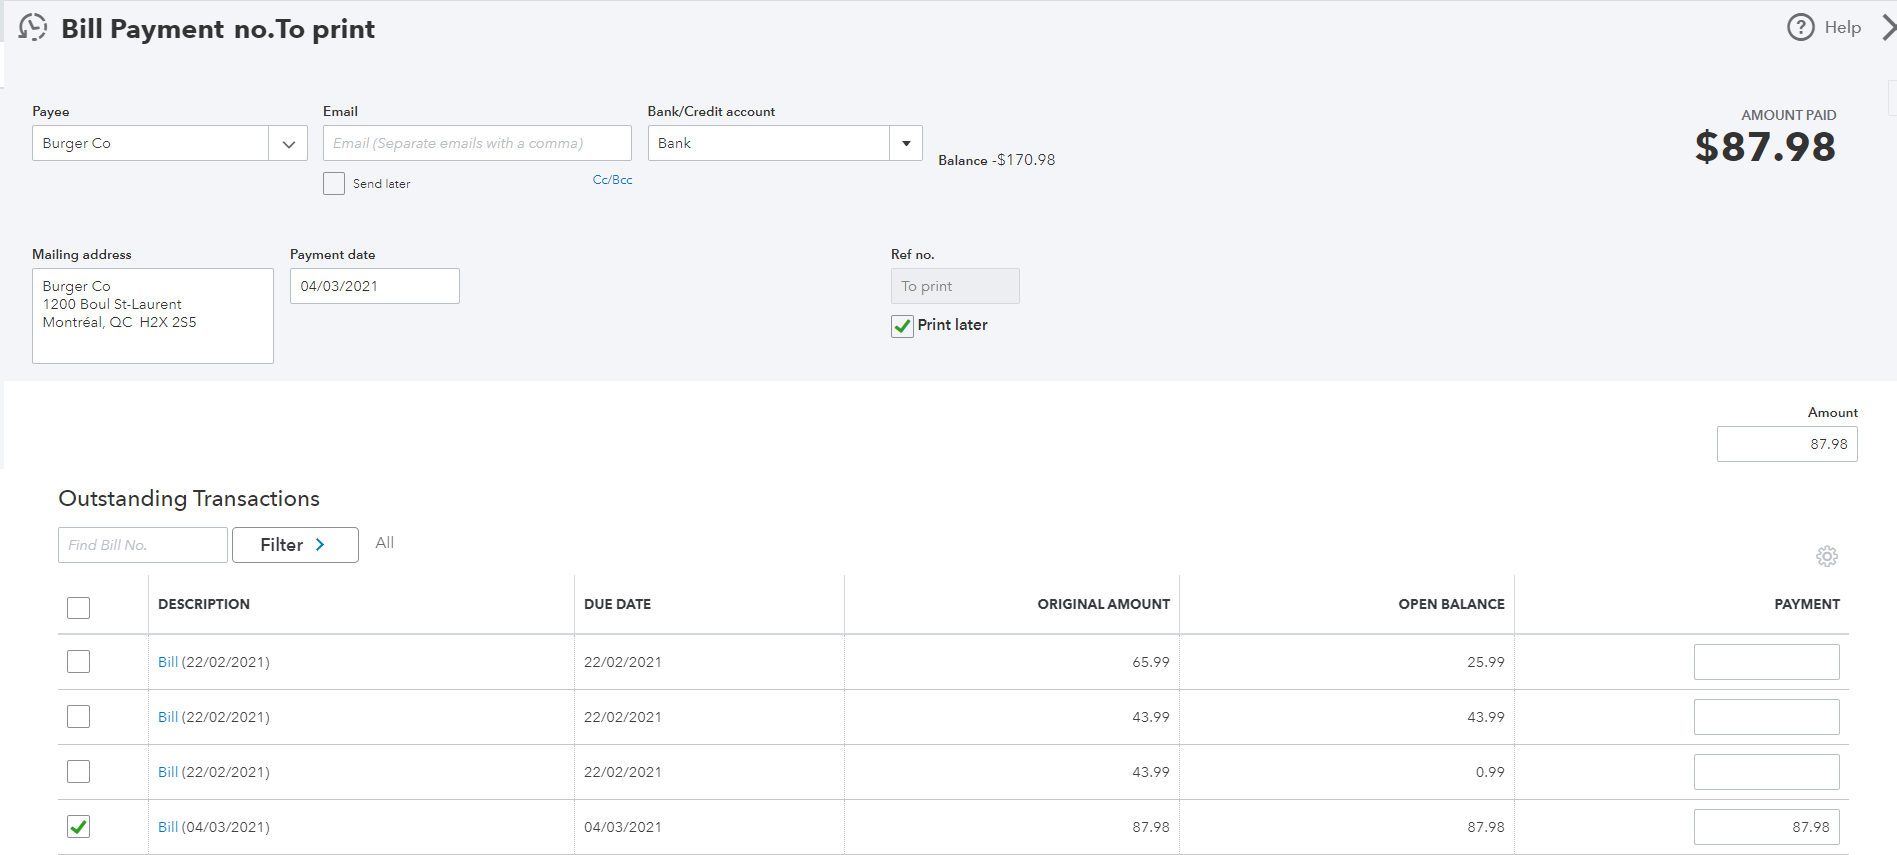
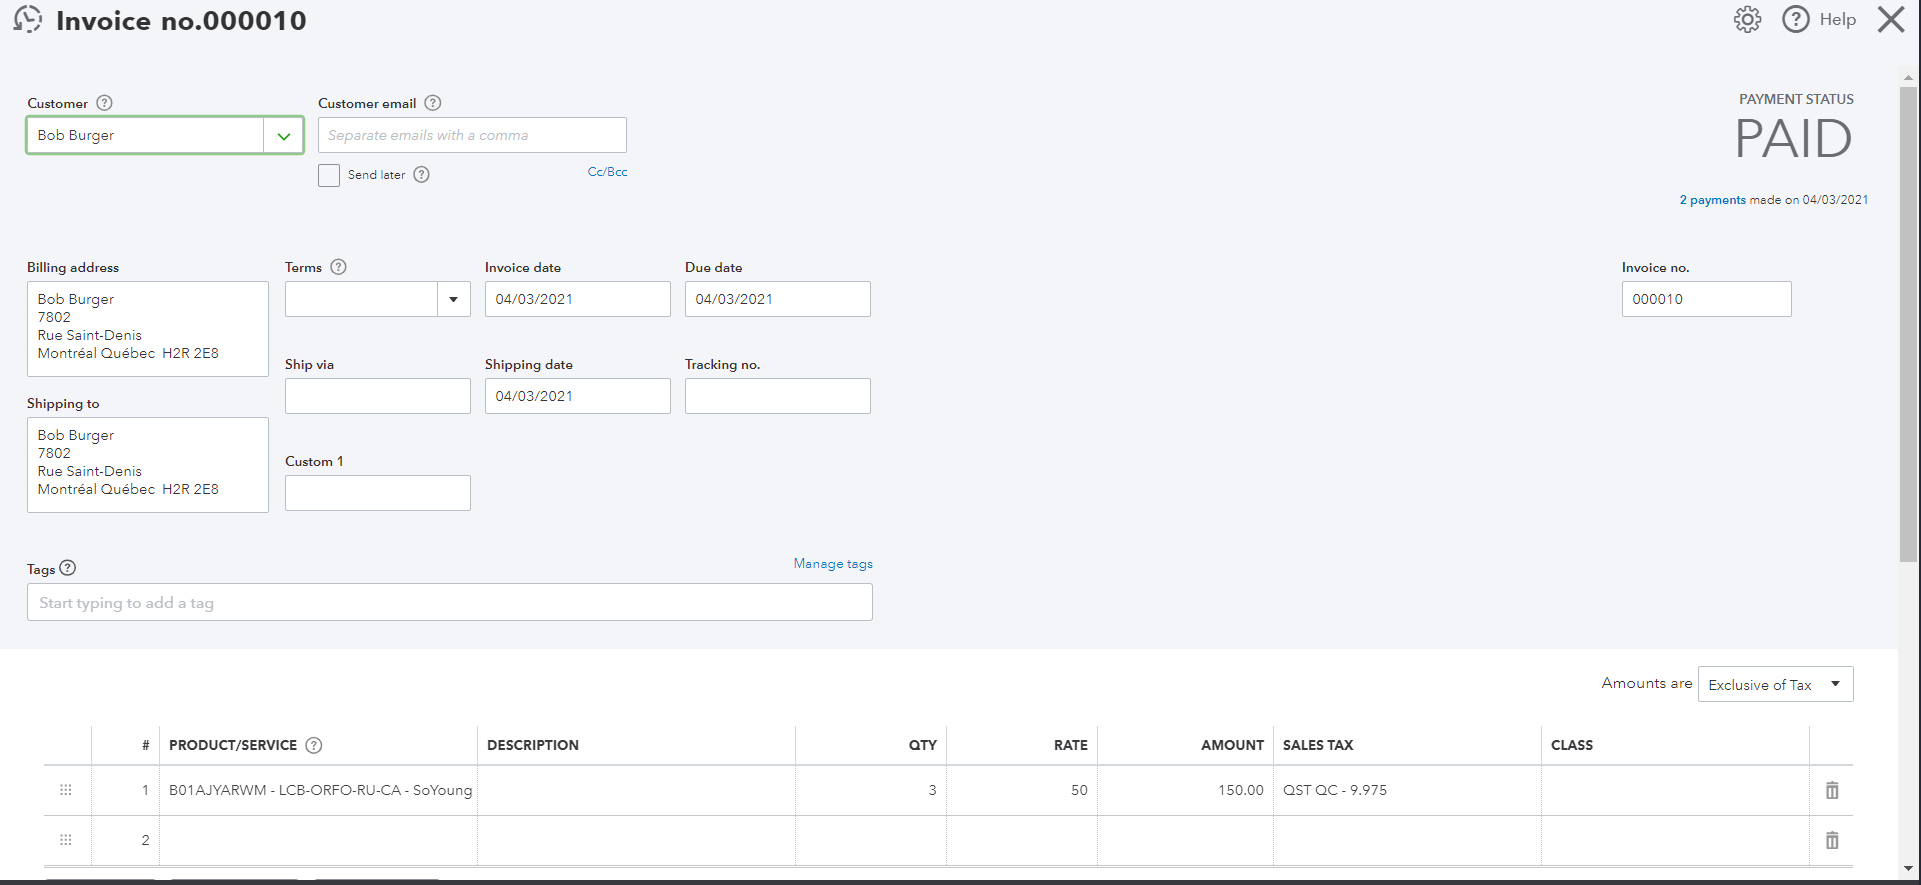
In QuickBooks Online you can see that the exported vendor invoice is now marked as paid and that the make payment has been created (displayed as Bill and Bill Payment respectively).
Export receive payments
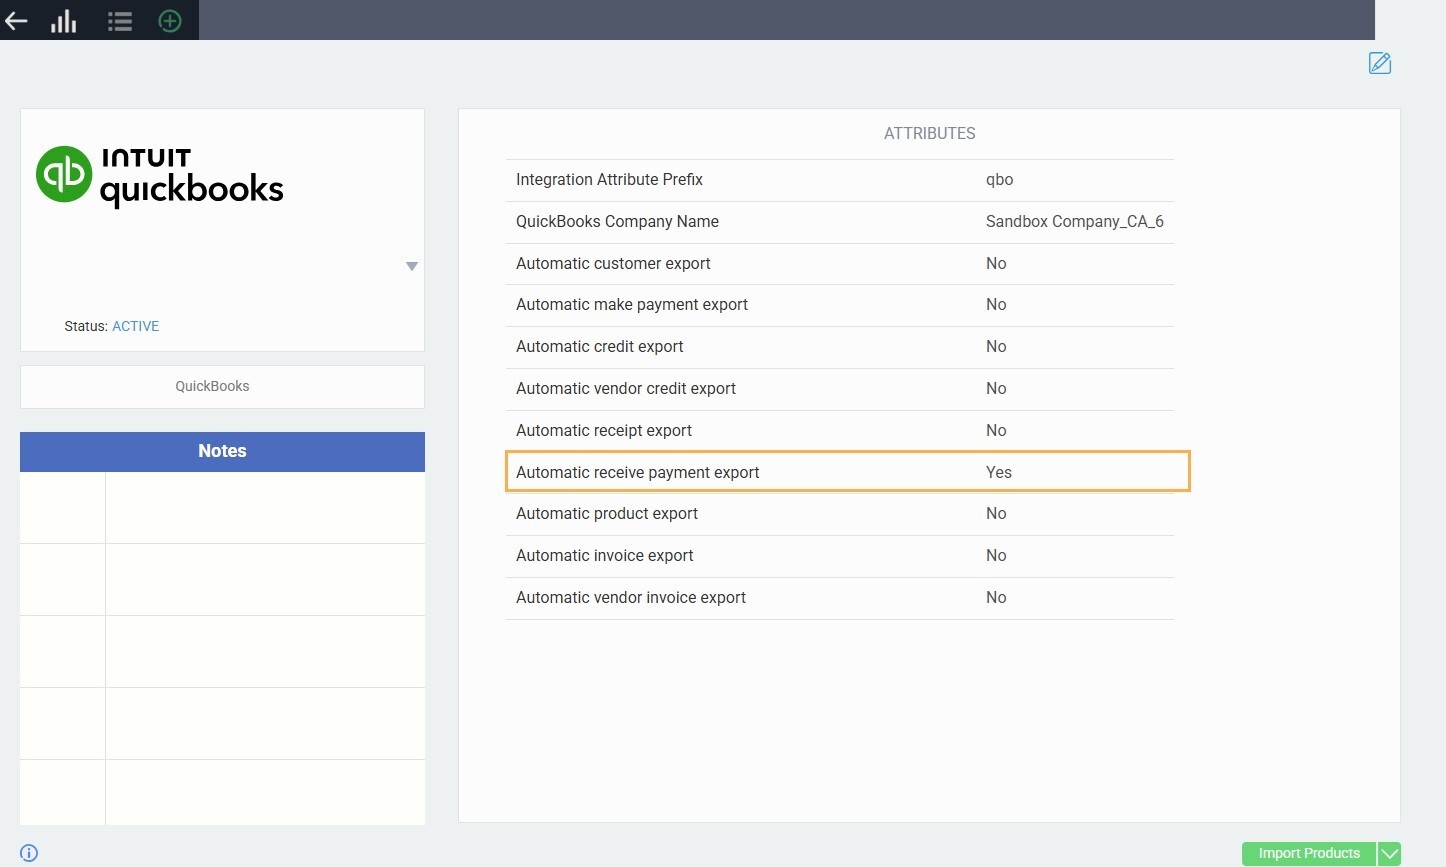
To export your receive payments from Paragon to QuickBooks, you first need to make sure that the automatic receive payment export attribute has been selected.
Next, you will need to make sure that you have previously exported an invoice from your Paragon build to QuickBooks. If you need help on exporting invoices you can read our article on Exporting invoices and credits from Paragon to QuickBooks.
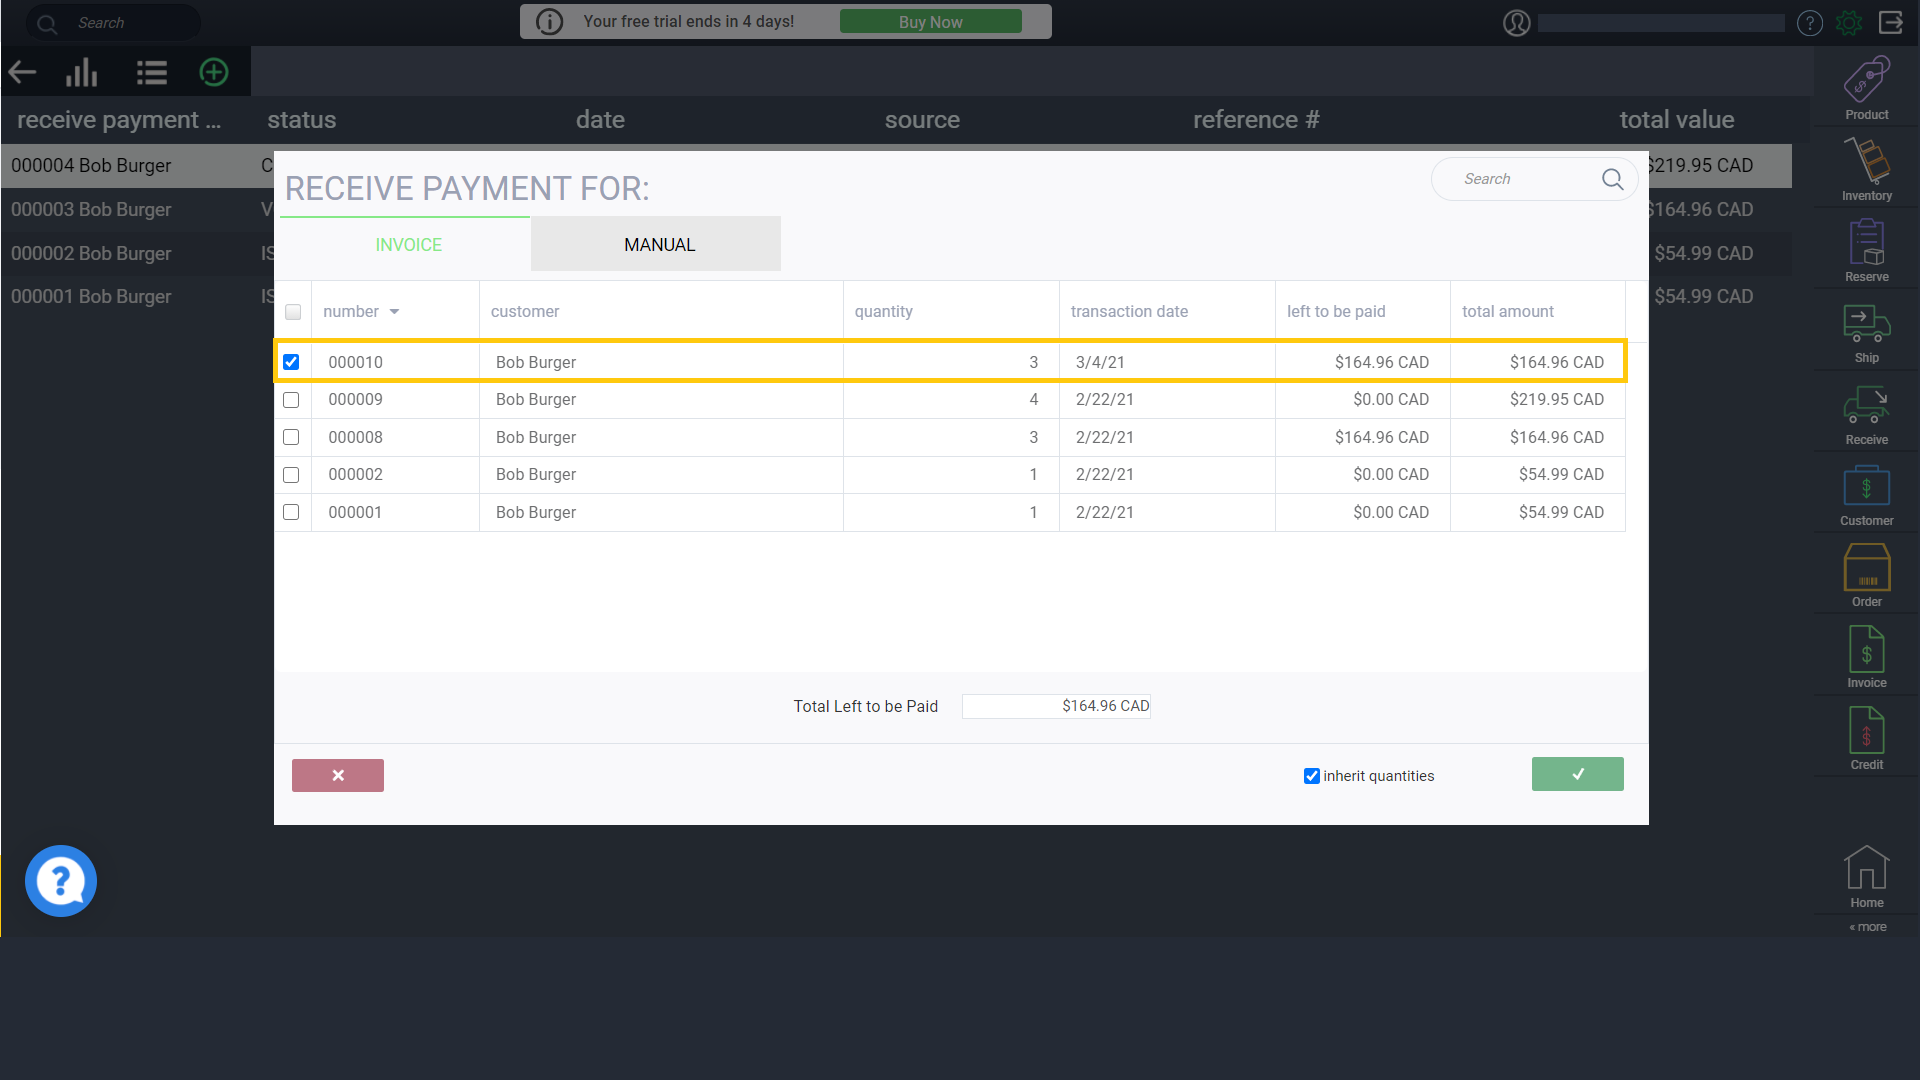
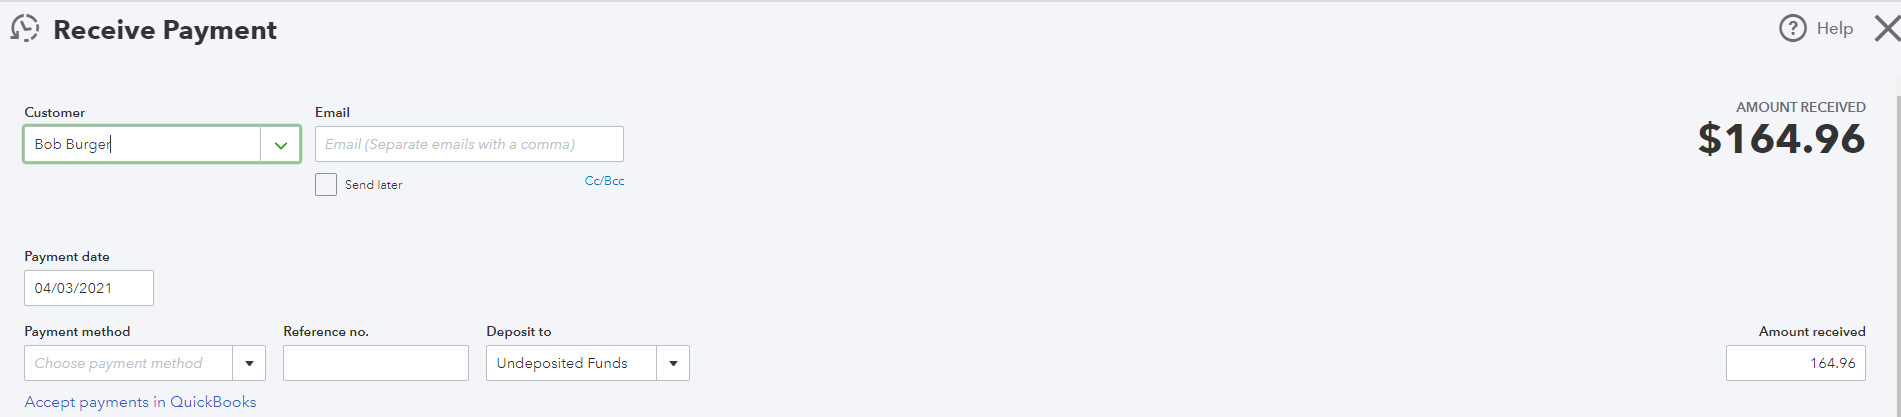
Once you have created and exported your necessary invoices, you will now need to create a receive payment from that exported invoice.
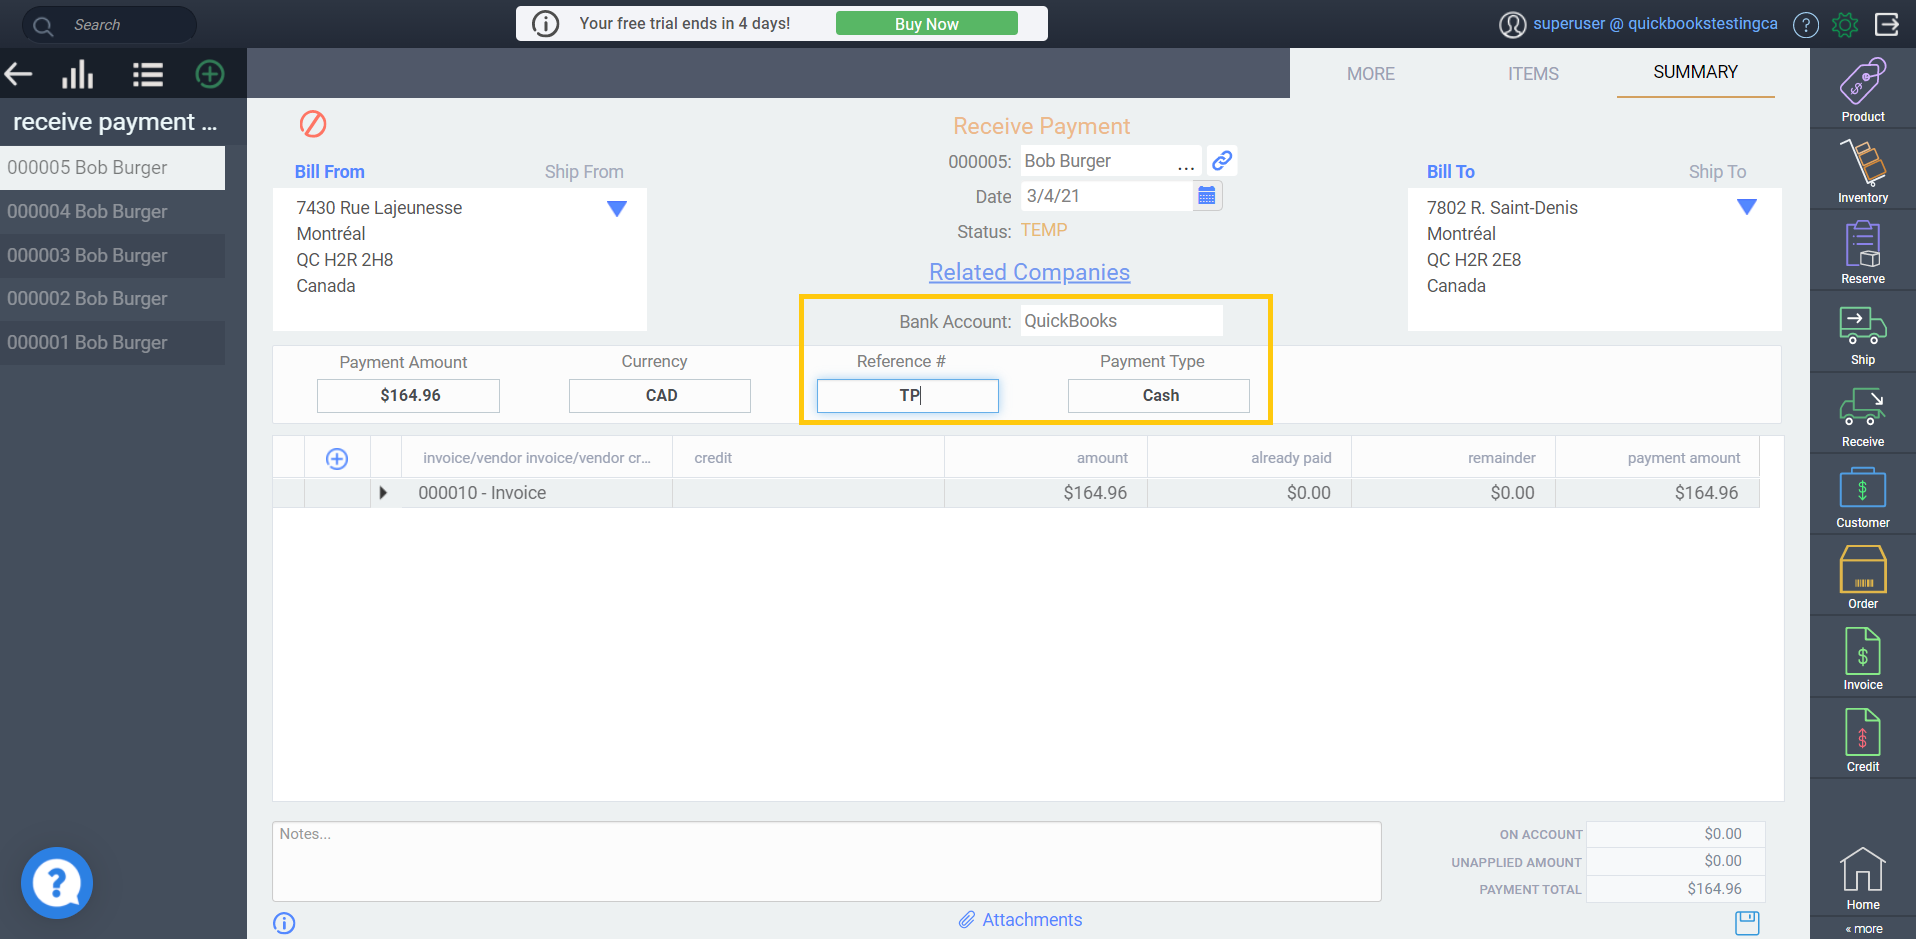
When creating your receive payment, you will need to confirm that the following fields are filled:
- Reference #
- Payment Type
- Bank Account
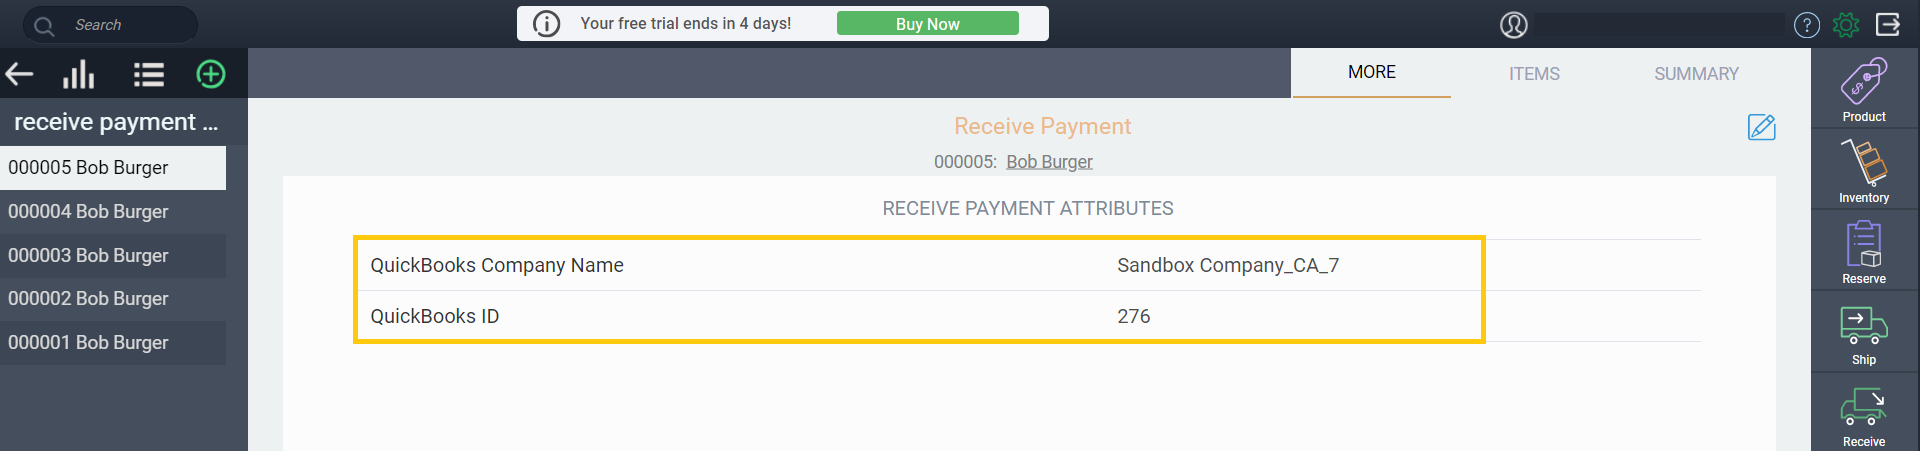
After issuing your receive payment, navigate to the more tab without refreshing and you will see the QuickBooks Company Name and the QuickBooks ID.
If you check the log tab on the QuickBooks setup page, you will see your receive payment was automatically sent to QuickBooks.

In QuickBooks Online you can see that the exported invoice is now marked as paid and that the receive payment has been created.
Manually export transactions to QuickBooks
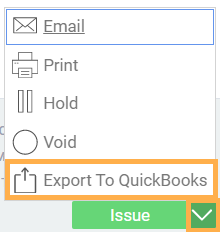
A great benefit of this feature is that if something went wrong while exporting a completed transaction to QuickBooks that came in through Shopify, you can now correct the issue and then resend the transaction. To manually send a receive payment to QuickBooks, click the QuickBooks export option from the action button on any QuickBooks transaction in Paragon:
If the status of your transaction would not allow it to be sent, you will be notified and prompted to either issue or complete the transaction before trying to export it again.

What's next?
If you're looking to learn how to export more transactions and references with your QuickBooks Online integration and Paragon, take a look at these handy articles for the next steps.