![paragon logo-1.png]](https://support.paragon-erp.com/hs-fs/hubfs/paragon%20logo-1.png?width=240&height=75&name=paragon%20logo-1.png)
Introduction
Paragon offers a few ways to export data to QuickBooks Online (to make sure that the integration is working smoothly). To export your purchase orders, there are a few extra requirements you will need to set up in Paragon and QuickBooks Online - this differs from other transactions in the Paragon + QuickBooks workflow. Follow these steps closely and you'll be set up in no time!
Enable custom transaction numbers in QuickBooks
To have the purchase order document number in QuickBooks match the purchase order number from Paragon, you need to enable custom transaction numbers. To do this you need to navigate to your settings in QuickBooks, go to account and setting, expenses, and then purchase orders. From here you have the option to enable custom transaction numbers
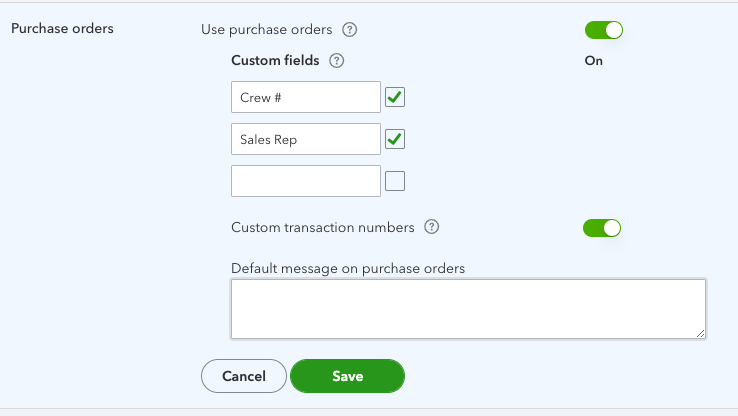
From Paragon, navigate to your QuickBooks setup page and enable automatic receipt export.

Purchase order and receipt screen setup
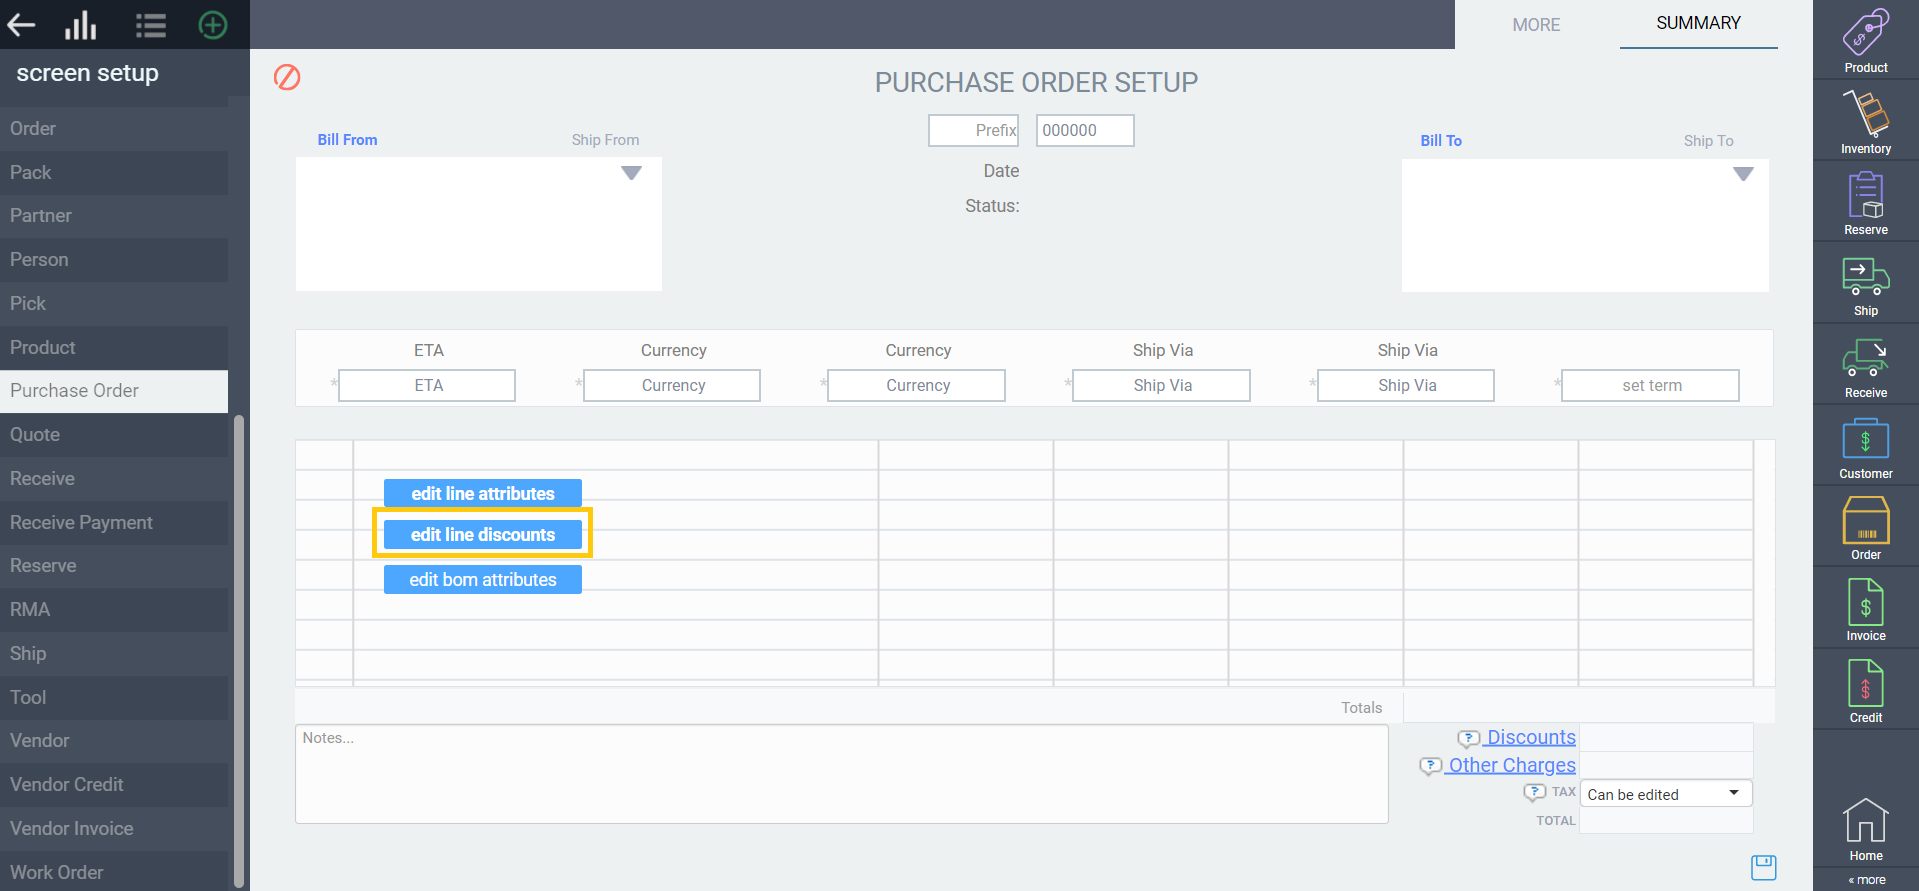
To export purchase orders and receipts to QuickBooks you will need to add discounts and other charges based attributes to each transaction screen. First, navigate to screen setup from the settings page.

For purchase orders, you will need to add line discounts, header discounts, and other charges, but receipt only requires line discounts.
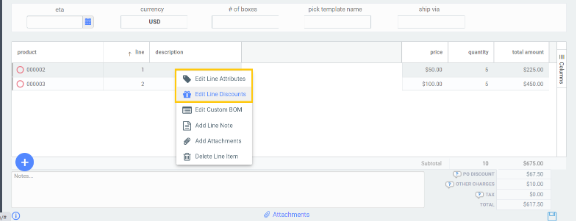
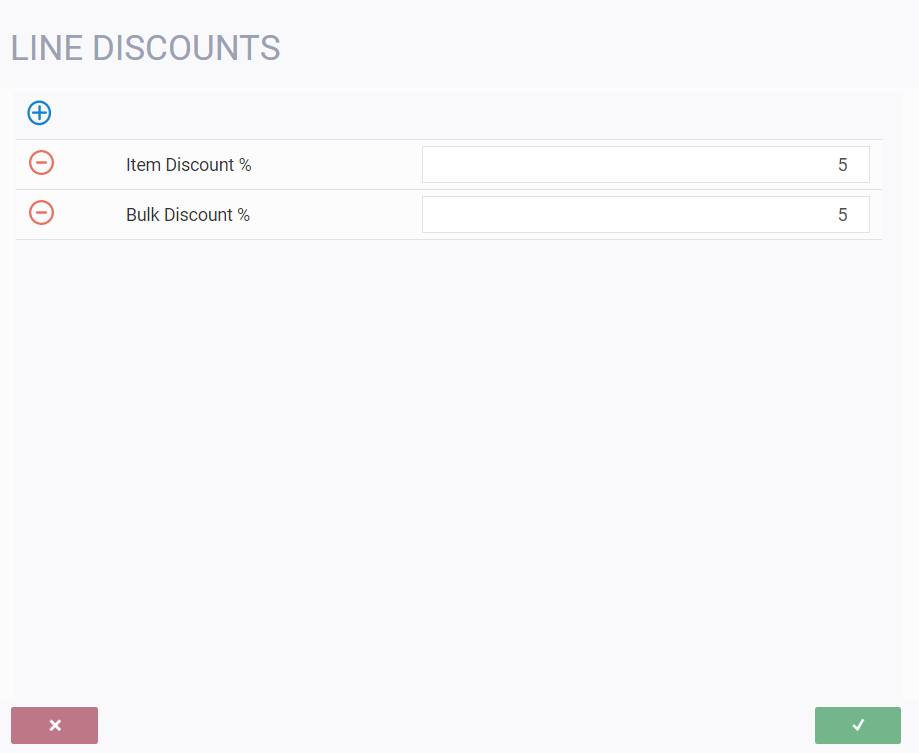
In edit mode, select edit line discounts and add your attributes. When you have added the necessary discounts, click the accept button.

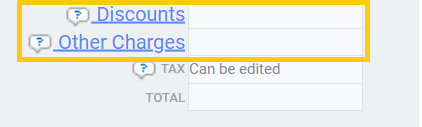
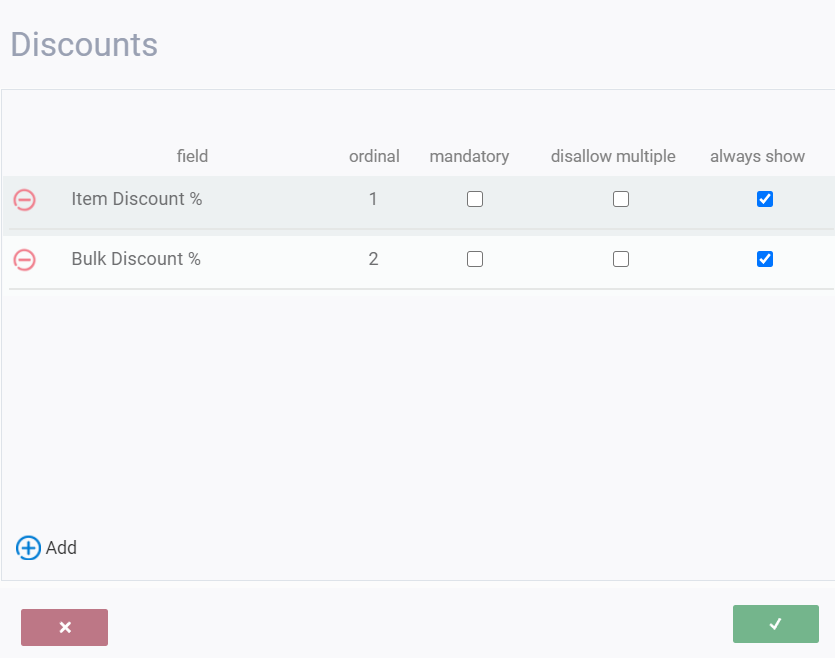
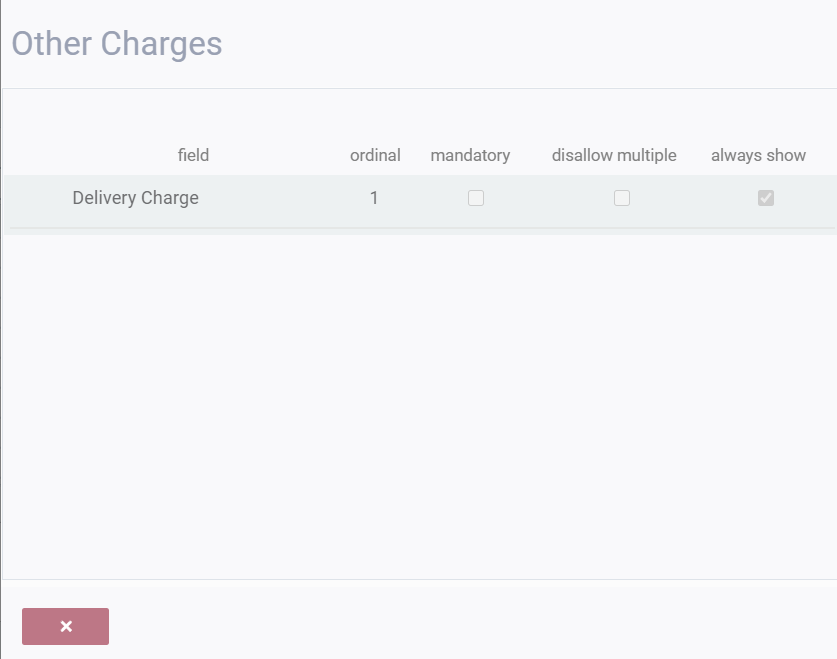
For header discounts and other charges, you will need to use the links at the bottom right of the screen setup page. Both modals will appear and will be similar to the previous step. Add any necessary attributes and remember to save when you are done. You will need to log out and back into Paragon for these changes to take.
Create a purchase order
Once you have finished your set up you will need to create a new purchase order in Paragon. Navigate to the purchase order module from anywhere in Paragon and select the add button.
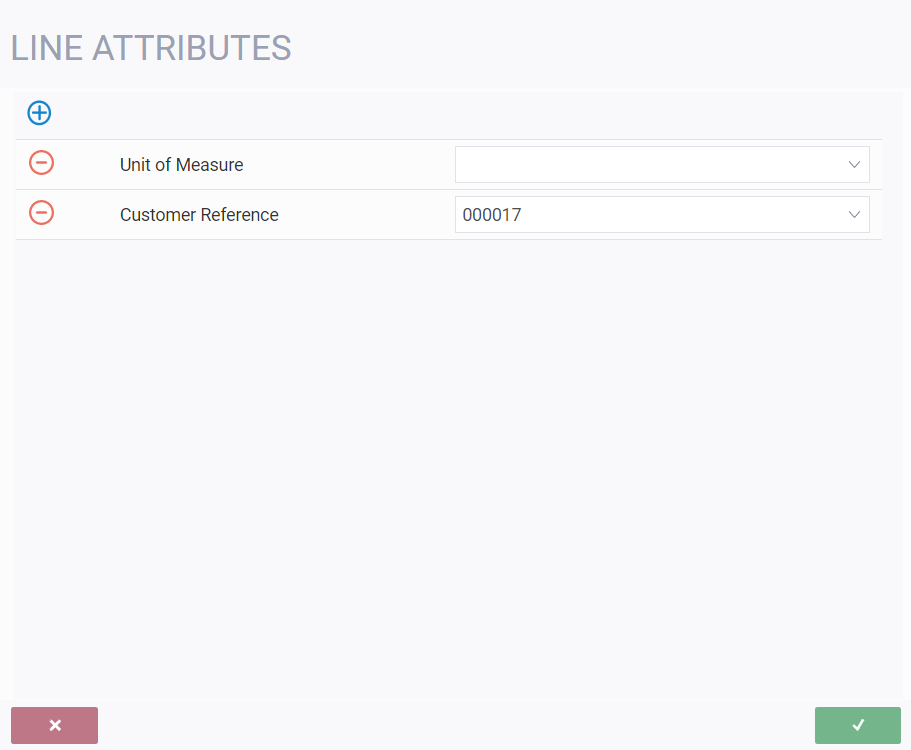
Make sure that the products and vendors you are using are already in QuickBooks. You will need to add your line discounts from the previous step as well as the vendor reference attribute.
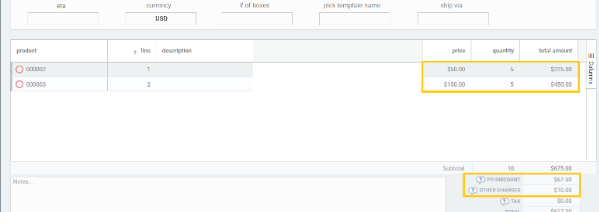
Once you have created your purchase order, remember to save and issue from the action button.

Create a receipt from the purchase order
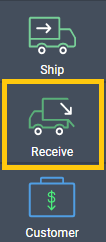
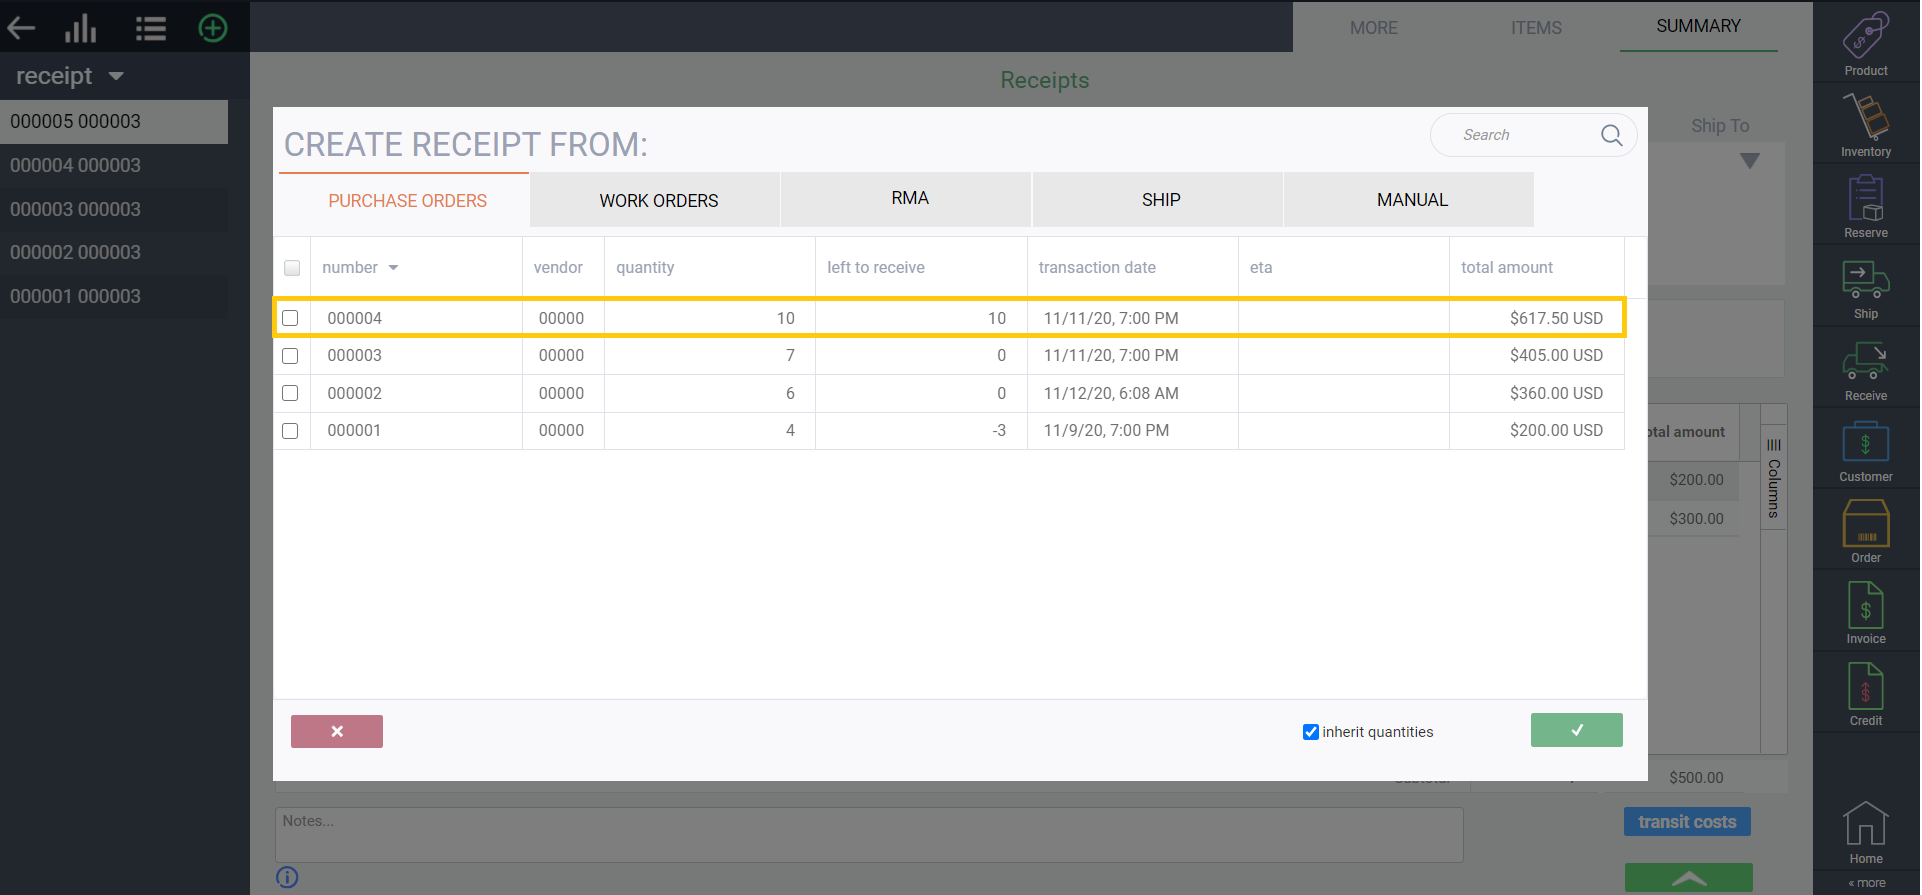
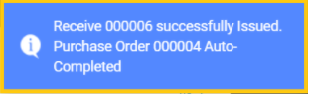
Navigate to the receive module from anywhere in Paragon and create a receipt from the purchase order you just made. Issue and complete your receipt from the action button when you are done. You will see a toaster notifying you that your purchase order was auto-completed.

QuickBooks information in Paragon
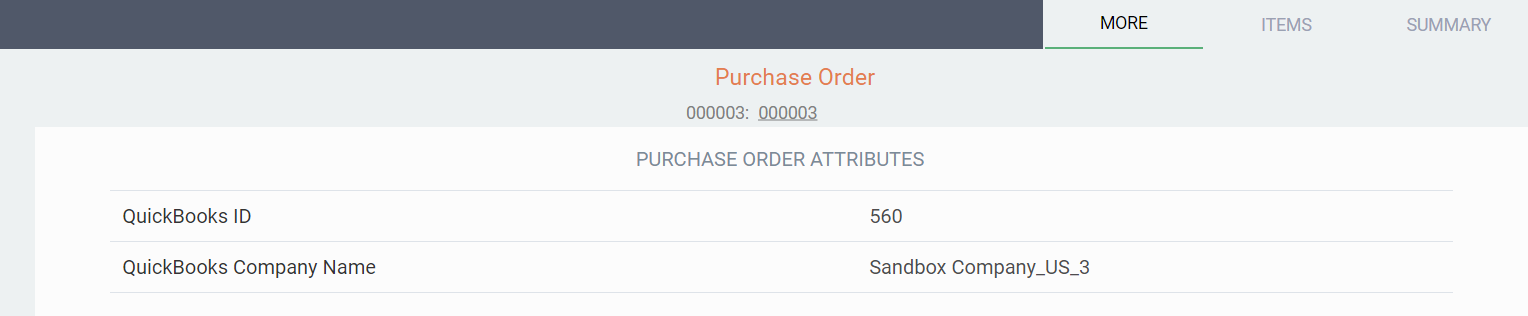
After completing the receipt, it will be exported to QuickBooks where it will create a new purchase order or update an existing one. The QuickBooks ID and QuickBooks Company Name can be viewed in the more tab of the purchase order and any of the receipts that are completed or voided.

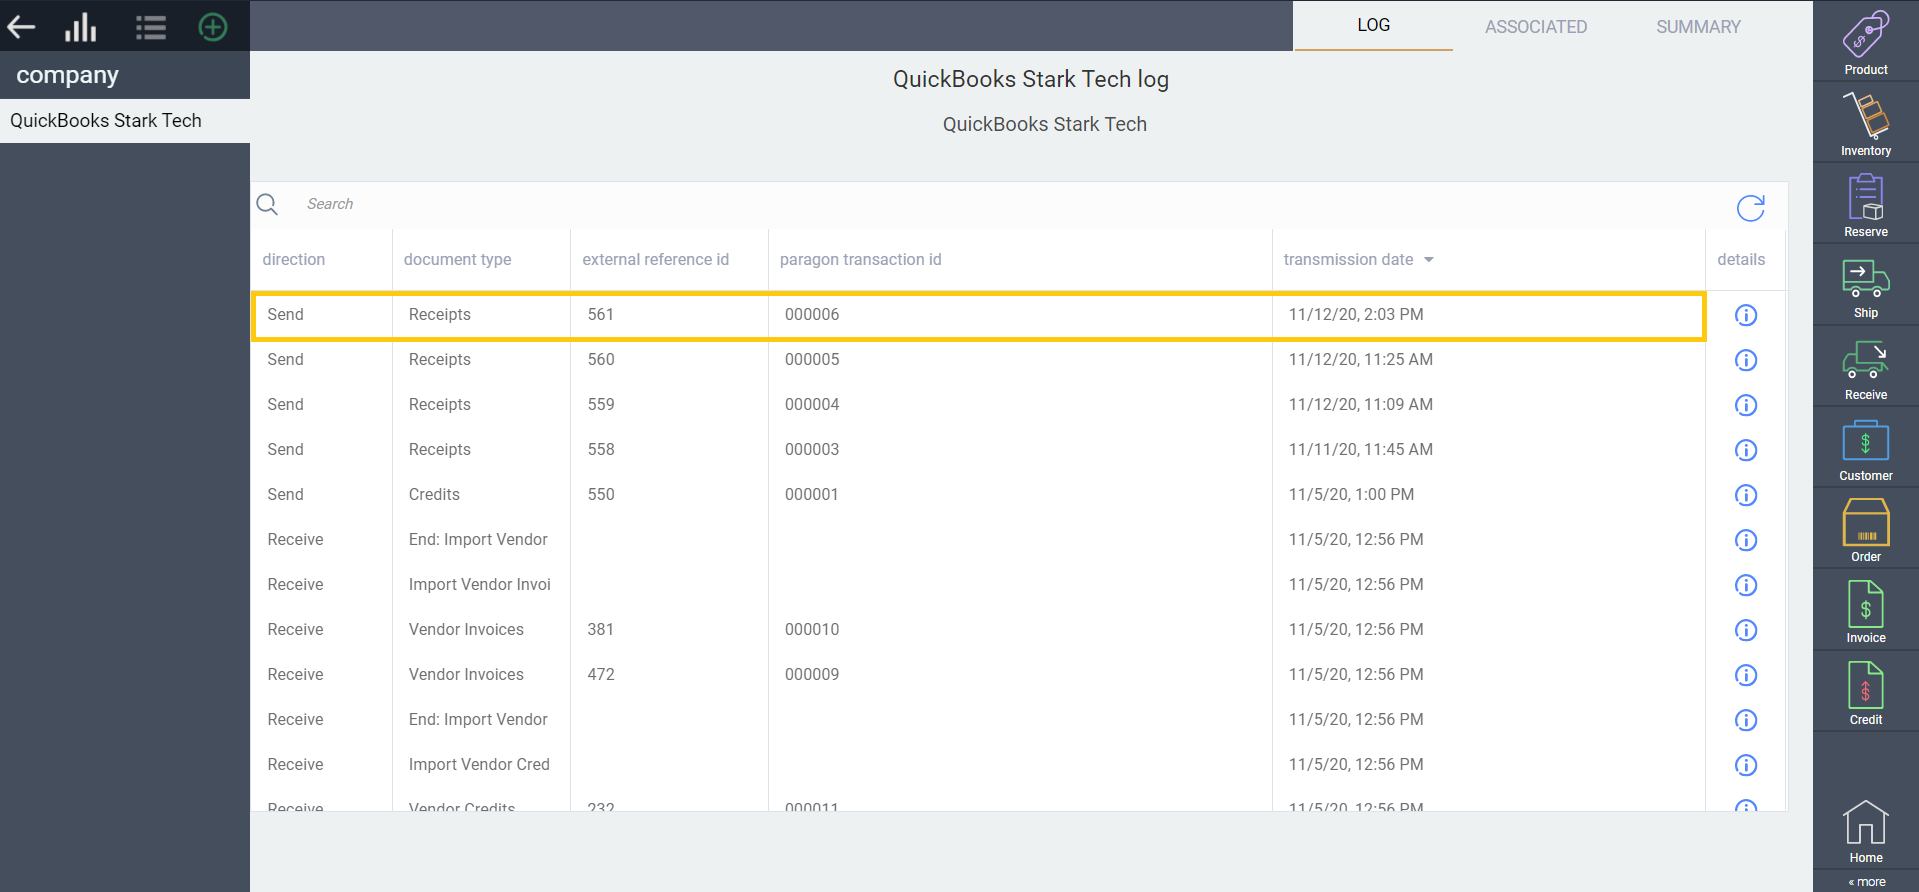
In the log tab of your QuickBooks setup page, you will now see an entry for the receipt that triggered the export.
Manually export receipts to QuickBooks
A great benefit of this feature is that if something went wrong while exporting a completed transaction to QuickBooks that came in through Shopify, you can now correct the issue and then resend the transaction. To manually export a receipt to QuickBooks Online, click the action button and then the export to QuickBooks button:

If the status of your transaction is not compatible with exporting, you will be notified and prompted to either issue or complete the transaction before trying to export it again.

Purchase orders in QuickBooks
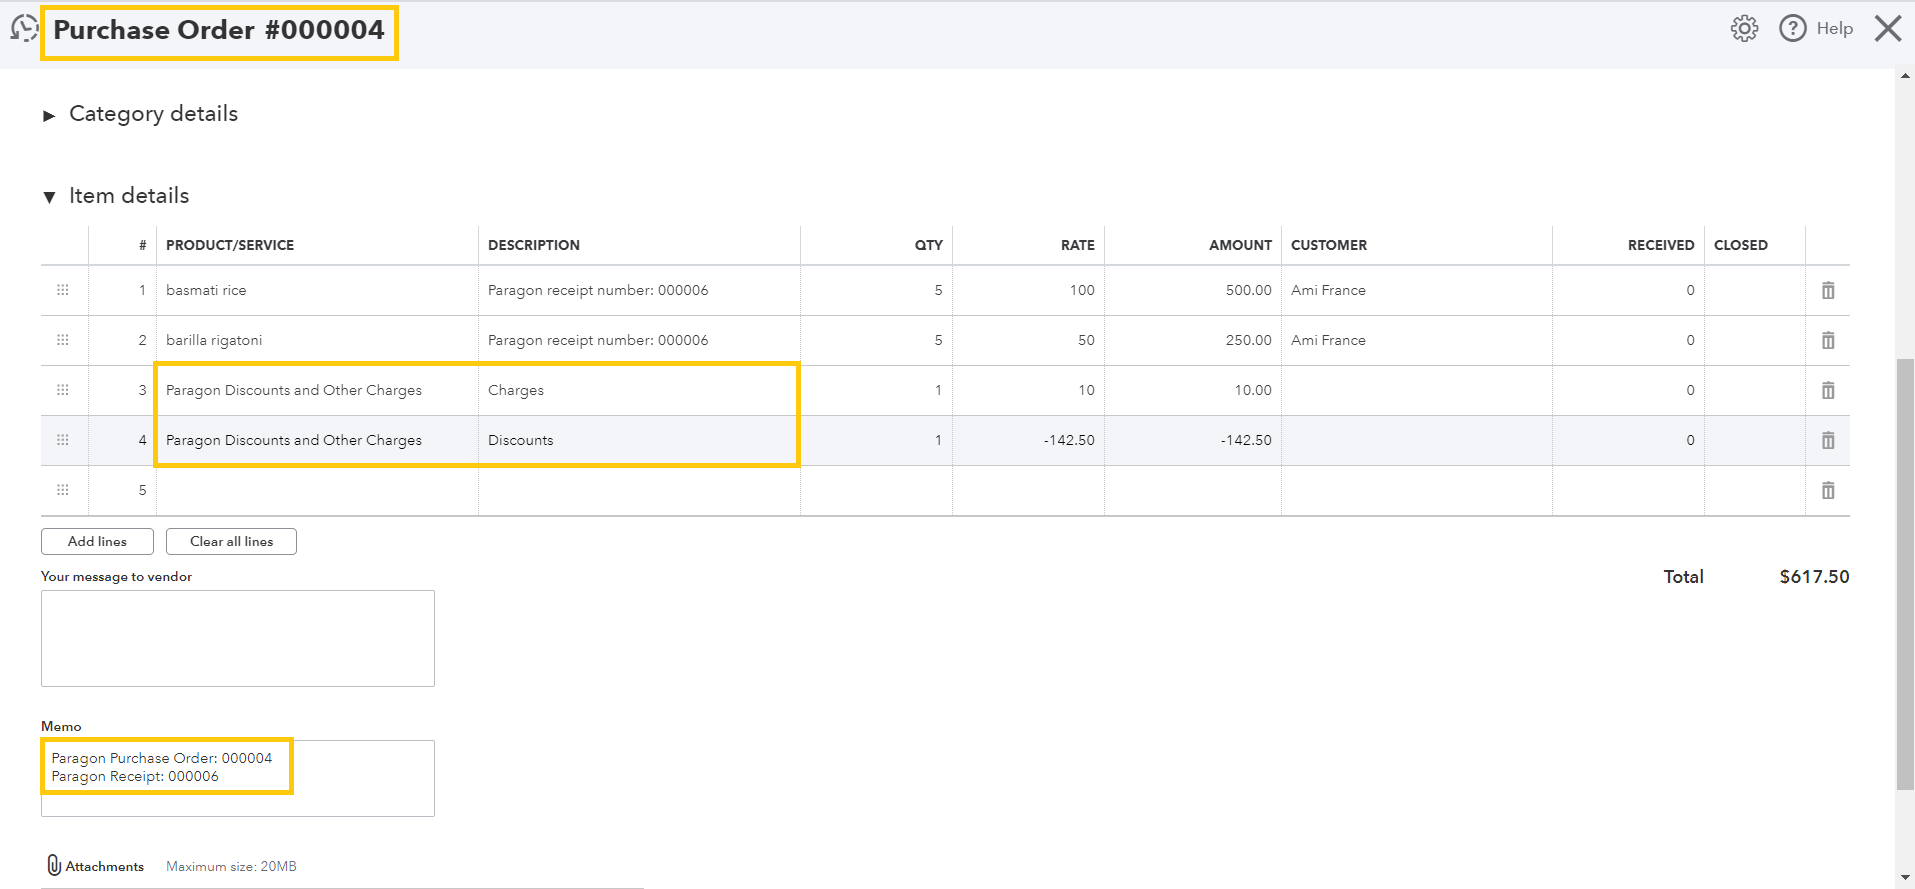
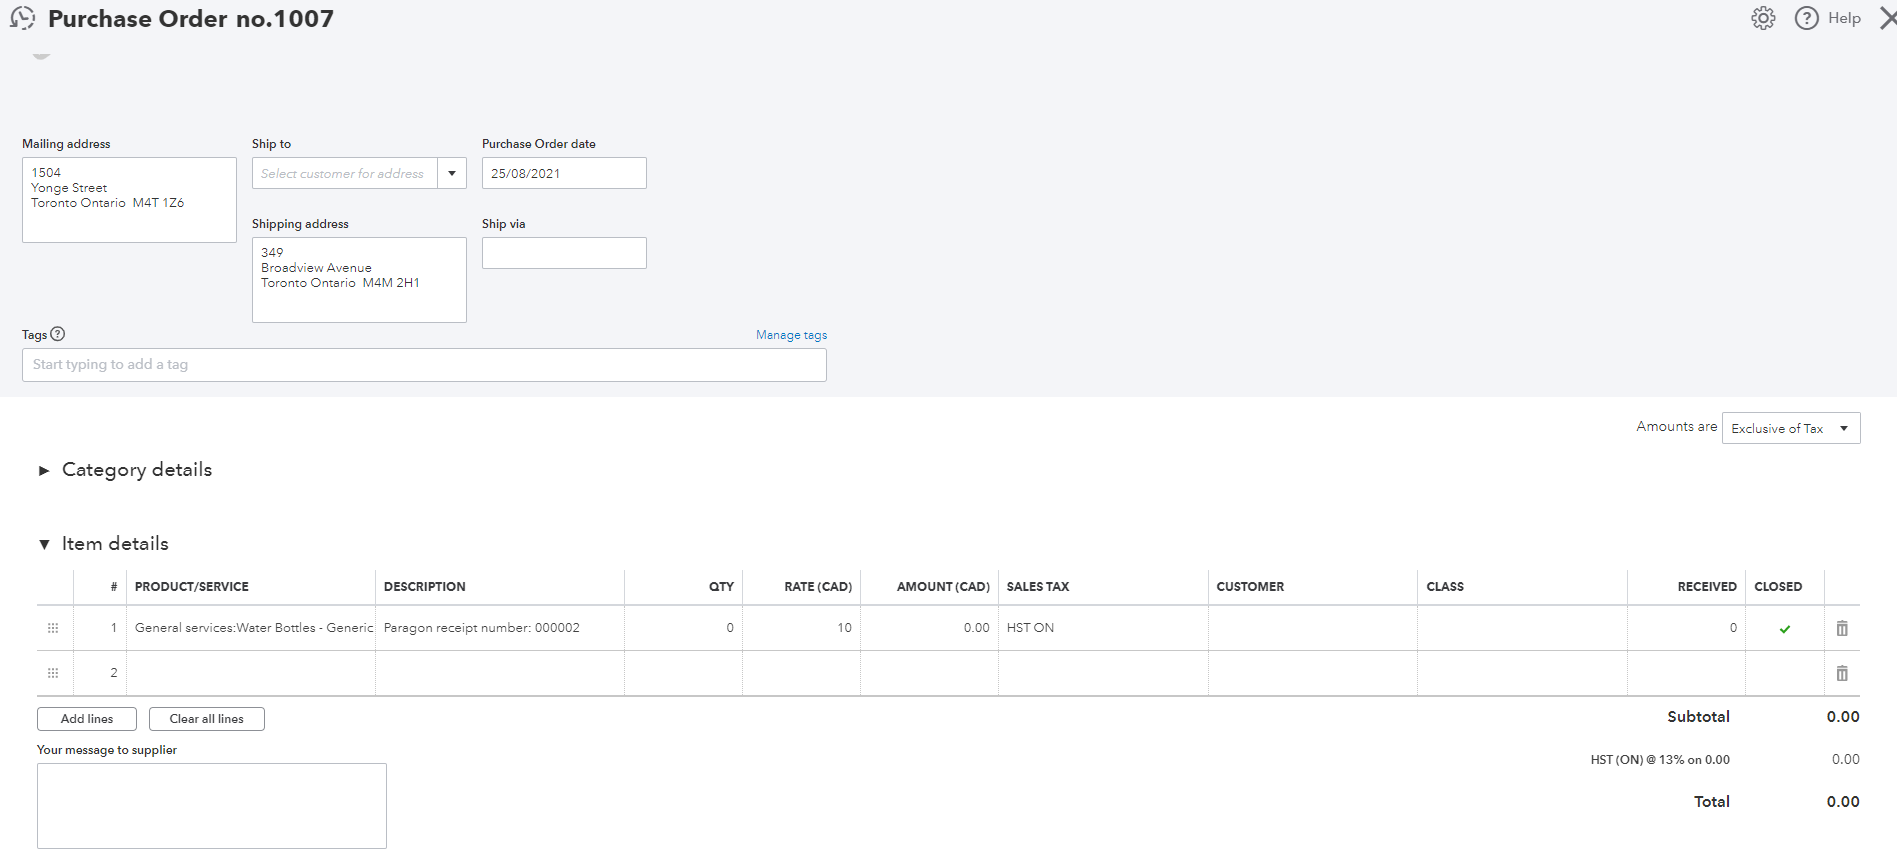
In QuickBooks, you will now be able to see your exported purchase order(s) under expenses. The document number will match the purchase order number in Paragon if it was not already used and if the custom transaction numbers setting was enabled. You can also see the receipt number in the line description. If the number was already used then a message will show in the Paragon QuickBooks log.
Your line and header discounts are added as a new line on the QuickBooks purchase order with the name Paragon Discounts and Other Charges - Discounts. If you added other charges in Paragon, such as duty or delivery charges, they will also show as a new line under Paragon Discounts and Other Charges - Charges. Towards the bottom of the page, you will be able to see the Paragon receipt and purchase order number in the memo.
Receipt linked to multiple purchase orders
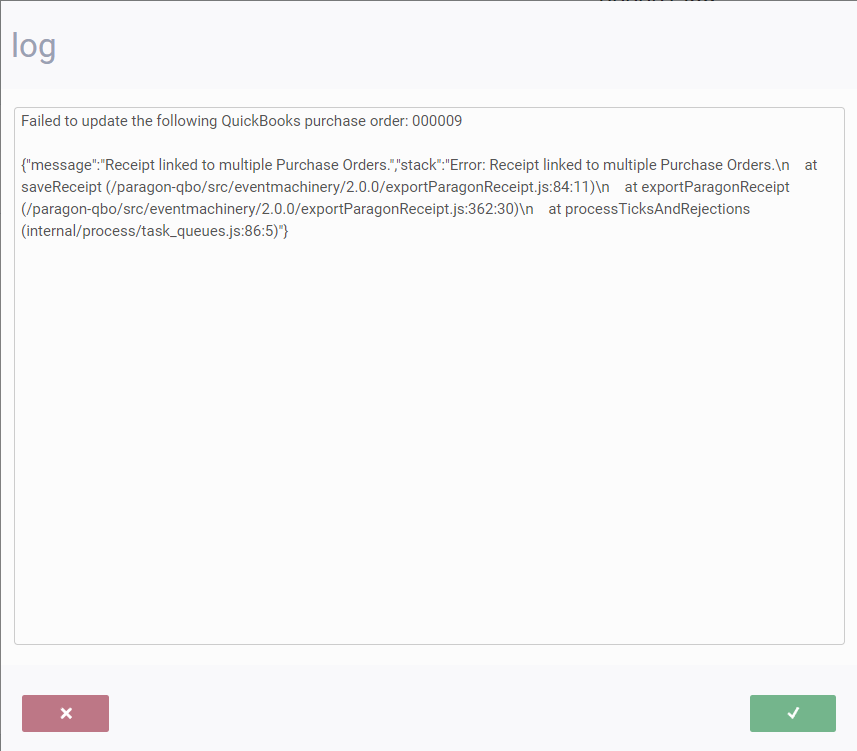
In order to export your purchase orders to QuickBooks, you can only link one transaction to your receipt. If you create a receipt from multiple purchase orders and complete it you will get a receipt linked to multiple Purchase Orders error in the QuickBooks log.
Voided receipts
After exporting the receipt to QuickBooks, if you decide to void the receipt in Paragon, the associated purchase order in QuickBooks will be updated accordingly:
Voided receipts that do not have a QuickBooks ID cannot be exported to QuickBooks
Importing vendor invoices linked to purchase orders
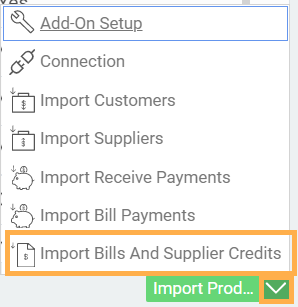
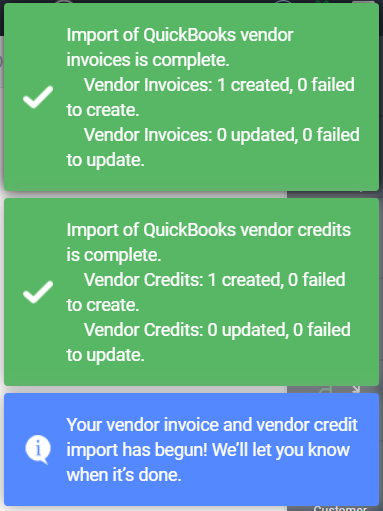
Once your purchase orders have been exported to QuickBooks, the next time you import vendor invoices and vendor credits into Paragon, you will see the linked receipt and purchase order in Paragon listed in the notes. From the QuickBooks setup page action button, click import bills and supplier credits to begin the import. You will see that your new entries have been added, and you can navigate to the transaction to see the linked receipt and purchase order.

What's next?
As mentioned earlier, there are several ways to transfer data from Paragon to QuickBooks Online and vice versa - here are some other articles that may be of interest to you: