![paragon logo-1.png]](https://support.paragon-erp.com/hs-fs/hubfs/paragon%20logo-1.png?height=50&name=paragon%20logo-1.png)
Introduction
Here we will walk you through how to add your currency codes and exchange rates in Paragon. The first step will be to set up attributes for the different currencies you would like to use. Once you have at least two currency codes set up, you can create an exchange rate relationship between them.
Go to attribute setup
Click the settings icon located in the top-right corner of your page to access the settings menu.
From the settings screen select attributes setup from the attributes card.

The attribute setup screen will appear, listing all available attributes that can be modified.

Since currency is an attribute already set up on Paragon, search for currency in the search bar or scroll down the list to find the attribute.
Edit your currency
When you have found the currency attribute, you can view all of the information attributed to the attribute, such as what modules it is used on, its description, who created it and when it was created, etc.

This attribute can also be duplicated. You will need to check if the currency codes you want to use are set up, so at the end of the currency line, click the edit icon.
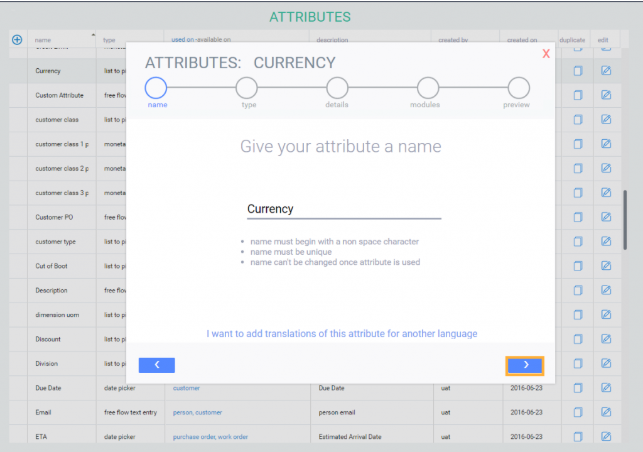
This screen will appear, giving you the option to edit the currency attribute name. To continue, click the next button.
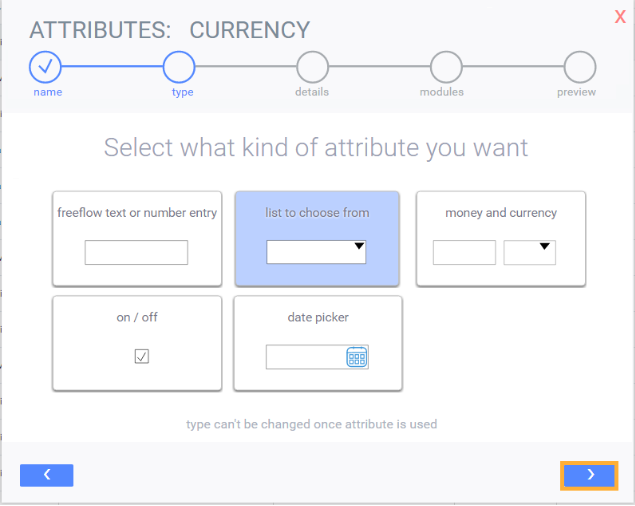
The currency attribute type is a list to choose from. This means that a list of possible currencies will be added here and will show up as drop down values within the various modules. Note that if this attribute is already in use, you cannot change the attribute type.
Click the next button to proceed.
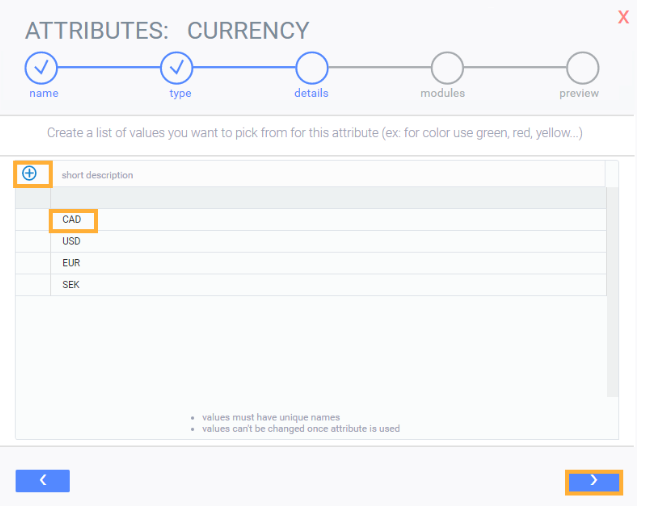
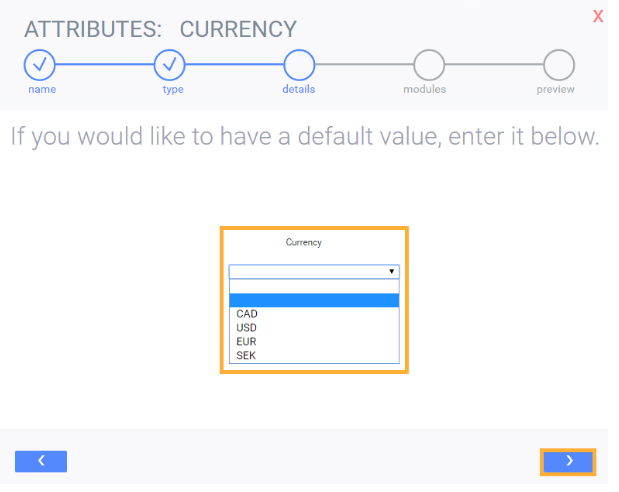
This screen will appear. To add a new currency click the add new currency button. To modify a currency, click on the description field and make your edits. Note that this can only be done if the attribute has not been used in a Paragon module yet. Click the next button when you are done adding currency codes to proceed.
The following screen will allow you to preview how the attribute type will look, including your chosen currencies.
You can then preview the currency attribute from different category modules, as well as having the option to enter a description on the attribute.
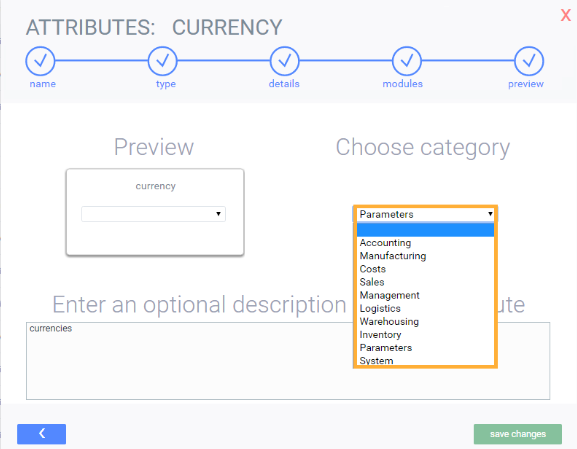
To go back to a previous edit, click the back button. To save the changes made, click save changes.

Once you save the changes, you will be brought back to the attributes set up screen.

Add Exchange Rates
Once you have added currencies, you will want to set up exchange rates to go along with the currencies. From the ParagonERP home screen, click the green settings button at the top right corner of the screen.

You will be taken to the settings screen. From the Financials settings card, select the Exchange Rates option.

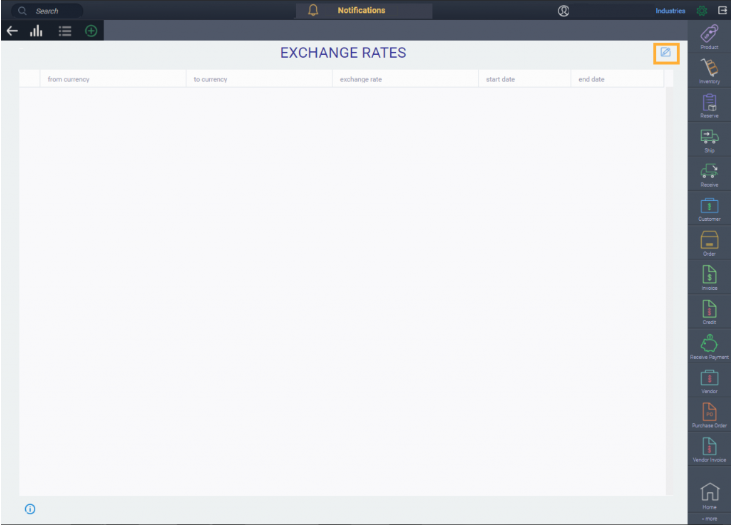
The exchange rates screen will appear. Click the edit button to enter your exchange rates.
Click the add new exchange rate button to enter your exchange rates.
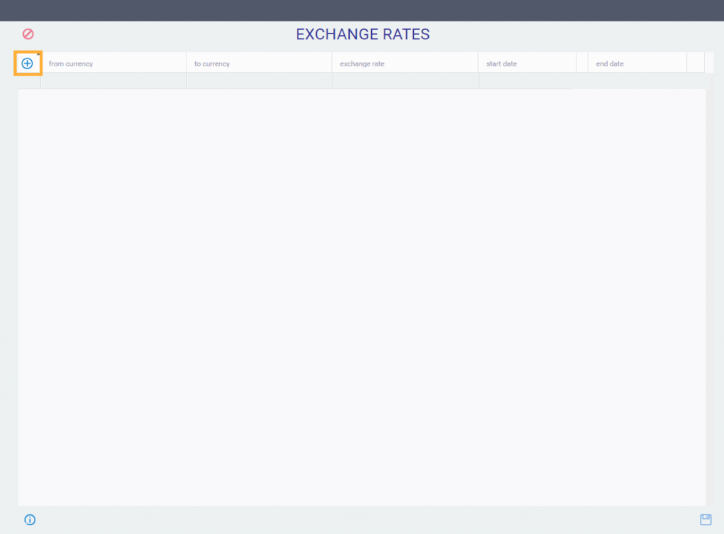
From the currencies you created in the currency attribute screen, you can select the currency you want to use for your from currency.
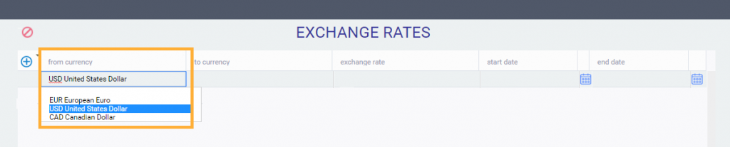
The same can then be done for your to currency.

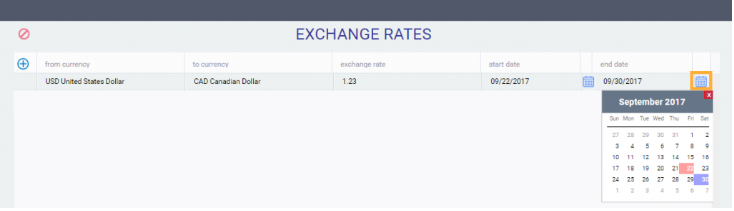
Add the exchange rate by typing the numeric value into the field.

Click the calendar button to enter your start date. This date represents when the exchange rate becomes valid (to be used),

Click the calendar button again to enter your end date. This date represents when the exchange rate expires (no longer valid and cannot be used).
Save
At the bottom right corner of the exchange rates screen, make sure to click the save button when you are done adding in your exchange rates. Posted exchange rates can be manually edited at any point afterwards.

What's next?
Once you have set up your various currencies and exchange rates, they can be added to any reference and transaction screens as required. This combined information of currencies and exchanges rates will be used for financial calculations, inventory costing, and in your reporting.