
The flexibility of ParagonERP allows you to create new transactions based on previous fulfillments. Find out how you can easily create an return authorization from an invoice.
Introduction
Here we'll walk you through how to create an RMA (Return Merchandise Authorization) from an invoice.
You can also create an RMA manually.
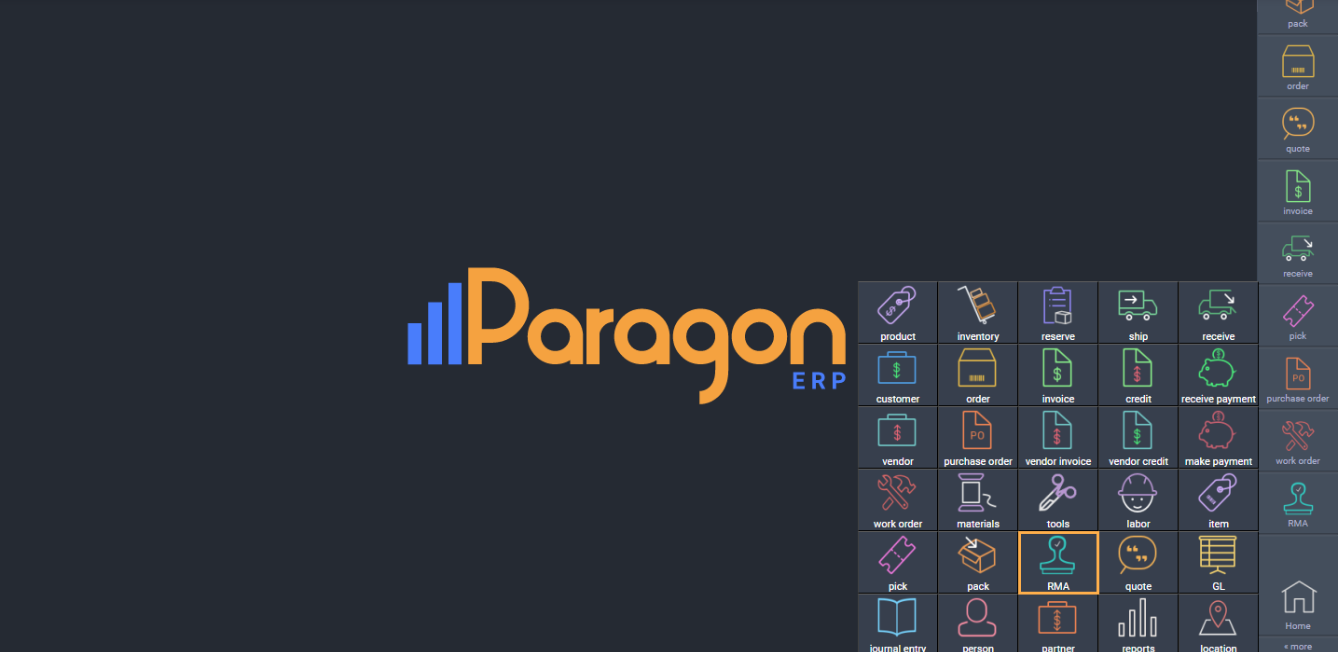
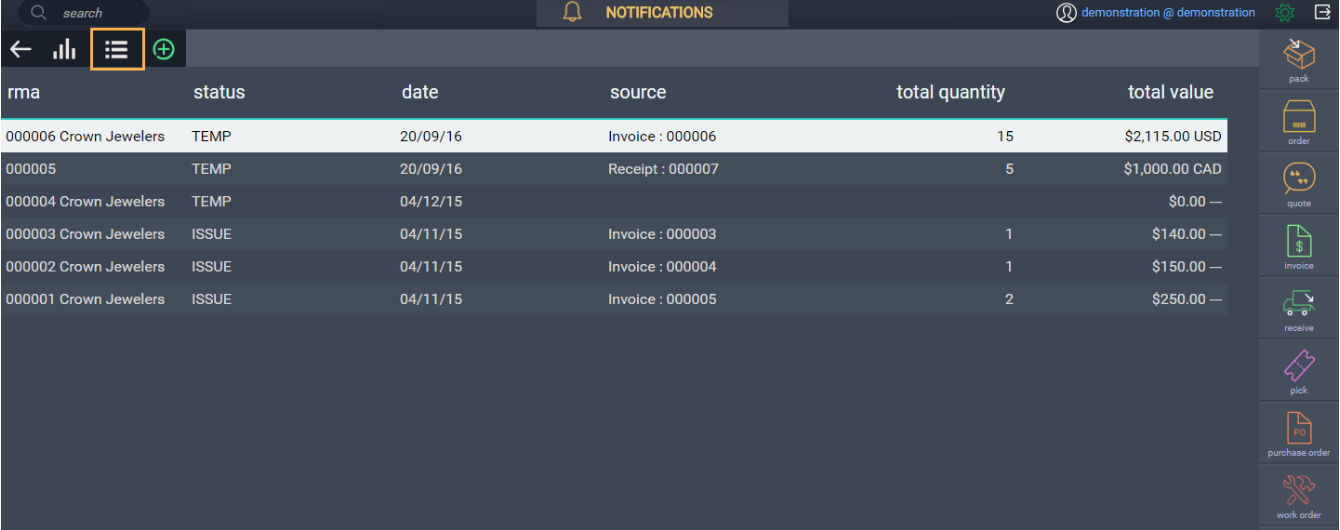
Open the RMA module
Open the RMA module by selecting it in the right hand navigation bar or in the more menu.
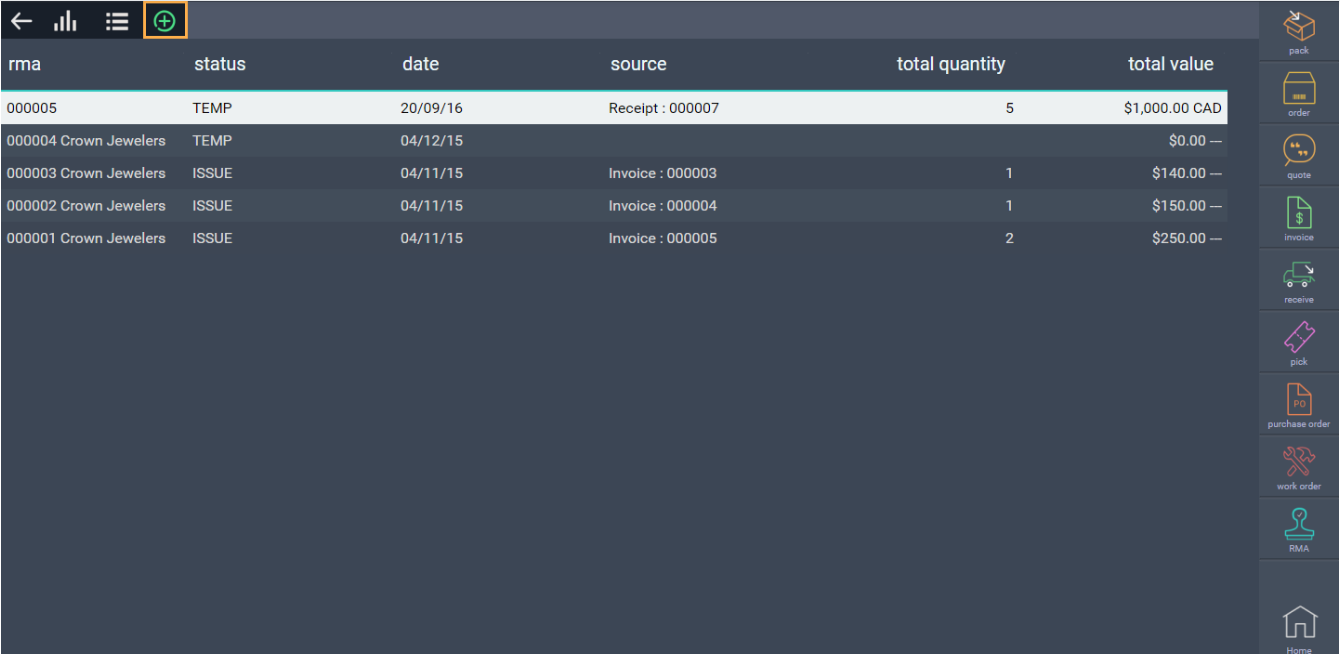
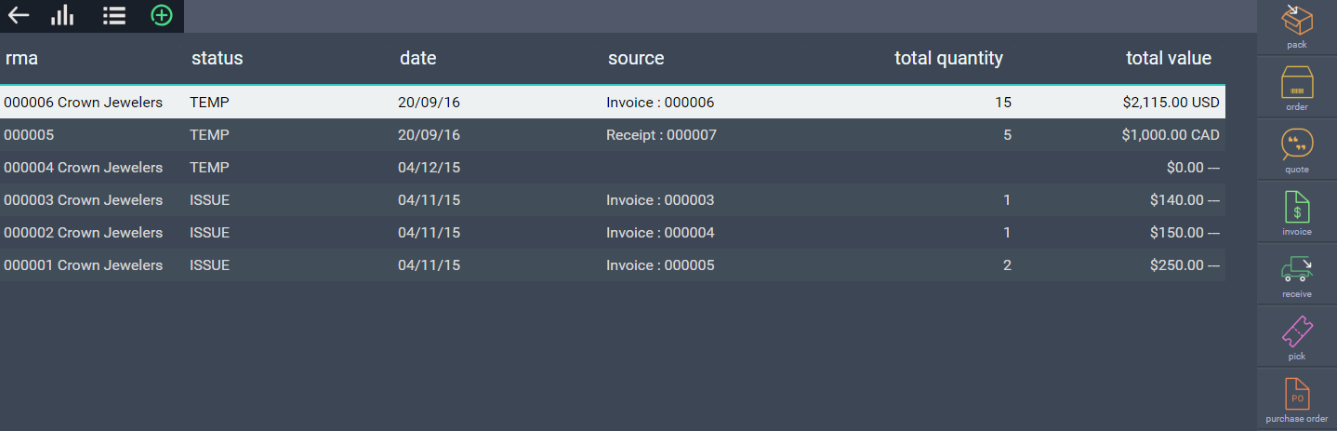
Add a new RMA
This is the list view of the RMA module. To add a new RMA, hit the add new RMA button.
Select the invoice
Select how you'd like to create the RMA by choosing one of the tabs.
In this case make sure the invoice tab is selected.
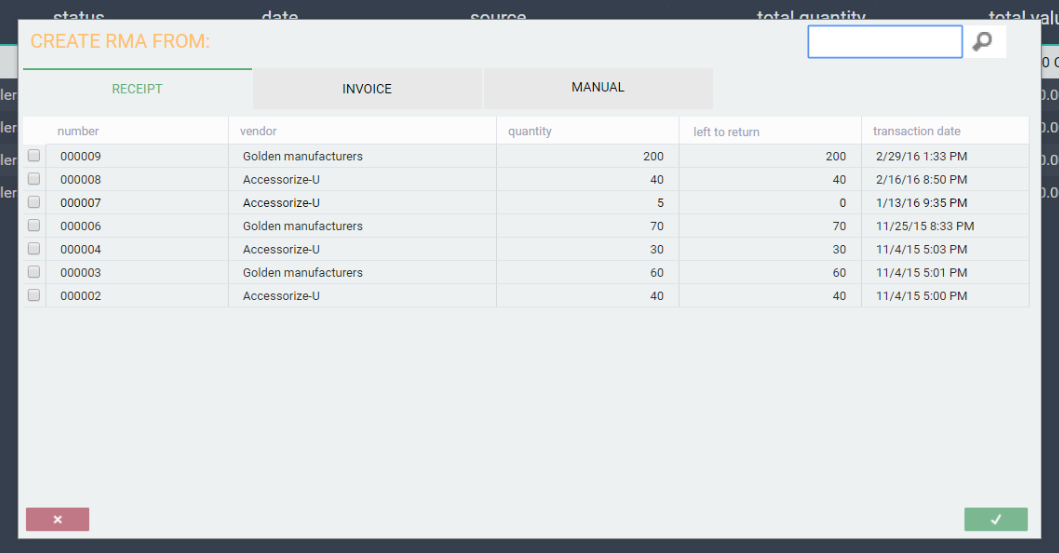
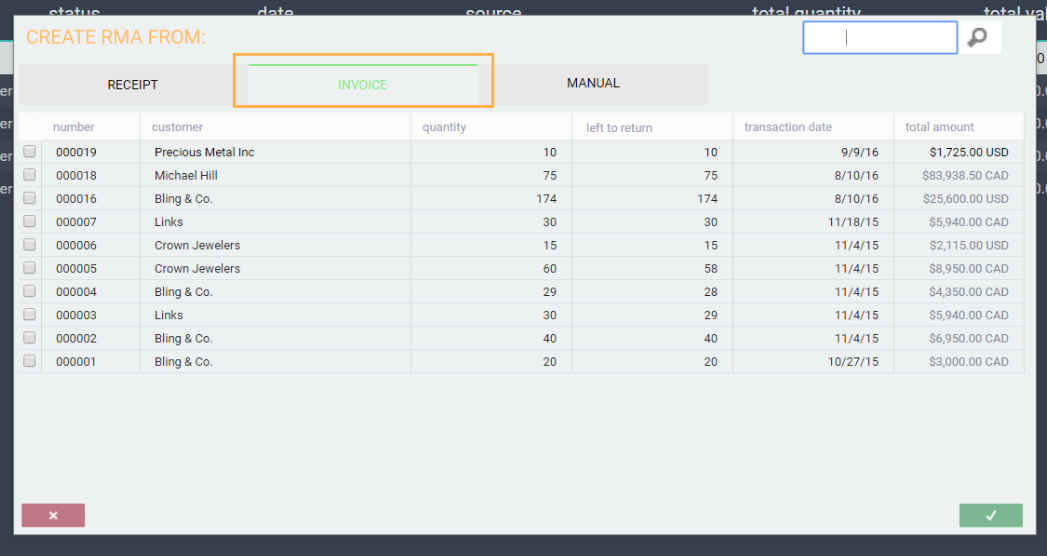
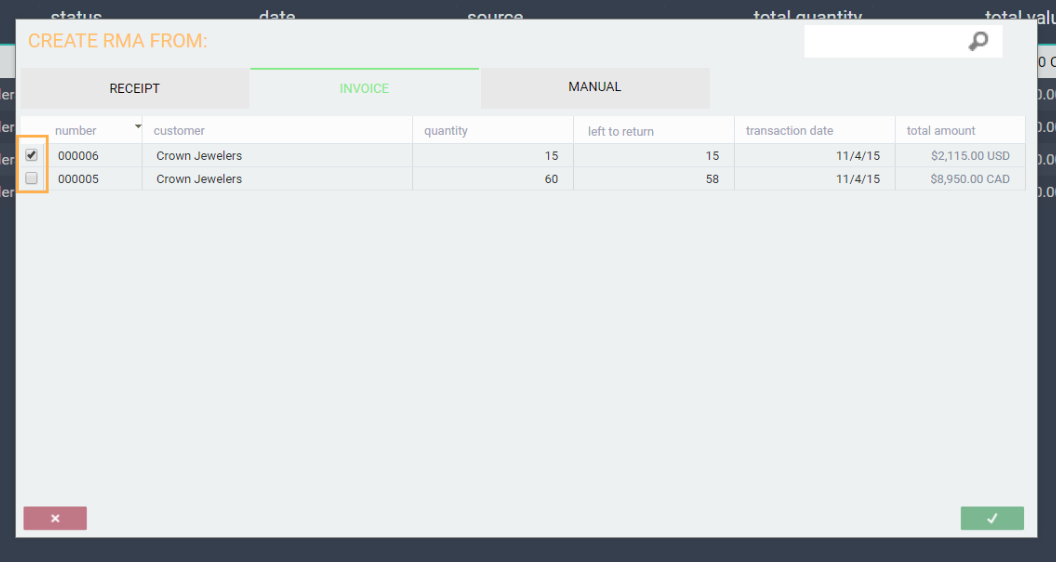
Select the invoice(s) you want to use to create the RMA by checking the box(es) on the left.
You can create an RMA from multiple invoices only if they are for the same customer.
To deselect an invoice, uncheck its box.
Save the RMA
A transaction can be canceled at any point before it is saved by clicking close in the bottom left hand corner.
To create and save the transaction, hit the accept button in the bottom right hand corner.
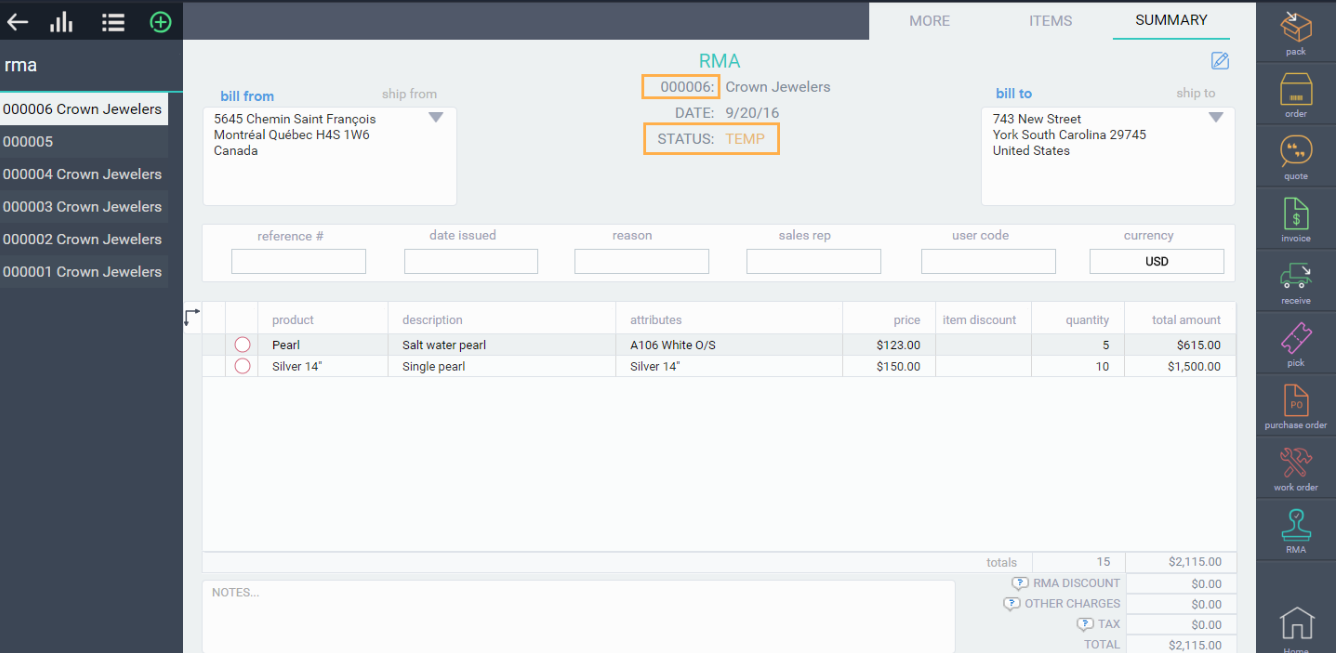
Once you hit the accept button, you'll be brought back to the list view of the module. The transaction you just created will be selected in the list.
To see the transaction in detail, double click it or hit the list-detail toggle button.
The transaction will have a transaction number and be in temp status.
What's next?
Once your transaction has been created you can proceed in a number of ways using the action button in the bottom right hand corner. The options on the action button will show issue, copy, email, print, hold or void.
The transaction can also be edited in detail mode by hitting the edit button in the top right hand corner.