![paragon logo-1.png]](https://support.paragon-erp.com/hs-fs/hubfs/paragon%20logo-1.png?width=240&height=75&name=paragon%20logo-1.png)
Introduction
Do you have a third-party vendor that manages your inventory? In some cases, a company will use a third party logistics warehouse (3PL) to store and ship its products. This article will show you how a related or third party warehouse can be used in ParagonERP transactions.
Of course, before using your related warehouses in transactions, make sure you've set up your related warehouses in your ParagonERP settings first.
Receive your items
Let's say you've issued a purchase order to one of your vendors, and you want the items to be shipped to your related warehouse. Upon receiving the items into your related warehouse, you would select the related warehouse you're receiving into, and use the address of the related warehouse as your ship to warehouse.
First, navigate to the receive module.

Then, create the receipt from your purchase order.
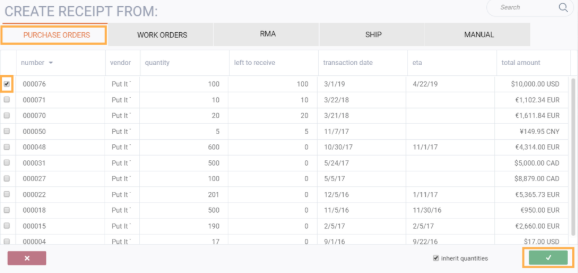
Once you've selected the purchase order you would like to receive, click the edit button, and then click the related warehouse link located under the transaction date.

A modal will pop up, and you'll be prompted to enter which related warehouse you're receiving into.
Here, we'll choose 3PL as our related warehouse. Select third party warehouse from the drop down menu. Click the accept button once you're finished.

Select your 3PL address
Once you've added your 3PL as a related warehouse and clicked the accept button, you'll be brought to the main receipt screen.
You'll notice that nothing seems to have changed. Not quite!
Click ship to, and click the blue drop down arrow.

You'll have a list of addresses to choose from. Select your 3PL address.
You've now told the system to receive those items into your 3PL warehouse. Save your transaction once done.

Issue your receipt
Once you're ready to receive the goods into your warehouse, issue your receipt.

I've issued my receipt, now what?
Once the receipt has been issued, you will get a notification letting you know that the purchase order associated to this receipt has been automatically completed - as long as the receipt was made for all units.
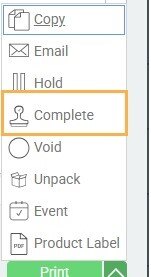
To have the inventory show up in your warehouse, complete the receipt.
Once completed check your inventory to verify the items have been properly received into the right location.
Go to the inventory module.

Search your items from the search bar, or scroll down the list view until you find the items you've received. Double click on the item to enter detail view.
Click the history tab at the top of the screen. Here, you can see the referenced transaction number, and that the inventory has been received into the third party warehouse.

What's next?
Want to know how to do inventory transfers into related warehouses? This article will be helpful: