![paragon logo-1.png]](https://support.paragon-erp.com/hs-fs/hubfs/paragon%20logo-1.png?width=240&height=75&name=paragon%20logo-1.png)
Introduction
Sometimes, you will want to link vendor invoice lines to specific GL expense accounts. This wiki will explain how to apply an expense account to the lines on a vendor invoice.
Custom attribute setup
Since this function works with a customized attribute, you'll first need to get ParagonERP to set up your custom expense accounts attribute. Please contact us at support@paragon-erp.com, and we will provide it for you.
Screen setup on vendor invoice
Before you have the option of accessing your expense accounts per line item on your vendor invoice, you'll want to set up the expense accounts attributes in the screen setup for vendor invoices.
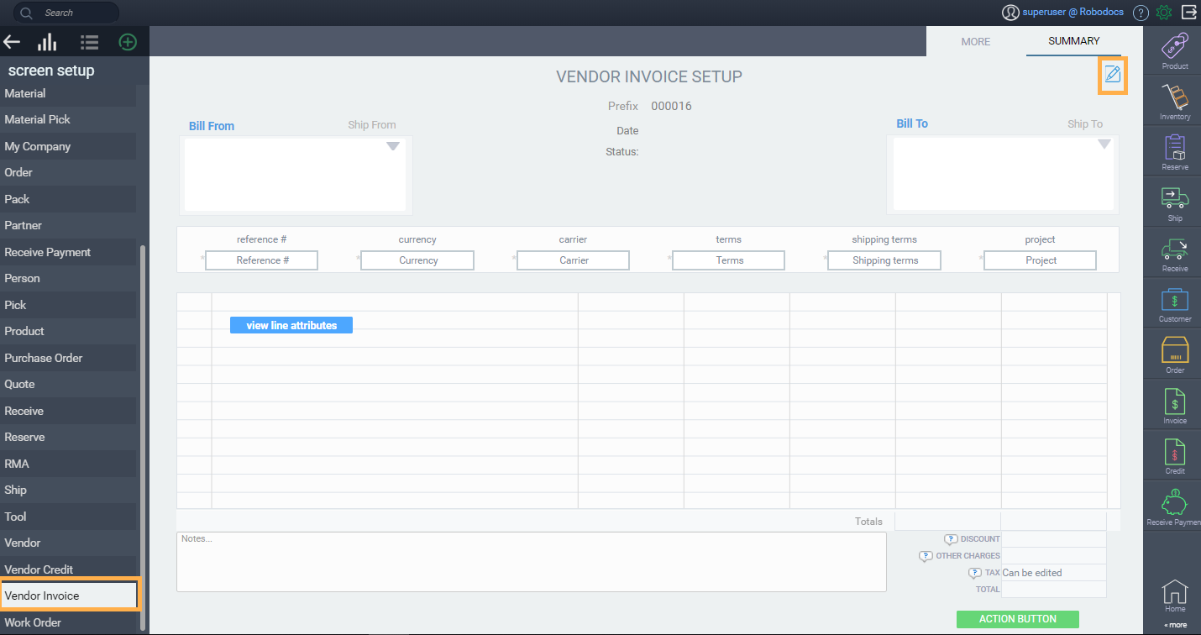
Make your way to the settings screen by clicking the settings button in the top right hand corner of the screen. From here, click screen setup.

Choose vendor invoice from the left side of the screen and click the edit button in the top right hand corner of the screen.
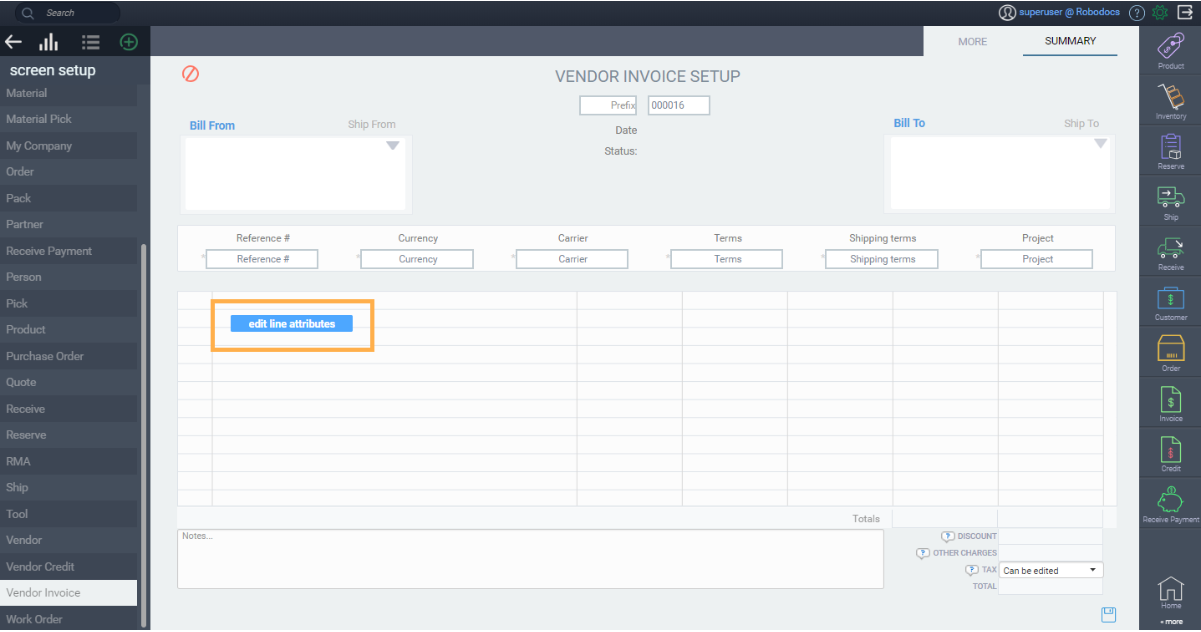
Click edit line attributes.
From here, click the add new button at the bottom left hand corner of the modal, and start to type in your attribute in the field that pops up. Choose whether you would like this attribute to always show, to be mandatory, and/or to disallow multiple.
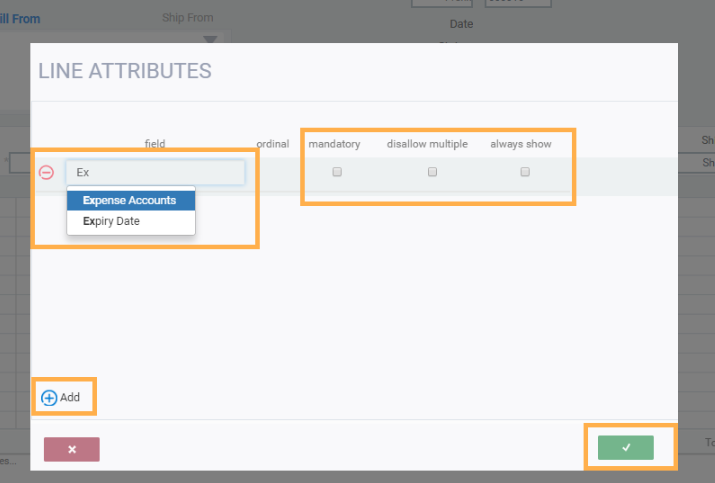
Once you're done adding your attribute, click the save button.
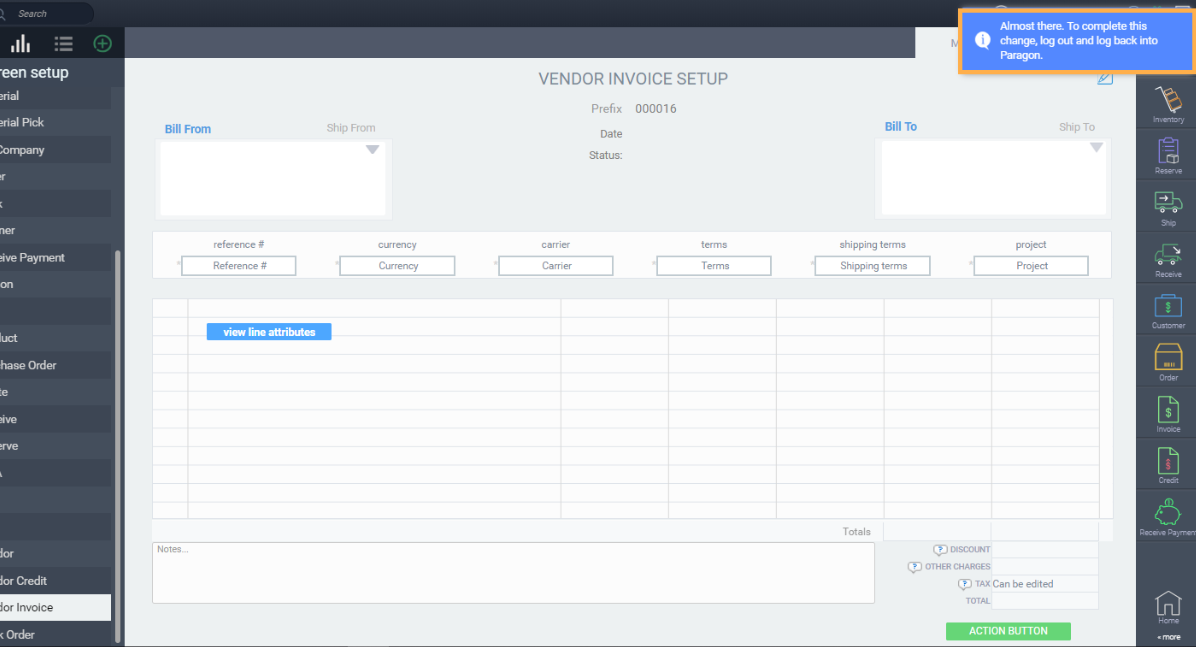
You will see a notification advising you to log out and back in before proceeding.
Expense accounts on vendor invoice
Now, you're ready to issue your vendor invoices and choose which line items affect different expense accounts.
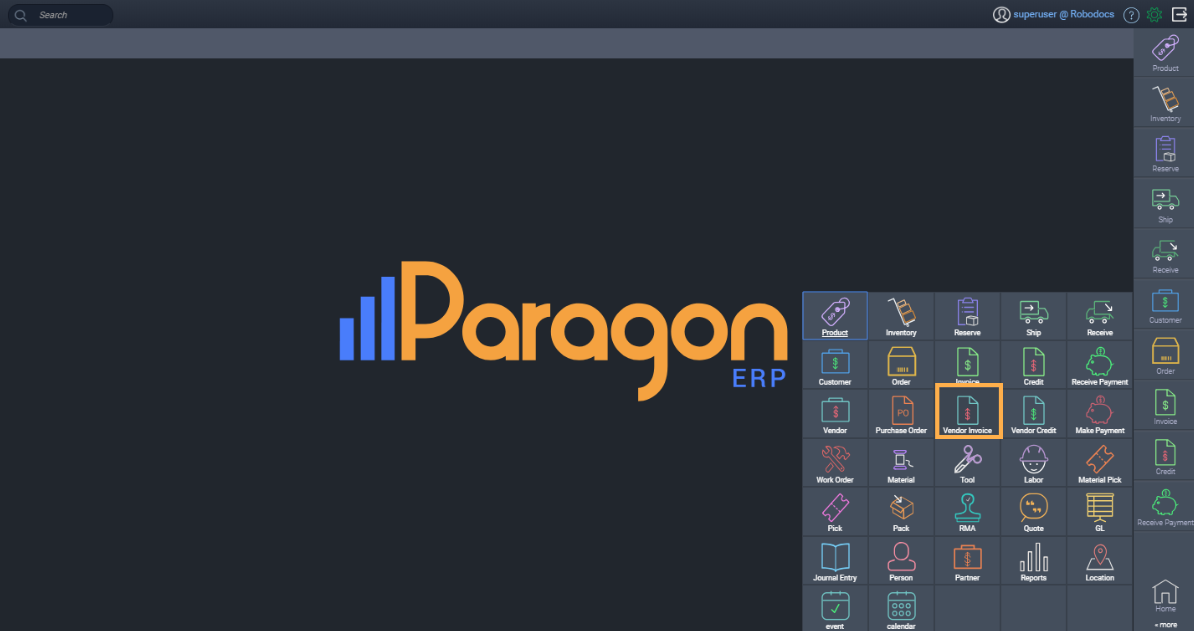
First, create a vendor invoice.
Once you've added your line items, you can right click on a line item, and edit line attributes.
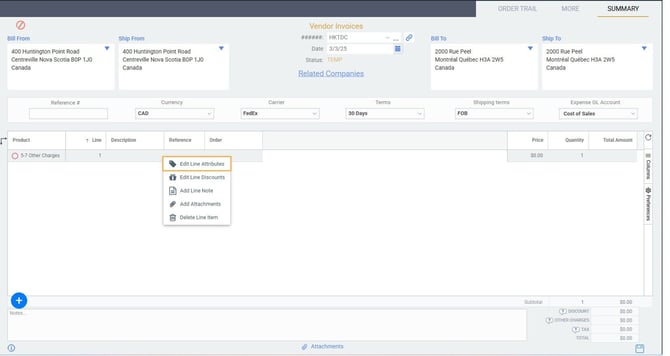
A modal will pop up, and you'll be prompted to choose which attributes to add to the line. Your expense account attribute can be selected to determine which accounts are to be affected by each invoice line.
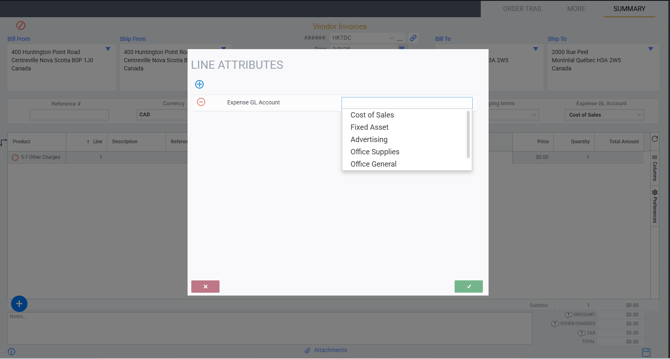
Once you've chosen the right expense account, click the accept button. You'll know that an attribute/expense account has been successfully added to the line when you see a blue triangle on the left hand side of the item line.

Once you're done adding all expense accounts to your line items, save your changes.

Now, issue your vendor invoice.

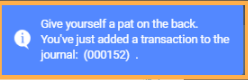
Once issued, a notification will pop up letting you know that you've added a posting to journal entries.
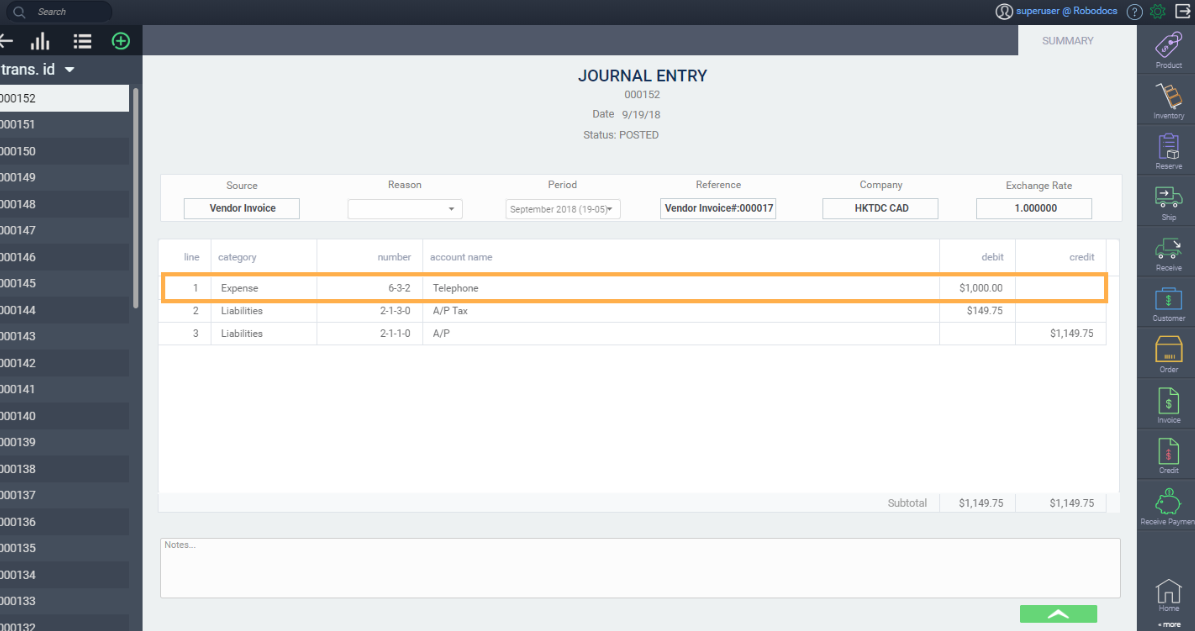
View journal entries
You can view your journal posting by navigating to the journal entry module from the more tab at the bottom right hand corner of the screen. Look for the journal entry number that was listed in the notification. Here, you can see that the expense that we chose is now mapped and posted as a new journal entry.
What's next?
If you need help to set up GL accounts, refer to these articles: