![paragon logo-1.png]](https://support.paragon-erp.com/hs-fs/hubfs/paragon%20logo-1.png?width=240&height=75&name=paragon%20logo-1.png)
Introduction
Process description:
Discounts are useful for offering your customers reduced pricing on their purchases. For example, a discount can be used to reward your customers for prompt or advance payment, or to assign a special price on specific products or for a bulk purchase. It can be very difficult to assign and especially maintain the proper discounts for each customer. ParagonERP helps to make this process easier and more efficient.
In addition to setting up customer discounts, you can also set up vendor discounts for when your vendor agrees to reduce the prices being charged to you.
Step-by-step instructions
-
Step 1: Create your discount attribute
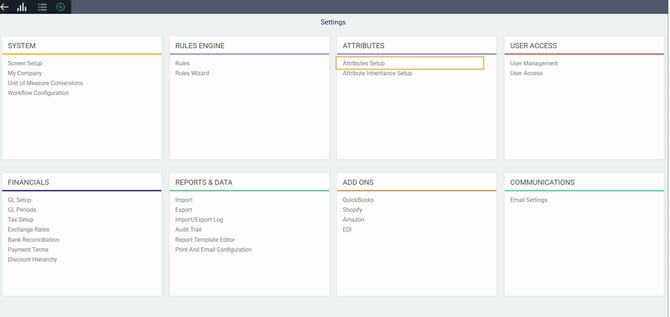
From any screen, click the settings button at the top right corner. Go to the attributes card and click attributes setup.

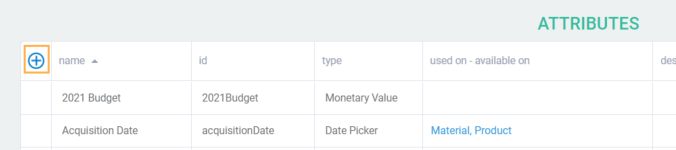
Click the add new attribute button.
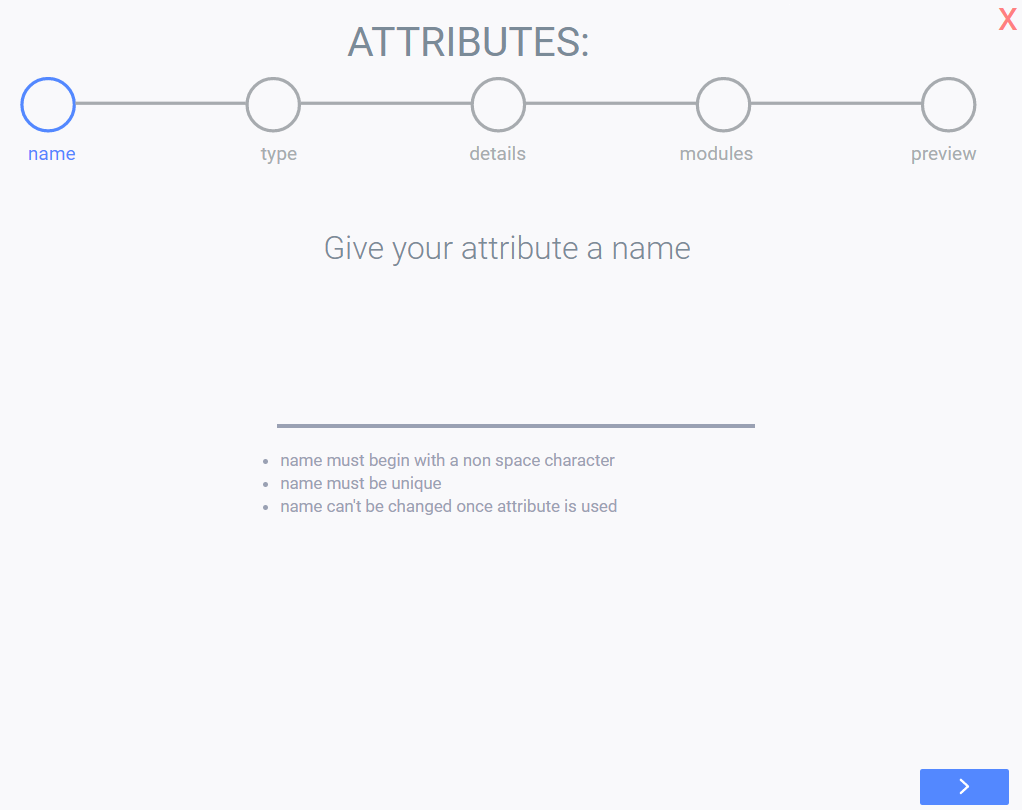
Enter the name of your discount and click next to select the attribute type.
Monetary value discount
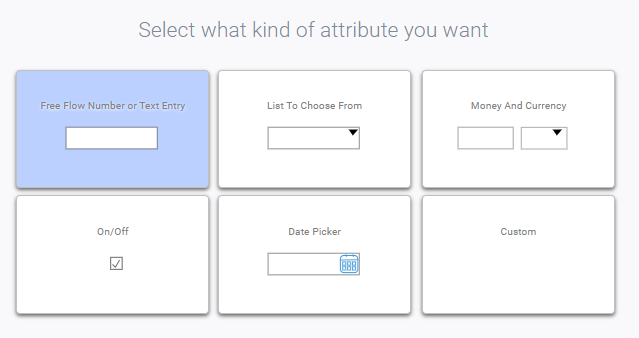
Discount attributes must be saved as money and currency if they represent dollar values
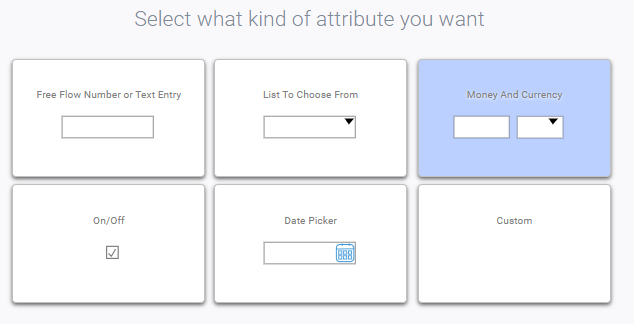
Percentage discount
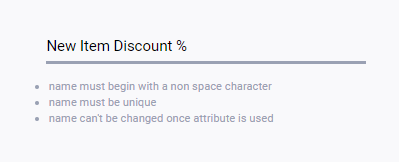
Percentage discount attributes must be saved as free flow numbers.
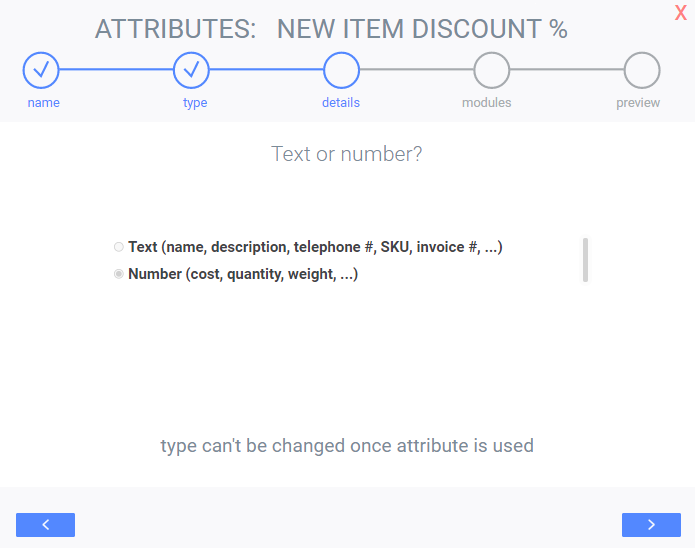
Click the next button to set decimals and a default value for your discount.
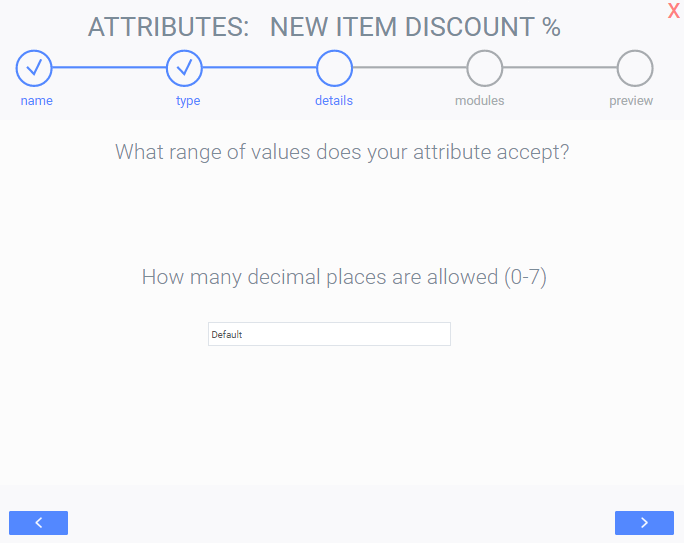
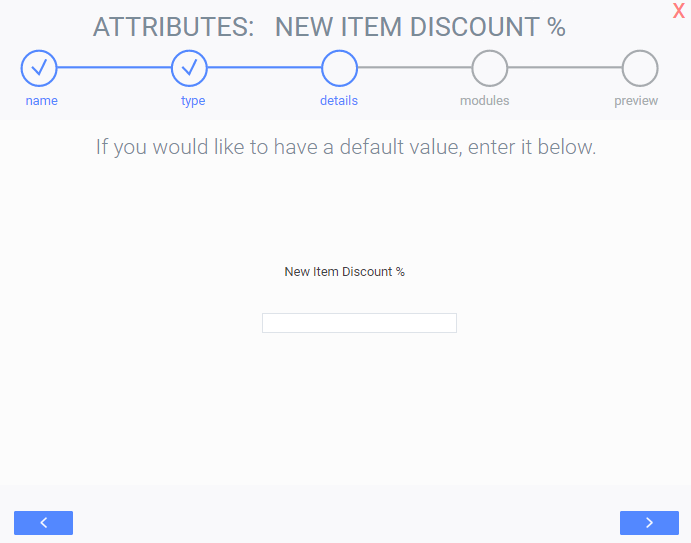
Click save changes.
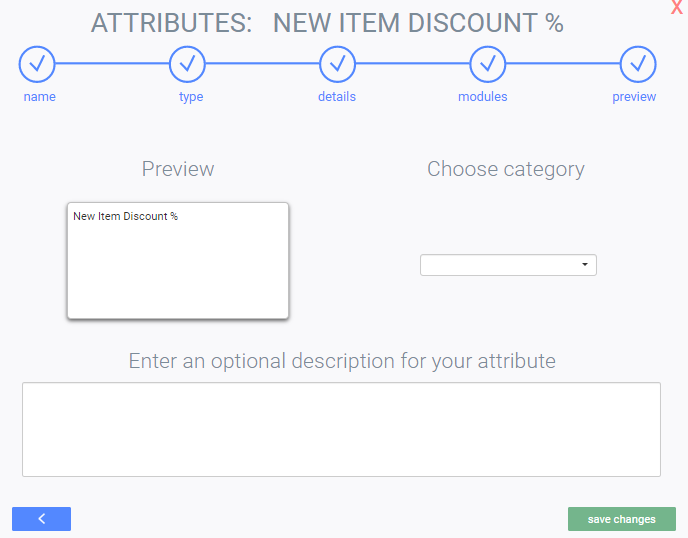
-
Step 2: Add your discount to screen setup
From any screen, click the settings button at the top right corner and go to the system card and click screen setup.
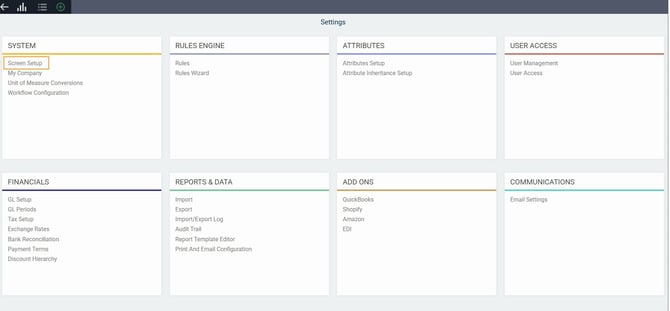
Select the transaction screen that you want to add your discount to. In this example we will be using the order module.
Click the edit button
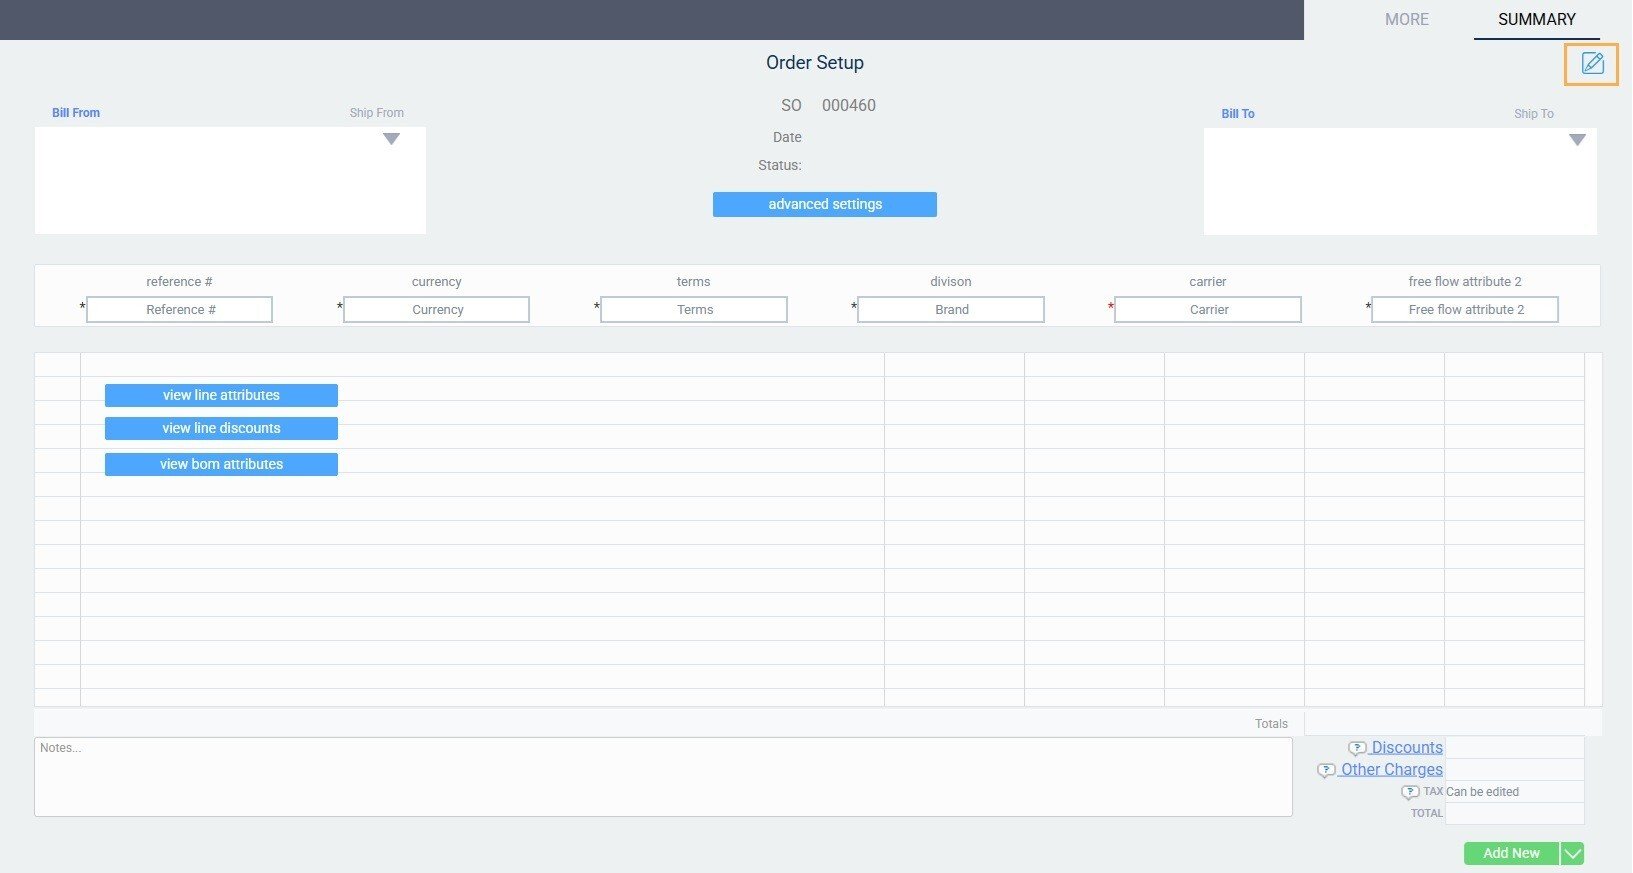
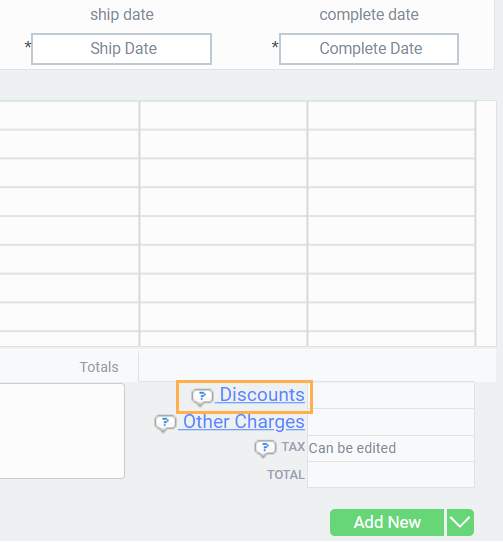
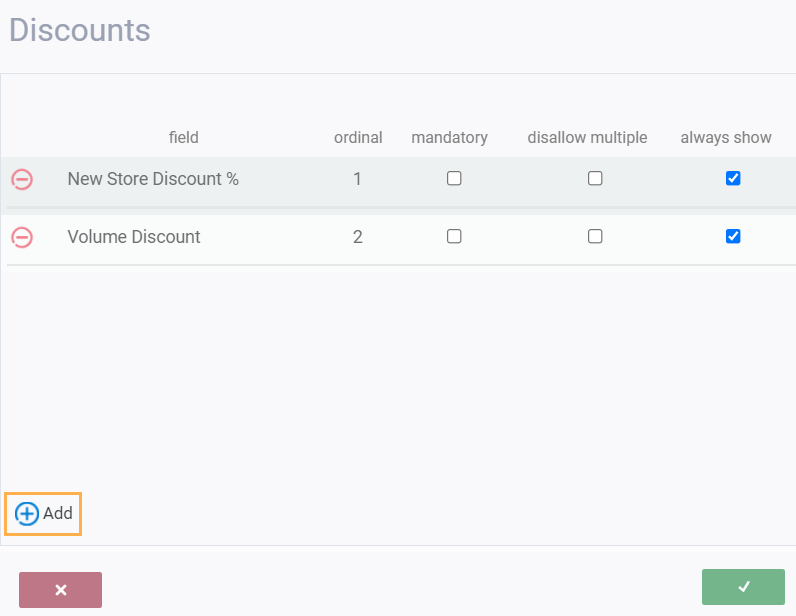
Once the discount modal is open, click the add discounts button.
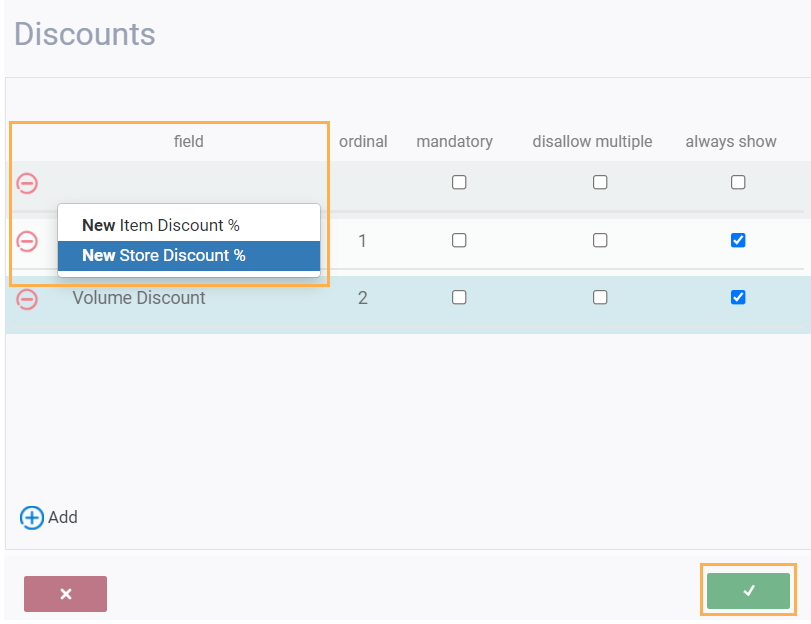
Select your discount attribute from the drop down list and click the accept button.
You will then return to the screen setup page for the order module.
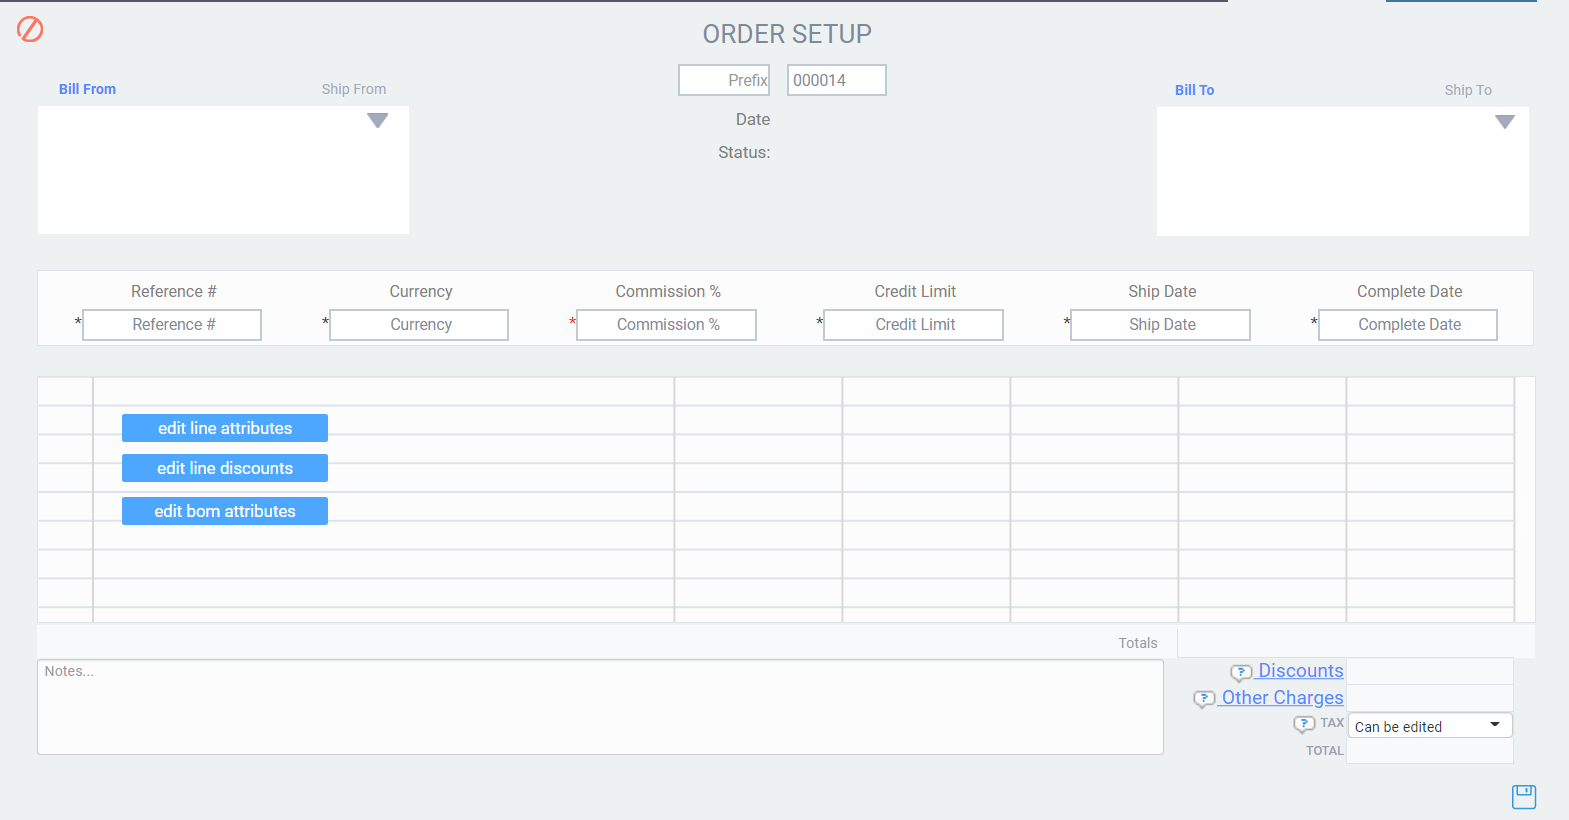
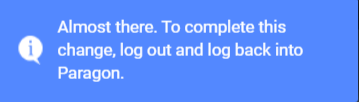
Click the save button. You will receive a message to prompt you to log out and back in, for your changes to be activated.
To apply a discount to individual transaction lines and not to the entire transaction, click the edit line discount button and follow the steps described above.
What's next?
Now that you have created your discounts, take a look at how to use them in a transaction.