![paragon logo-1.png]](https://support.paragon-erp.com/hs-fs/hubfs/paragon%20logo-1.png?width=240&height=75&name=paragon%20logo-1.png)
Introduction
Here we will walk you through how to create discount attributes and configure them in screen setup.
Create your discount
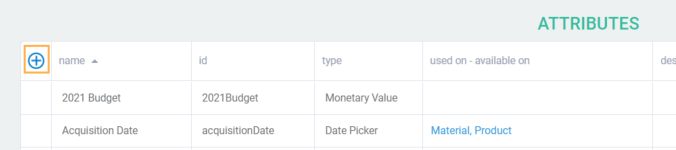
From any screen, click the settings button at the top right corner. Go to the attributes card and click attributes setup.


Click the add new attribute button.
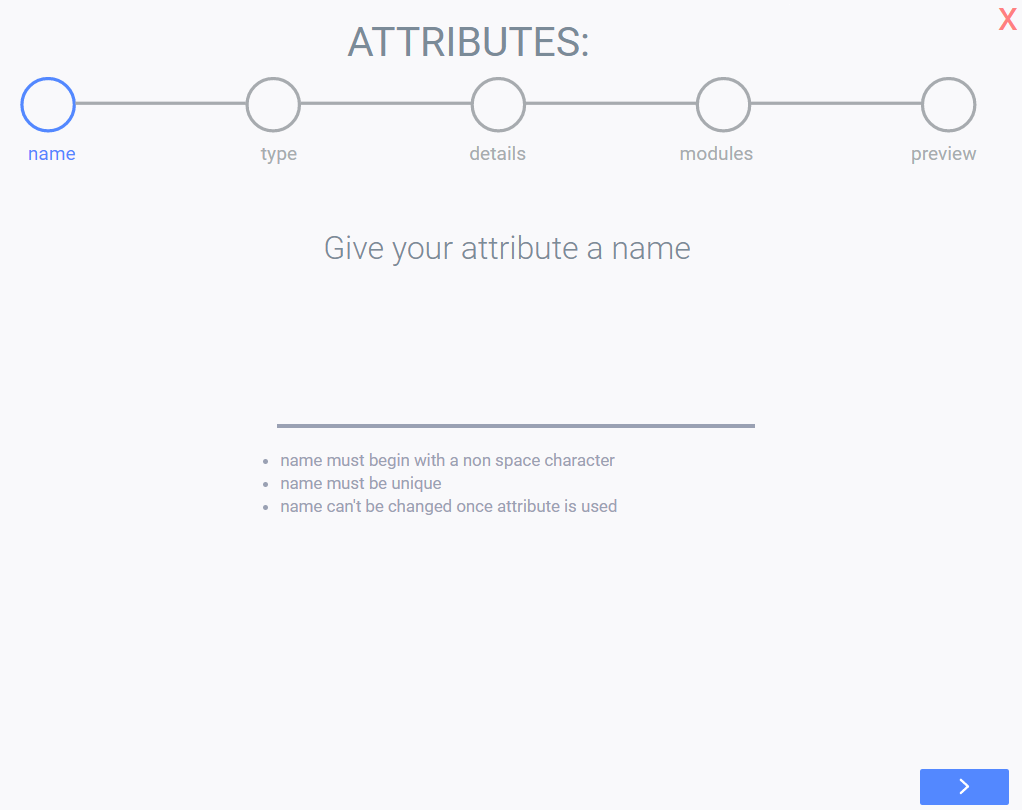
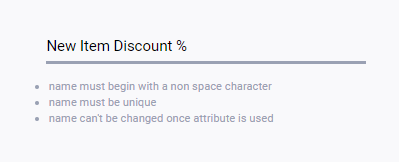
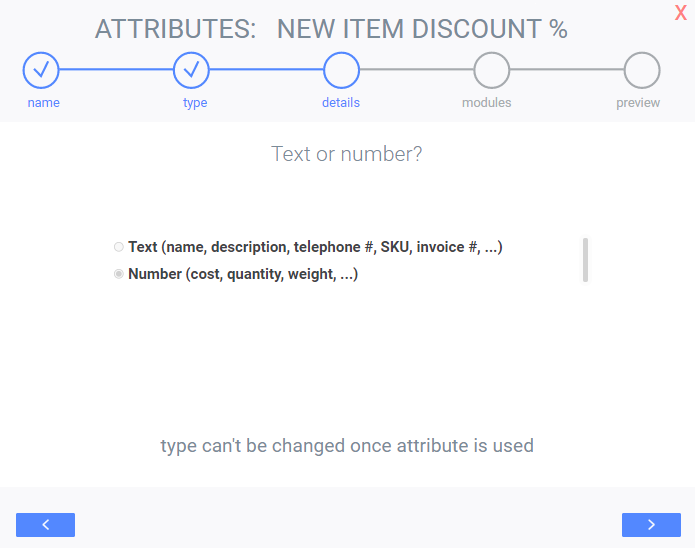
Enter the name of your discount and click next to select the attribute type.
Monetary value discount
Discount attributes must be saved as money and currency if they represent dollar values
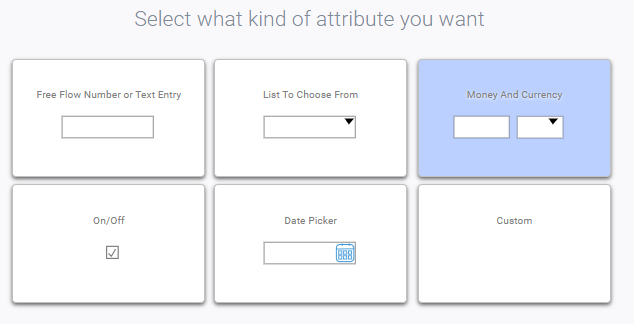
Percentage discount
Percentage discount attributes must be saved as free flow numbers.

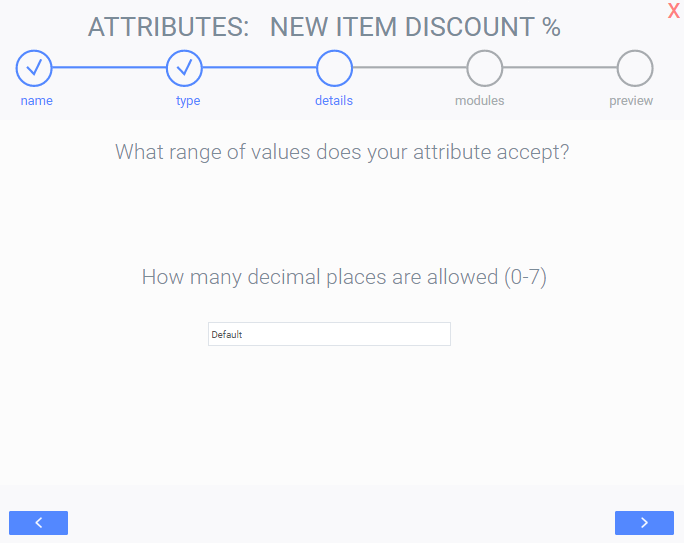
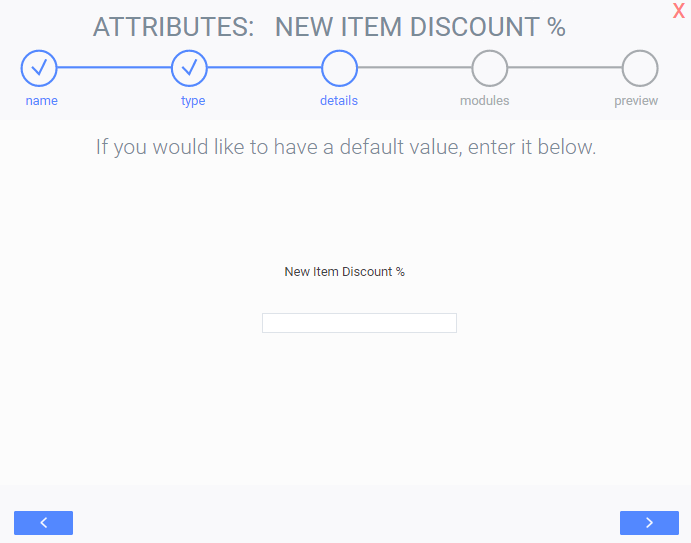
Click the next button to set decimals and a default value for your discount.
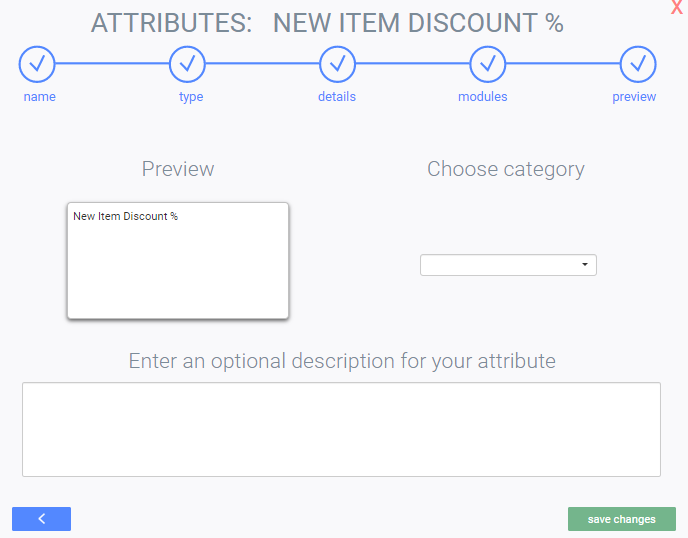
Click save changes.
Add your discount to screen setup
From any screen, click the settings button at the top right corner and go to the system card and click screen setup.

Select the transaction screen that you want to add your discount to. In this example we will be using the order module.
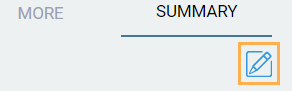
Click the edit button
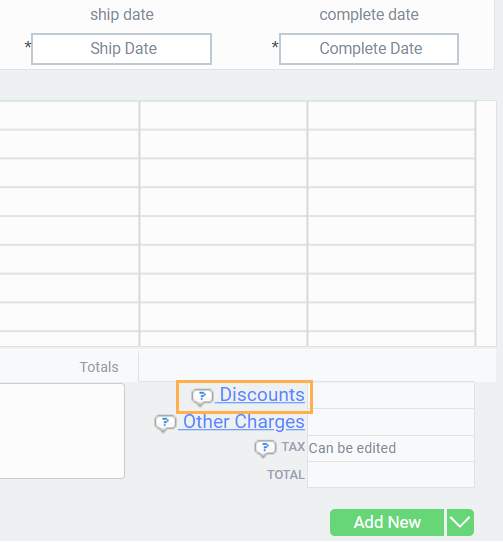
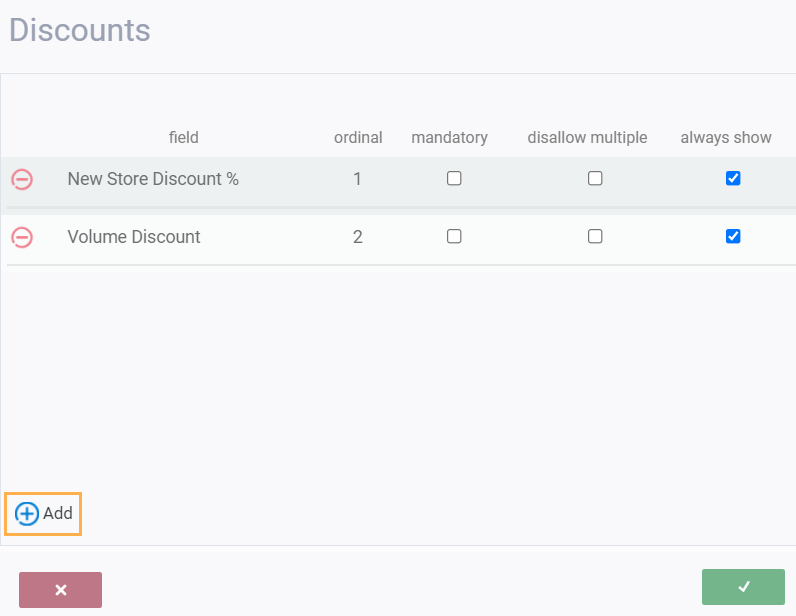
Once the discount modal is open, click the add discounts button.
Select your discount attribute from the drop down list and click the accept button.
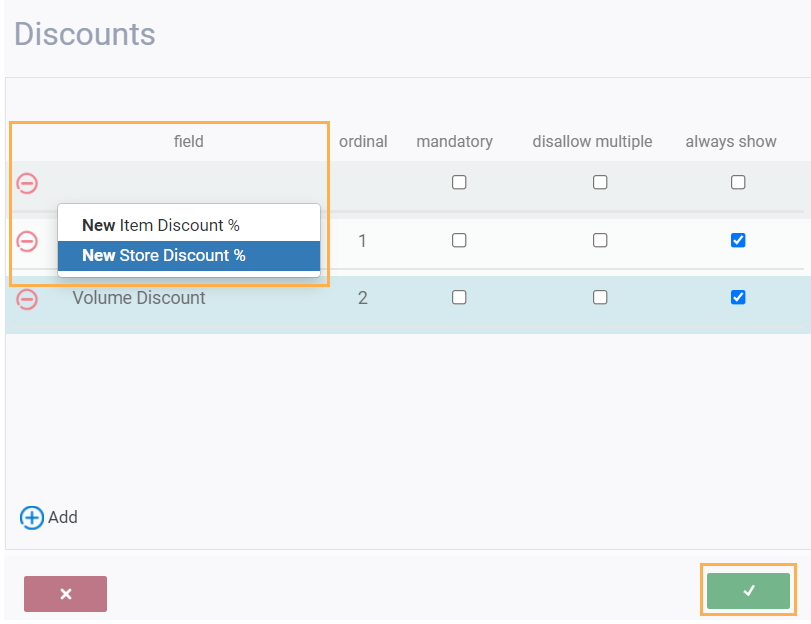
You will then be taken back to the screen setup page for the order module.
Click the save button. You will receive a message to prompt you to log out and back in, for your changes to be activated.

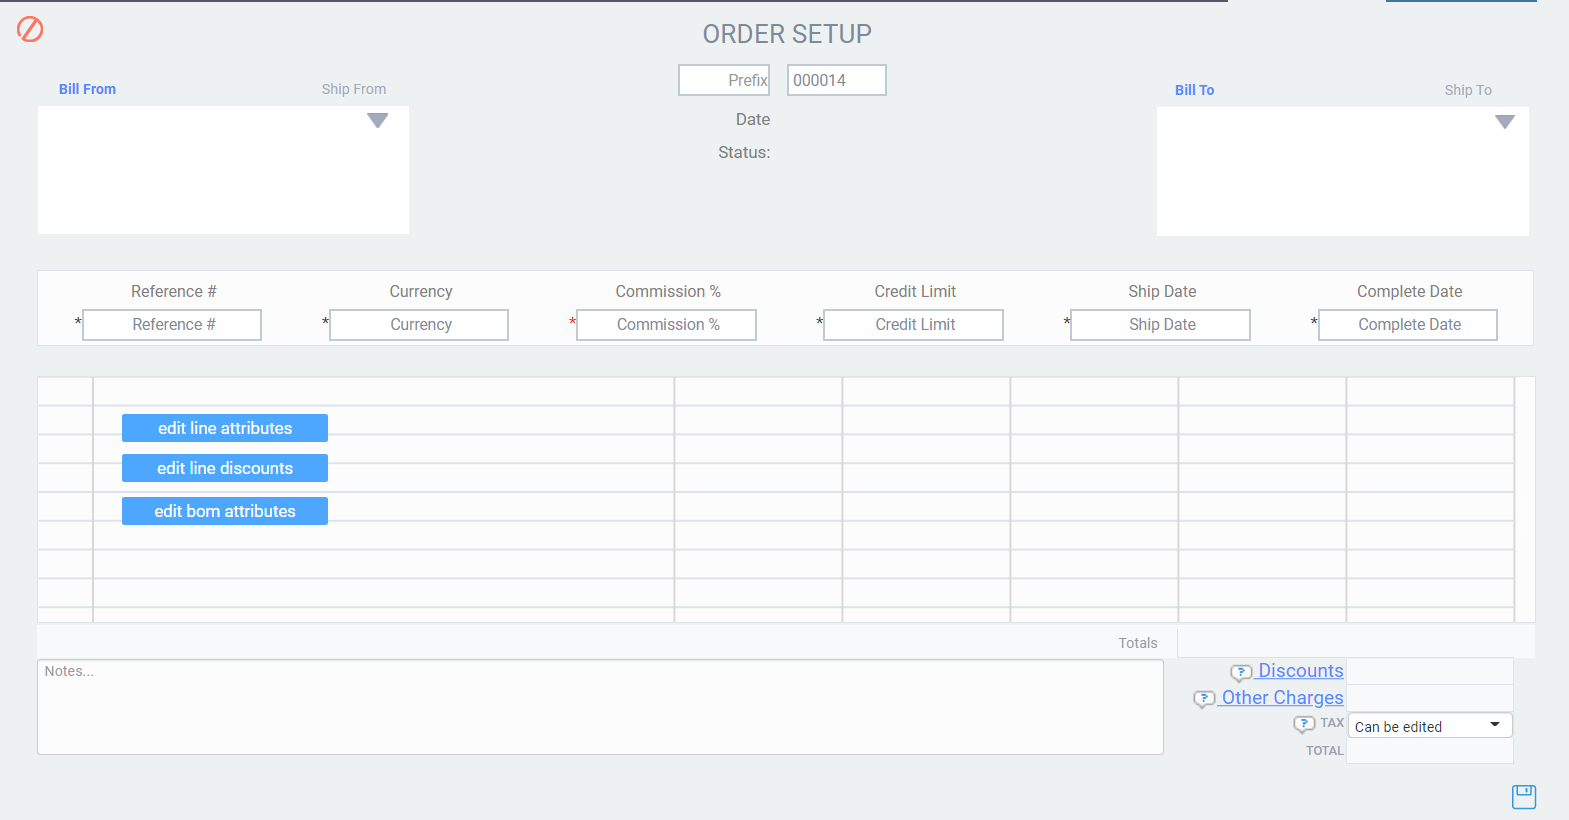
To apply a discount to individual transaction lines and not to the entire transaction, click the edit line discount button and follow the steps described above.
What's next?
Now that you have created your discounts, take a look at how to use them in a transaction.