![paragon logo-1.png]](https://support.paragon-erp.com/hs-fs/hubfs/paragon%20logo-1.png?width=240&height=75&name=paragon%20logo-1.png)
Introduction
Go to the GL module
You can access the GL module by clicking the more button at the bottom right corner of the screen and then click the GL button.

Create a new GL account
You will be brought to the GL module, which shows the list and structure of accounts that are currently set up.
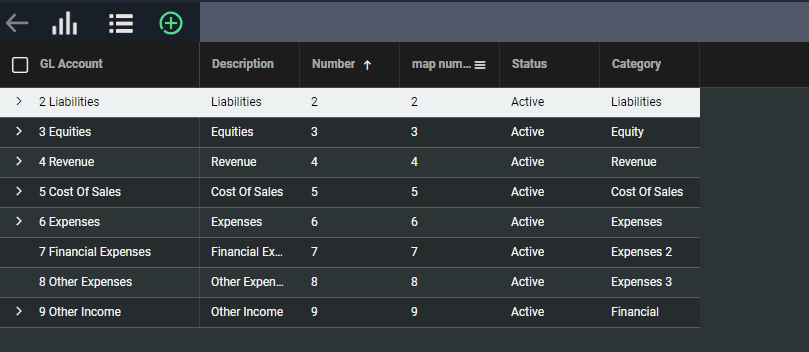
The default accounts that are set up in ParagonERP upon installation include (among others):
- 1 Assets
- 2 Liabilities
- 3 Equity
- 4 Revenue
- 5 Cost of sales
- 6 Expenses
- 7 Expenses 2
- 8 Expenses 3
- 9 Financial
Click the create new GL account button at the top left-hand corner.

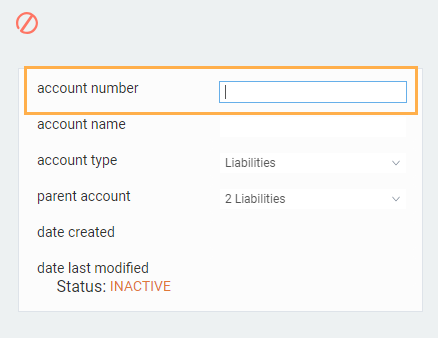
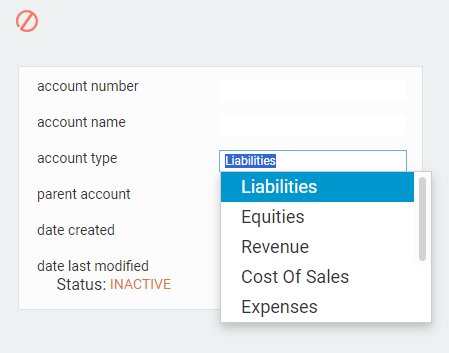
The following screen will appear. On this screen, you need to fill out the account name, account number, account type and reporting group.

Creating a sub-account
If you want to create a new sub-account from an existing account, select the desired parent account in the list view and click the create new button. For example, if you want to create a new GL bank account called chequing and you want the parent account to be bank select the bank record in the GL list and click the create new button. The resulting new GL sub-account will, by default, be created under that selected parent account.

Fill out the required information
To fill out the account number, click on the field. In Paragon, you can choose to number your accounts using any format you desire (ex: 1.0.0.0, 1000, 1-0-0-0).
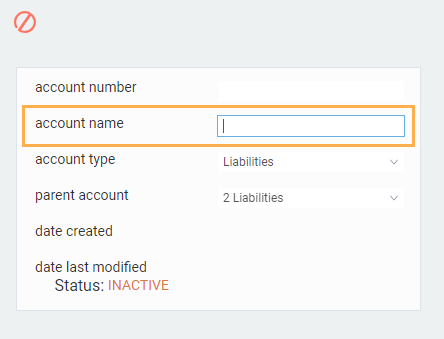
To fill out the account name, click on the field.
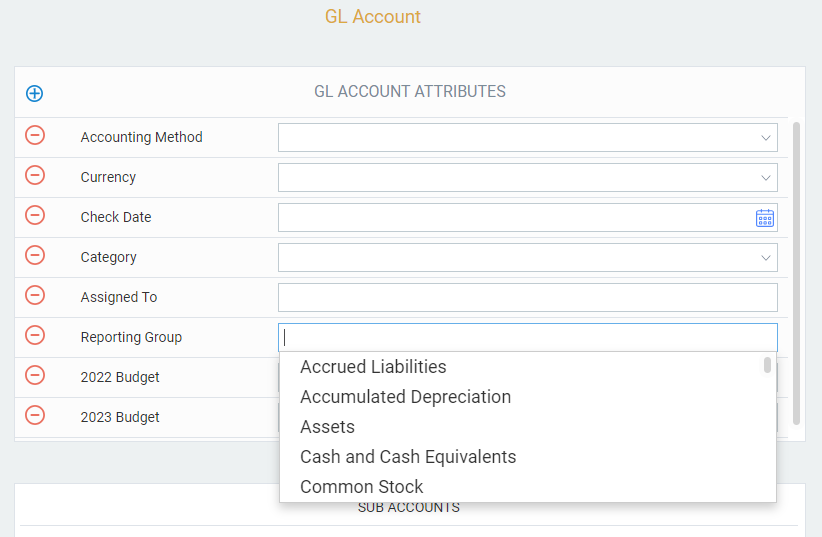
Reporting groups specify how the standard Financial Statements are laid out. Paragon comes with a list of default reporting groups. Additional reporting groups can be added to the list if desired, but this must be done before activating the GL accounts.
Save and activate the GL account
When you are ready to create this new GL account, click the save button at the bottom right-hand corner.

You can cancel at any time before saving by clicking the cancel button at the top left-hand corner. If you cancel, your GL account will not be created.

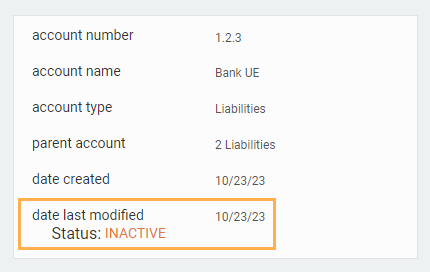
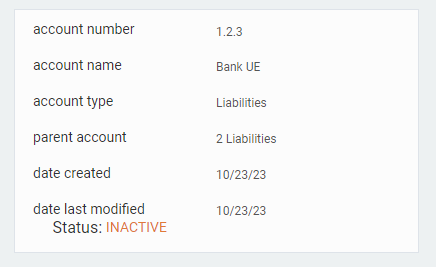
When you click save, the account will be created as inactive.

Once an account is created it cannot be deleted. If there are accounts that you do not wish to use, they can be deactivated so that there's no risk of them showing up in your journal entries.
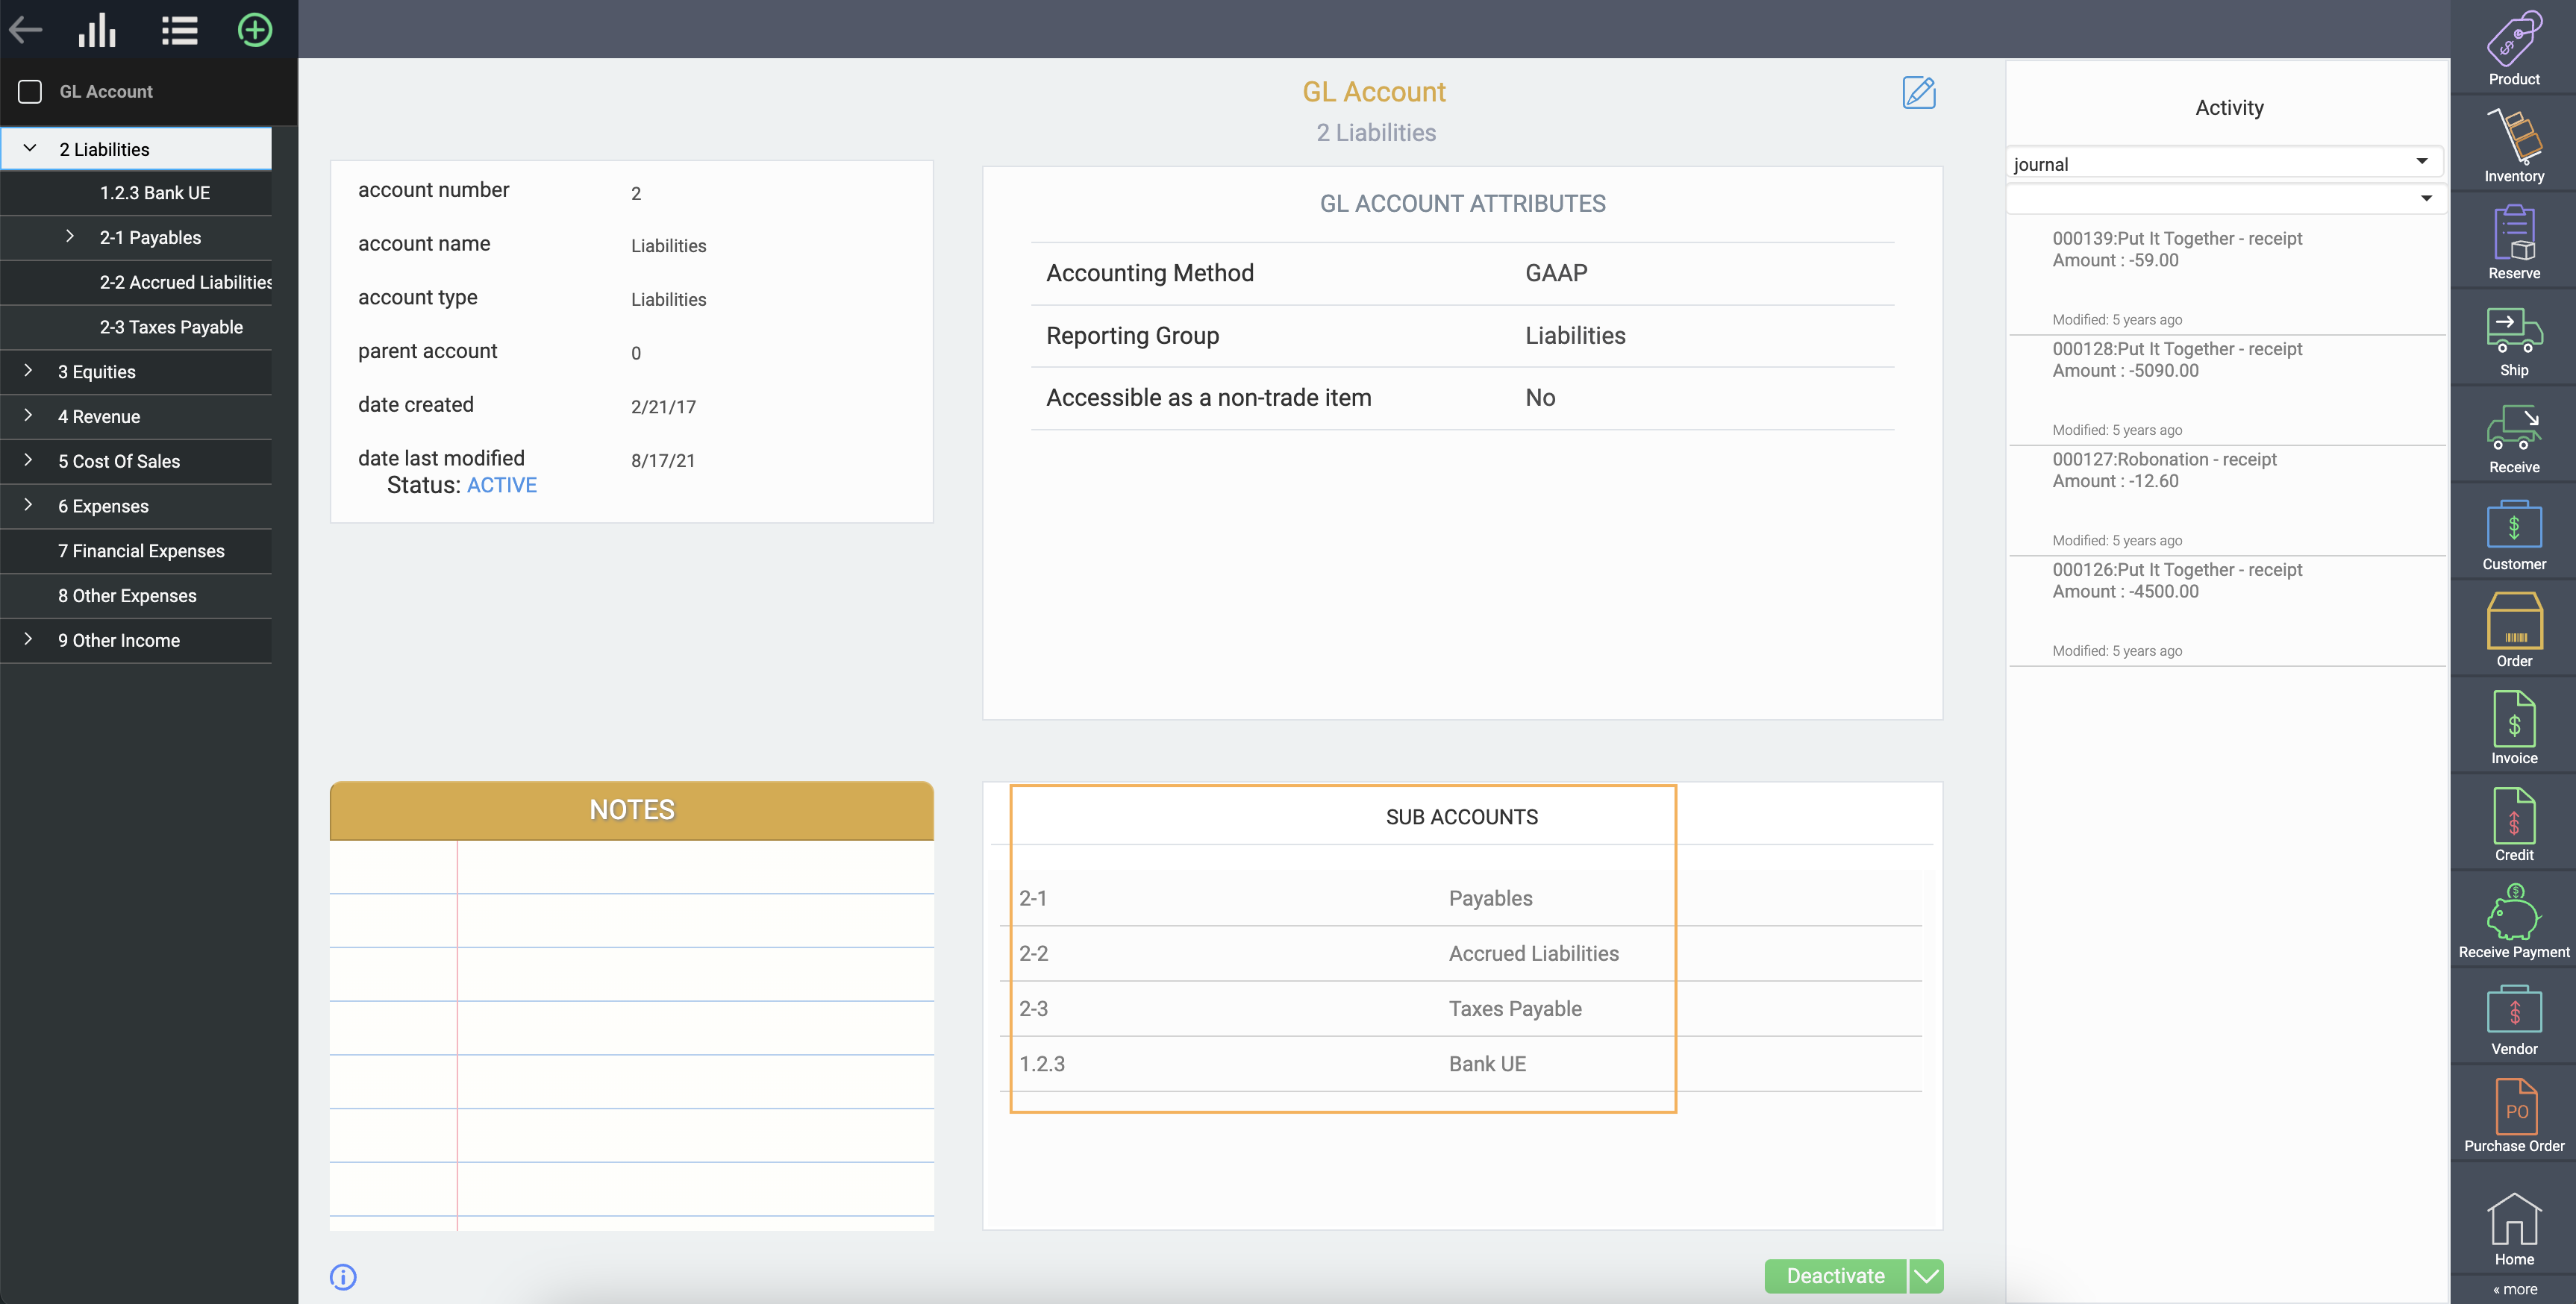
Verify the parent account
If you take a look at the parent account, you'll notice that the newly created account as well as all other sub-accounts previously created are indicated under the heading sub-accounts.
Deactivate GL account

What's next?
Now that you know how to create GL accounts, learn how to link your GL account to transactions. You may also be interested in some financial reports and outputs: