![paragon logo-1.png]](https://support.paragon-erp.com/hs-fs/hubfs/paragon%20logo-1.png?width=240&height=75&name=paragon%20logo-1.png)
Introduction
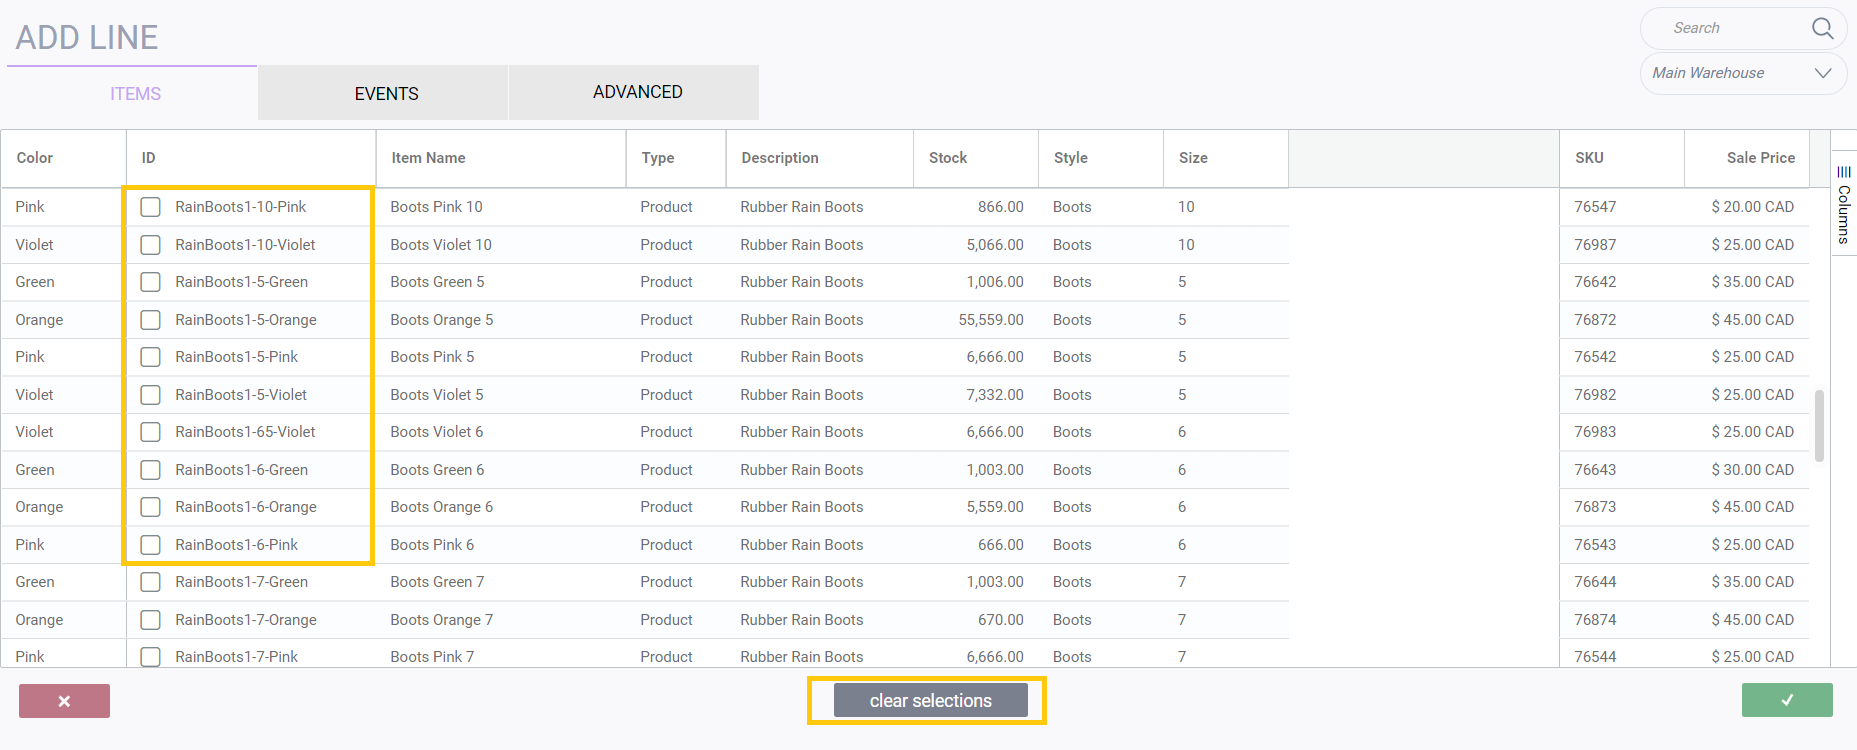
ParagonERPs grouping grid is an integral part of how users interact with the system. You will find it in multiple places - one of which is whenever you add an item. Its purpose is to help you group products based on certain criteria or attributes.
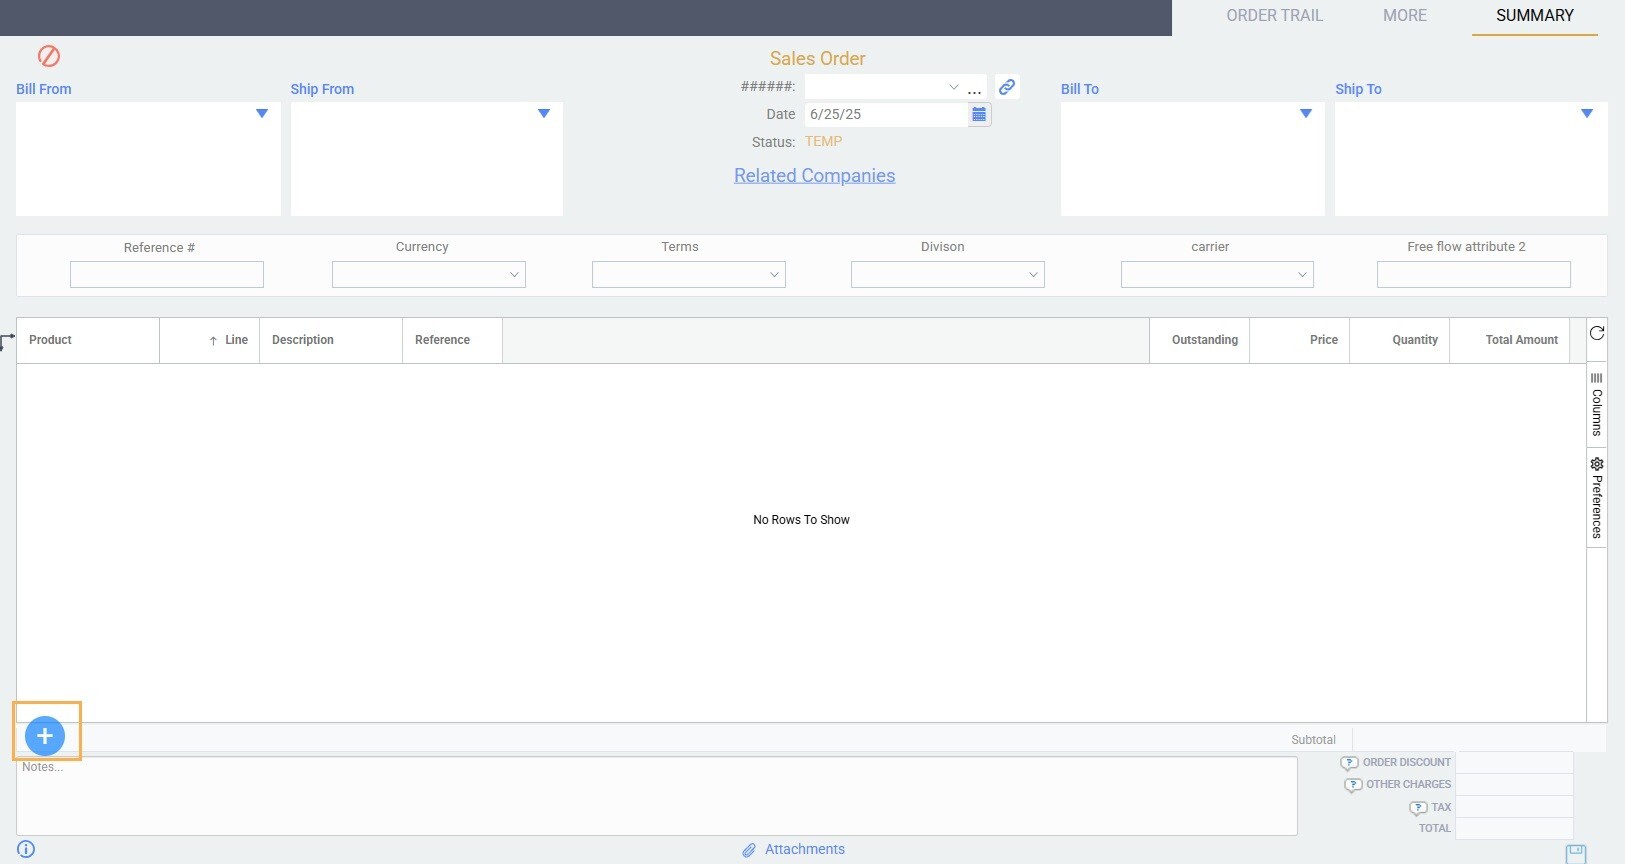
Add new line item
In ParagonERP, any time you are creating or modifying a transaction you will find the new item modal by clicking the add a new line item button.
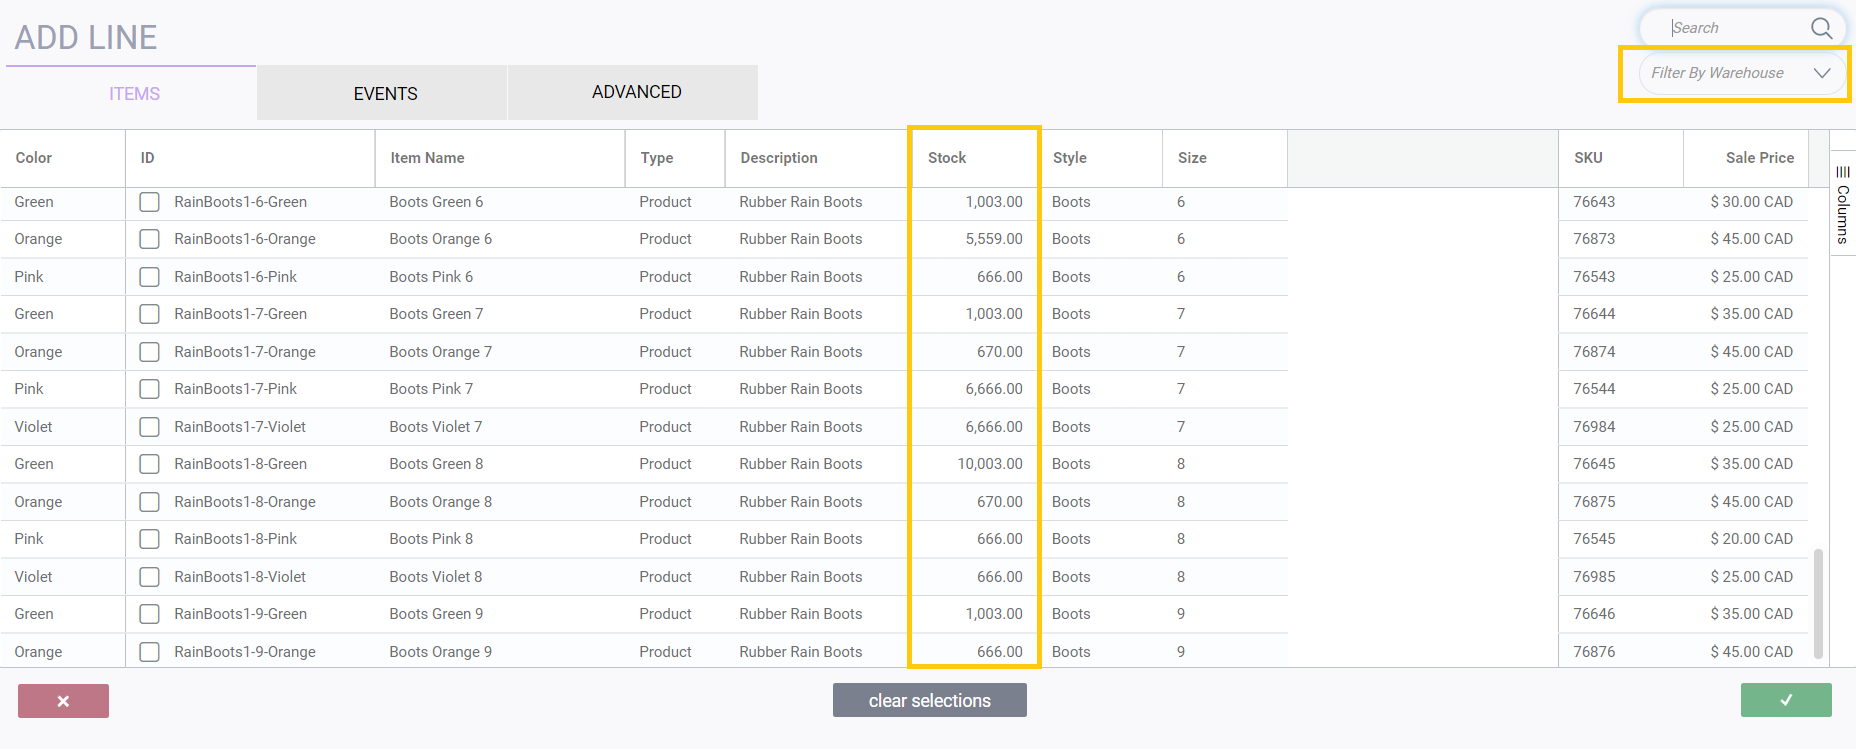
Doing this will open a modal where you will see all the products you have in Paragon.
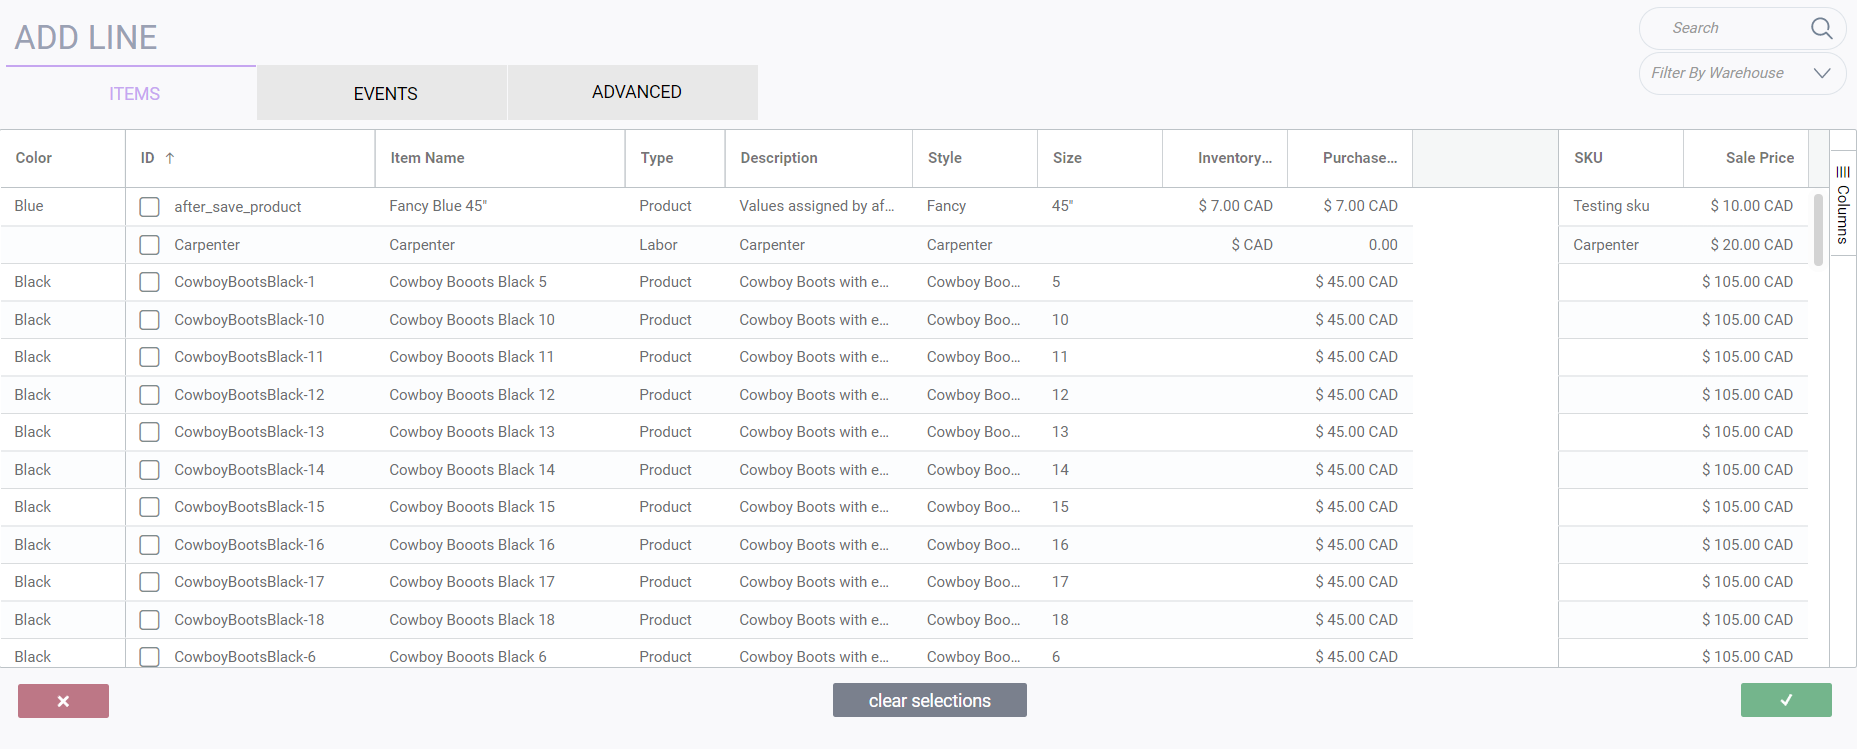
From here we have multiple ways to find the products we need for the transaction being made.
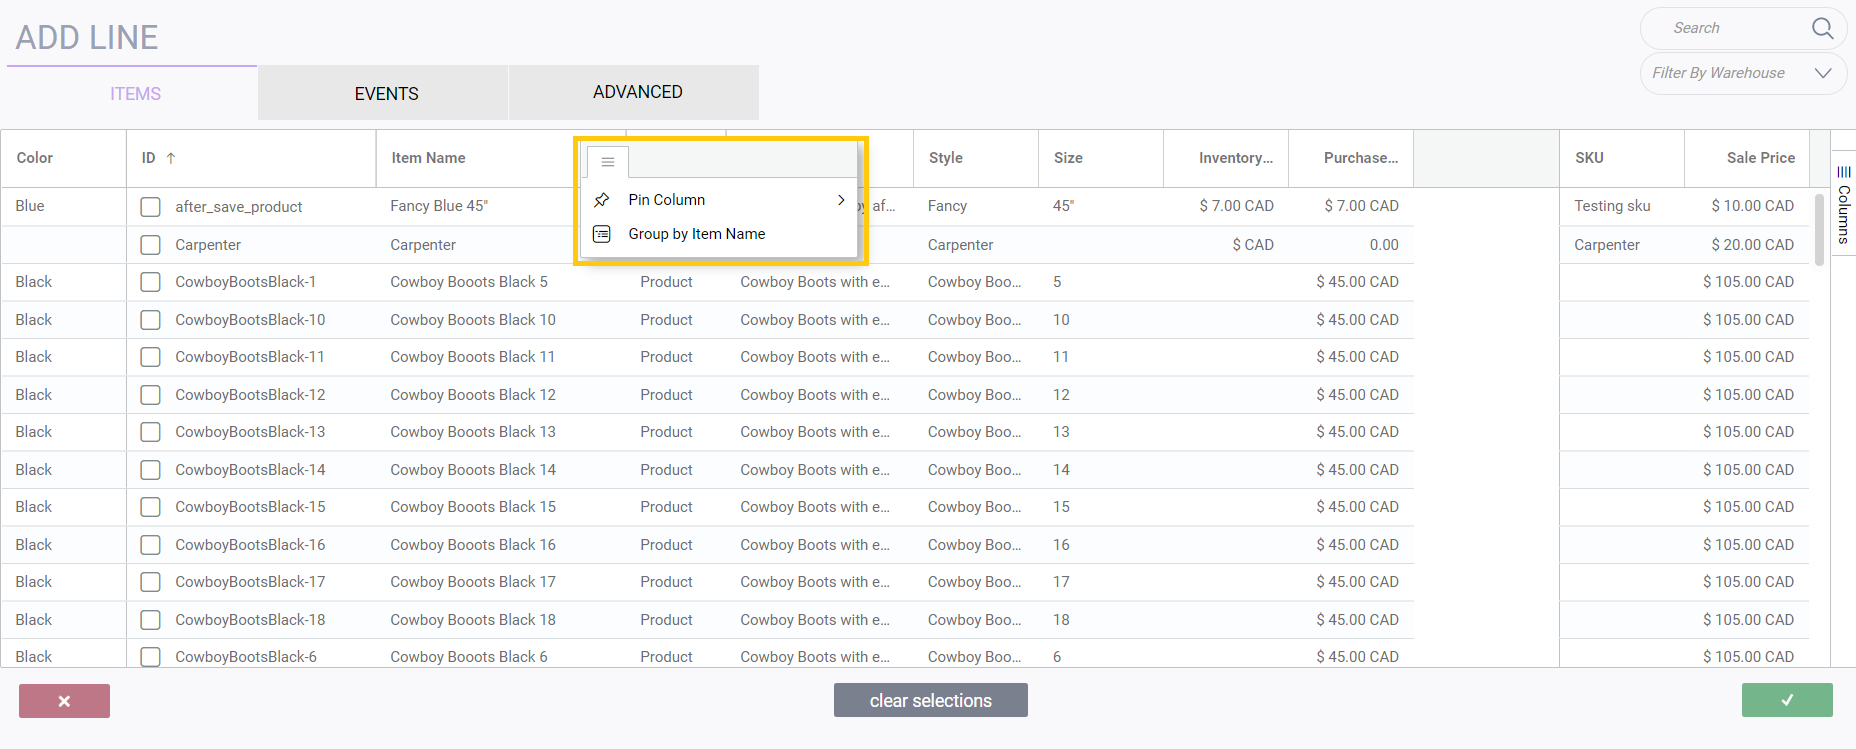
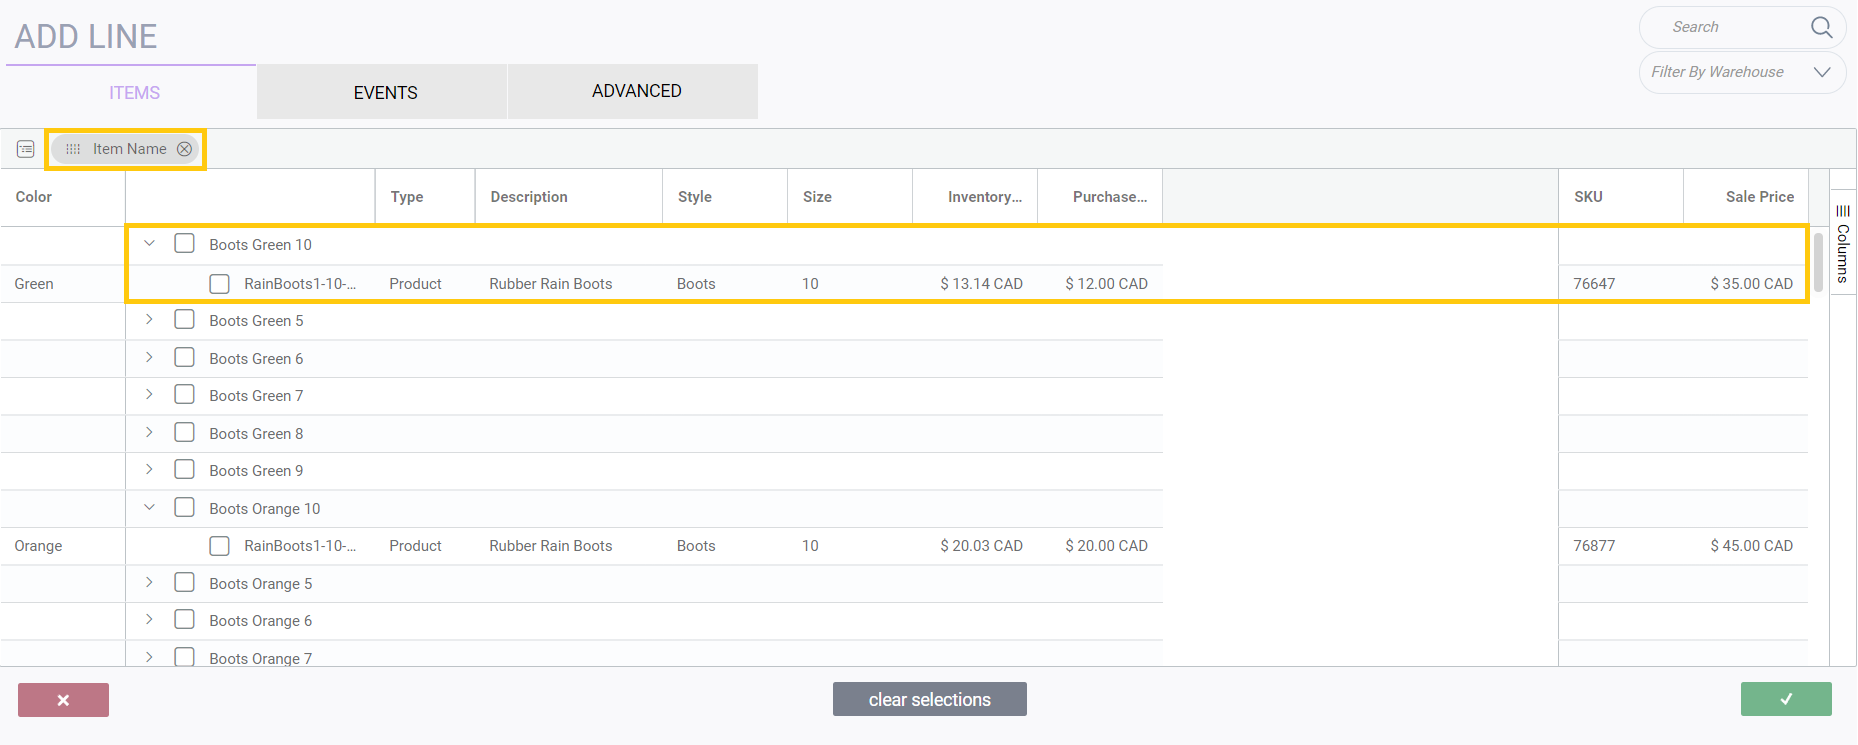
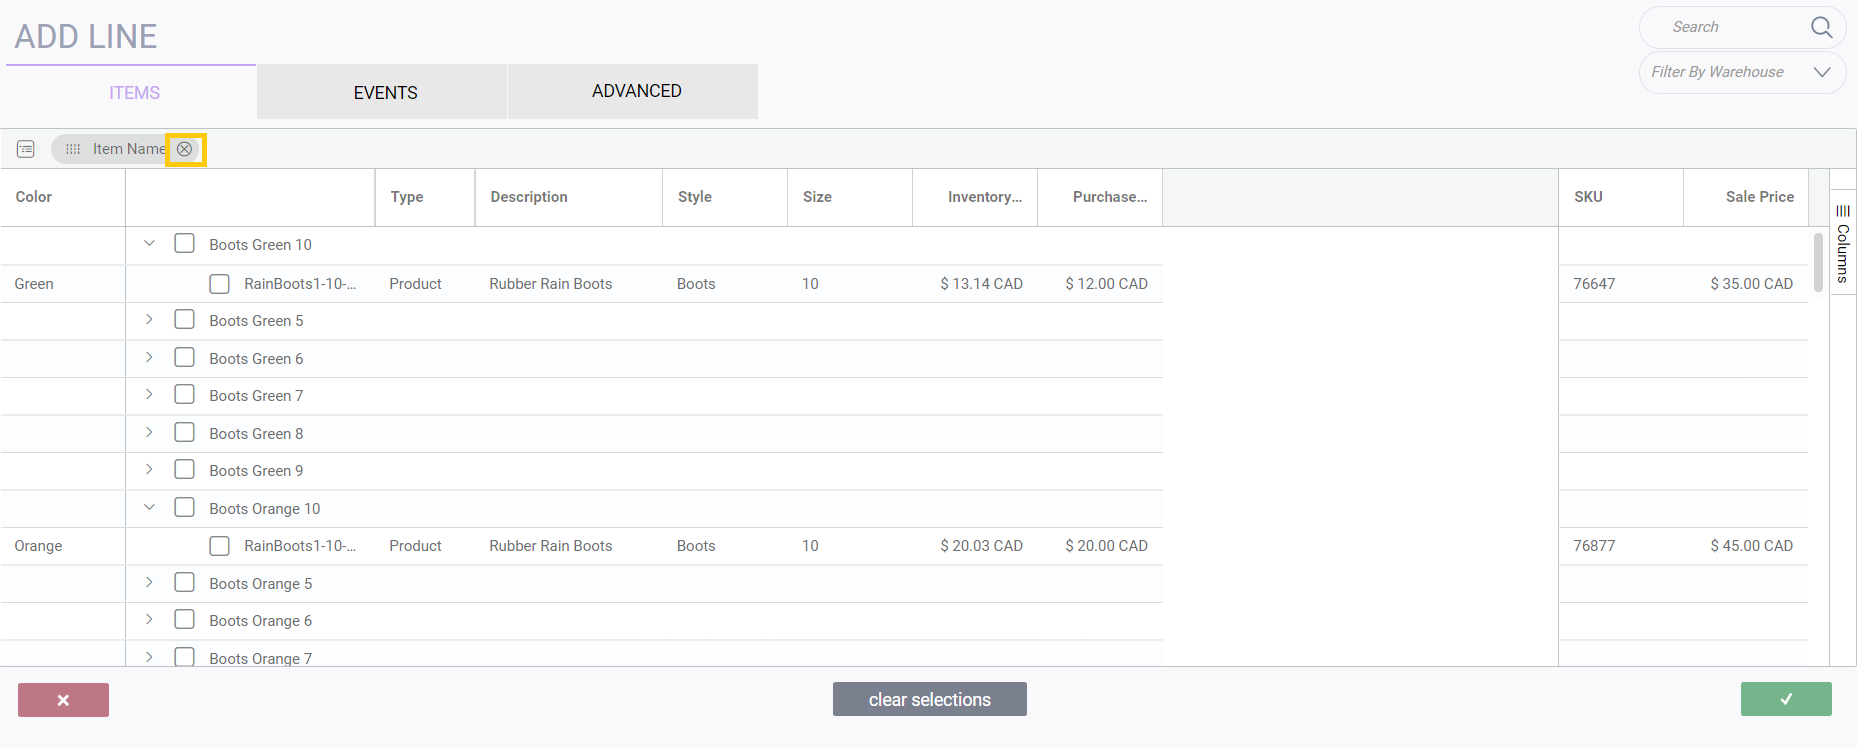
Grouping by column
Changing columns in the grid
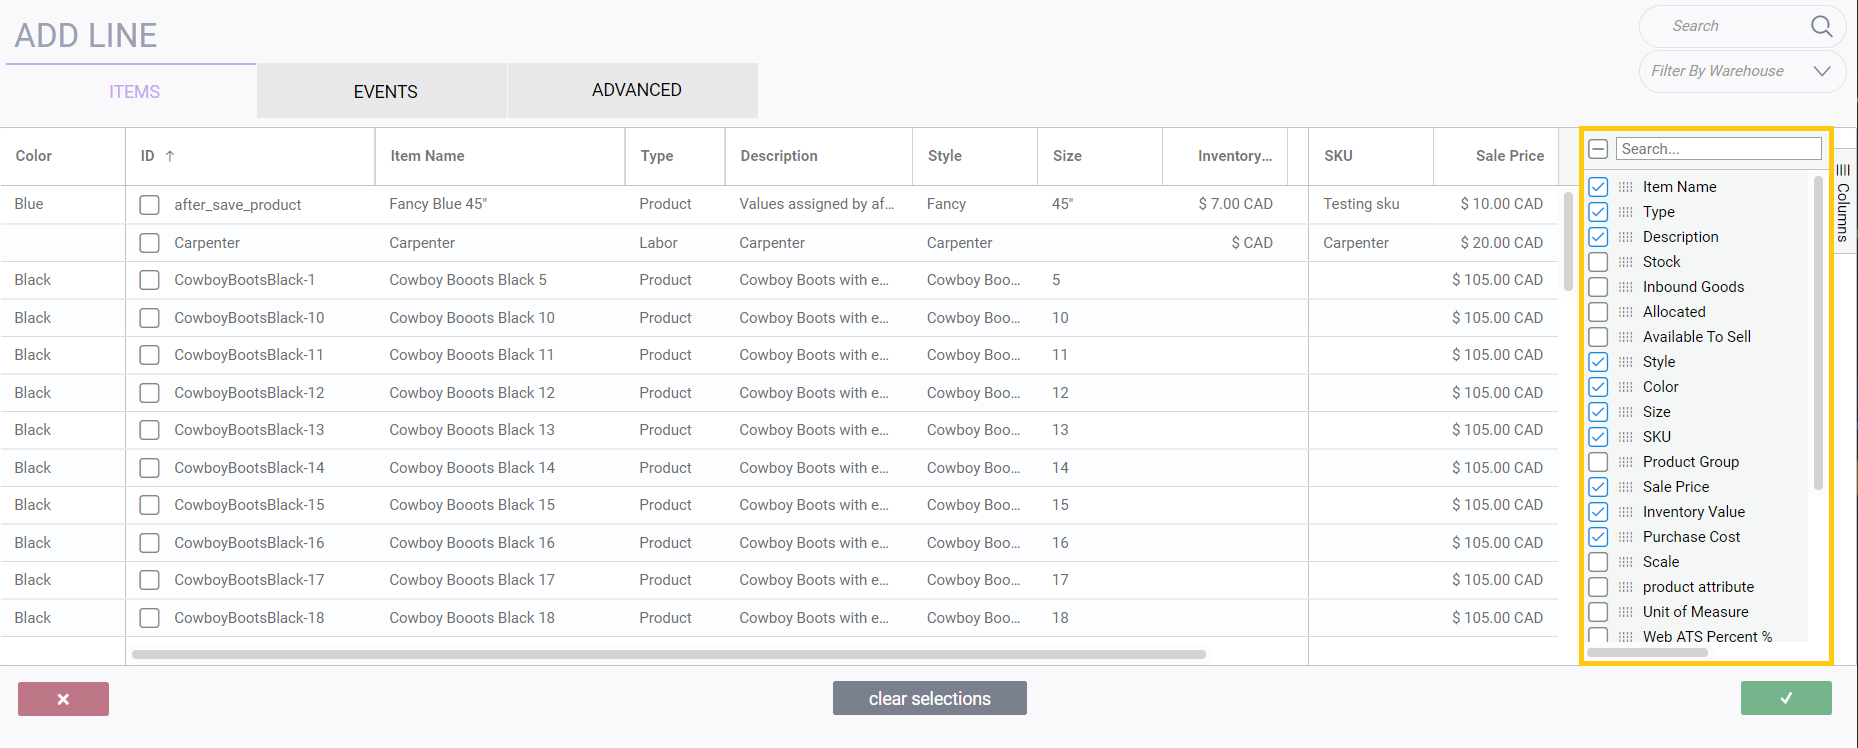
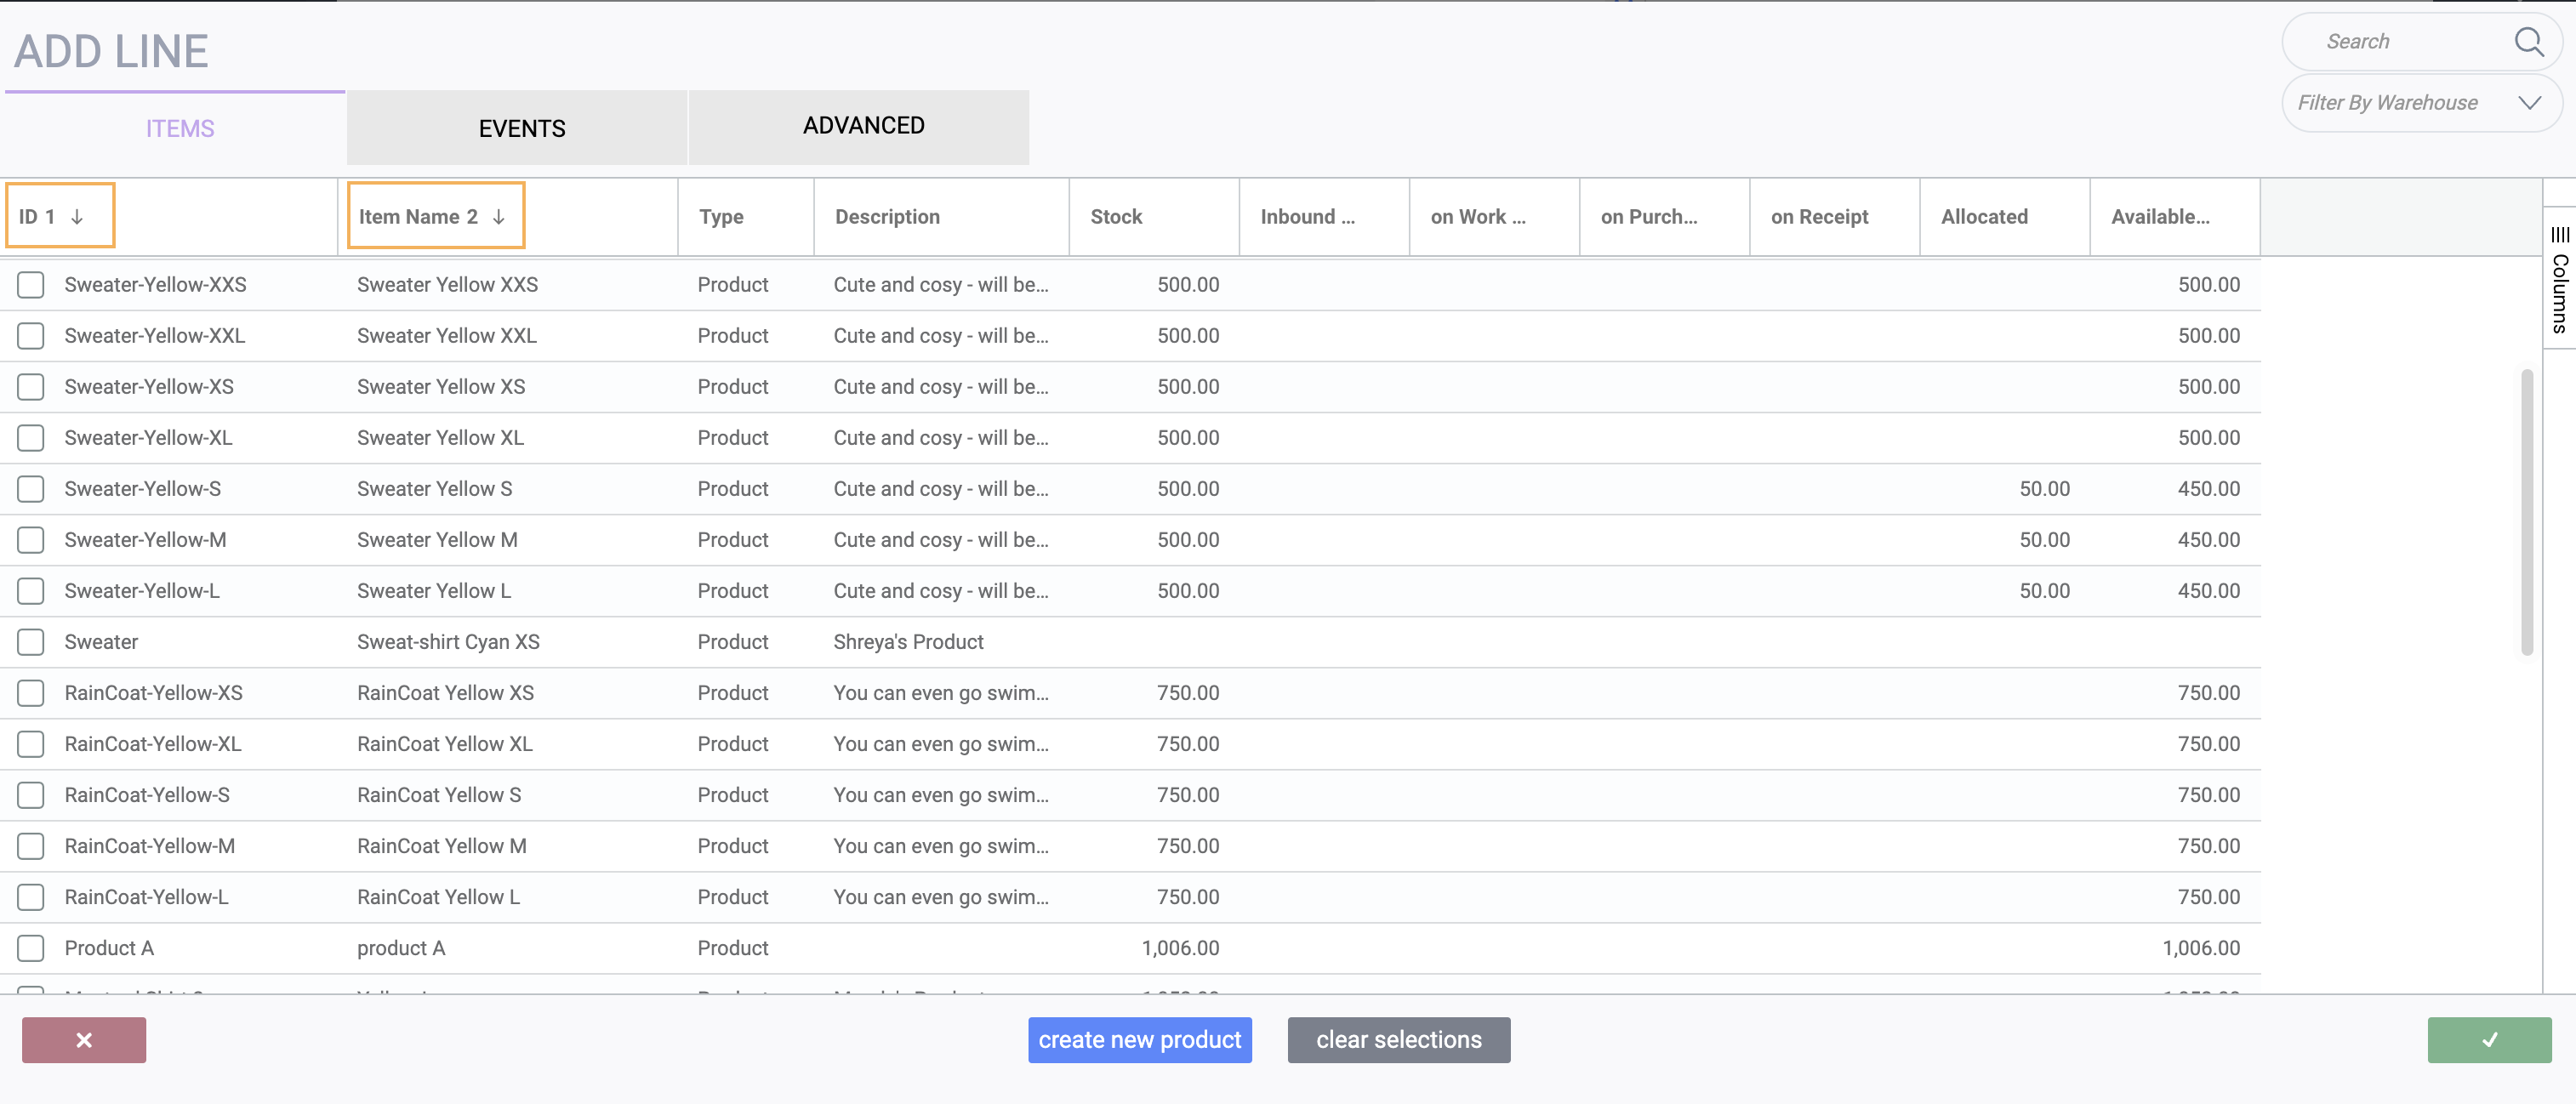
When you first open the item modal you may notice that there is a section on the right side called columns. You can click that section to expand it to select which of the default columns you want to see in your grid. All column options are derived from attributes in your reference screens. Any changes made to the columns will be saved by user. This means that the next time you log into Paragon, the settings made during the last visit will be saved.
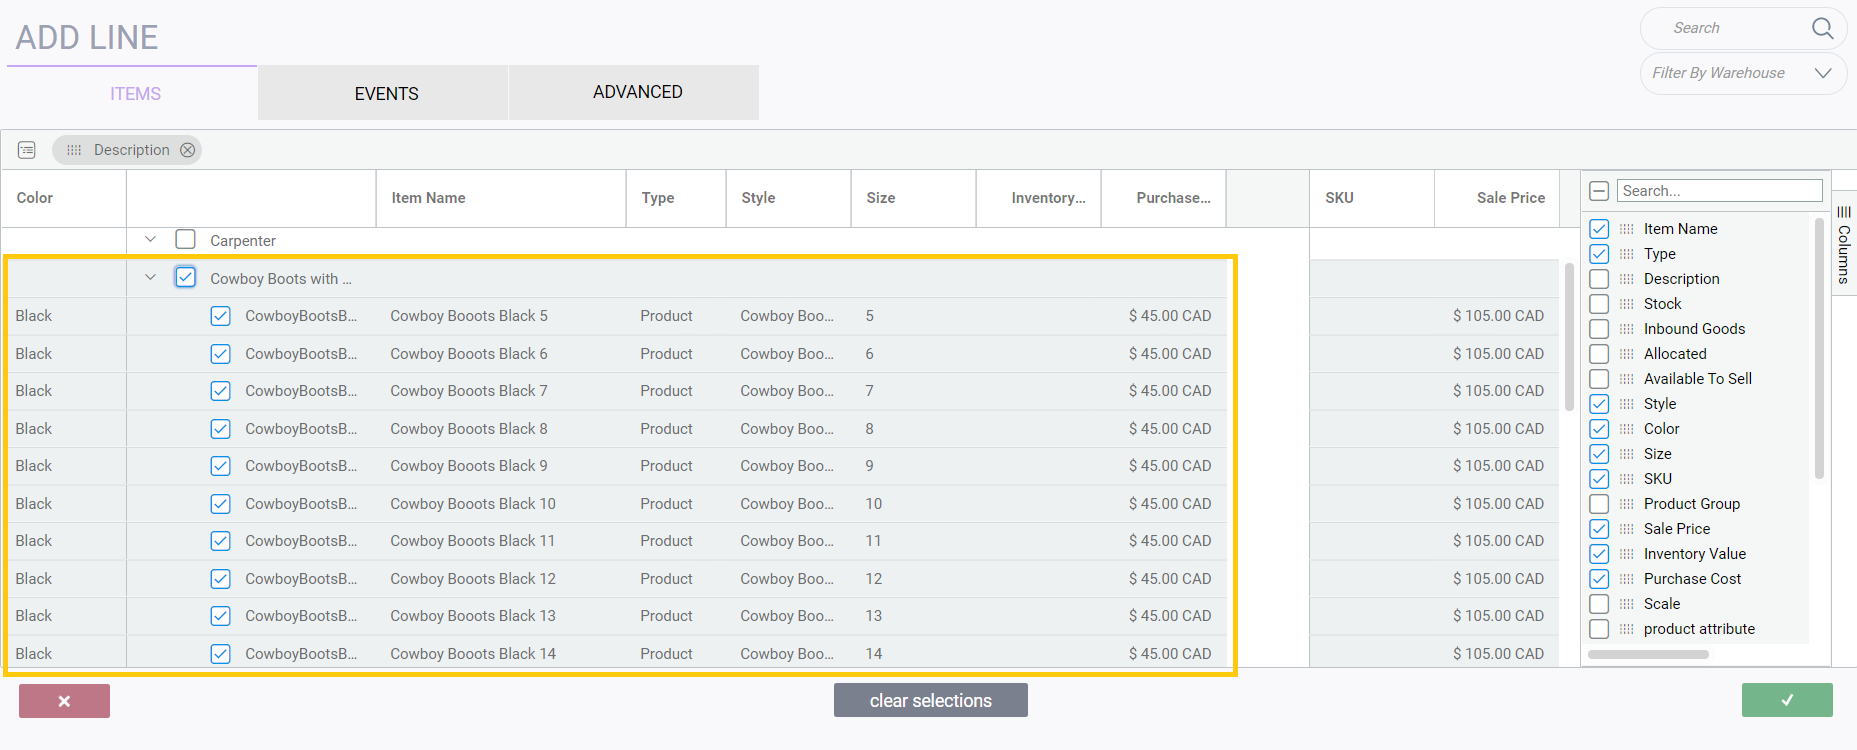
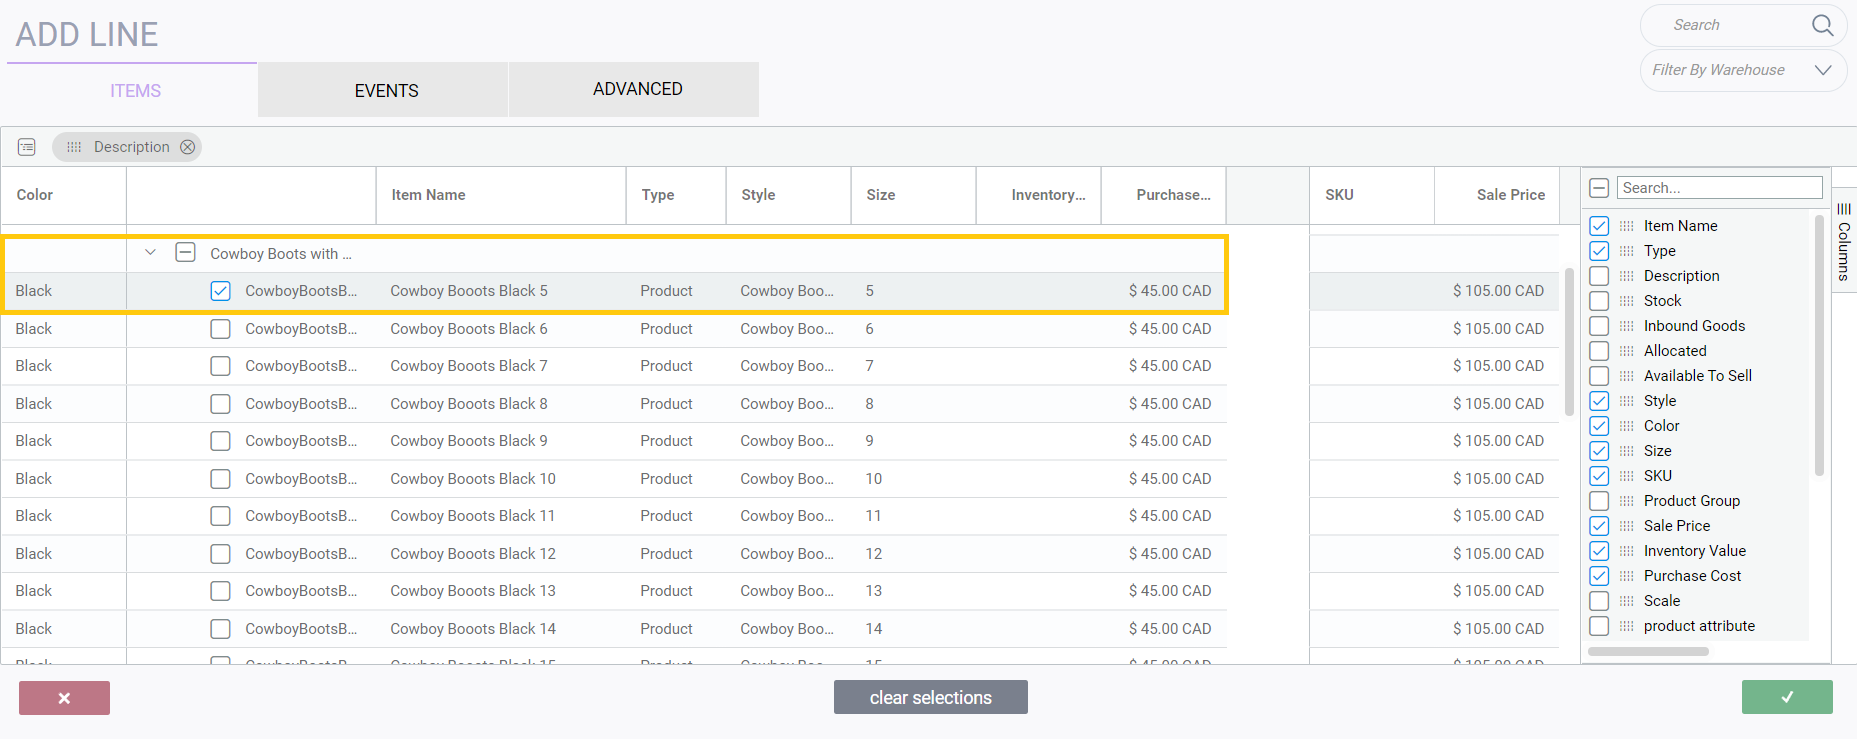
Selecting by grouped items
Searching and filtering by warehouse
Sorting


Multi-sorting
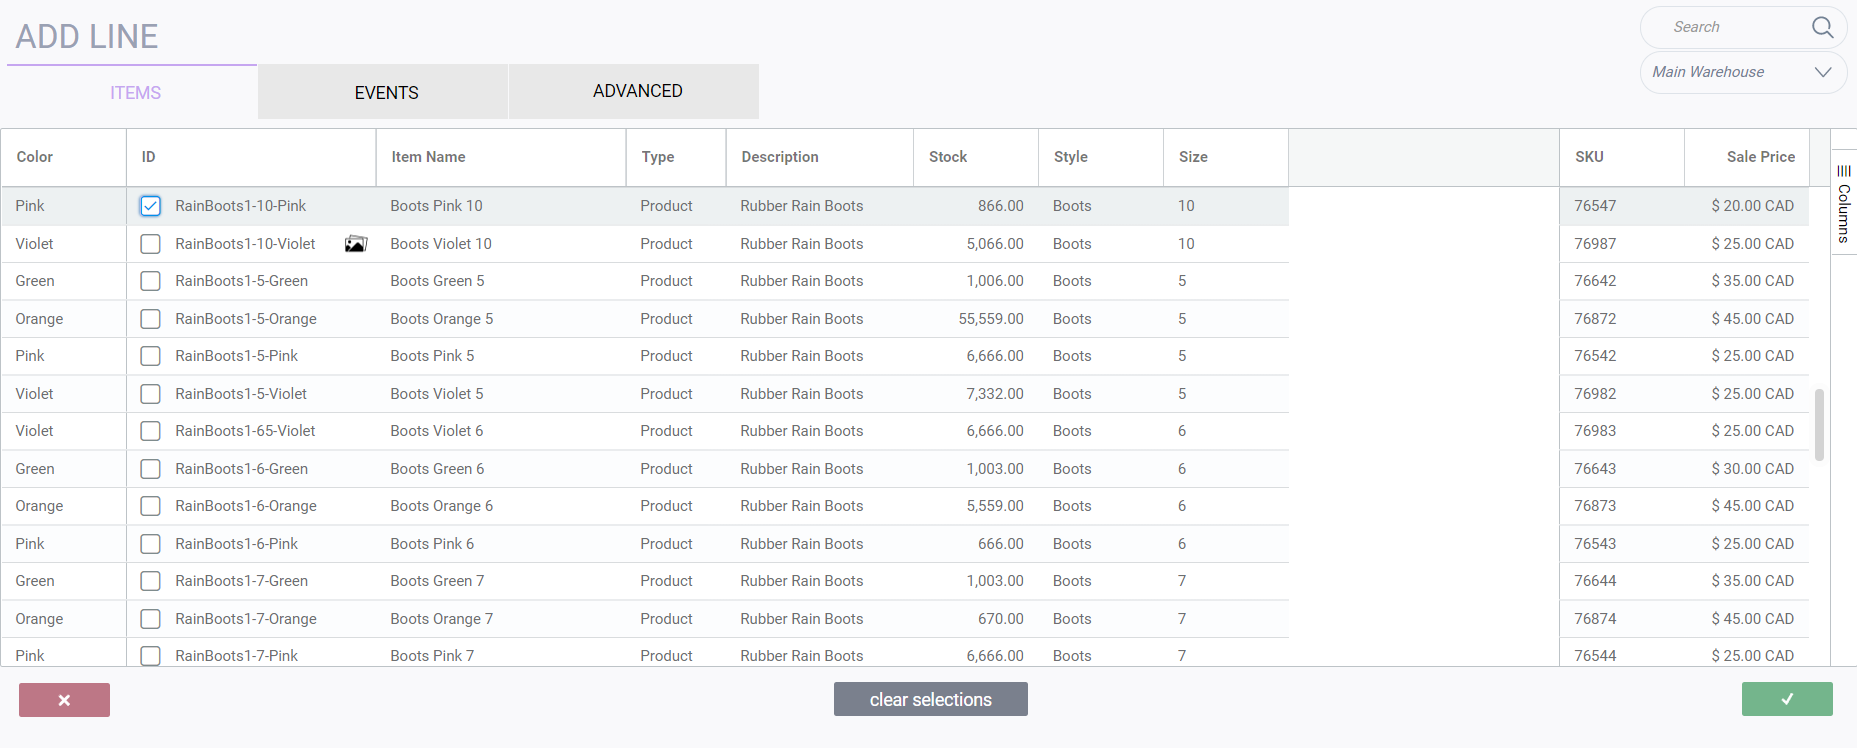
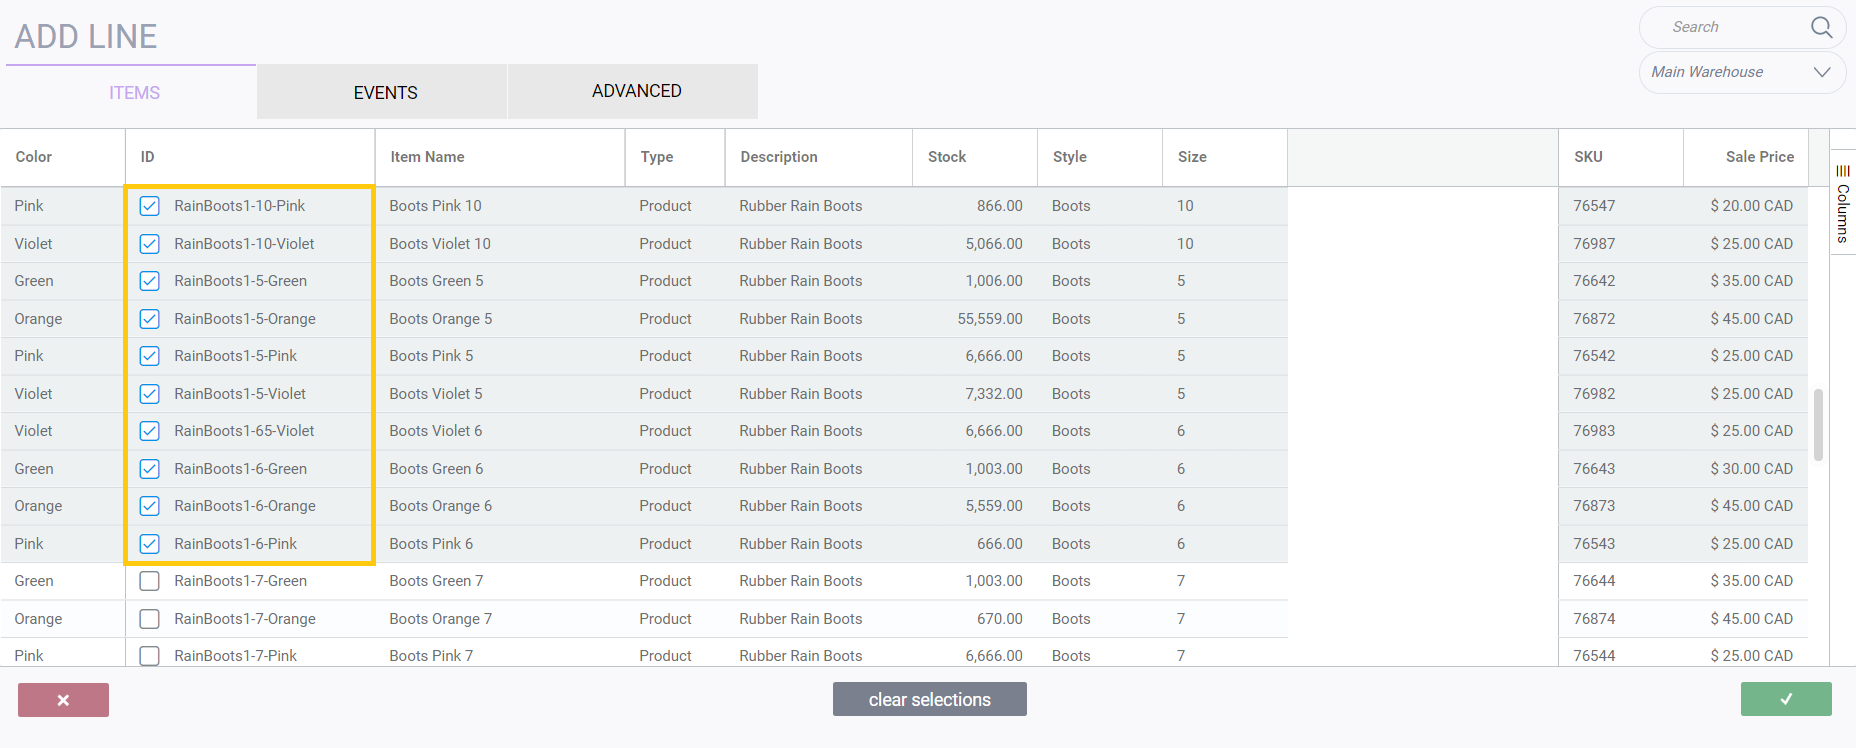
Multi-selecting
Another way to make it easier for you while you add products to your transaction is through the use of the shift key.
What's next?
Take a look at some of Paragon's other transaction features.