Add more options to the action button
Introduction
The detail view of any transaction or reference has a little green button on the bottom right hand corner called the action button similar to this one:
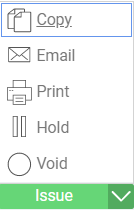
What you might not know is that you can add more options to the action button through settings. In the following article, we will explain the 3 reasons why you might want/need an additional action button option, as well as instructions on how to add that new option.
Action button options
Here is the list of the actions you can add and what they do.
Navigate to report
When you make changes on any transaction/reference, these changes will be automatically updated on a number of reports. This option is handy if you want to want to navigate directly to a specific category of a report to see the record of the specific transaction/reference you are on. This option is available for reference and transaction action buttons.
Print a custom template PDF output
The purpose of this button is to be able to print a custom template of a transaction through a single click. The pre-existing print button that is permanent on the action button emails the default PDF that Paragon uses for all transactions. The custom template PDF option is not available for references, as custom templates are only made for transactions.
Run an action button rule
There are certain automated functions ("Rules", as we call them) that the personnel at ParagonERP, can install for you to fit your needs. Rules can be implemented into your ParagonERP to automatically initiate a certain action upon a trigger. We recommend that you have a look at the document which explains what rules are and why they might be useful for your business. You can also explore the different kinds of rules that we can install, or you can contact support@paragon-erp.com to inquire more about how we can develop a rule for your business. This option is also available for both reference and transaction action buttons.
How to add an option to the action button
First, go into settings. Then, under the system card, click on screen setup.
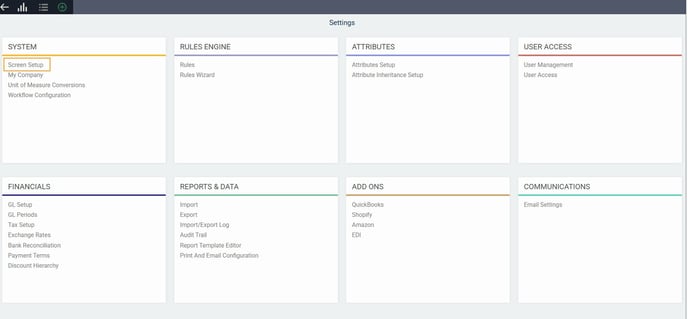
Choose the module that you want to use to the action option. For this example, we have chosen credit. From the screen setup page, you can see the action button is already labelled as add new. Click this button and you will open the add action button modal.
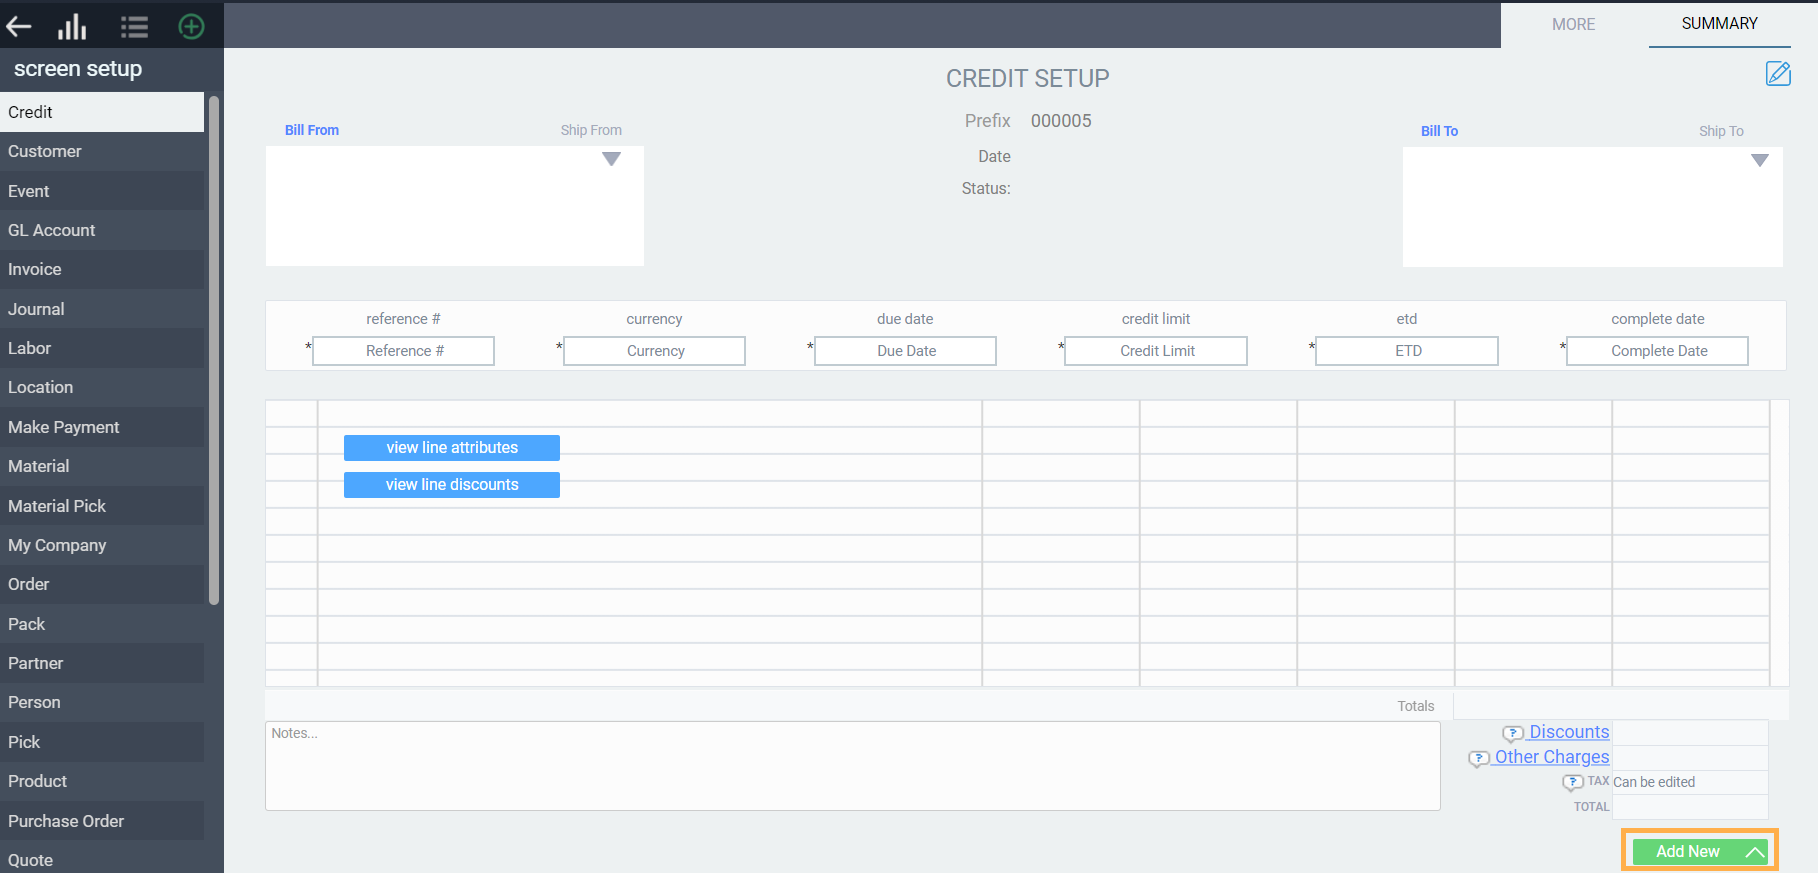
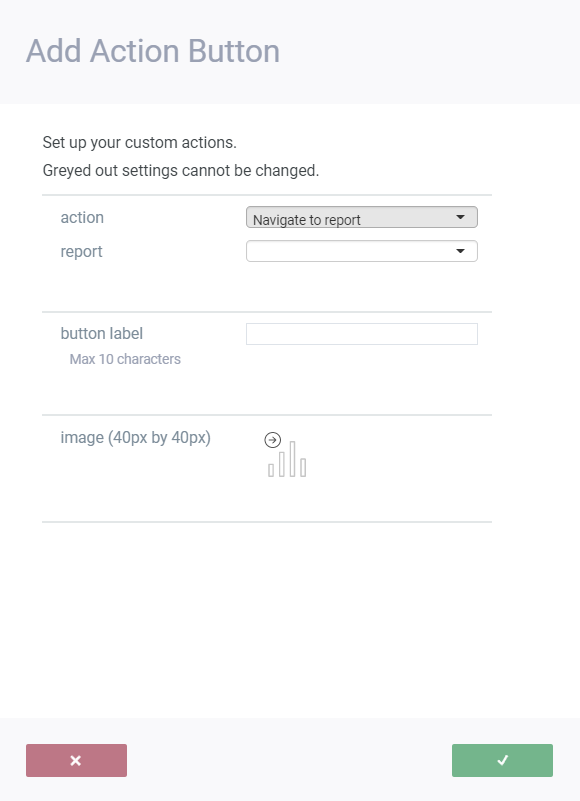
If you click on the drop down menu under action, you will see that there are two actions available as described at the start of this article. Note that navigate to report is the default action as the actions are in alphabetical order. When you move from one action to the other, the image will change depending on the action you select.
Now, we'll go through the three options we mentioned earlier.
1. Navigate to report
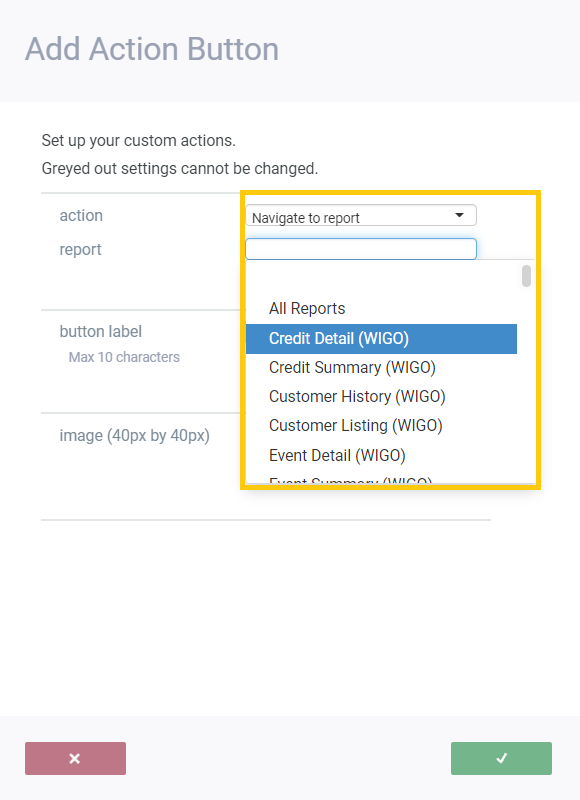
For the action navigate to report, you can choose to navigate to any report from your transaction, for example Credit Detail from your credit transaction. You can choose which one by selecting from the drop down menu.
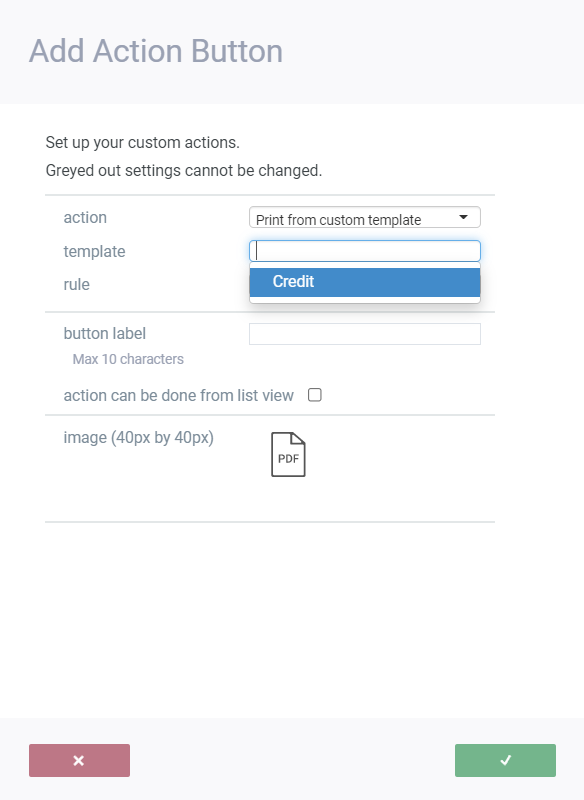
For this option, you can choose from any of the custom templates that you have already created. You can always read our instructions if you would like to know how to create custom templates. As noted above, custom templates are available only for transactions. If you are adjusting the action button on a reference, this option will not be there.
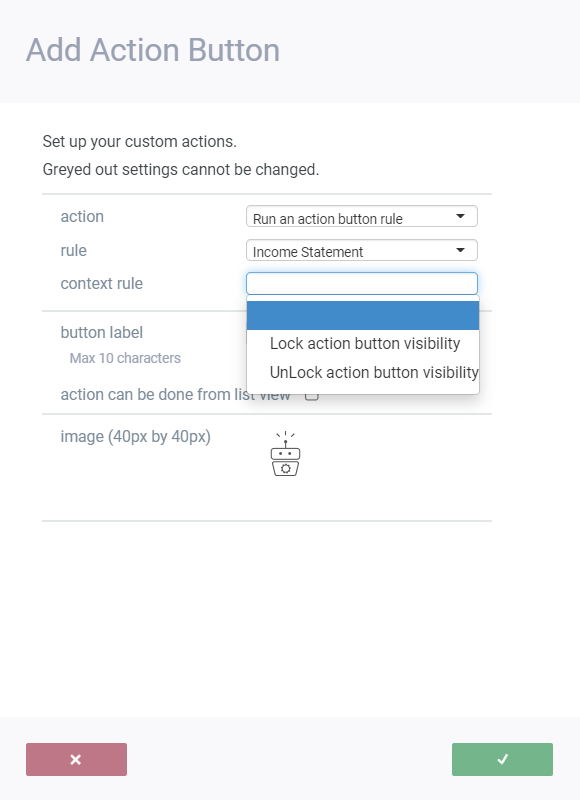
This option is only available to the personnel at ParagonERP. It will allow us to run a rule from the action button of your choice.
What's next?
Now that you understand how to add options to action buttons, you have a host of cool features at your disposal. You may find some of these other articles useful as well:
![paragon logo-1.png]](https://support.paragon-erp.com/hs-fs/hubfs/paragon%20logo-1.png?height=50&name=paragon%20logo-1.png)