![paragon logo-1.png]](https://support.paragon-erp.com/hs-fs/hubfs/paragon%20logo-1.png?width=240&height=75&name=paragon%20logo-1.png)
Introduction
In this article we will show you how to create and edit products, and the many options available to you.
Process description:
ParagonERP has many features to help you sell the products that you buy or make. In order to track the goods you sell, you need a place to create those items, and manage your inventory. The product information being tracked is completely configurable, regardless of your business model or daily workflows.
Step-by-step instructions:
-
Step 1: Go to the product module
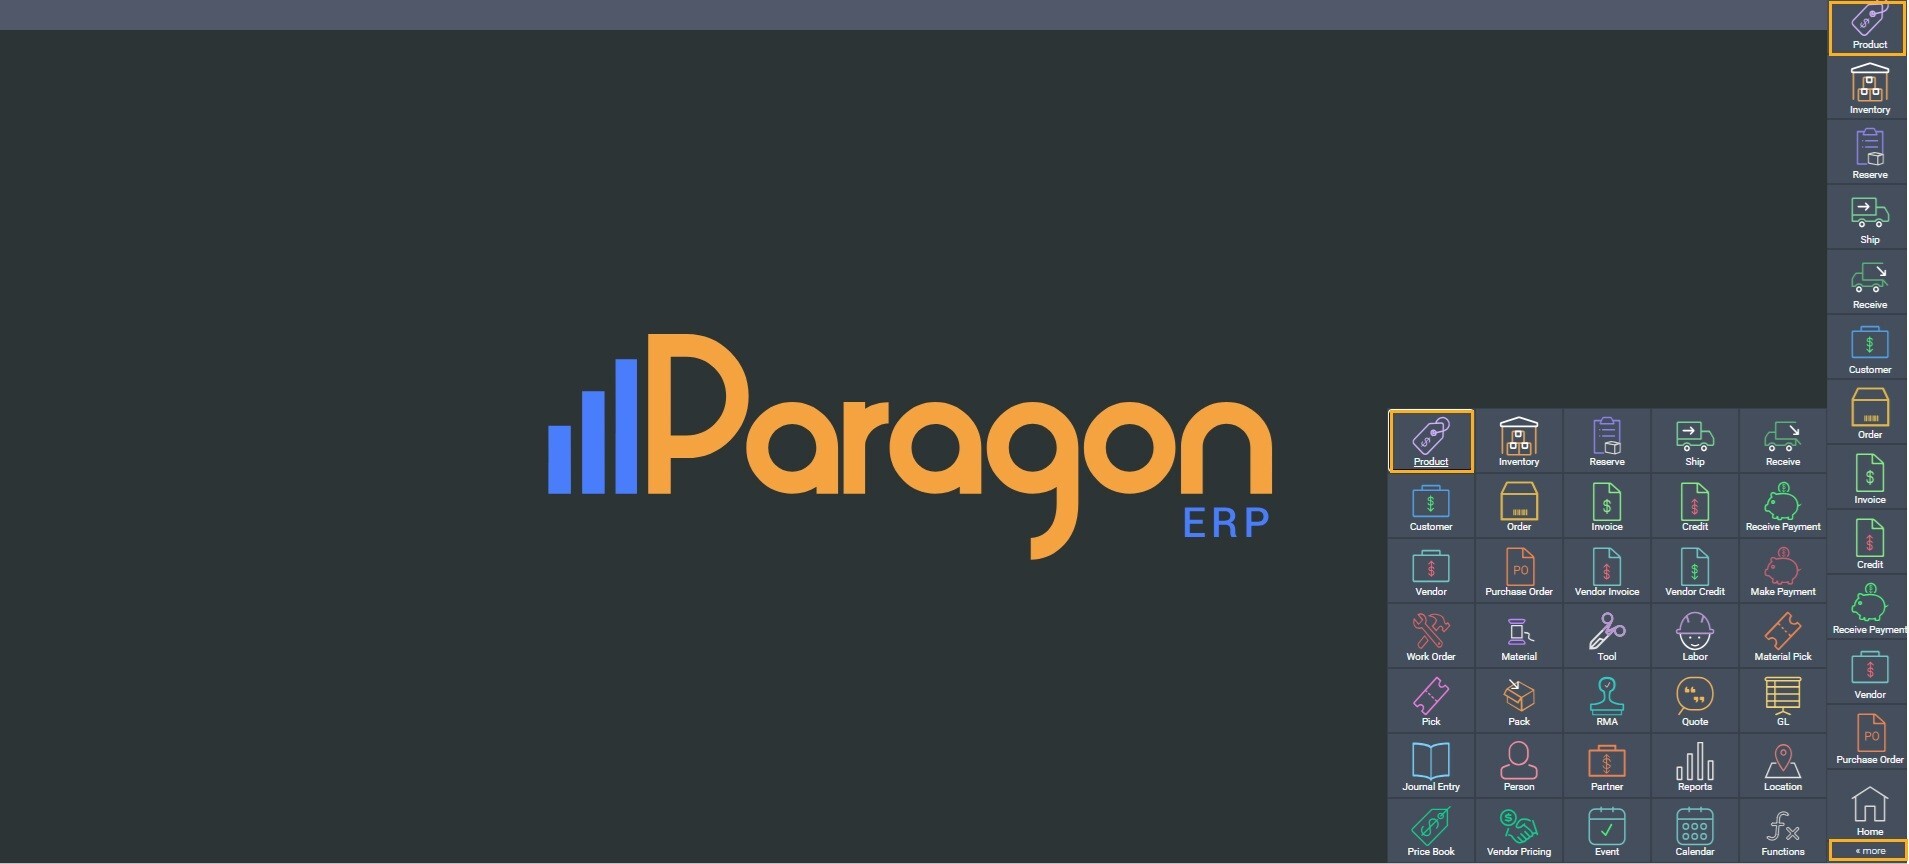
Click the product button on the side bar or select it from the more menu.
-
Step 2: Create a new product
This is the list view of the product module. To create a new product click the create new product button.

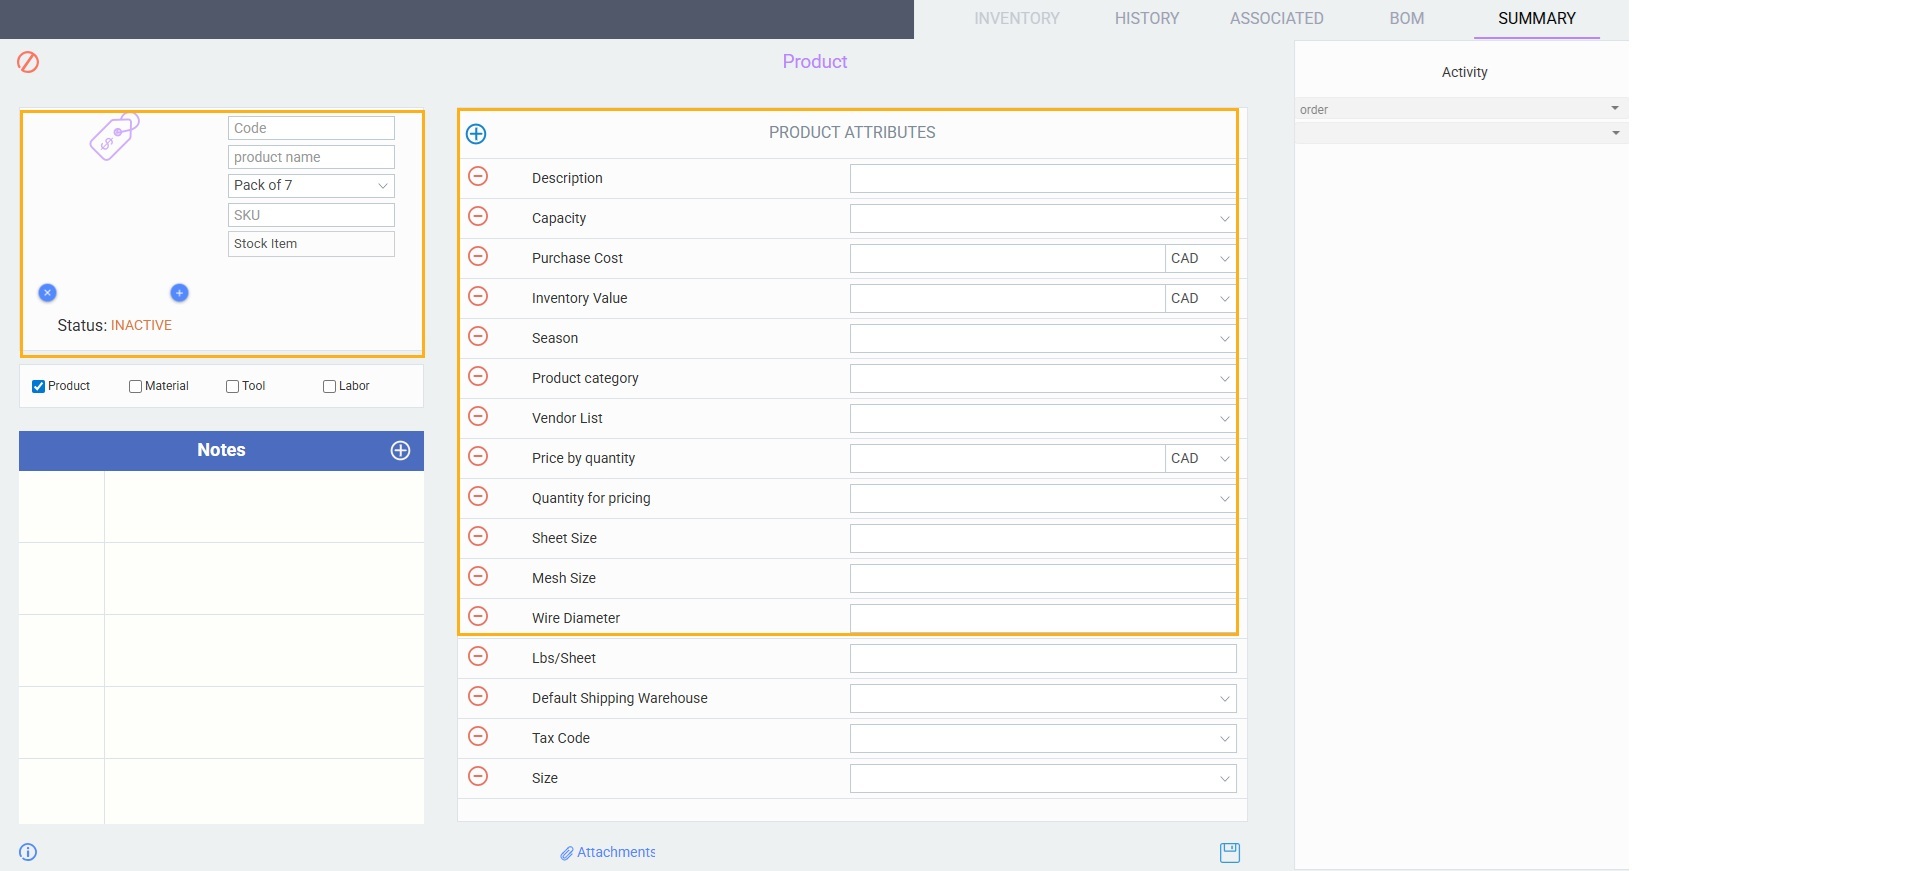
A blank screen will appear. The product screen is separated into three categories. When creating new products, only sections 1 and 2 will be filled out.
-
Step 3: Complete the business card
The panel on the left is the business card. The first field, in this case code, is mandatory and must be unique. We suggest using SKU or UPC (anything that is unique).

The other fields in this first panel were set up in product settings. These fields are only mandatory if they were set as mandatory in product setting.
-
Step 3a: Add or remove images
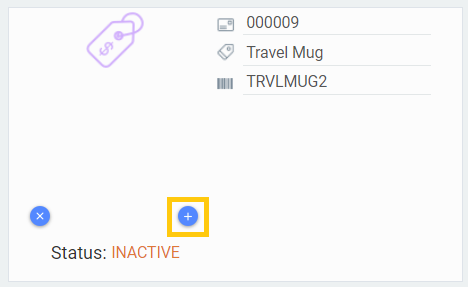
You can attach images or logos for visual confirmation and ease of browsing. In edit mode, simply click the add button on the business card of your product.
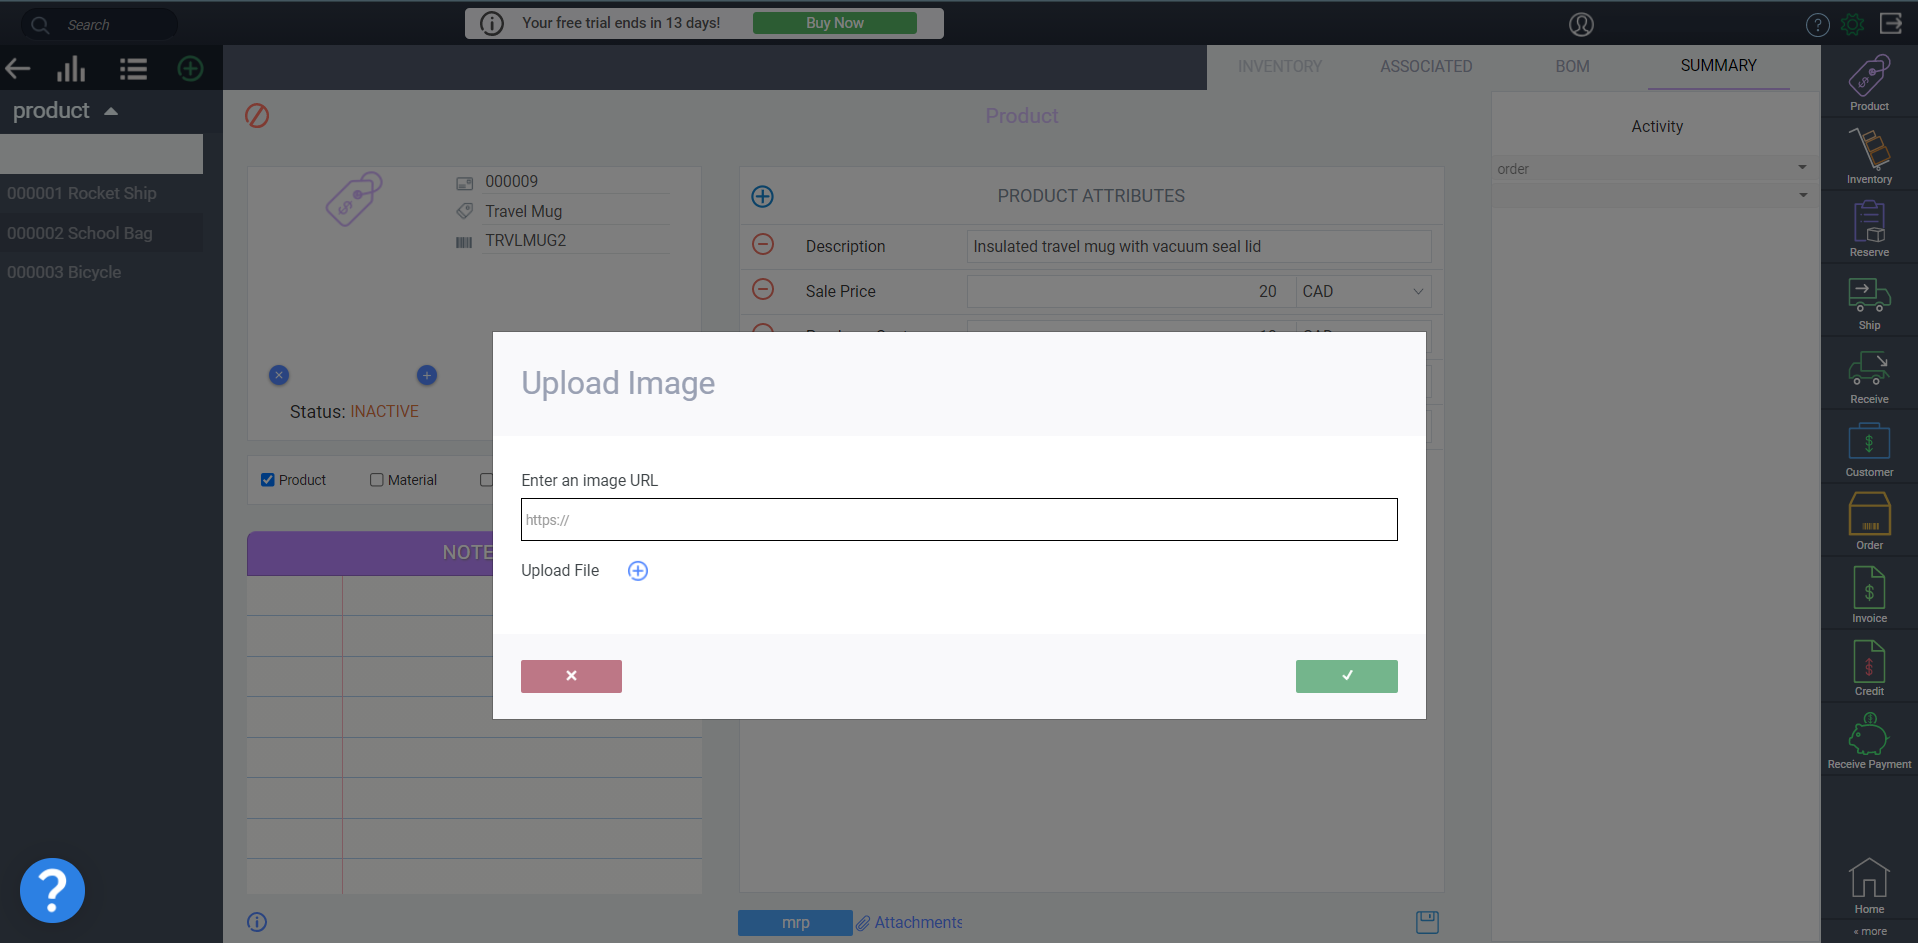
This will open the upload image module where you can either select an image from your local files by clicking the add file button or simply copy and paste an image URL.
You can add multiple images in either format to each product. Don't forget to save!
- If you have added multiple images, you can cycle through them by clicking the arrow.
- To remove an image simply click the remove button.
-
Step 4: Add more attributes and information
In the product attributes panel, only the attributes that were set as always show in product settings will display on the new product screen. To add a field that you do not see, but is required for the specific product, press the blue plus icon, and select an attribute to add from the list that displays.
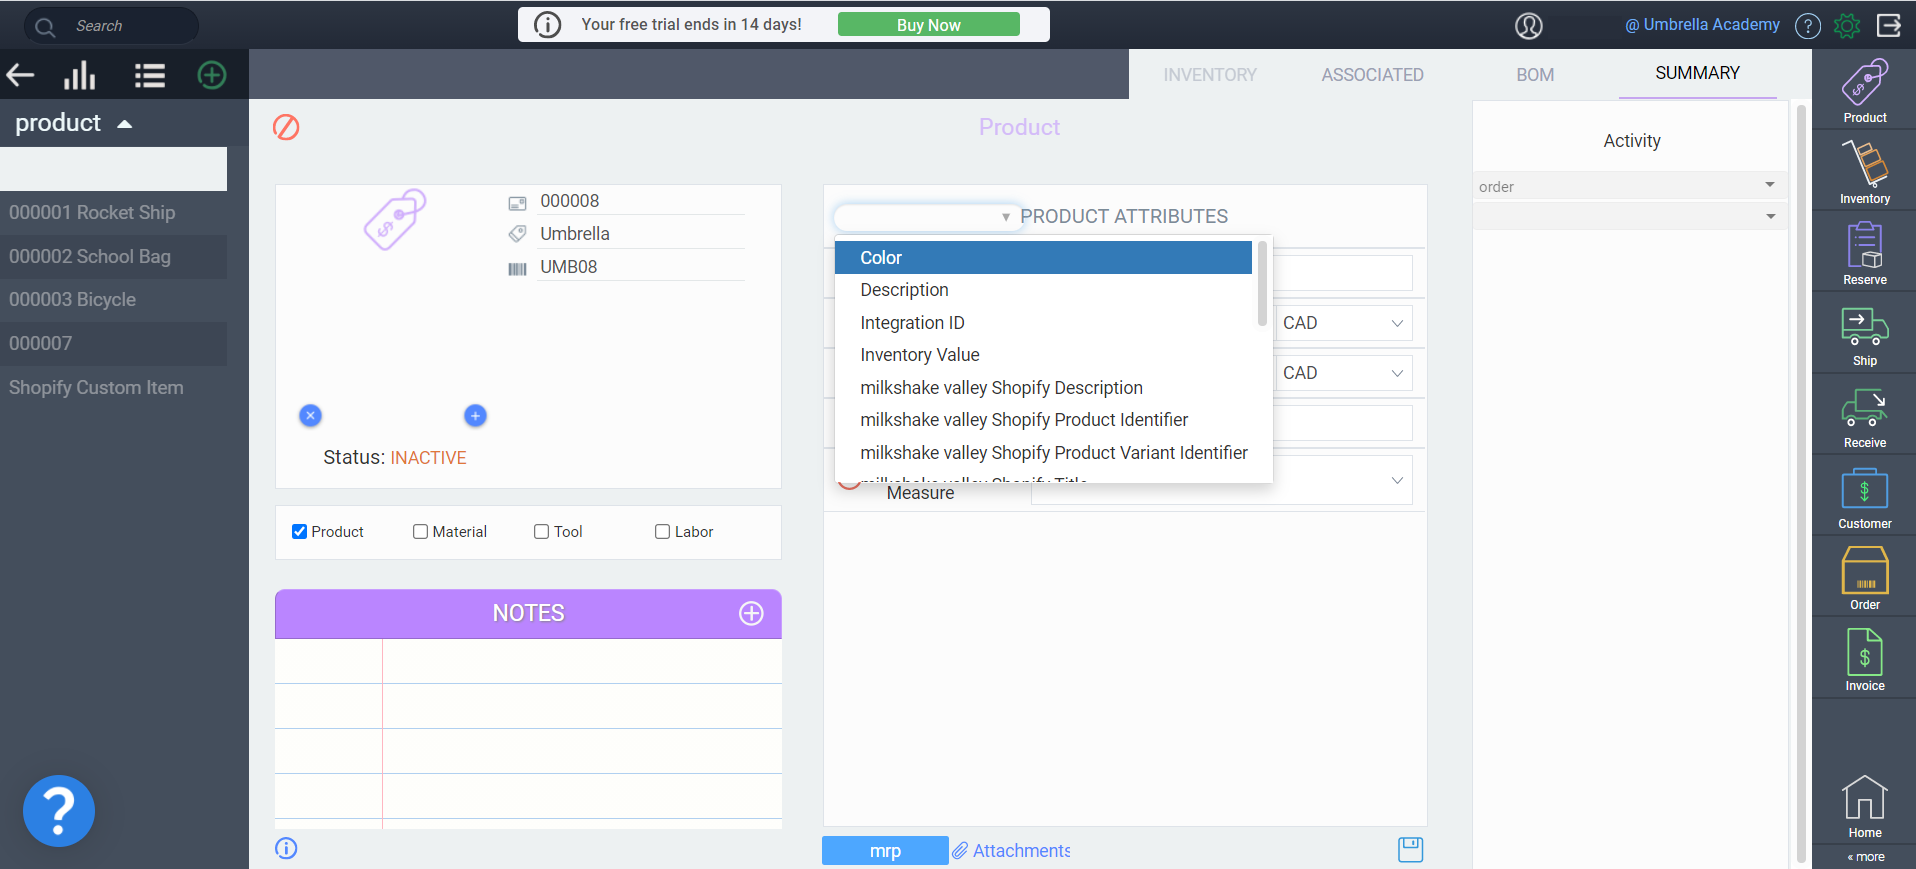
In order to access this list, ensure that your screen resolution is at 100%. This can be done by pressing "Ctrl" + "0".
If the attribute that you are looking for is not in this list either, you will need to add it to ParagonERP through product screen setup.
-
Step 4a: Product stock vs. non-stock items
You can set an item as a non-stock item by setting its stock type attribute accordingly.
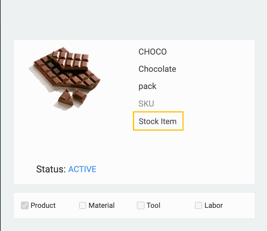
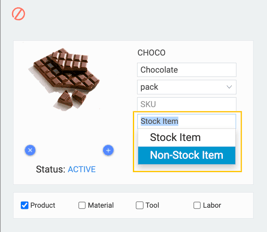
A non-stock item will not generate inventory adjustments, nor will it maintain any inventory history. Additionally, these items can have a purchase cost of zero and will not generate any journal entries.
-
Step 5: Add notes (optional)
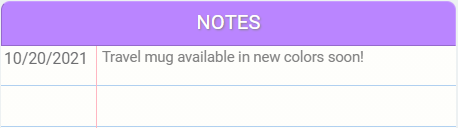
Notes can be added using the notepad on the bottom left side of the product screen when in edit mode. You can add multiple notes by clicking the add button and typing in the blank box. To remove or cancel notes simply click the cancel button on the left.
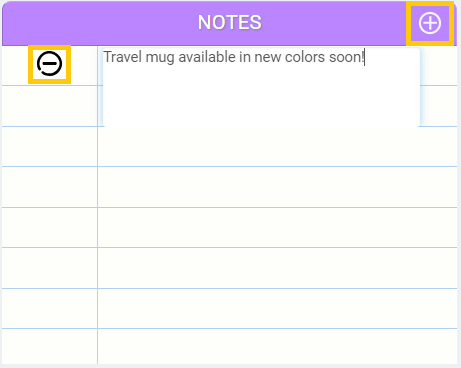
When you save your product the notes will also be saved along with the date of their creation.
-
Step 6: Add attachments (optional)
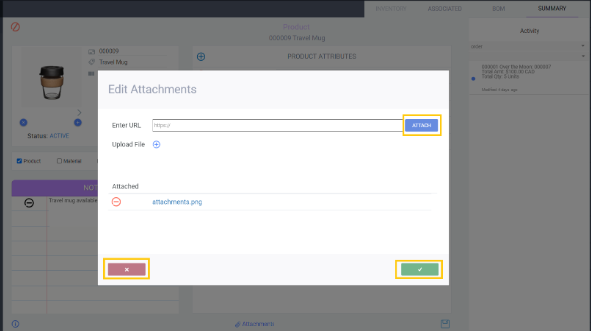
Remember to click attach if using an URL before saving or your attachment will not be included.
-
Step 7: Save your product
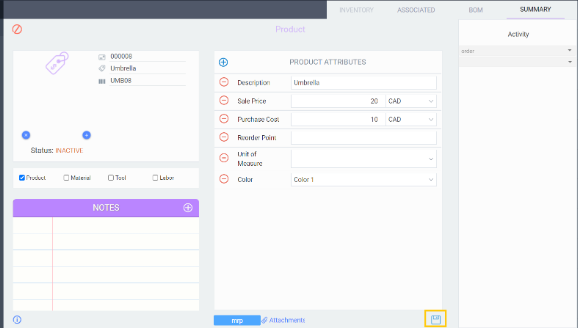
When you are done entering all the relevant information, click the save button.
-
Step 8: Activate the product
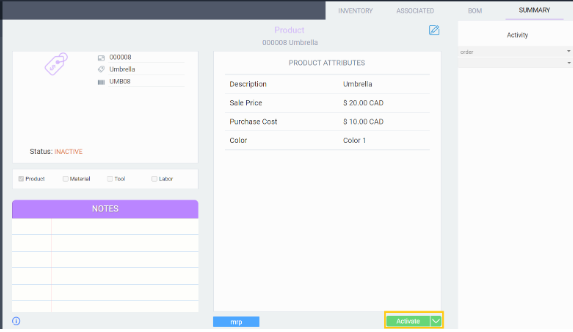
-
Step 9: Adjust inventory
-
Click the location bar to open a drop down menu of your locations.
-
Select the warehouse location for which you wish to adjust the inventory.
-
Enter the adjustment quantity, select a reason if applicable, and click accept to validate your change.
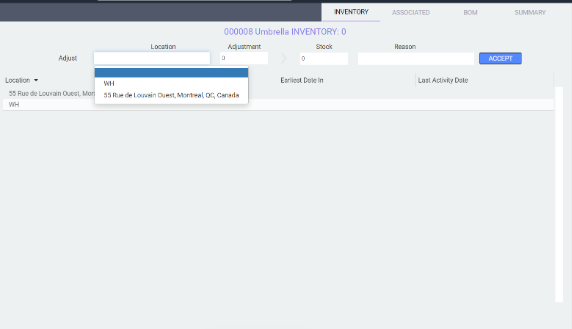
Note that if you need to move stock from one location to another, or view the history of all inventory movements for that item, this will still need to be done in the inventory module
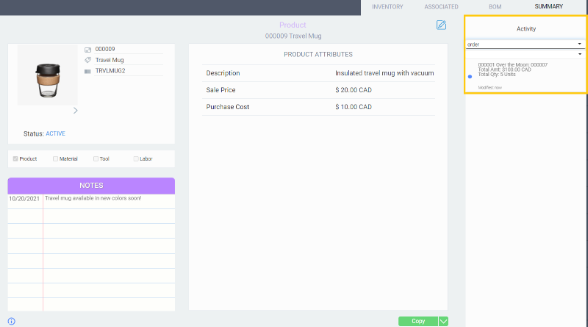
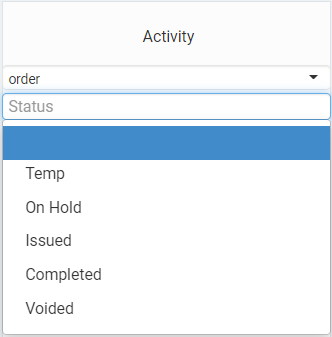
Activity panel
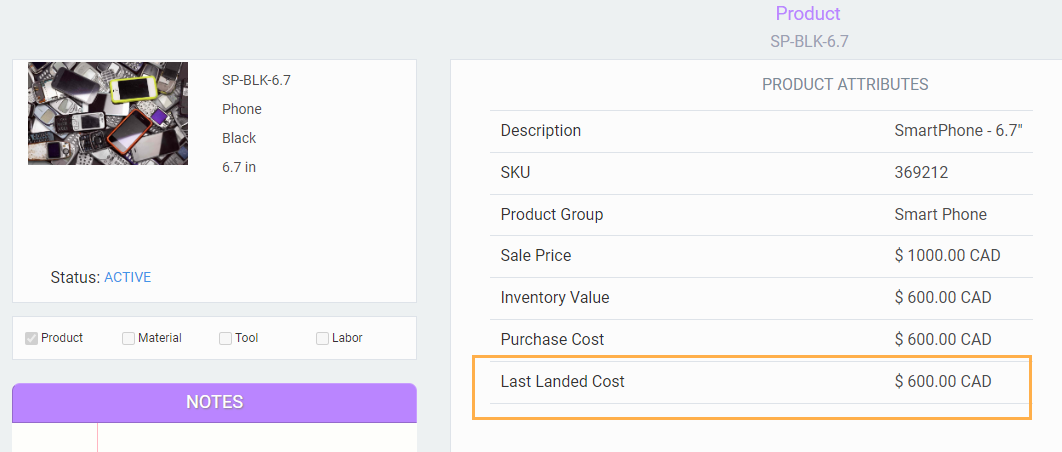
Last Purchase Price
ParagonERP will calculate the latest purchase price in real time, based on your purchase receipts. The last landed cost attribute can also be seen in the list view and in the reporting tools. This is a standard ParagonERP attribute that is automatically updated whenever a receipt is completed for a product.
What's next?