![paragon logo-1.png]](https://support.paragon-erp.com/hs-fs/hubfs/paragon%20logo-1.png?width=240&height=75&name=paragon%20logo-1.png)
Introduction
Transaction screen set up

Action Button Options
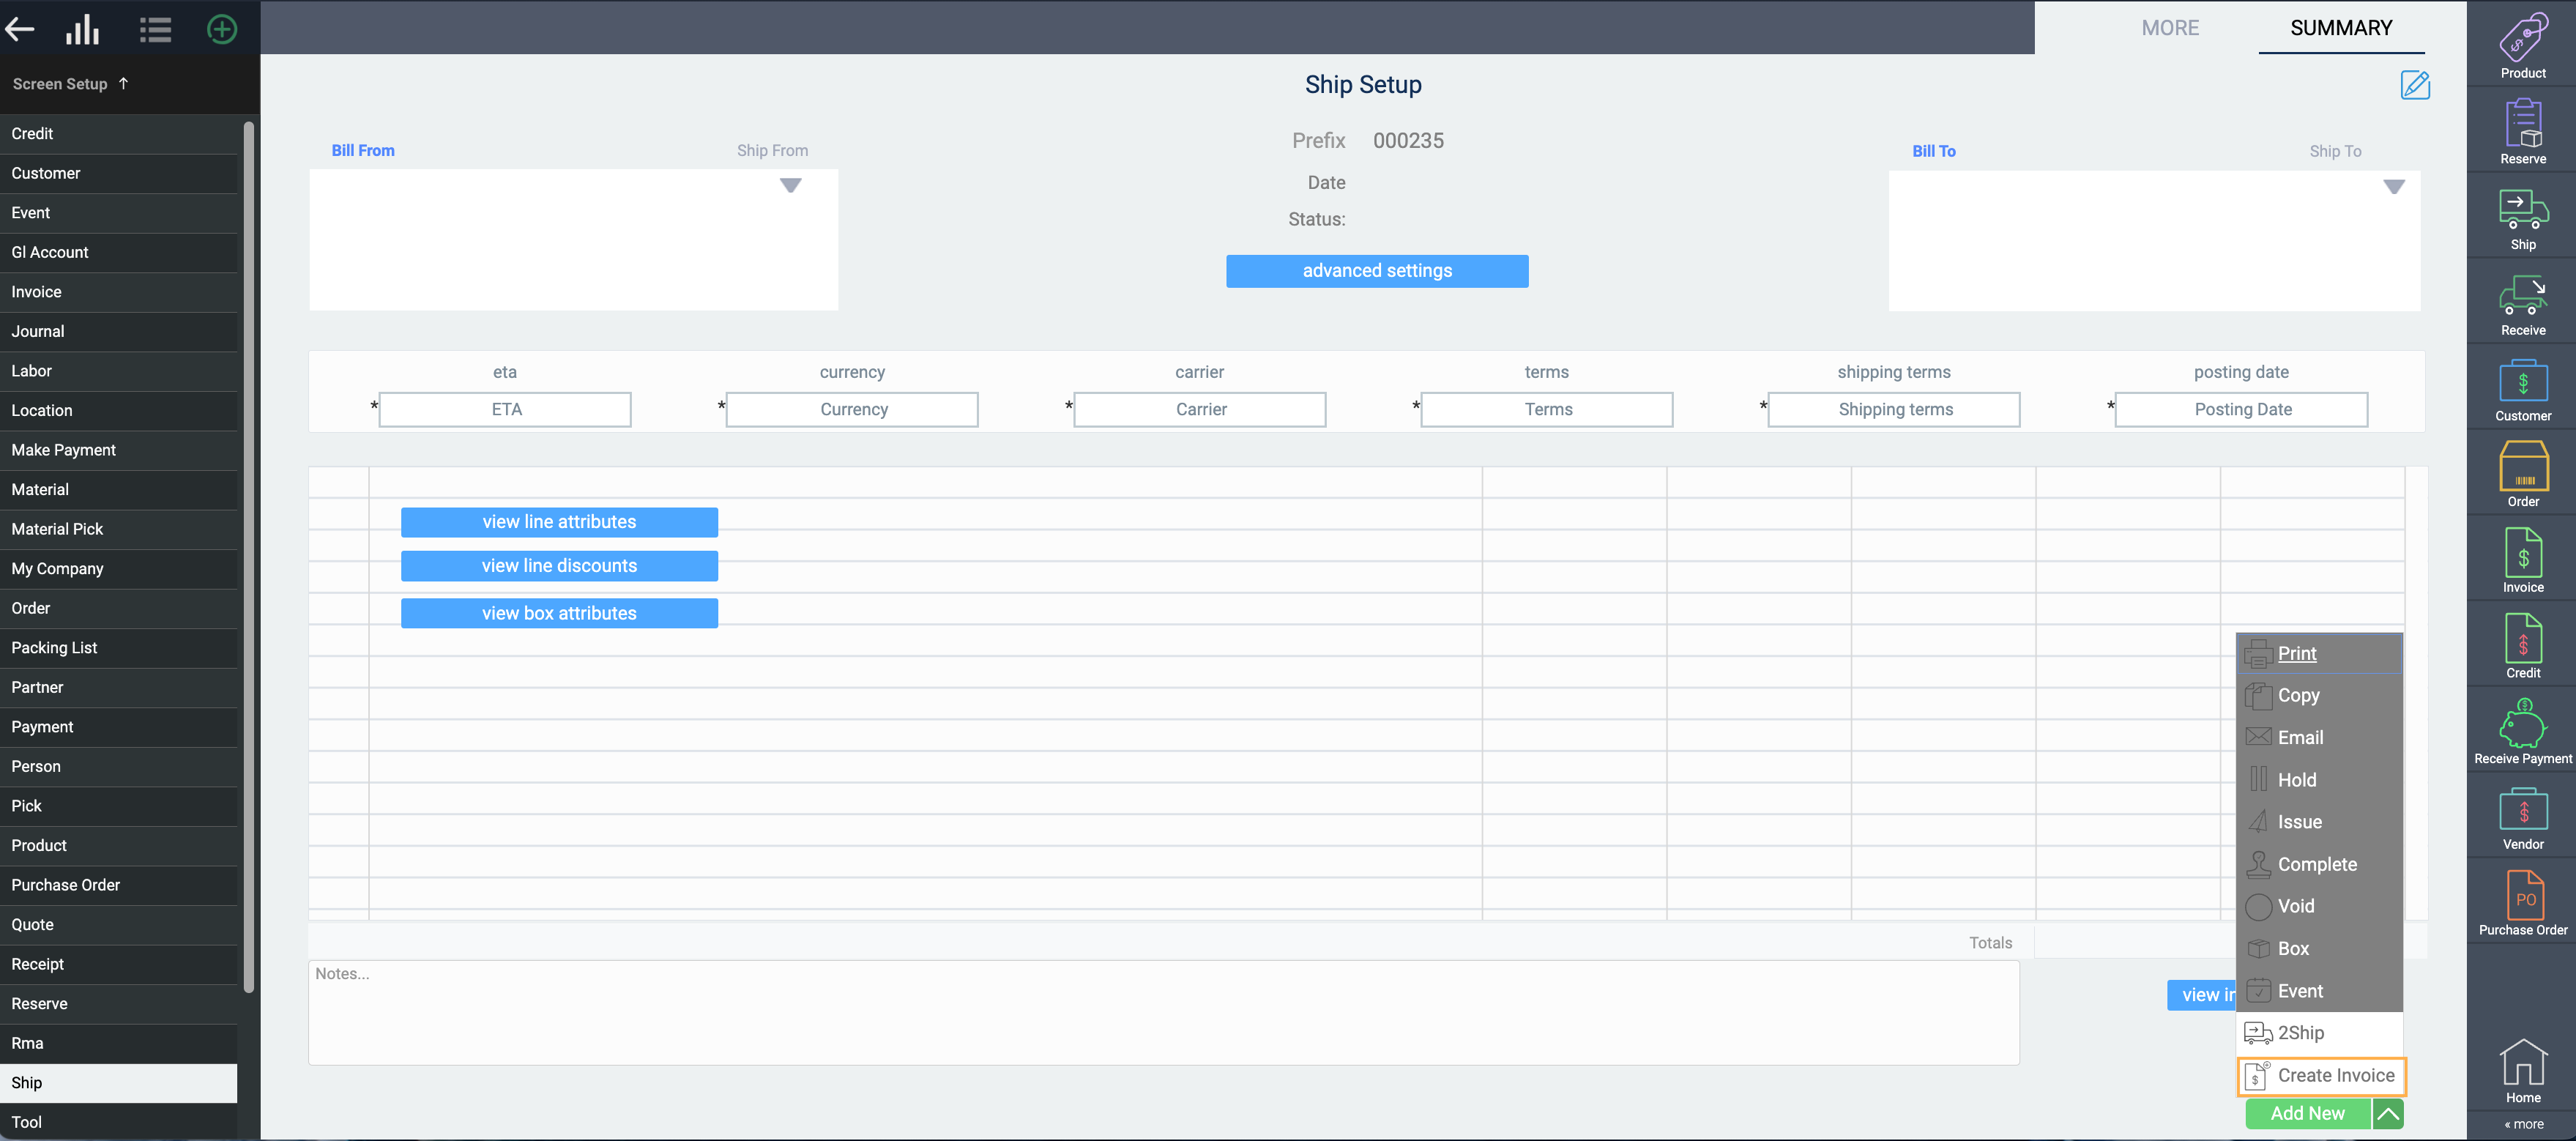
Within most transaction action buttons, Paragon comes equipped with the option to create the next transaction in the typical workflow. For example, once you've approved and issued an order, the next step might be to ship the order, and from there you may want to create an invoice. This can be done directly inside the Ship module. For users with specific roles, this avoids jumping around the system to create the follow-up transactions.
Note: Not all transaction modules have the option to create a new transaction from an action button. You will only see the option in the dropdown if the selected module has the feature.
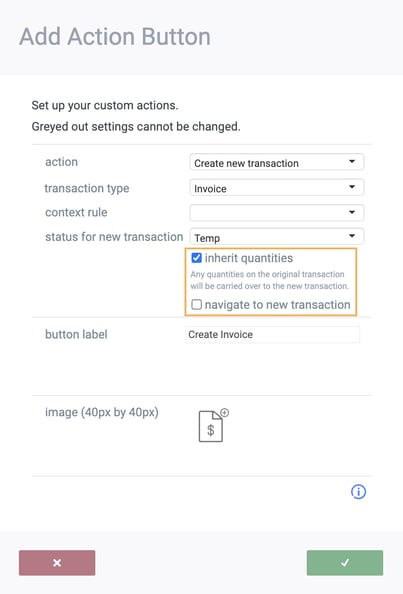
The modal has three dropdown options to choose from:
- Transaction Type - allows you to select which transaction you want the button to create. The options differ based on the module you've chosen.
- Context Rule: this allows you to select a rule to the function of the button. For more help, please contact us at support@paragon-erp.com
- Status for New Transaction: allows you to select the status of the newly created transaction. You can select from Temp, Issue, Complete or Hold
Only transactions relating to the current module will be available. You are not able to create duplicates. Any button you create will be removed from this list after creation.
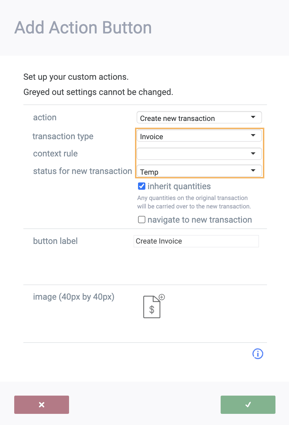
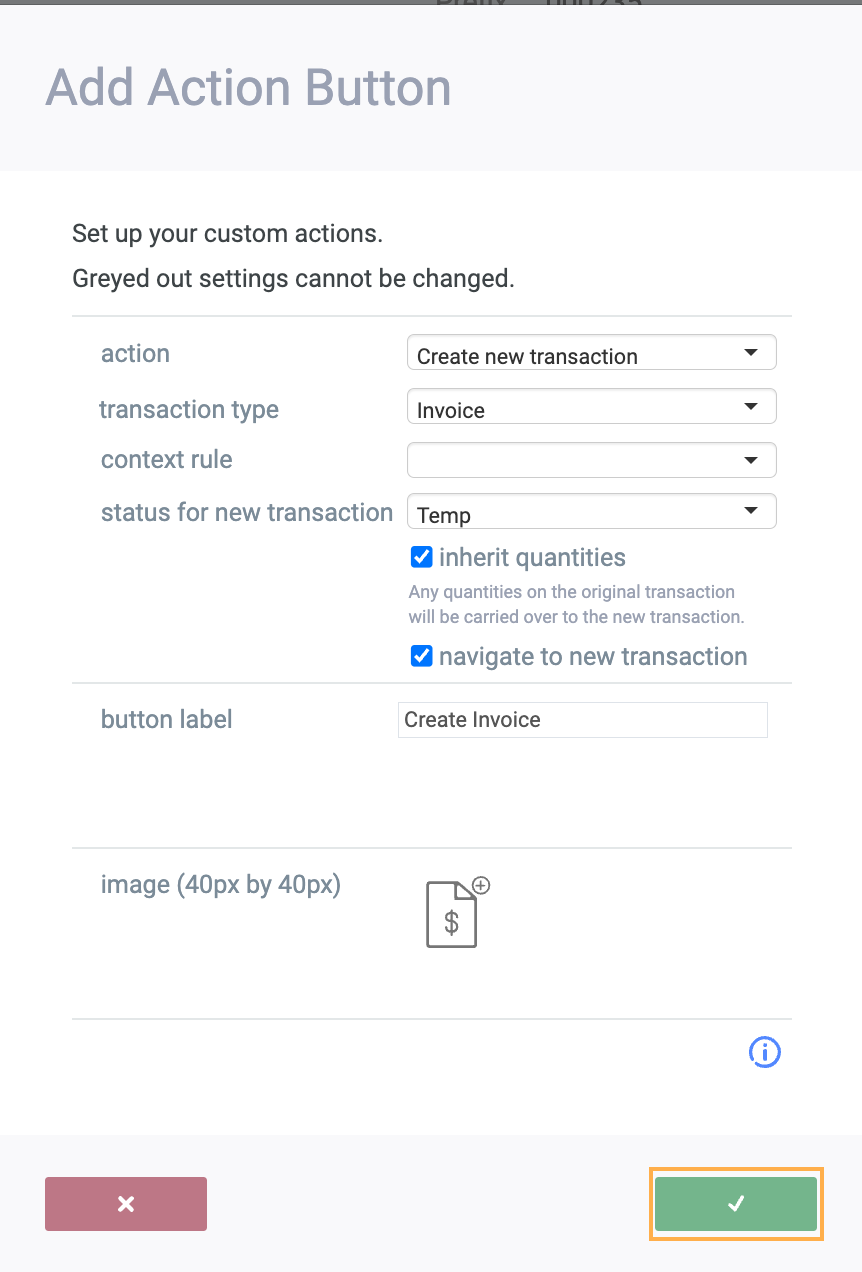
- Inherit Quantities: Any quantities on the source transaction will be inherited on the new transaction.
- Navigate to new Transaction: If this option is checked, you will be immediately navigated to the new transaction as soon as it is created from the action button.
Create a transaction from the action button
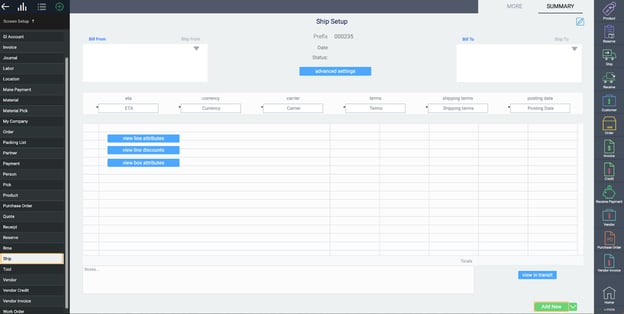
Now we're ready to use the new action! First up, head over to the module that you added your new action button to by using the sidebar or more button. In this case, we will be navigating to the Ship module.
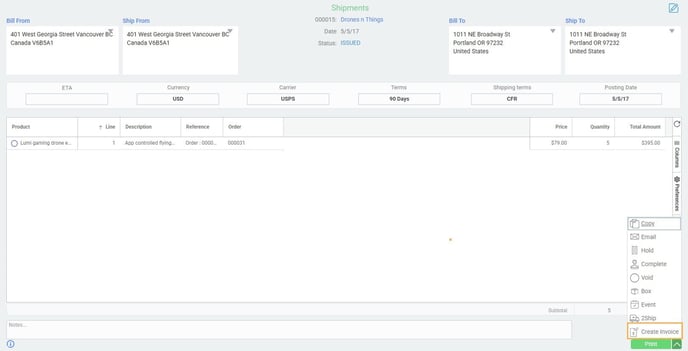
From here we can create a completely new Shipment or select one that is already in issued or completed status.
Note that if you are creating a transaction from a newly created transaction, that transaction must be issued or completed. Otherwise the option to create a transaction from the originating transaction will not appear in the action button. In this example, we have issued our shipment so that invoice appears in the dropdown list of actions.
What's next?
How to set up transaction screens