![paragon logo-1.png]](https://support.paragon-erp.com/hs-fs/hubfs/paragon%20logo-1.png?width=240&height=75&name=paragon%20logo-1.png)
Introduction
Creating new customers is first requirement to get up and running with customer-related transactions. This article will walk you through creating and activating a new customer.
Process description:
ParagonERP offers many options to cover all of your business needs. Having active customers in the system is the best way to make sure that you can easily track to whom you are selling, when, and for how much.
Step-by-step instructions:
-
Step 1: Go to customer module

-
Step 2: Add a new customer
In the customer module, select the add new customer button. This will take you to the customer creation screen.
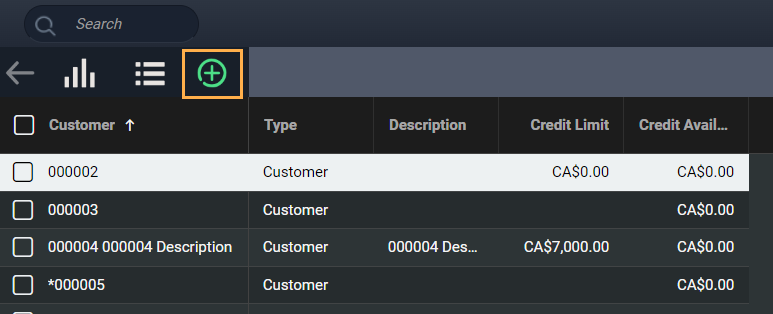
The customer screen is separated into 2 main sections, the business card and the customer attribute panel.
There is a third panel for activity, that will be automatically populated as you generate various transactions for the customer.

-
Step 4: Complete the business card
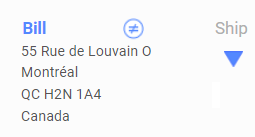
The screen below is known as the business card. The first field, in this case code, is mandatory and must be unique. We suggest using a customer ID.
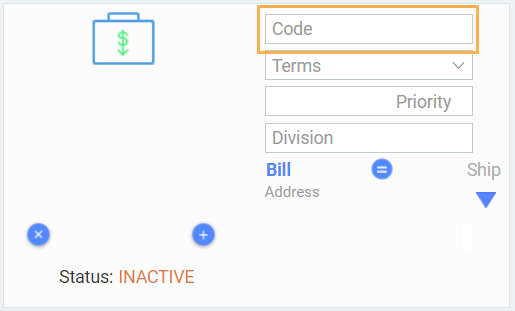
Fill in the required fields by typing or selecting a value from the drop-down list. Fields with drop-down values are marked with an arrow in the field.
-
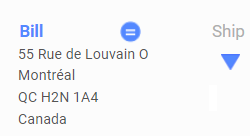
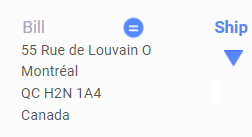
Step 4a: Add addresses
Follow this document to add a new address to your customer.

-
Step 5: Add more attributes and information
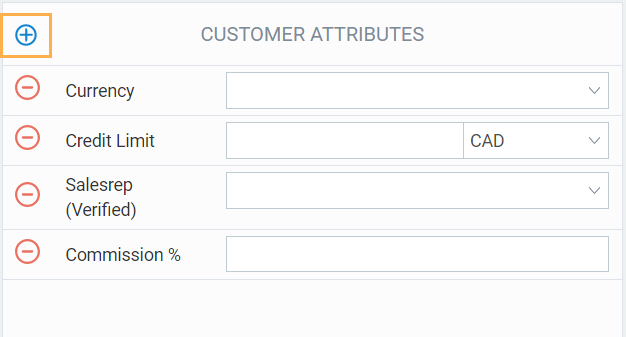
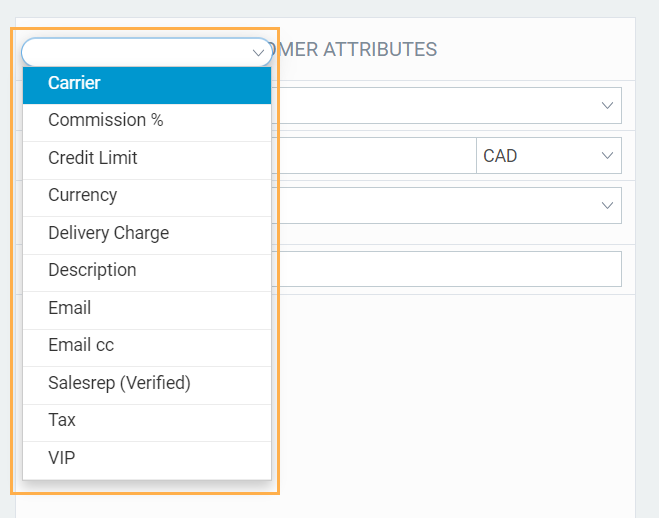
Note: In order to access this list, please ensure your screen resolution is at 100%. This can be done by pressing "Ctrl" + "0".
If the attribute(s) you'd like to enter are not in this list, you will first need to make sure they exist in ParagonERP. (For more information on adding attributes, take a look at our guide on What are attributes and attribute values?). Once you find any missing attributes, you will have to add them to the customer screen via reference screen setup.
-
Step 6: Add notes and attachments (optional)
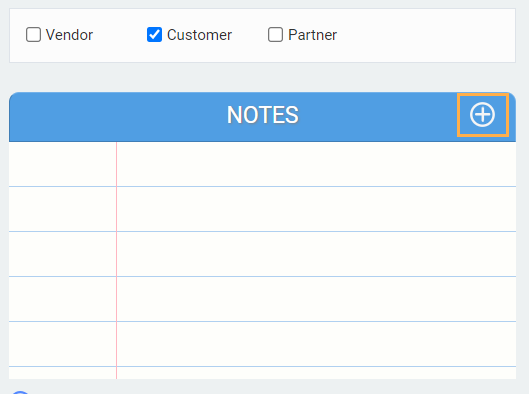
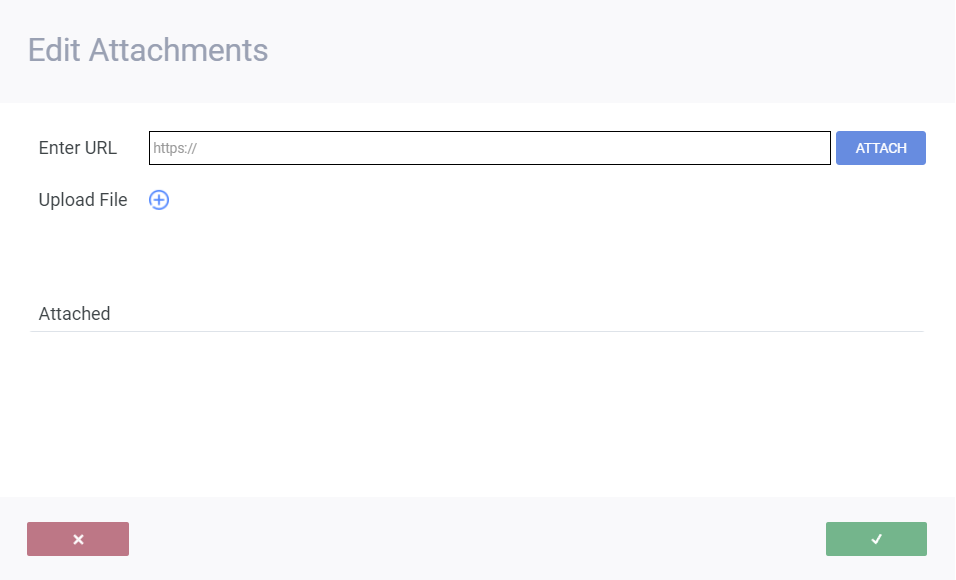
Remember to click attach if using an URL before saving or your attachment will not be saved!
-
Step 7: Save your customer

Any fields that are left blank will no longer show on the screen when you save the customer.
-
Step 8: Activate your customer
Once you've saved your new customer, you can activate it from the action button at the bottom right corner of the screen. Your customer is now active and can be used on transactions.
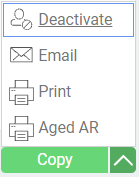
Action button
After activating your customer you can use the action button to deactivate the customer if necessary, as well as print, copy or email the customer. Selecting the print option will print the customer statement for this company. You can also access the customer aged AR report. For more information on this report, read our guide on How to use the AR Aging Report
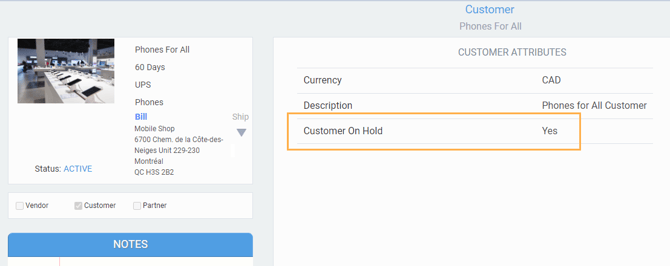
On hold customers
It may happen that you want to suspend a specific customer account. In this case, the customer on hold attribute can be activated until the account has been settled. This will prevent any sales transactions from being issued, while the customer remains on hold.
What's next?
Now that you know how to create a new customer, take a look at these other articles to familiarize yourself with references in Paragon.