![paragon logo-1.png]](https://support.paragon-erp.com/hs-fs/hubfs/paragon%20logo-1.png?width=240&height=75&name=paragon%20logo-1.png)
Introduction
Go to the product module
You can click the product button on the sidebar or select it from the more menu.

Create a new product
This is the list view of the product module. To create a new product click the create new product button.

A blank product screen will appear. The product screen is separated into three categories. When creating new products, only sections 1 and 2 will be filled out.

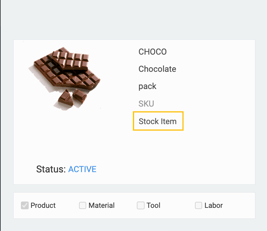
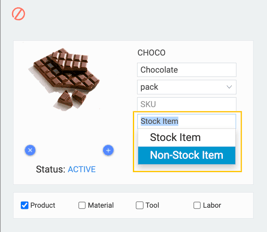
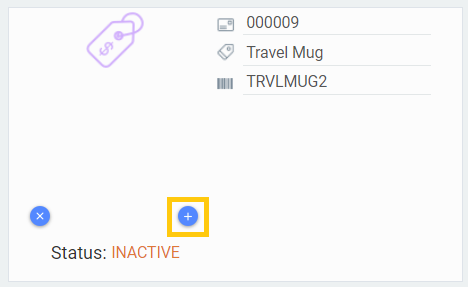
Business card

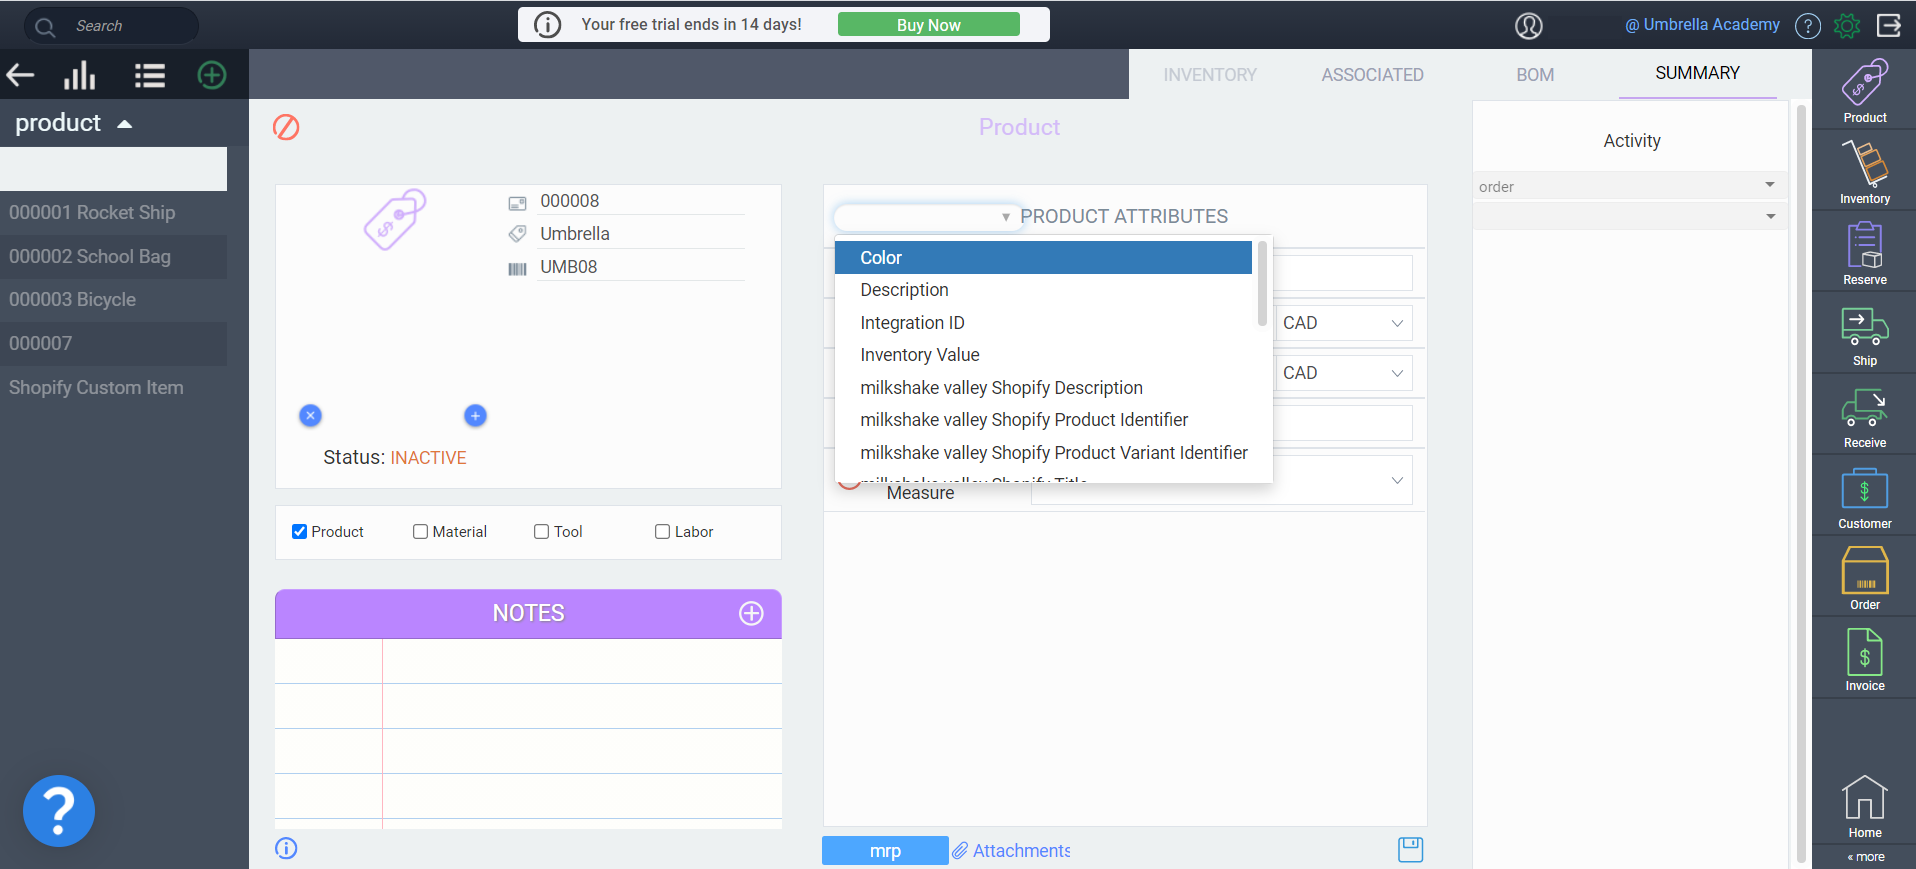
Add more attributes and information
In the product attrributes panel, only the attributes that were set as always show in product settings will display on the new product screen. To add a field that you do not see, but is required for the specific product, press the blue plus icon. Select an attribute to add from the list that displays.
In order to access this list, please ensure your screen resolution is at 100%. This can be done by pressing "Ctrl" + "0".
If the information you'd like to enter is not in this list either, you will need to add it to Paragon through reference screen setup.
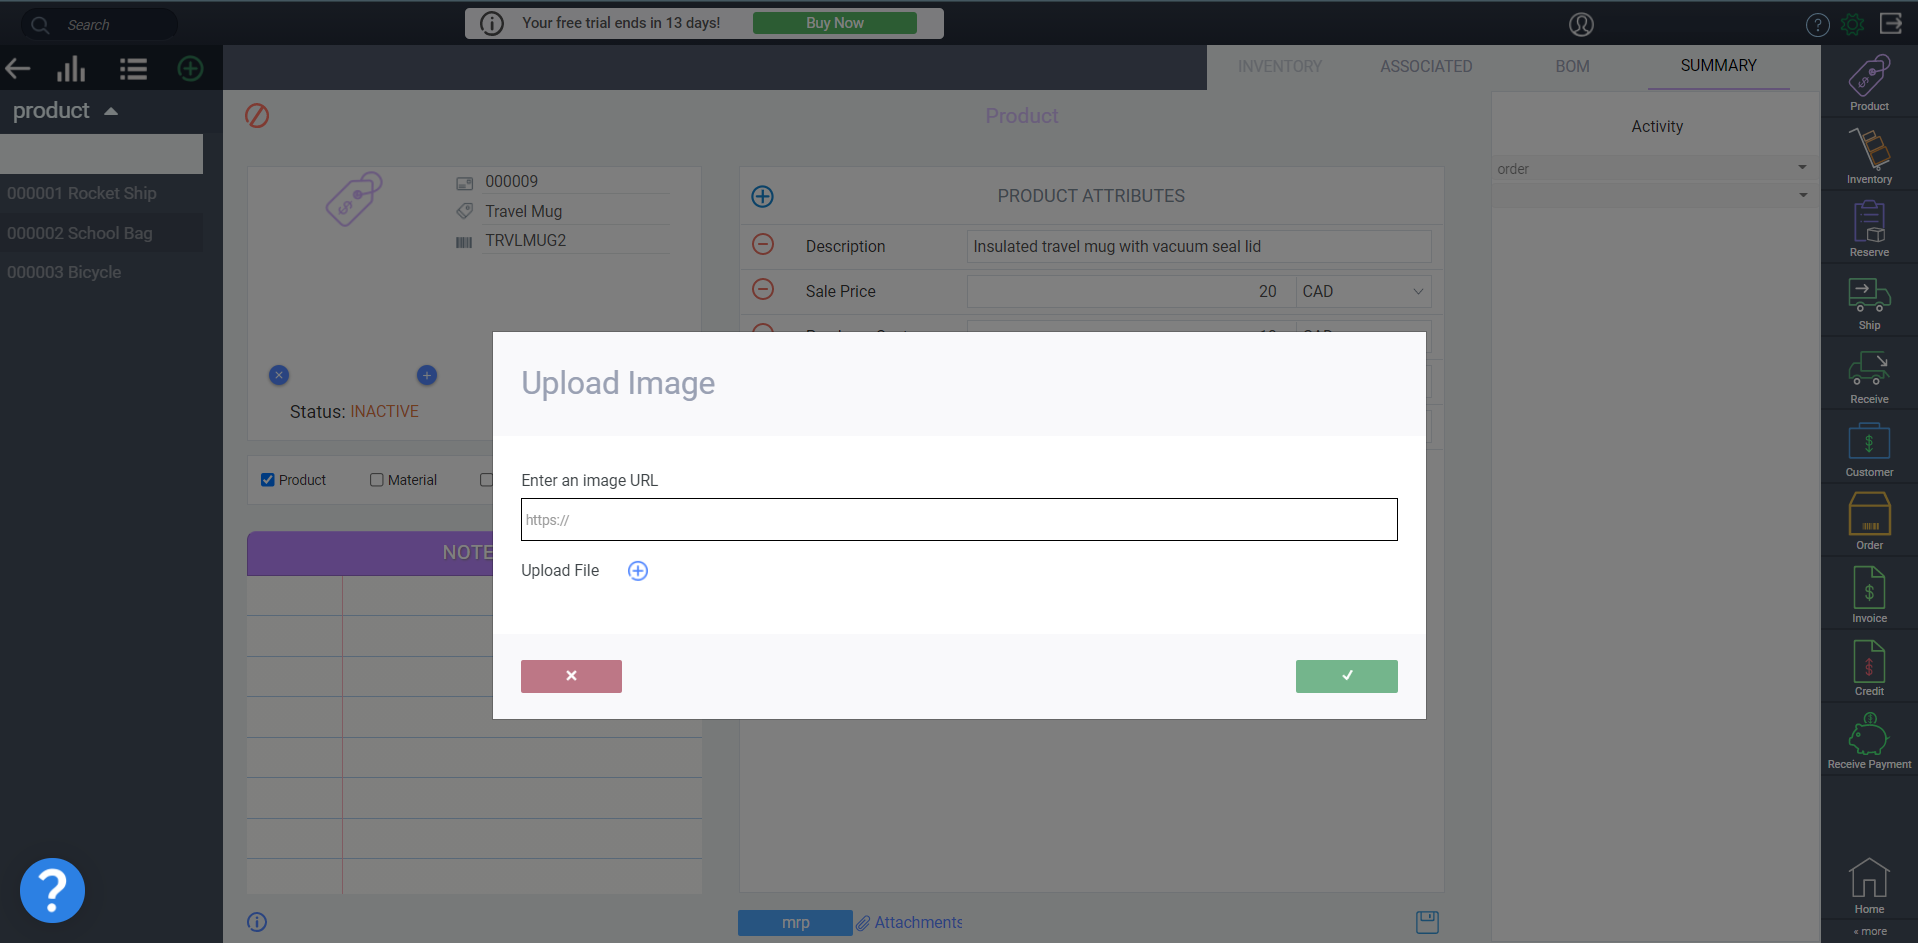
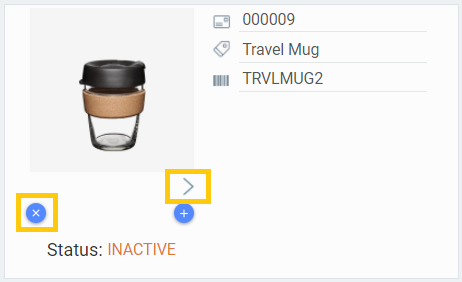
Adding and removing images
You are able to add multiple images in either format to each product. Don't forget to save!
- If you have added multiple images, you can cycle through them by clicking the arrow.
- To remove an image simply click the remove button
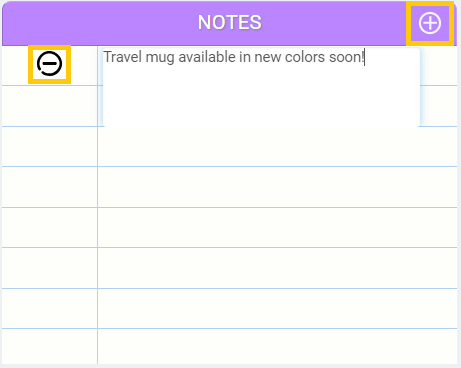
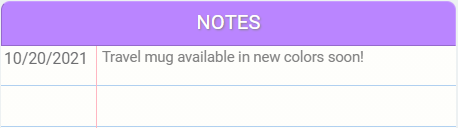
Adding notes
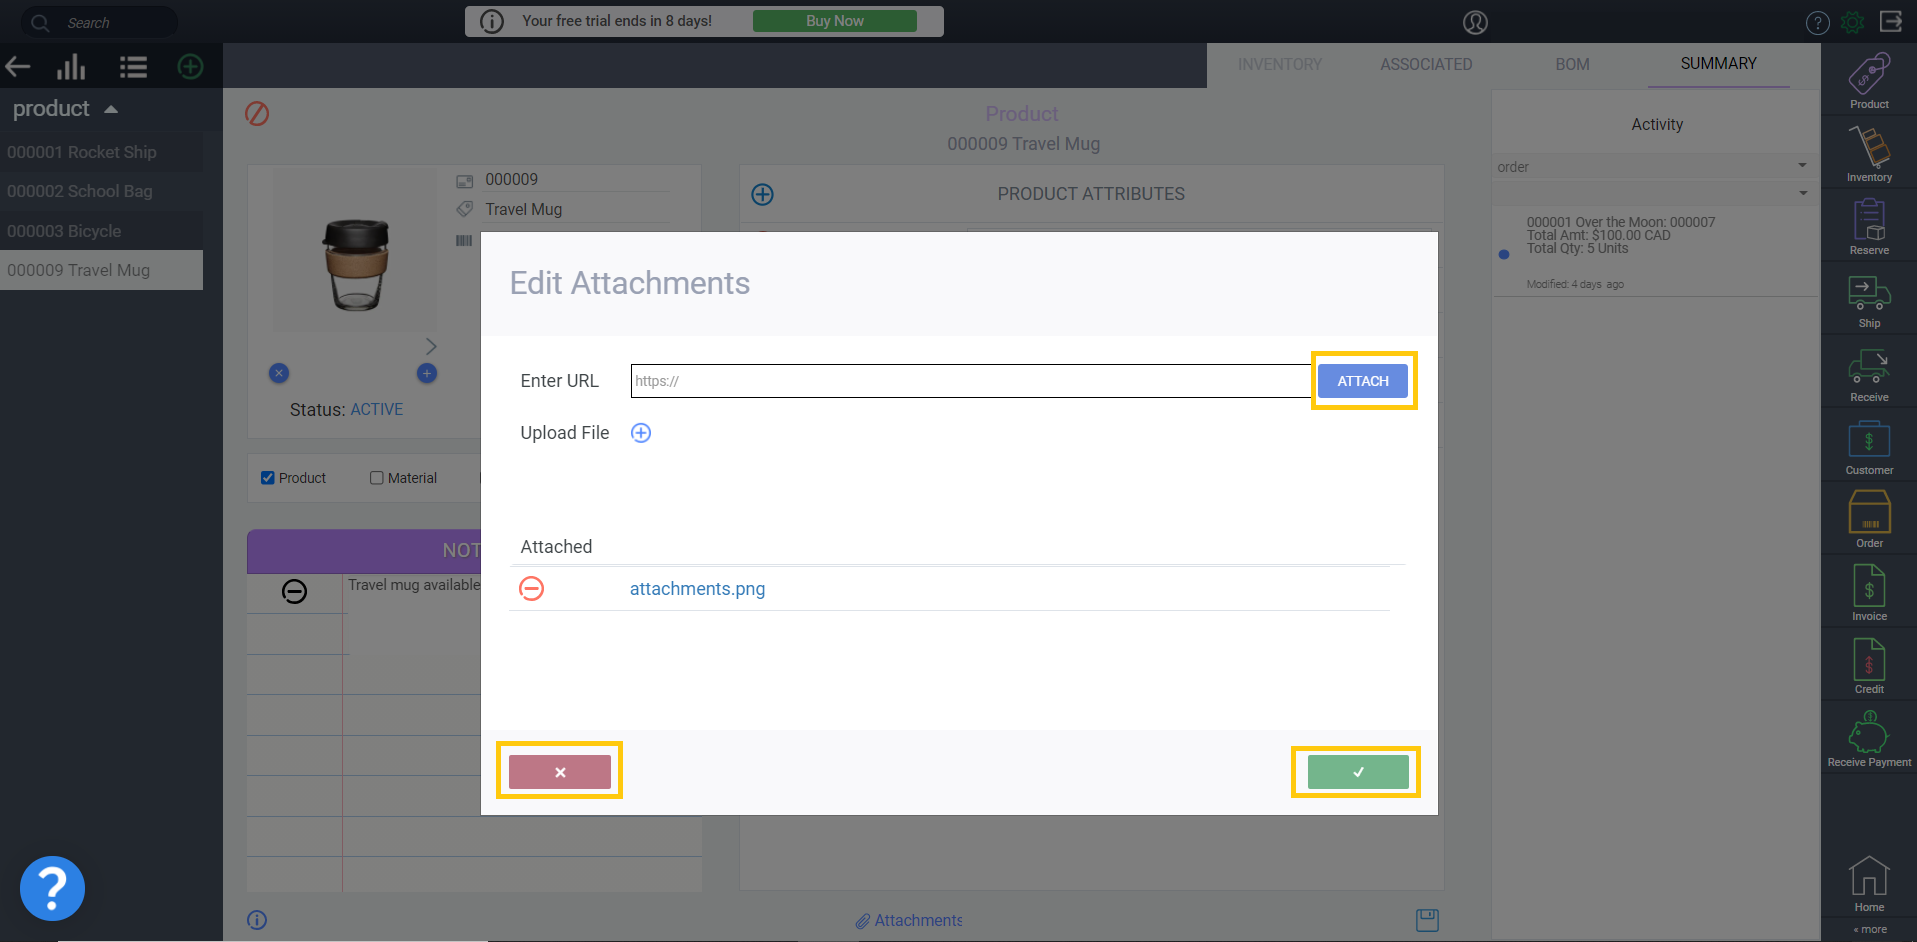
Adding attachments

Remember to click attach if using an URL before saving or your attachment will not be included.
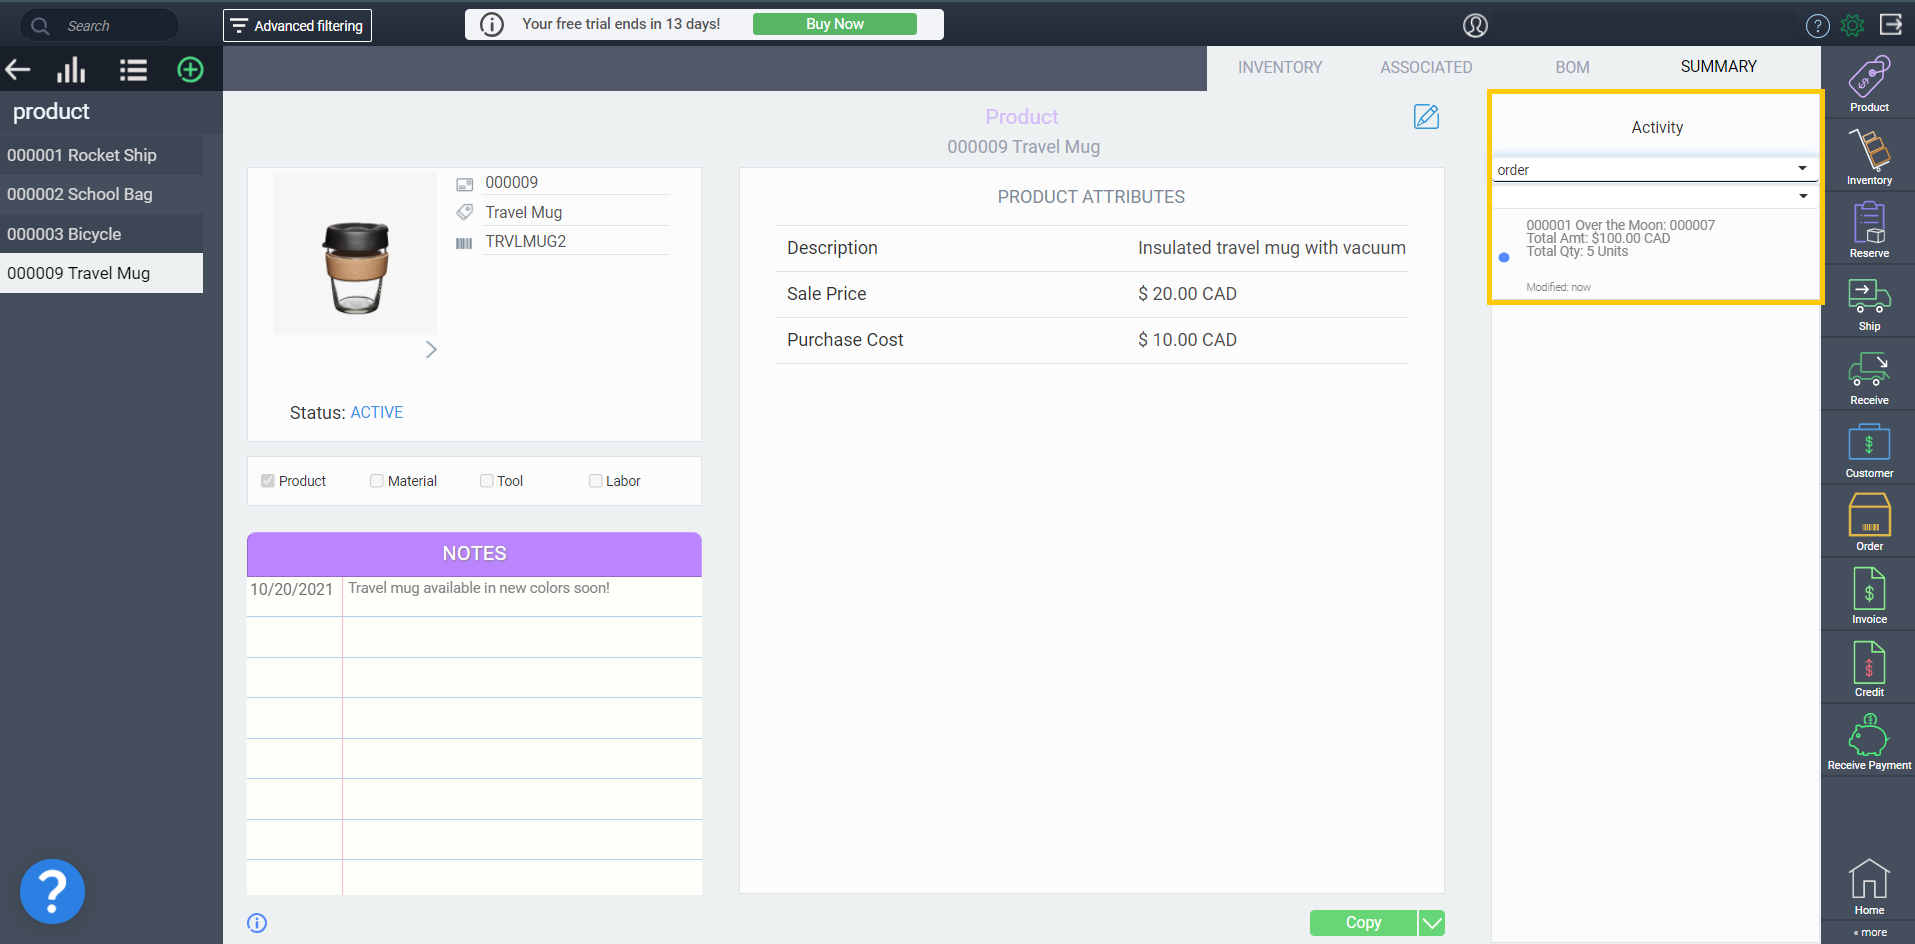
Activity panel

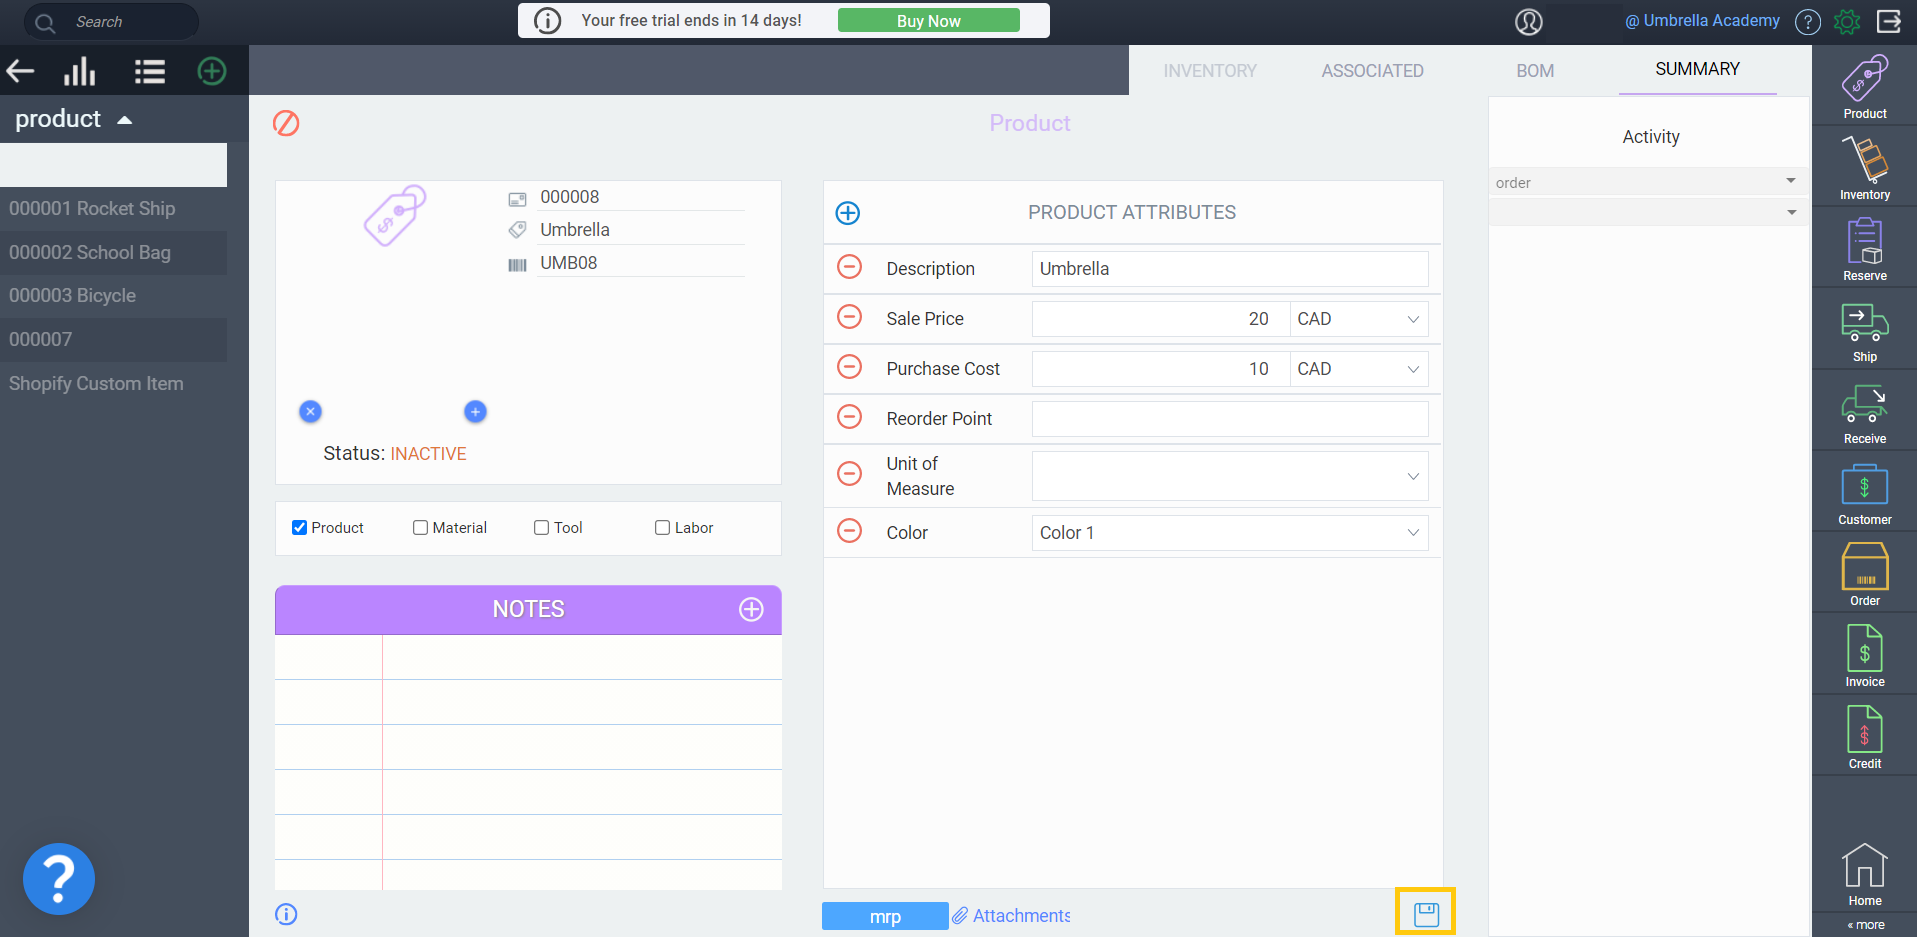
Save your product
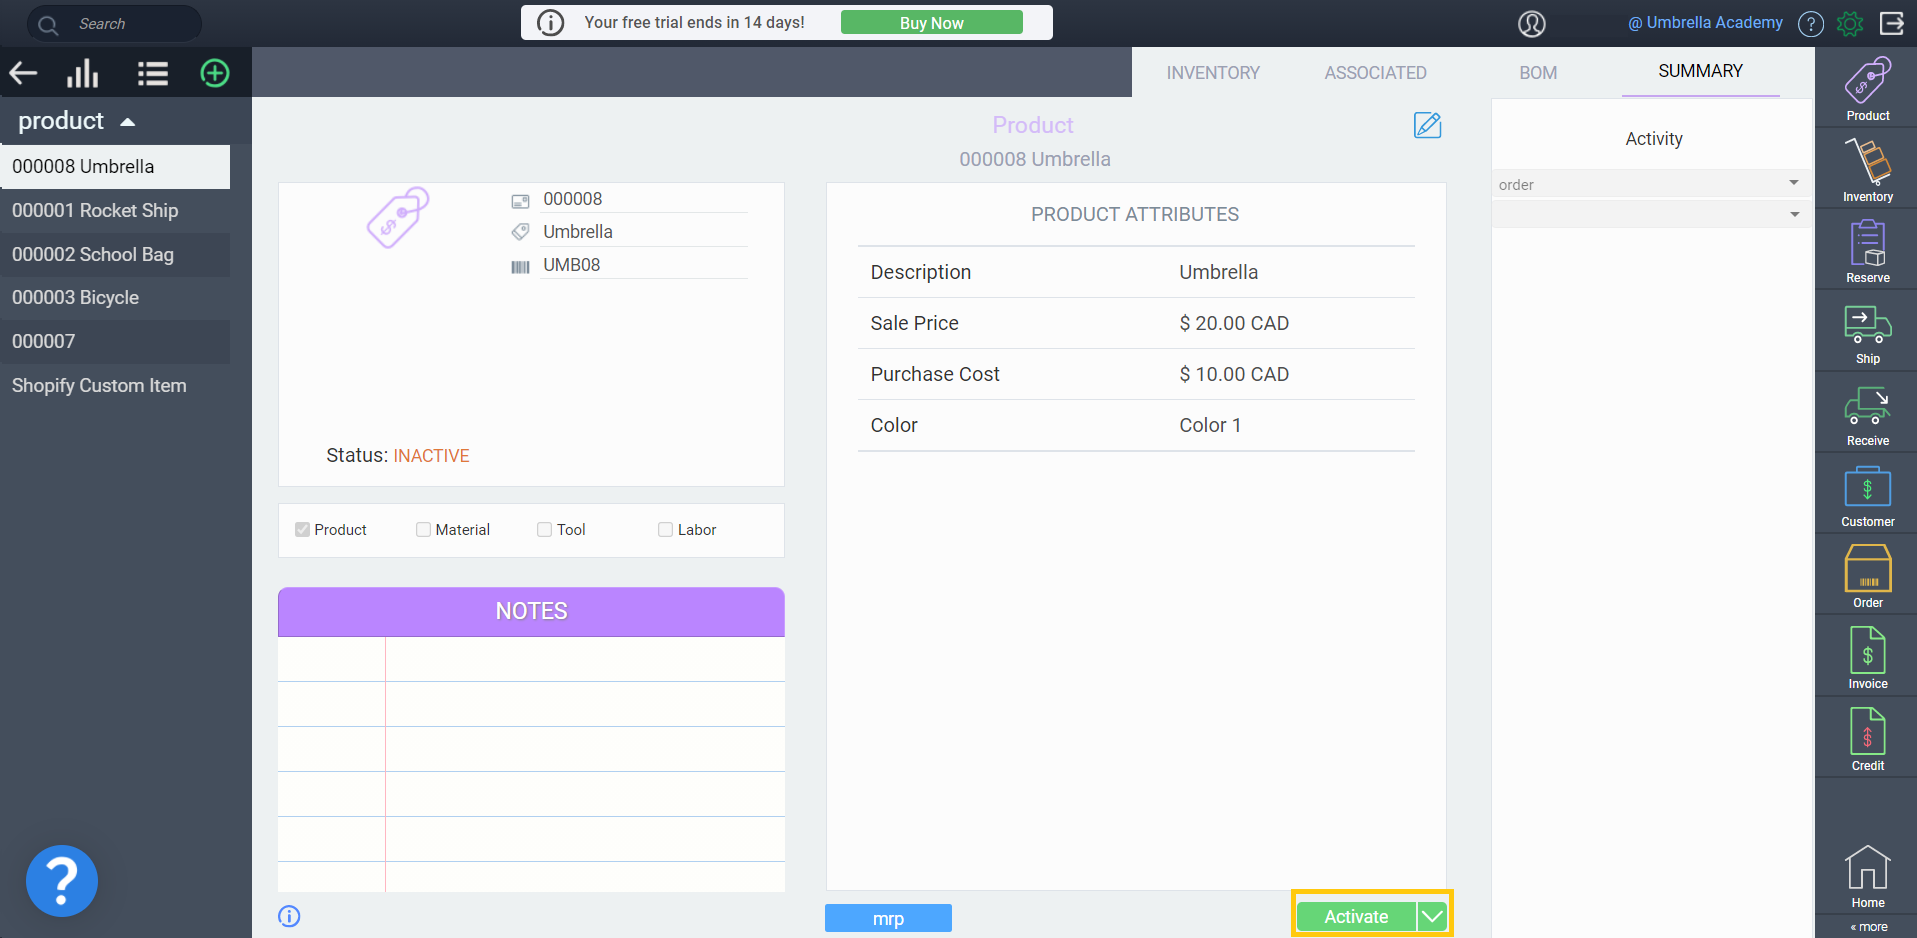
Activate the product
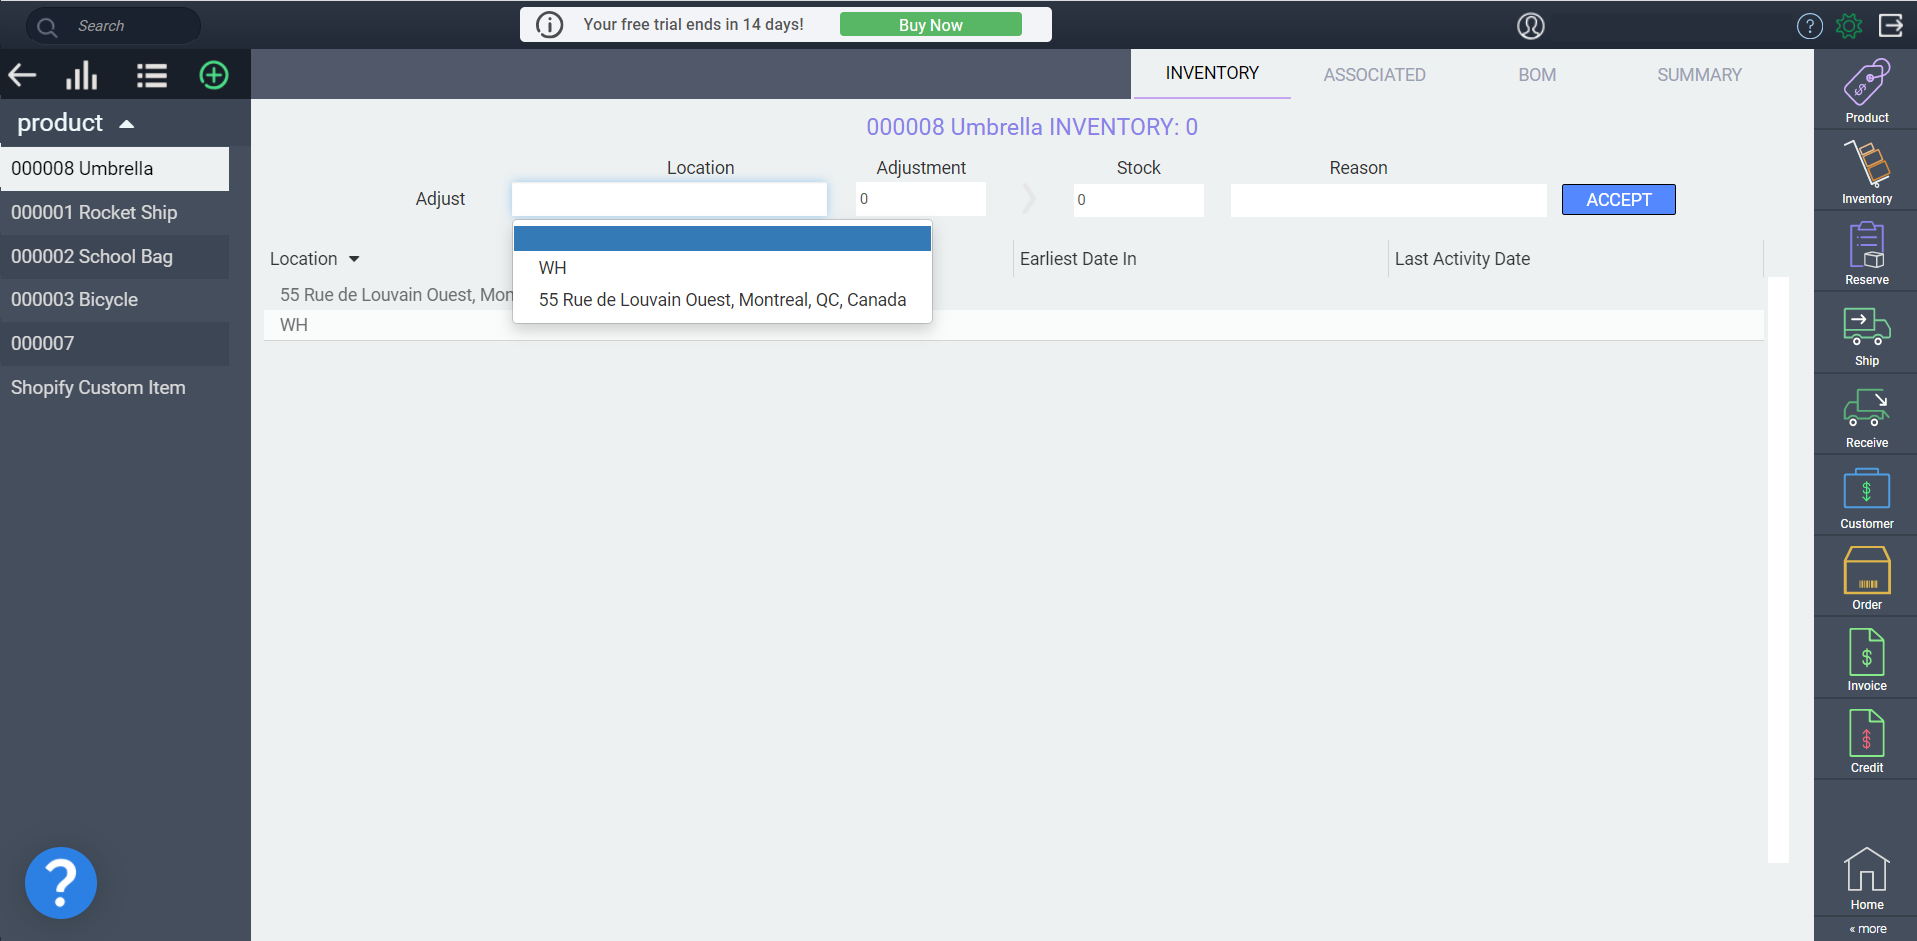
Adjust inventory
-
Click the location bar to open a drop down menu of your locations.
-
Select the warehouse location for which you wish to adjust the inventory.
-
Enter the adjustment quantity, select a reason if applicable, and click accept to validate your change.
Note that if you need to move stock from one location to another, or view the history of all inventory movements for that item, this will still need to be done in the inventory module
