![paragon logo-1.png]](https://support.paragon-erp.com/hs-fs/hubfs/paragon%20logo-1.png?width=240&height=75&name=paragon%20logo-1.png)
Introduction
Open the vendor invoice module
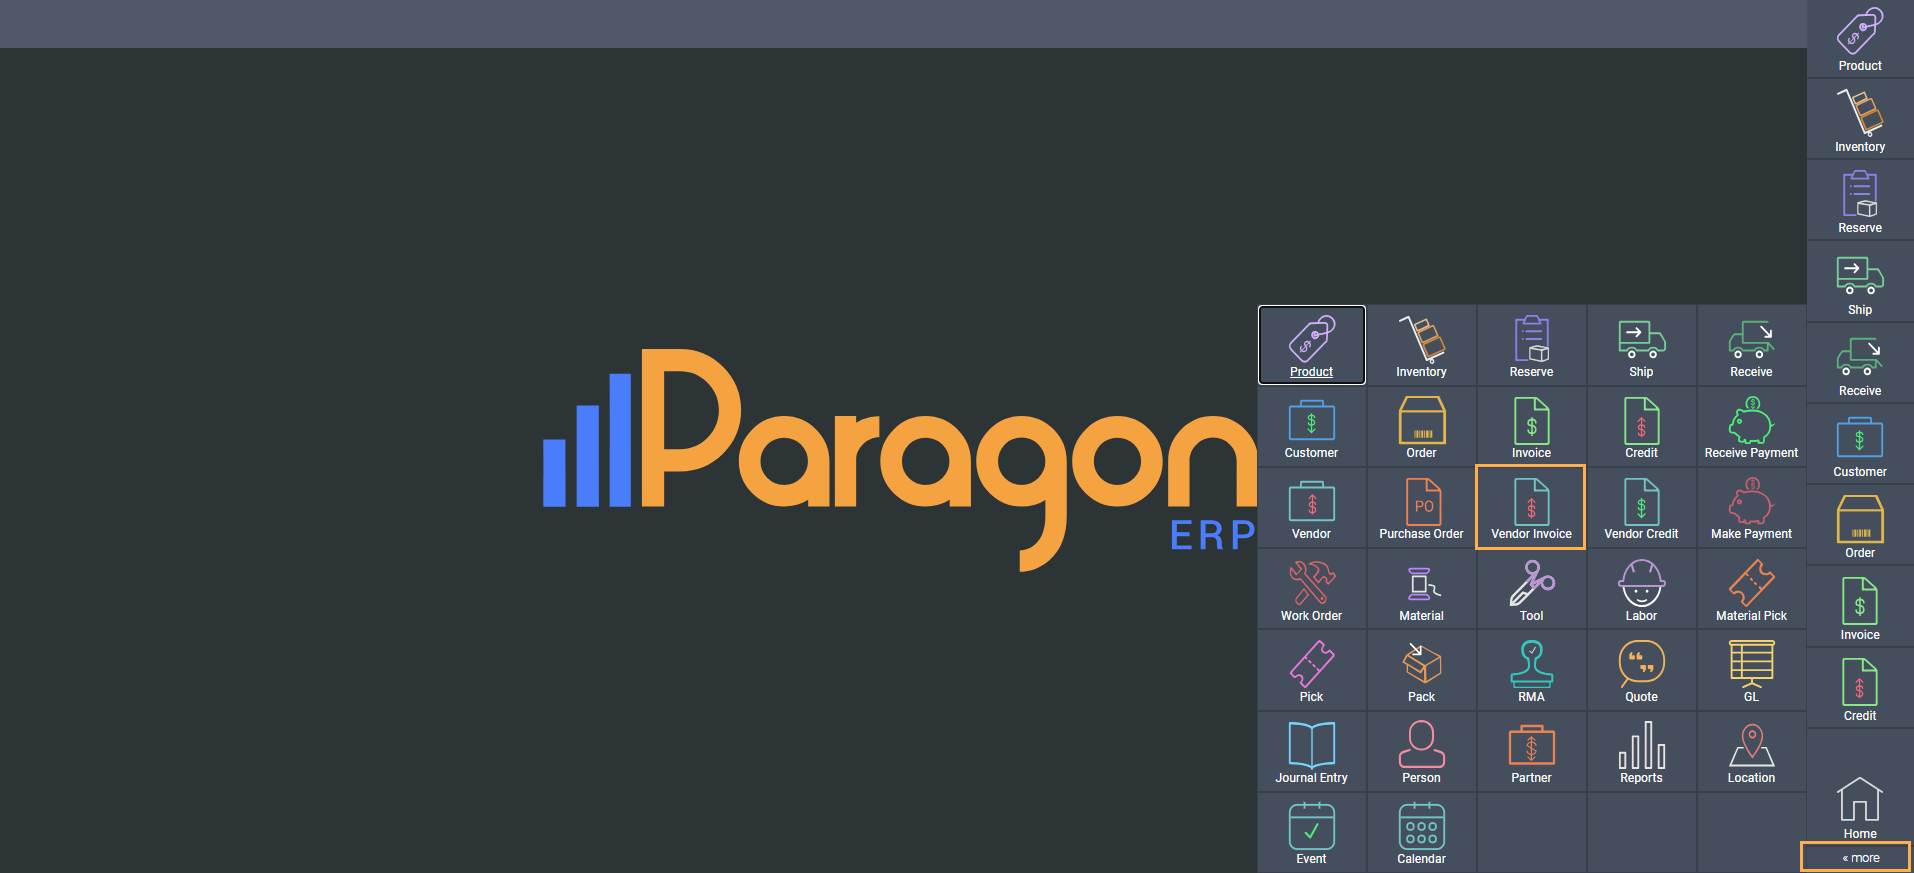
You can open the vendor invoice module in two ways. By clicking the vendor invoice button in the right hand navigation bar or through the more menu.
Creating a vendor invoice manually
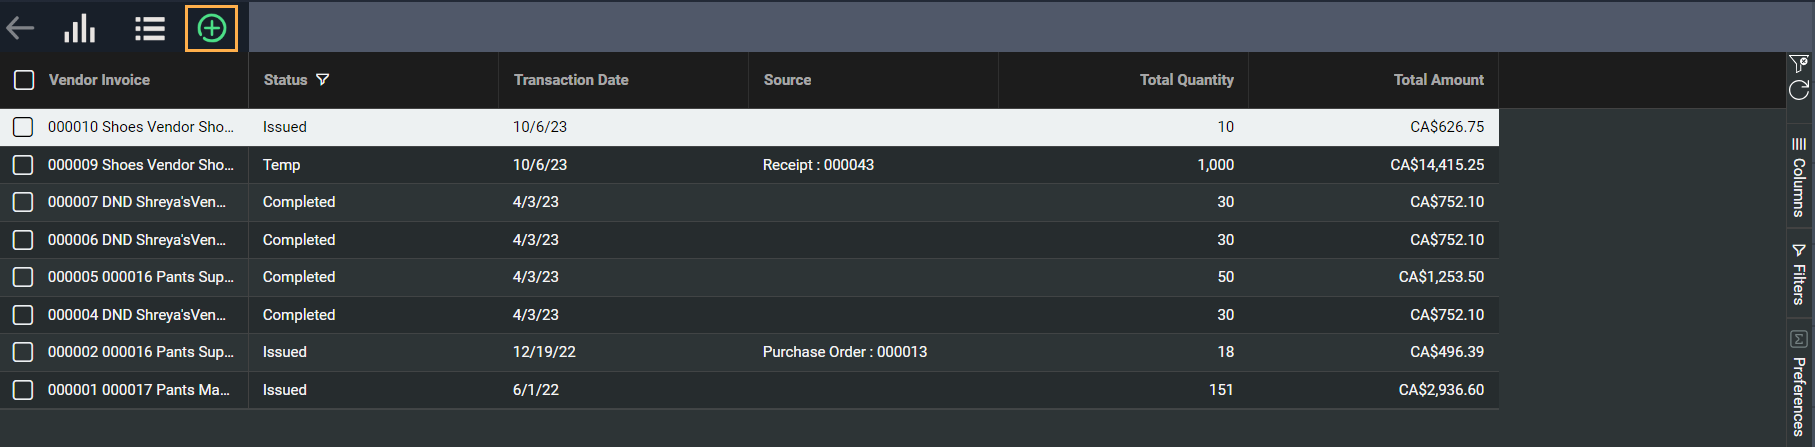
This is the list view of the vendor invoice module. Click the create new button at the top left hand side of the screen.

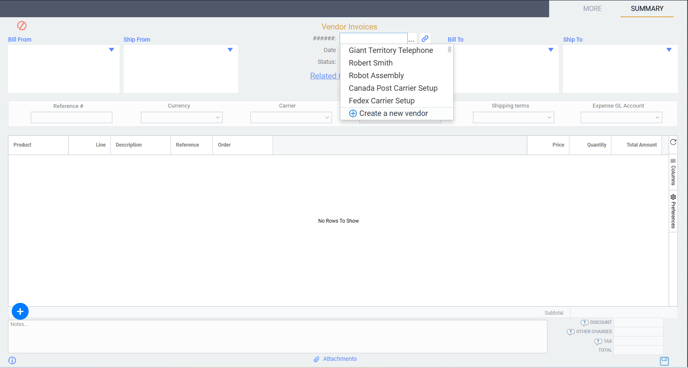
This screen will automatically be displayed after selecting manual.

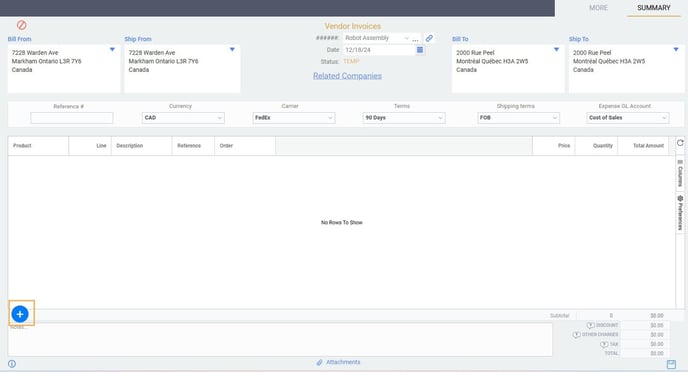
In the product lines section of the screen, click on the add new button.
This screen will automatically appear, where you can add products. The chosen product selection will be added to the vendor invoice by checking the box(es) at the left of the screen. If necessary, use the search field to find the products that you want to add to the invoice.
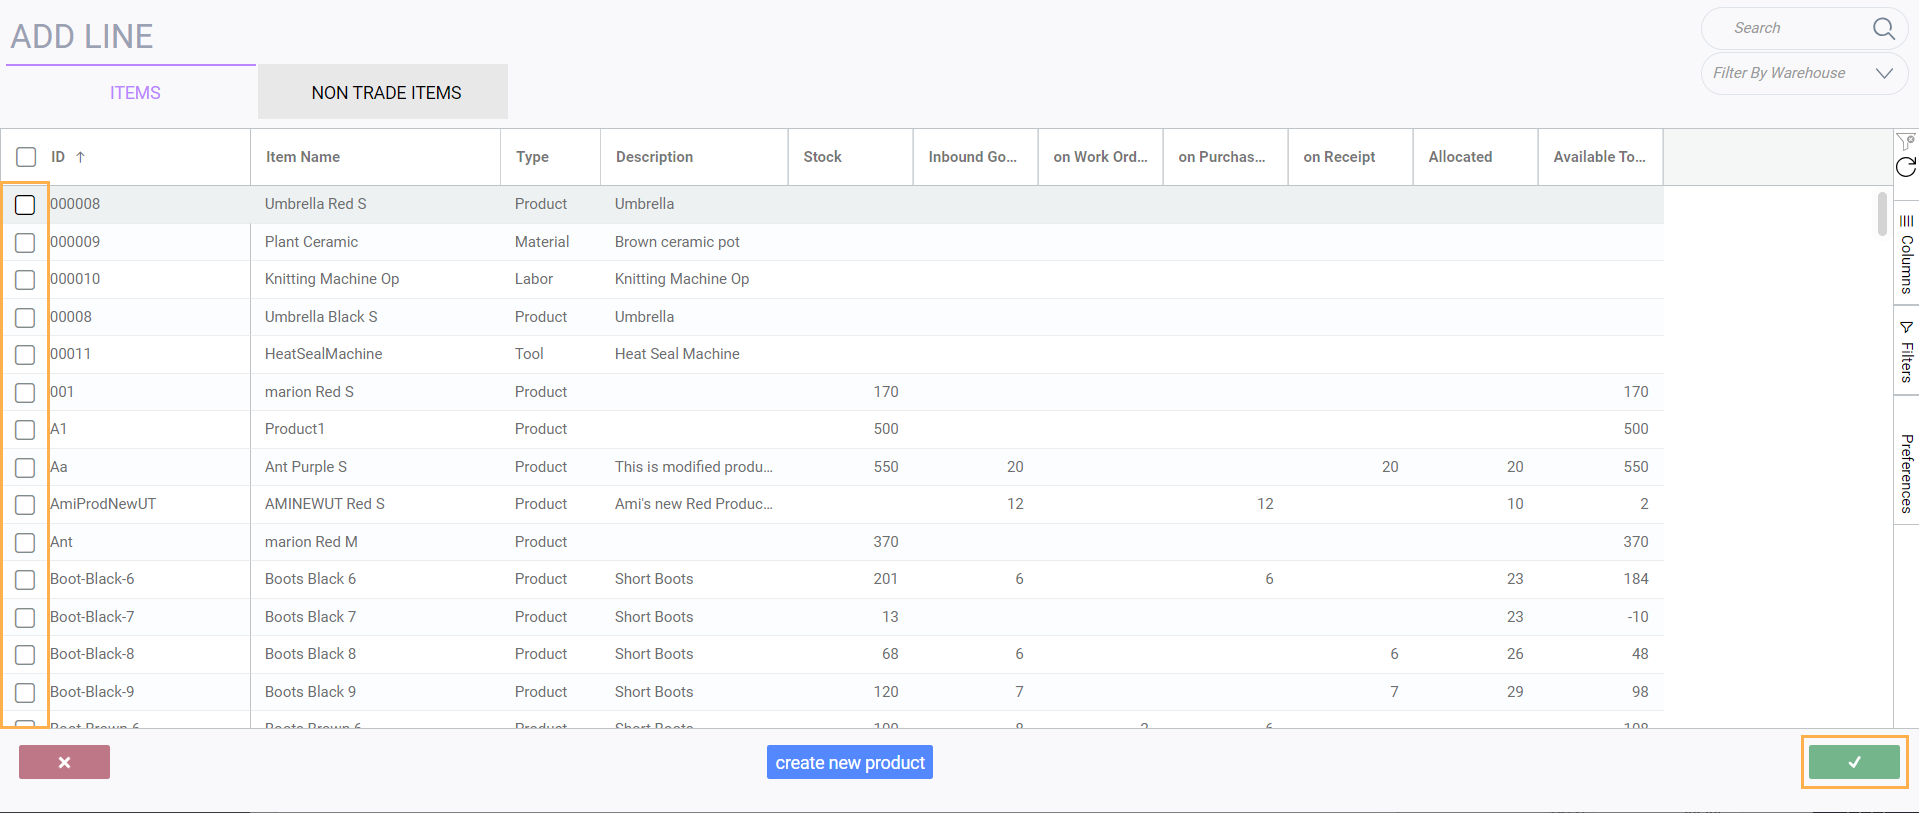
The selected items will appear in the product lines once you click the accept button.
Manually enter product quantities on each product line.
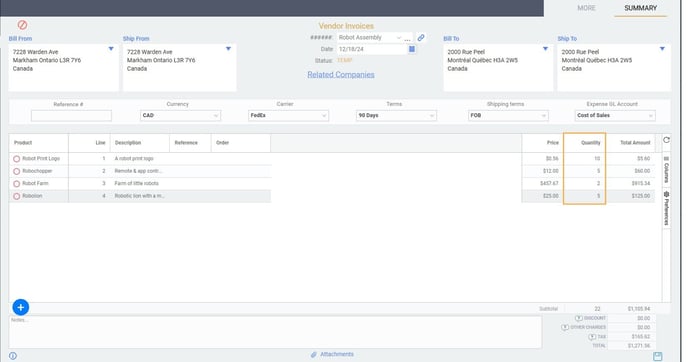
Verify vendor invoice information.
Verify addresses, product lines, date and currency of the invoice. Also verify the total and add discounts, other charges and taxes if applicable.

Avoid duplicate entries
In your vendor invoice setup, you may want to use an attribute called vendor invoice number. Here you can enter the invoice number provided by your vendor. If the vendor invoice number attribute entered matches one already used on an existing transaction (for the same vendor), a warning notification is triggered to alert you to the possible duplication.

Creating a vendor invoice from a receipt
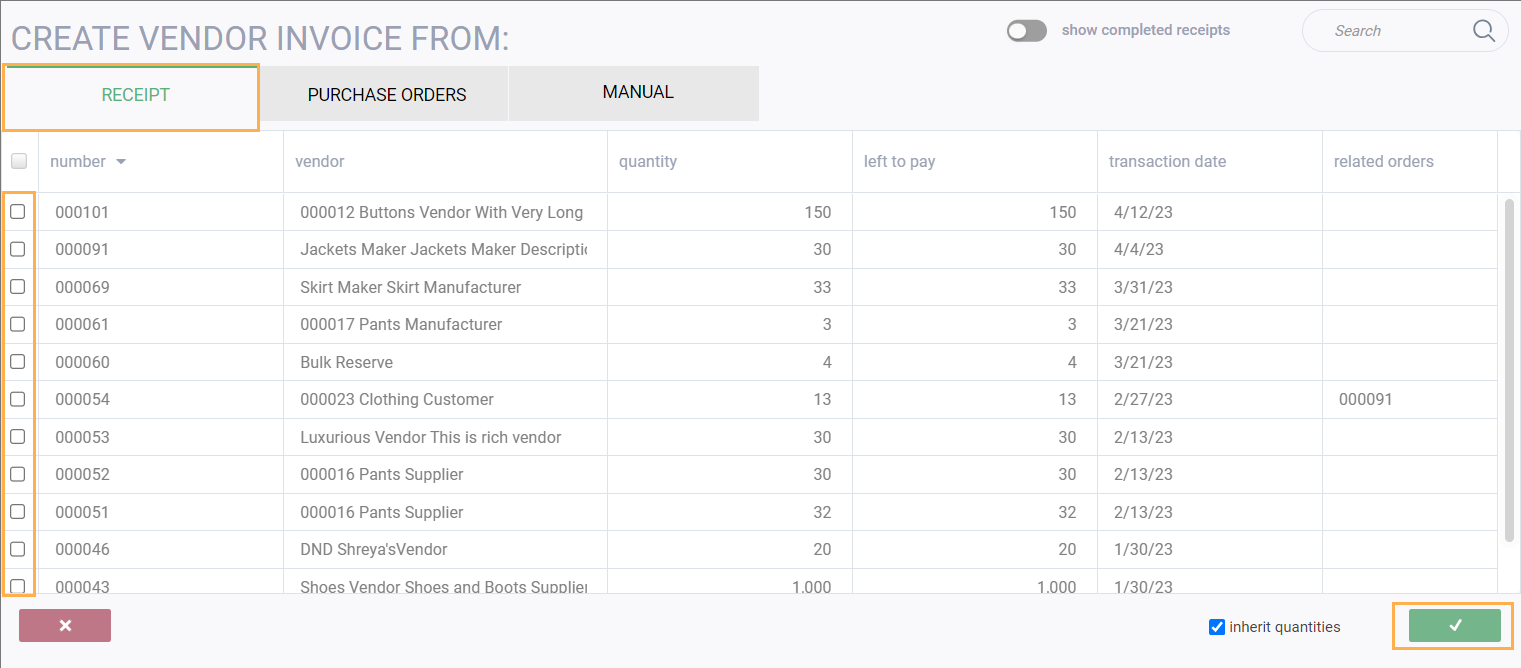


Note that it will automatically be assigned a vendor invoice number and be assigned a temp status.

Creating a vendor invoice from a purchase order
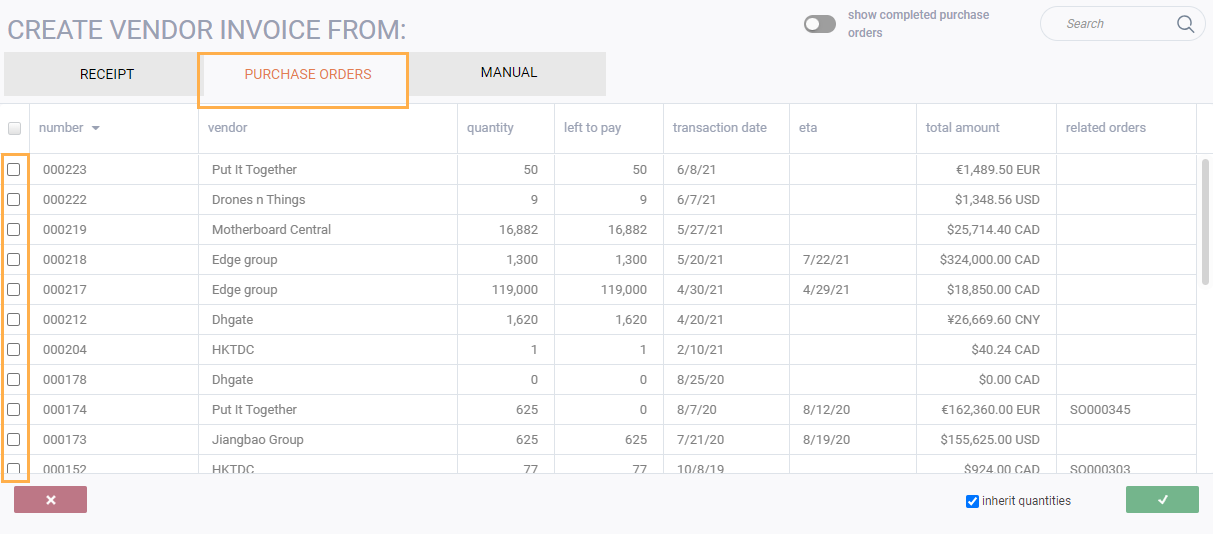
Note that it will automatically be assigned a vendor invoice number and be assigned a temp status.
I've created my vendor invoice, what else can I do?
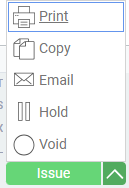
Once a vendor invoice has been created you can proceed in a number of ways using the action button in the bottom right hand corner:
What's Next?
For more information on transaction and transaction screens, why not take a look at some of these handy articles: