Creating and updating the product bill of materials (BOM)

Introduction

Every manufactured product is made up of component materials (steel, plastic, fabric, nuts, bolts...). Chances are when you make your own company products, you'll also want to keep track of the materials and tools it was made from. You might even want to keep track of the labor processes and the people who helped assemble the product. The product bill of material (or BoM) in Paragon allows you to do just that!

Paragon presents you with an easy way to add and track a product's BoM. Here, we'll walk you through it.

Create material components

First, you'll need to make sure that the materials required for the product BoM are set up. To do this, follow this document on creating materials in Paragon.

Create a new product

Next, you can create the product. To do this, follow this document on creating products in Paragon. Note that once you have the hang of one reference screen, you'll be able to easily navigate all other reference screens throughout the system.

Adding product BoMs
You can add your BoM manually or make use of our export and import function to make changes on a larger scale. To learn more about this, take a look at our article on Importing, exporting, or transferring my data
 
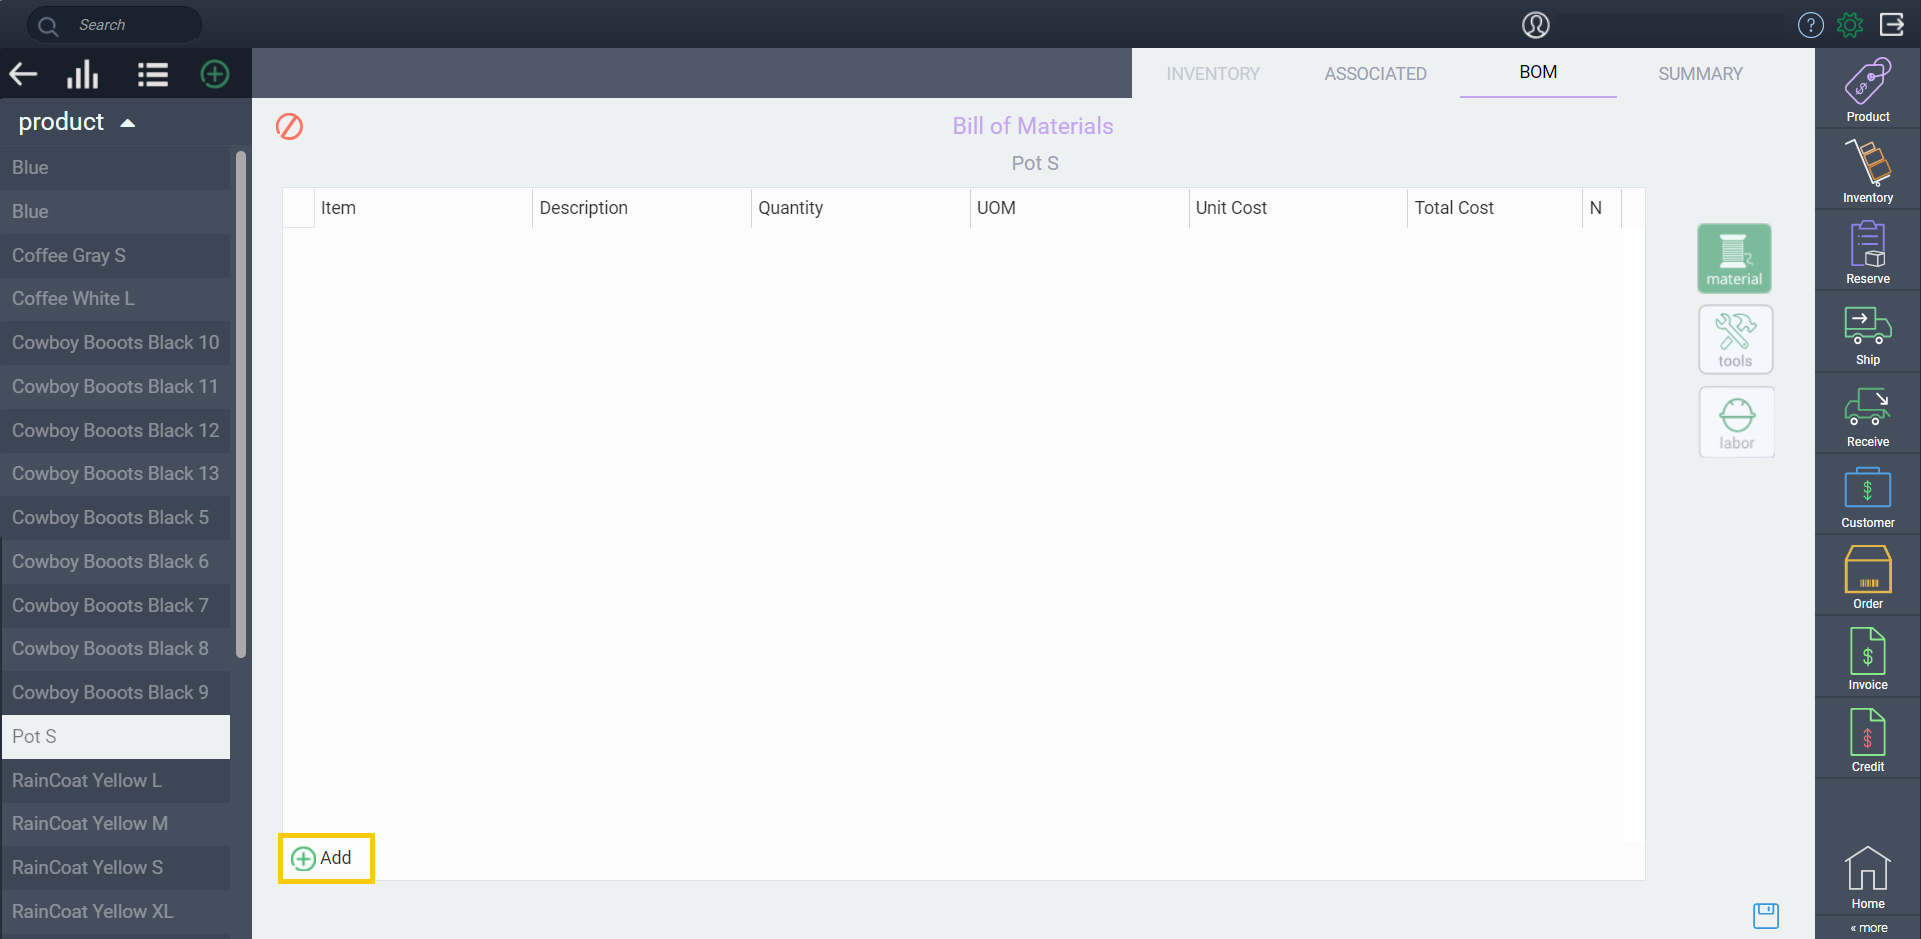
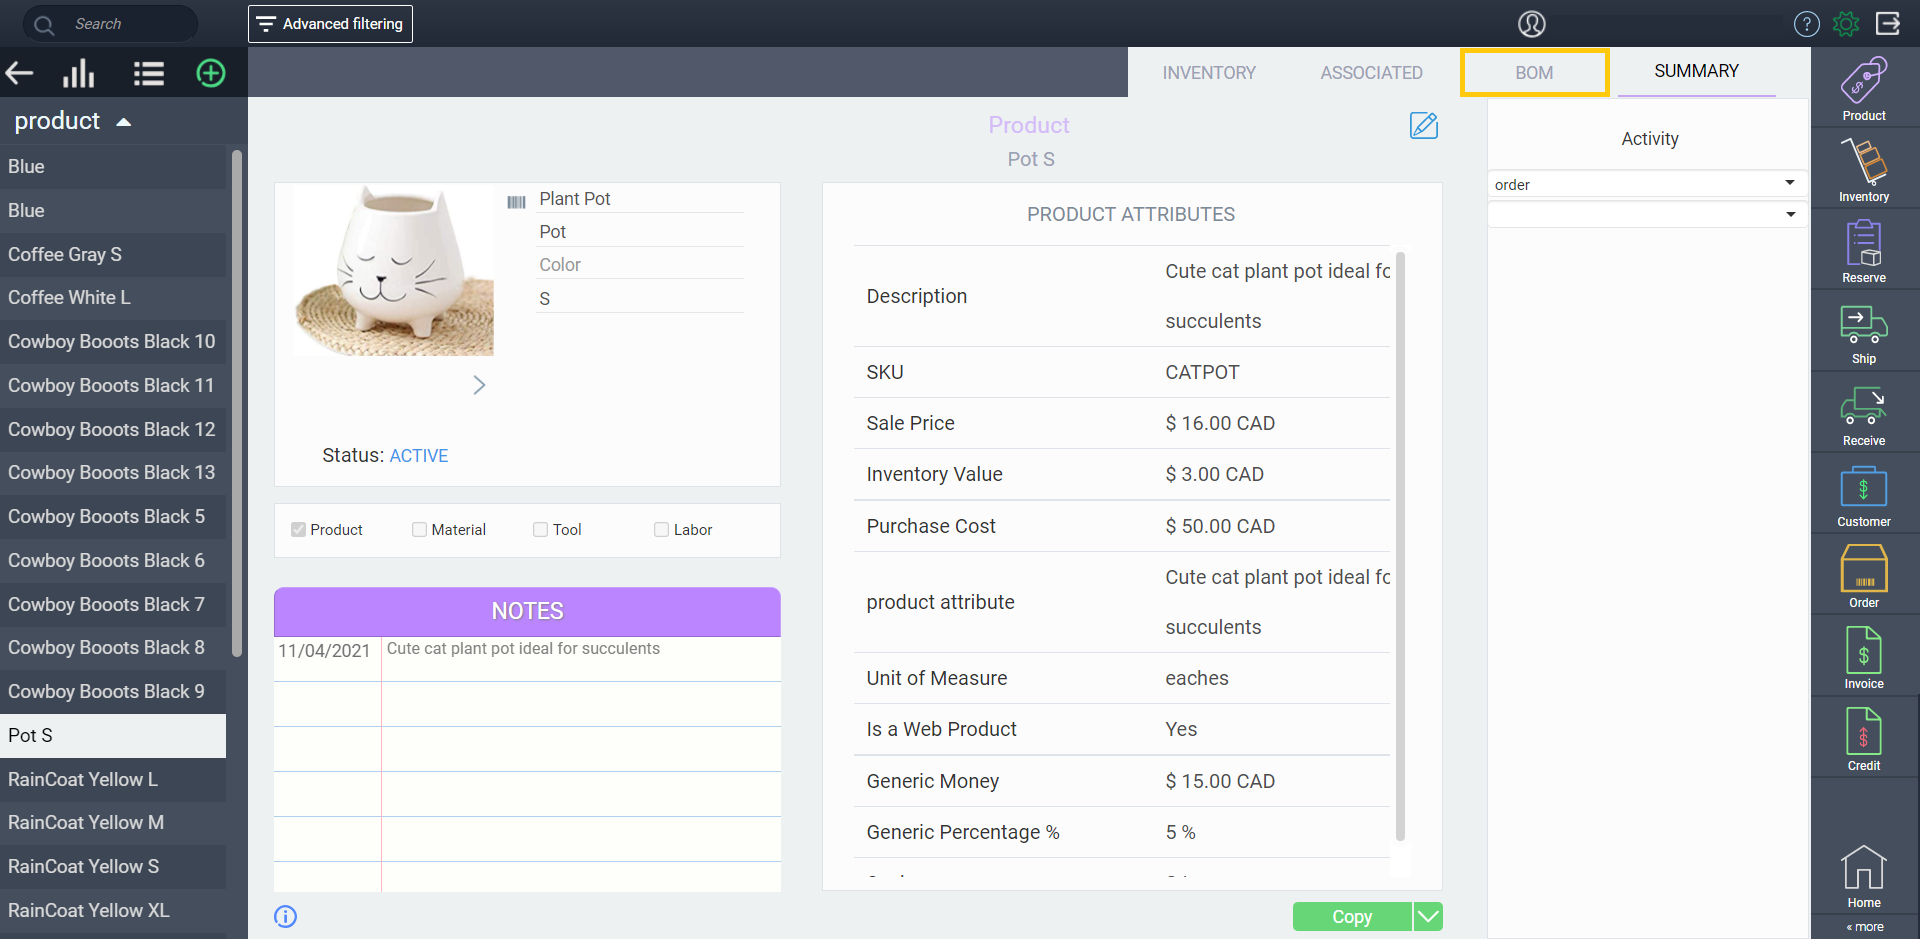
From the product summary screen, click the BOM tab .

You'll now be brought to the screen where you can add your BoM components. To start adding, click the edit button .

Select the material option on the right-hand side of the screen. Then, add a new material to the BoM by clicking the add button in the bottom left-hand corner.

 
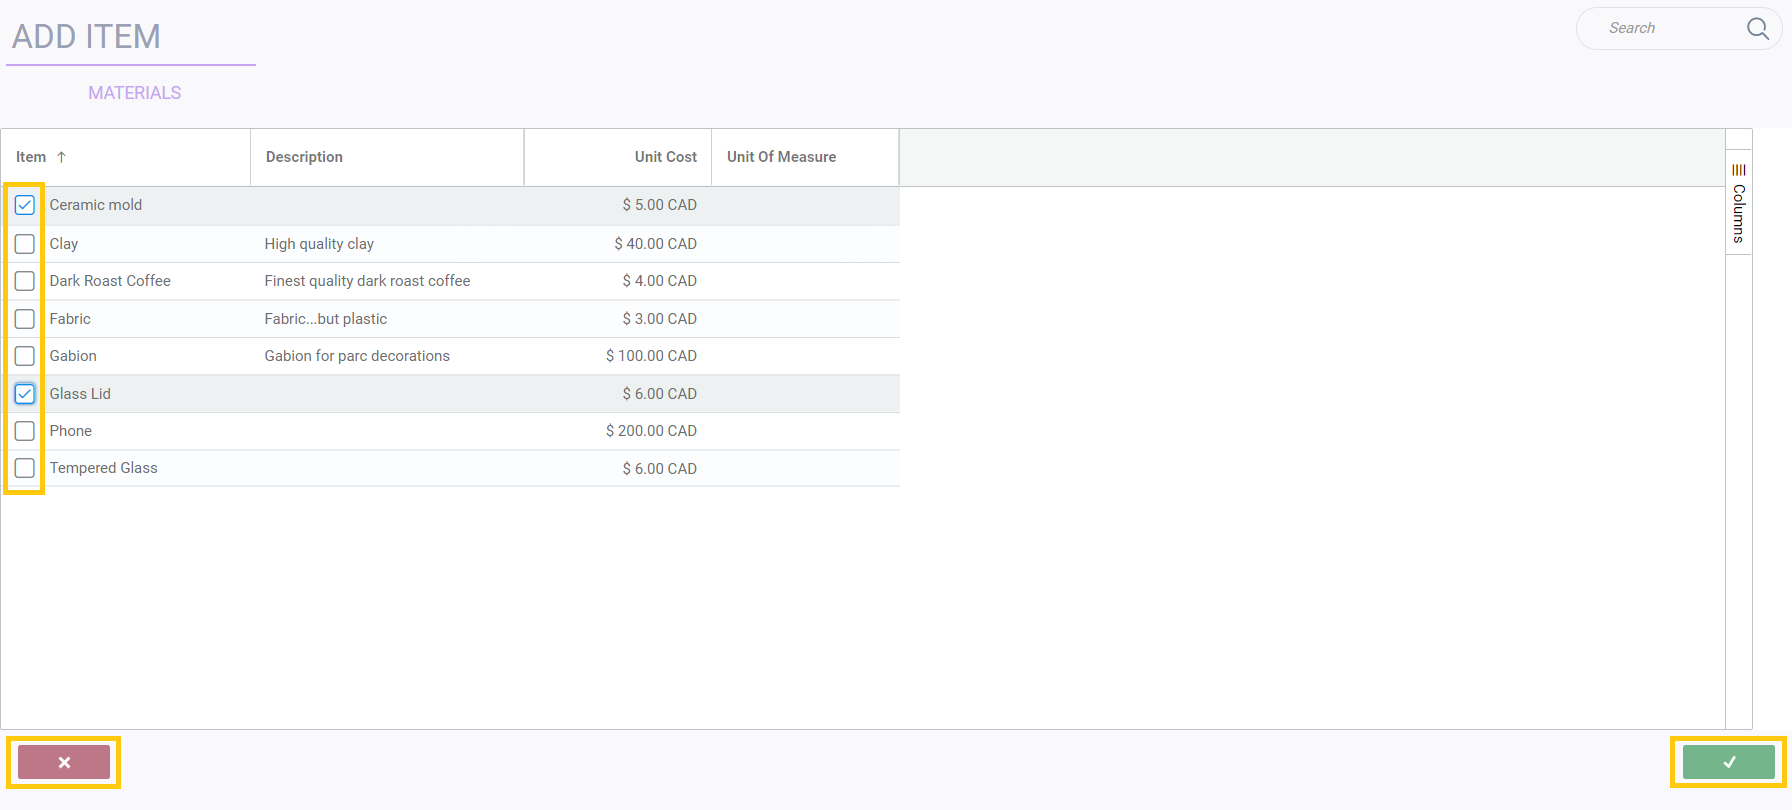
A modal will pop up and prompt you to select the appropriate materials for constructing the product. You can either check the boxes on the left of the materials or type in the search bar to find the specific material you're looking for. You also have the option to select which columns you wish to view and use these to group products together. When you're all done selecting, click  accept at the bottom right-hand corner of the modal or click cancel at any time. To learn more about our add item modal, you can read our article, How to use the add item modal


If your material does not appear in this list, it may not have been activated. Return back to the material module and activate your material. Labor and tools can also be added to the BoM in exactly the same way by selecting from the options on the right.

Note that the unit cost of each component is pulled from the material file and the cost per finished product is calculated based on the units required to create the product (found in the BoM). The cost of the finished item can be edited if needed!

You can also add notes to each line using the notepad button on the right side.
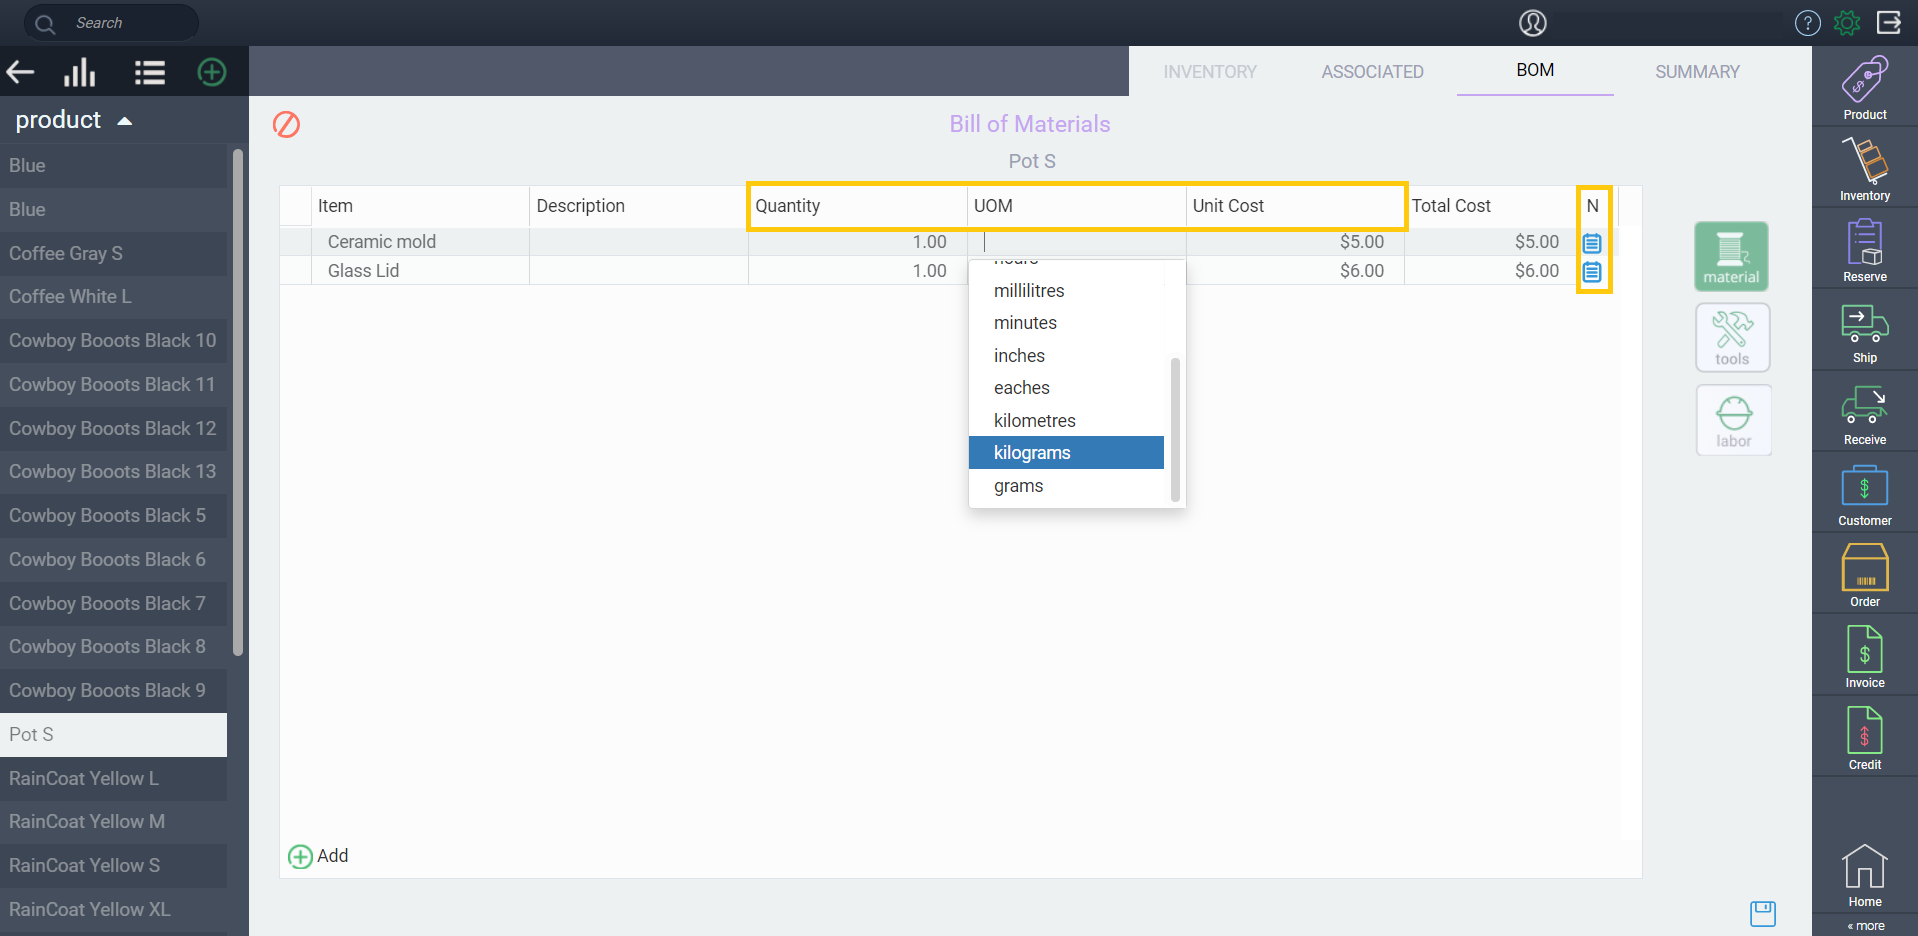


When you're done adding everything, click the save button in the bottom right-hand corner.


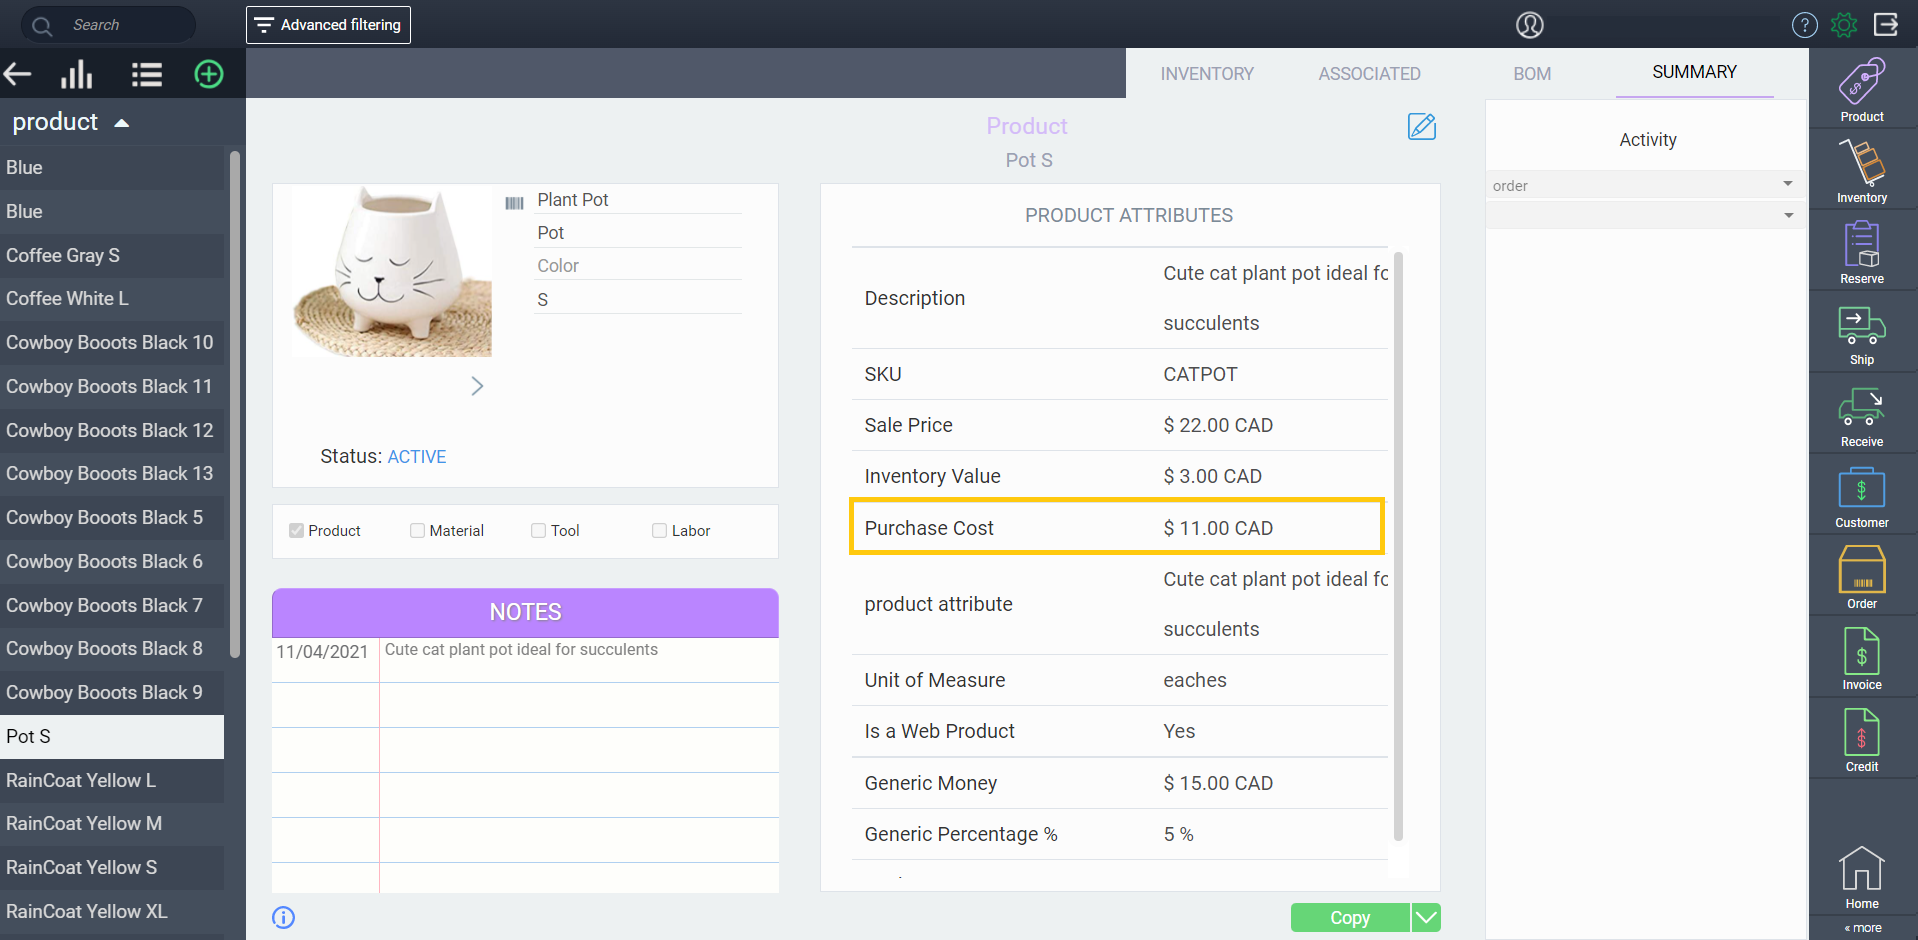
When you return to the summary screen of the product file, you will see that the purchase cost field is automatically calculated based on the cost of all components entered on the BoM.

Update the product BoM unit costs with the material's inventory value
When it comes to tracking and updating your data, Paragon allows you to track estimates and actual bill of materials usage and costs.
Another powerful feature in Paragon is automatic inventory valuation for finished products and materials, which means you can decide to use the weighted average cost of materials as the unit cost in your product BOMs. Using the inventory value of the BOM components instead of the standard purchase cost gives a more accurate estimate for the finished product. 


If you want to utilize this functionality, contact support@paragon-erp.com or your Paragon Implementation Partner for assistance with setup.


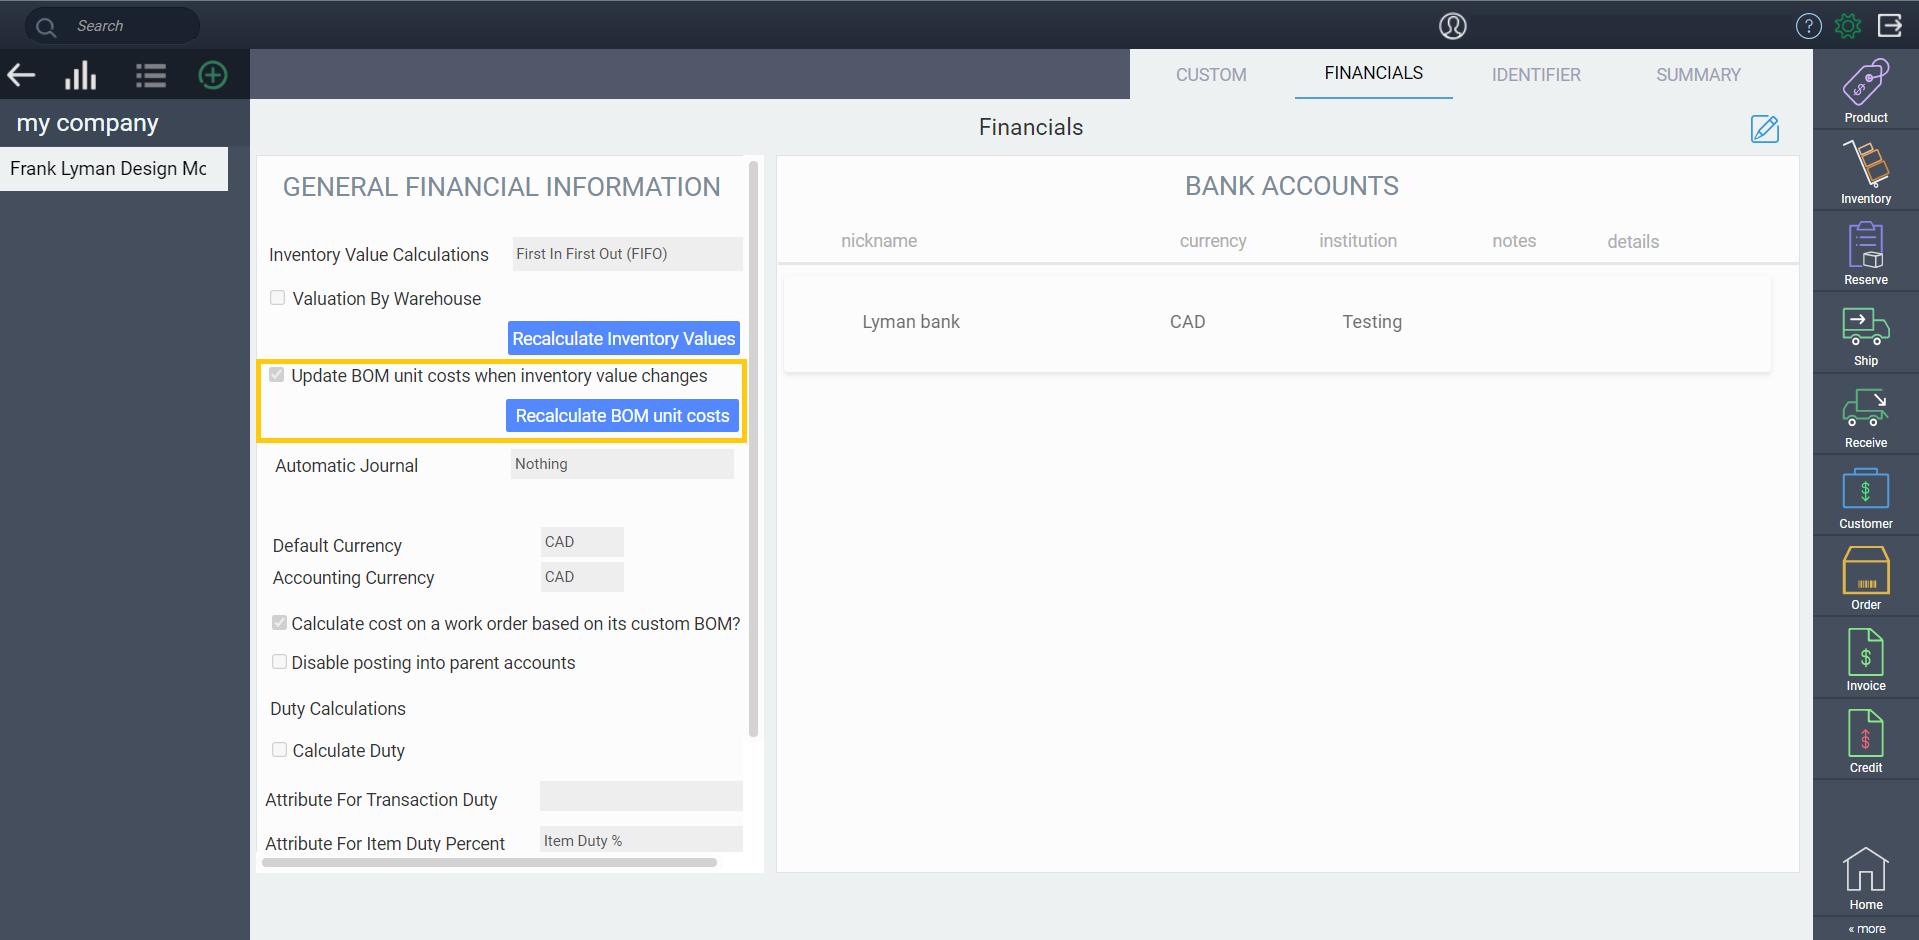
 You can view the BOM unit cost settings by checking the financials tab in my company.


With this setting running you will be able to view the unit cost as a column on the BOM, either as a custom BOM on a transaction or the BOM for your product. This column will match the inventory value for the material itself.


Only BOM estimates are impacted, meaning that any manufacturing already in progress will not be changed if the inventory value of a component changes. 


Multiple ways to view the BoM

There are three options on the right side of the BoM screen that allow you to view the details in different ways.

These options can only be accessed on the material tab of the BoM


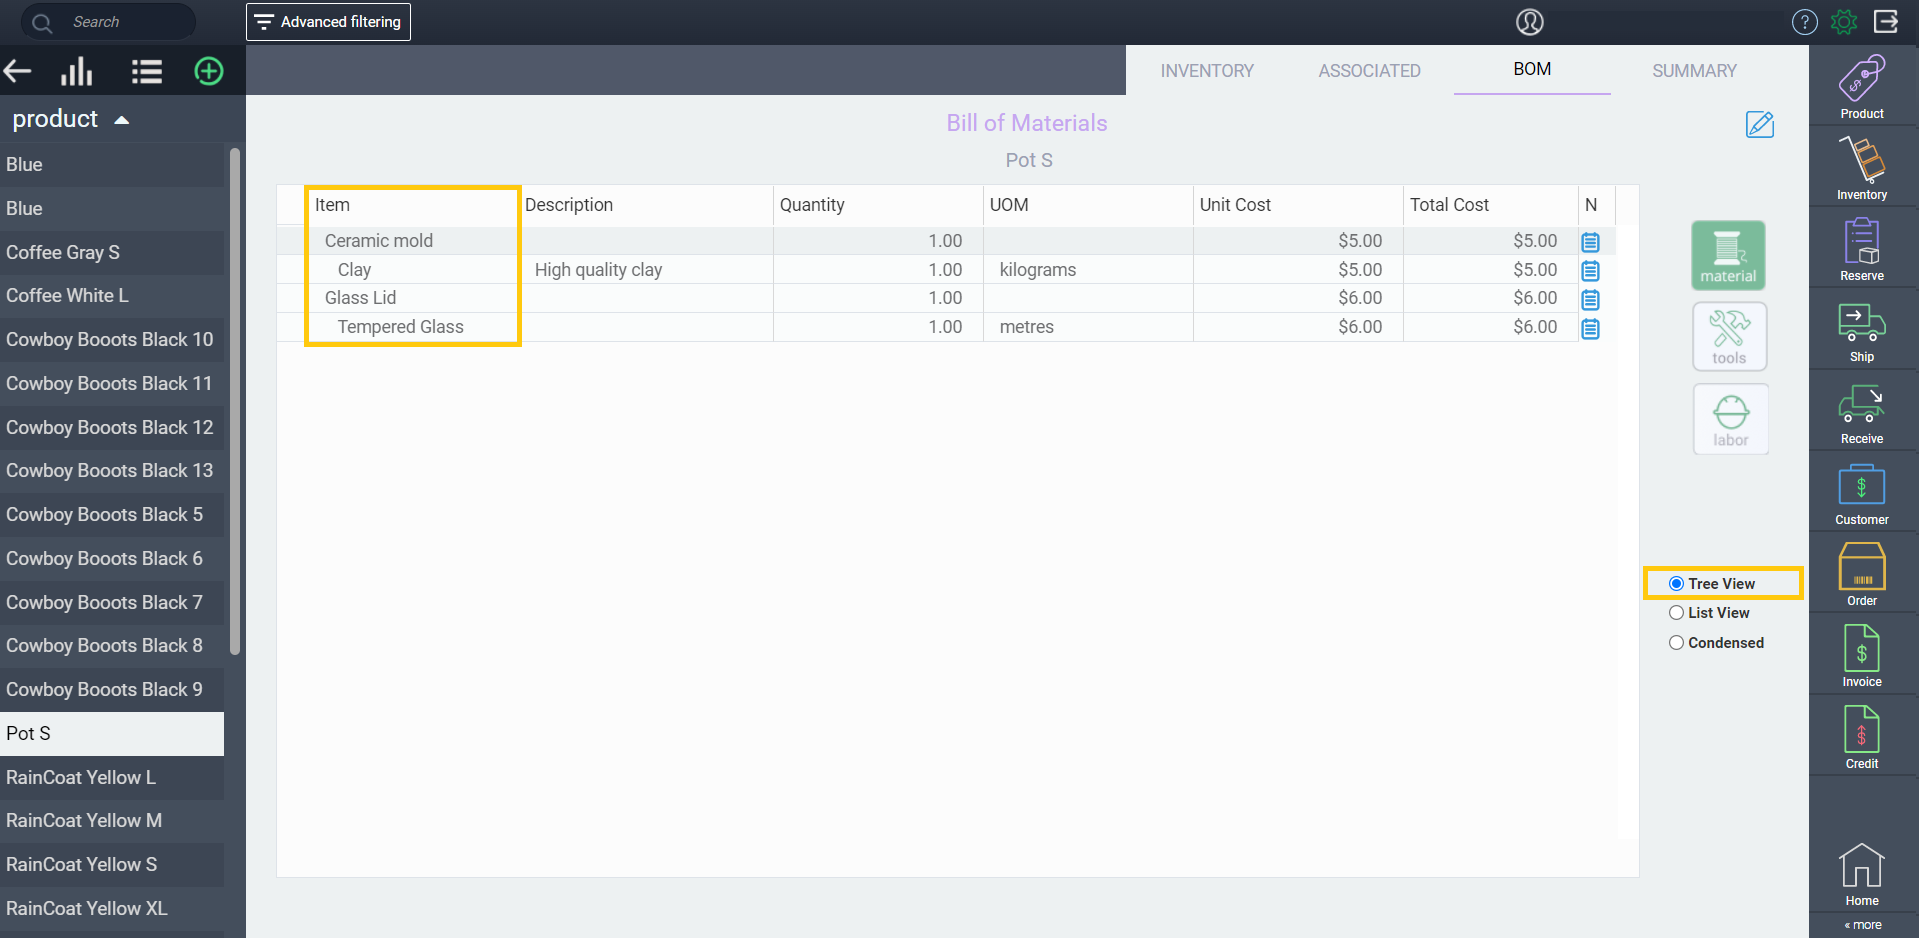
Tree view

Components of a finished product (which contains its own BoM) will become apparent with the use of indenting. 


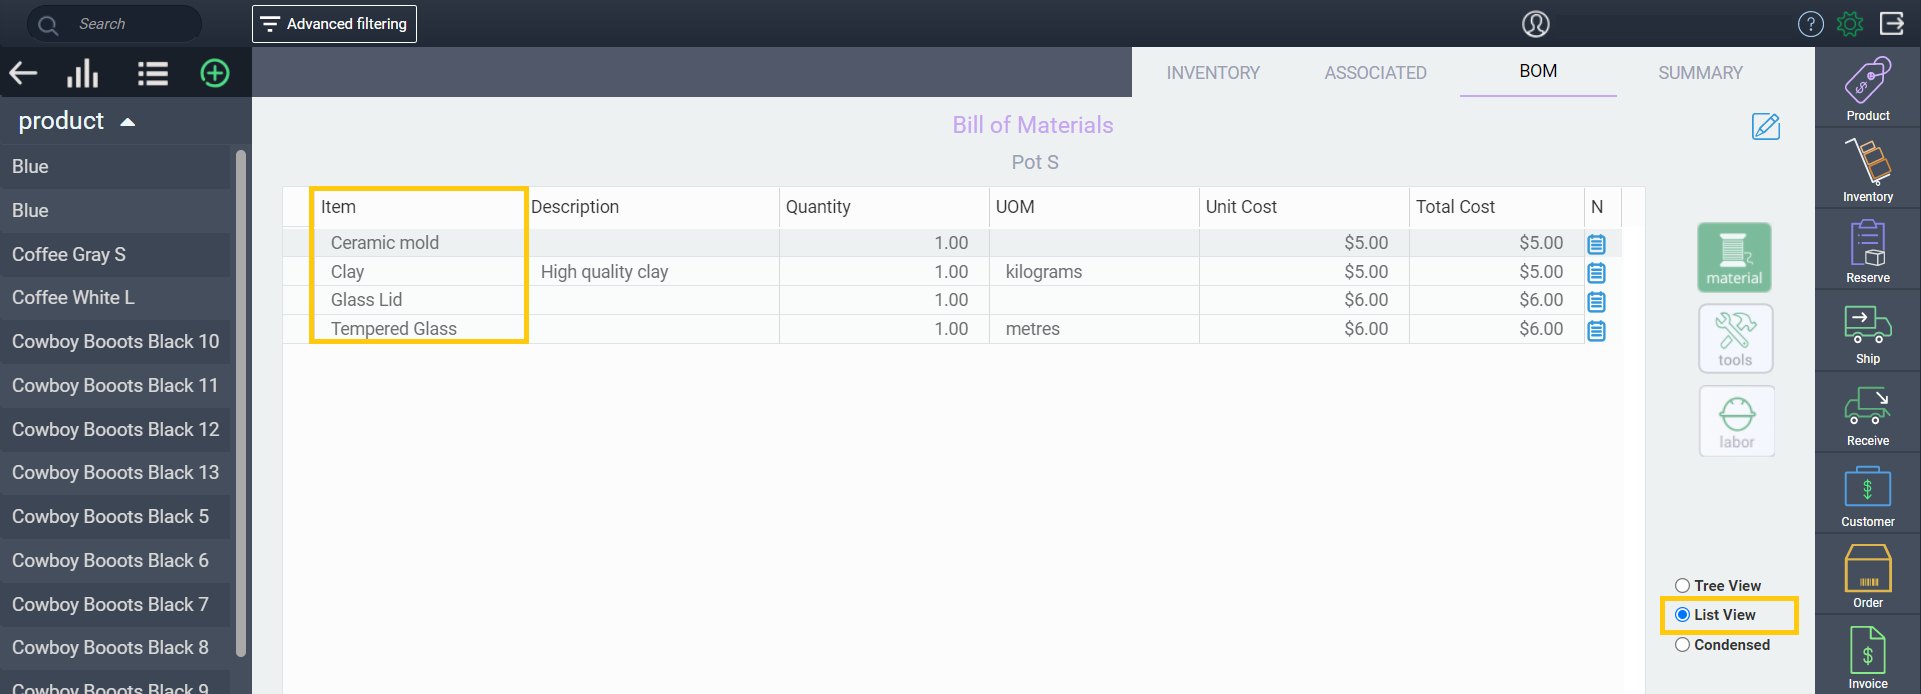
List view

The indenting is removed to make a long list of all BoM requirements.


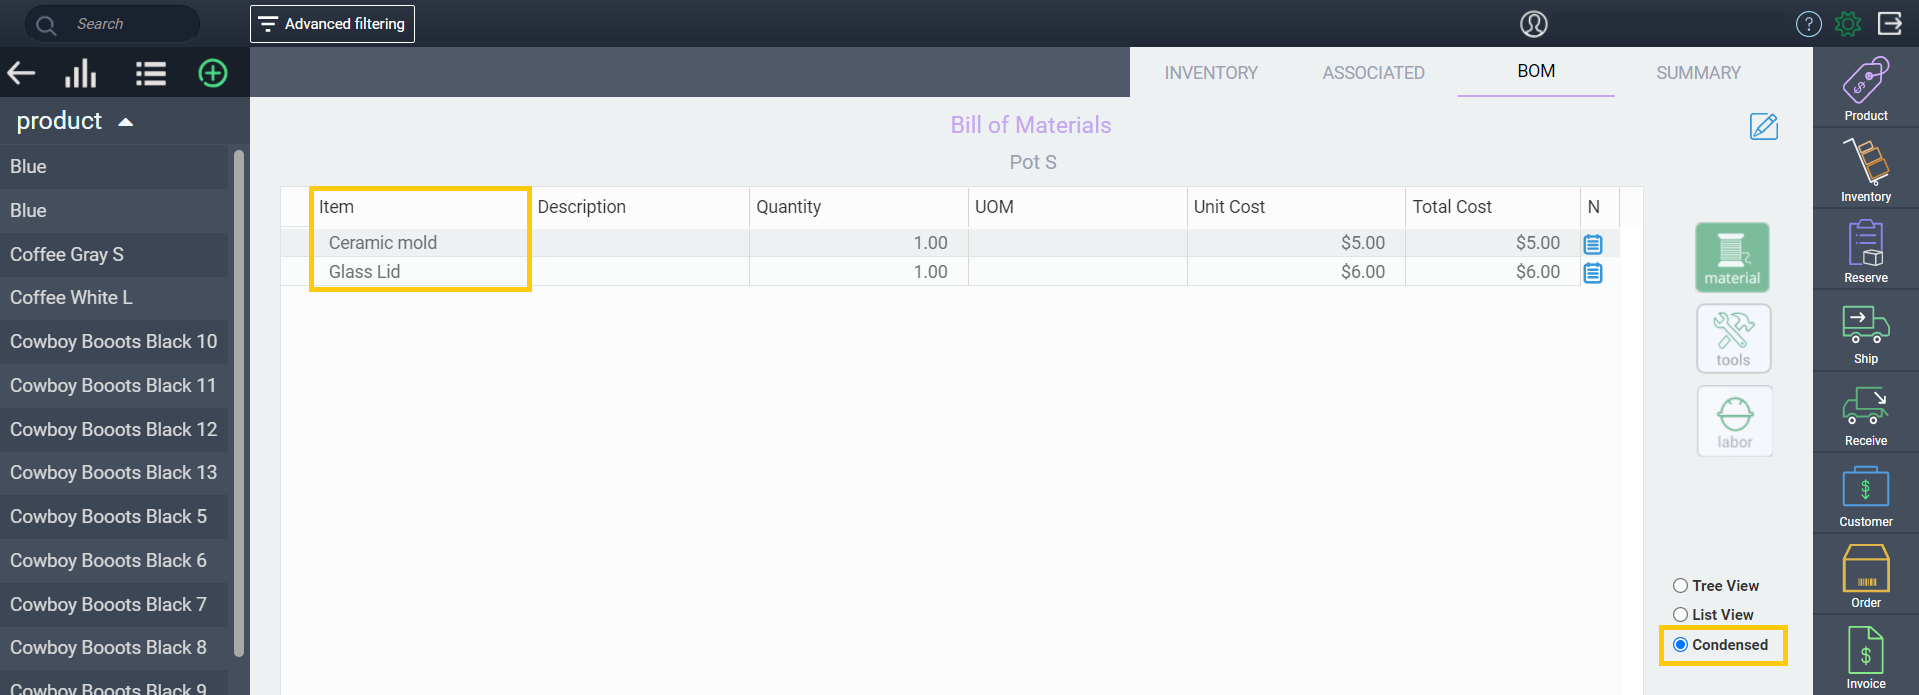
Condensed view

Only the top-level product or material requirements of the BoM are shown. If these products have BoMs within them, they will not be shown in this view.


View Material available to sell and stock information in the Custom bill of material modals

When working on customer sales orders where items have manufacturing processes attached to them, it can be very useful to see all material requirements and their availability at a glance. ATS and Stock info are available on the custom bill of material modals.

What's next?

Now that you're up to speed on creating and updating your bill of materials, you might be looking for more guidance on exploring your BoMs further. These handy articles will help with the next steps: