![paragon logo-1.png]](https://support.paragon-erp.com/hs-fs/hubfs/paragon%20logo-1.png?width=240&height=75&name=paragon%20logo-1.png)
Introduction
The following document will explain how to enter on/off switches or checkbox attributes in Paragon.
Summary
This type of attribute has two options: on or off (indicating; yes or no, applies or does not apply, includes or does not include, etc.) It displays in the form of a checkbox that can be selected or deselected.
Find out more about what attributes are and how they can be used.
There is no limitation on the number of attributes you can create in Paragon.
Step-by-step instructions:
-
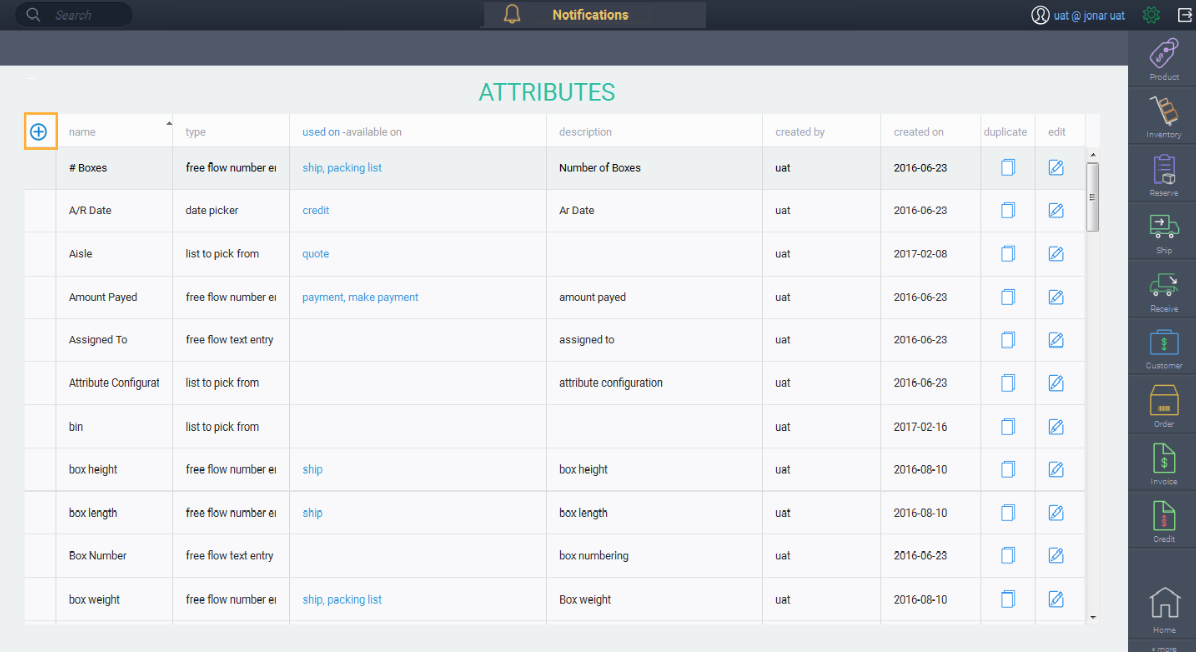
Step 1: Open attribute setup

Under the attributes card, click on attribute setup to access the attributes setup module.

-
Step 2: Create a new attribute
-
Step 3: Name your attribute

When you click the next button, the conditions listed in the screen above will be validated:
Once you've completed setting up your attribute, the name of the attribute cannot be changed.
-
Step 4: Choose the attribute type
Choose the type of attribute you want. You can select from:
In this case we want to select on/off and then click the next button.

The system will now allow you to choose whether you want the on/off box to be checked, or left blank by default. (Blank means that the switch will be off and will have to be checked on manually each time it is encountered on a screen.) Once you've chosen your option, click next.

Once you click next, the system will once again show you the preview of your attribute, as well as an optional description of your attribute, and a list of categories to choose from (accounting, manufacturing, sales, etc.).

Once you're happy with the final changes, save your changes and your attribute will be ready to use.
What's next?
Once you've created all your on/off attributes, you may want to associate them to reference modules or transaction modules