Creating receive payments
Introduction
Here, we'll walk you through the steps to create a payment receipt. You can create a manual payment receipt, or create a payment receipt from an invoice. You can also create an on account payment receipt or create a payment receipt directly from the invoice module. This article will explain all four scenarios.
Add a manual receive payment
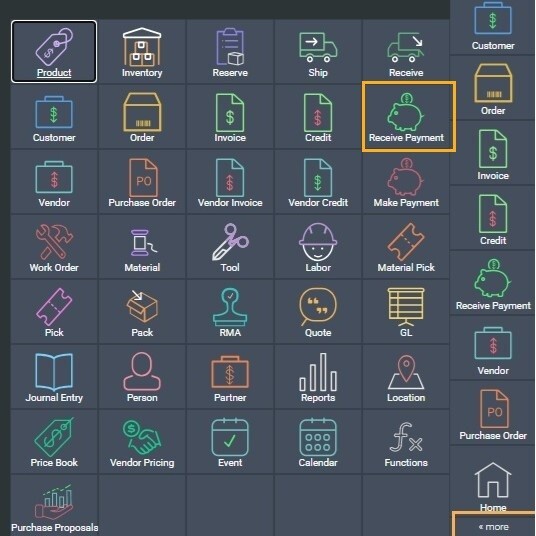
First, click on the more tab at the bottom right of the home page and navigate to the receive payment module.
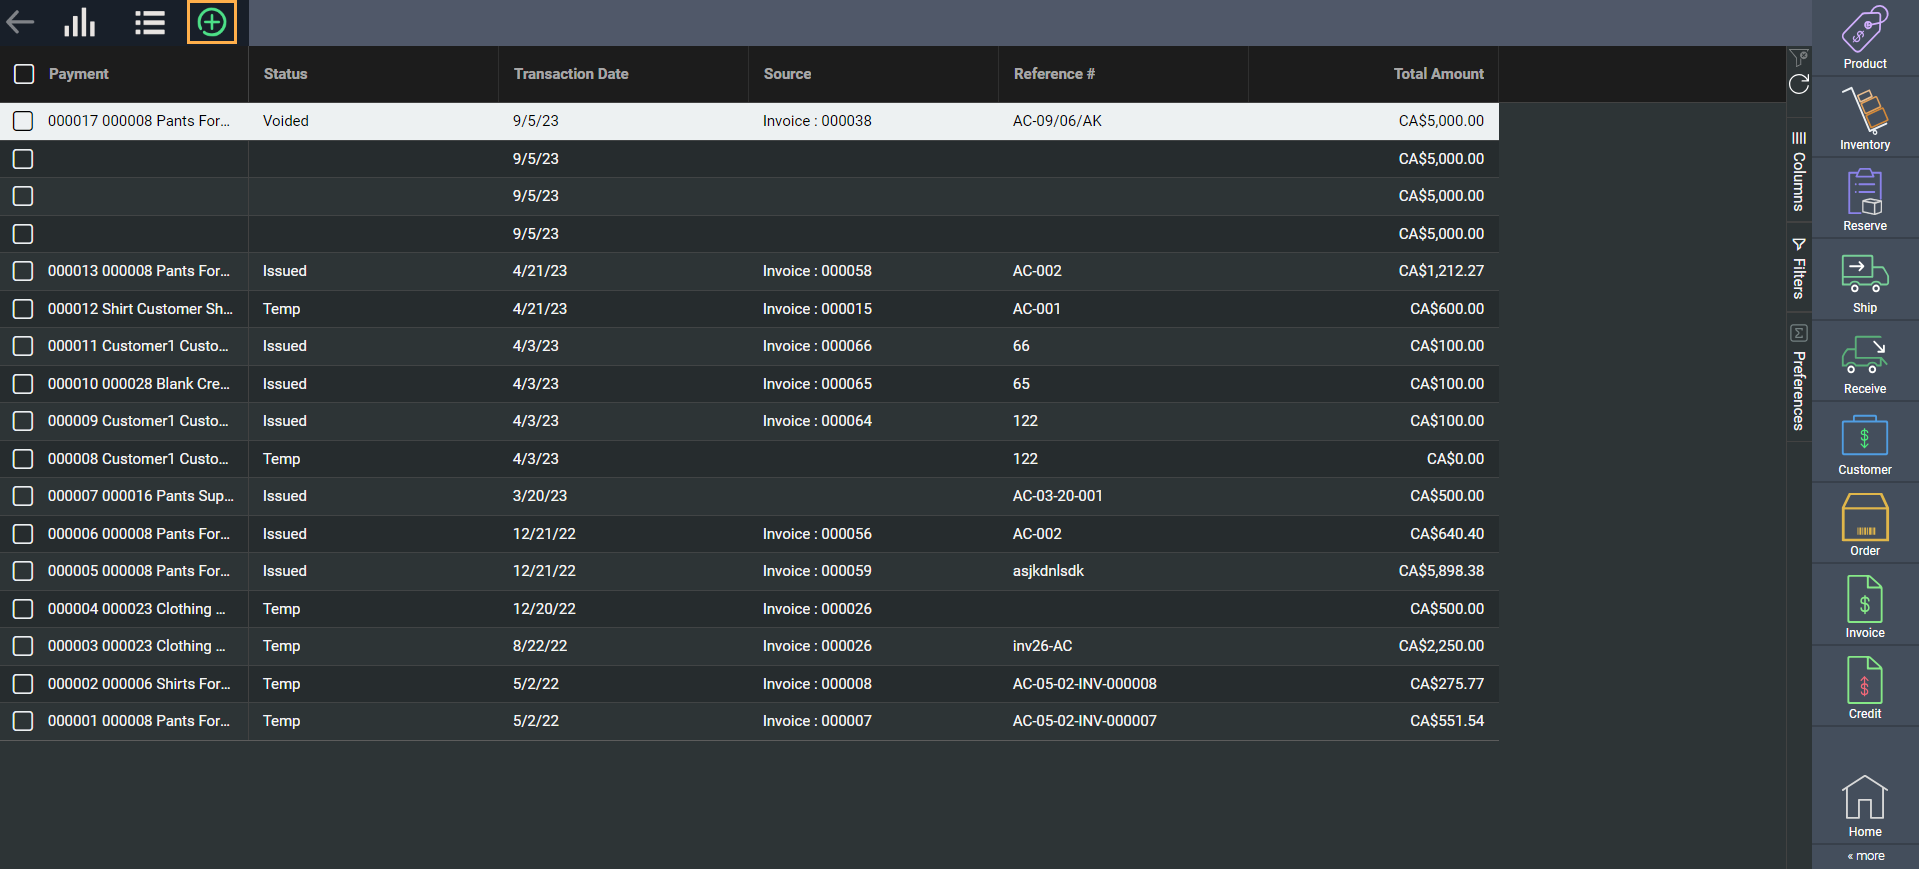
Now, click on the create new receive payment button at the top left hand side of the screen.
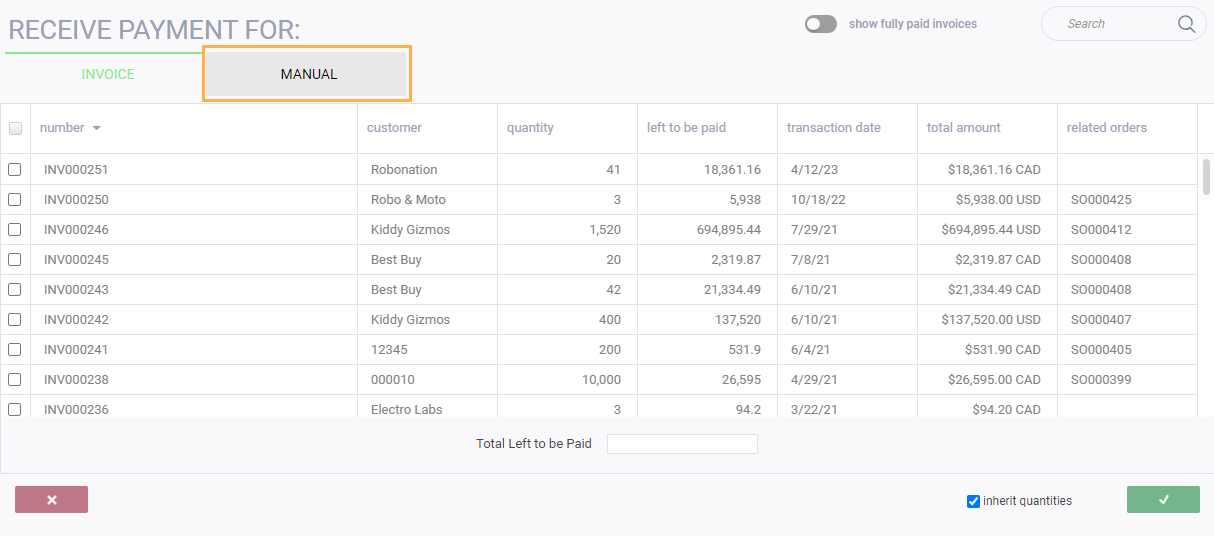
A new screen will appear where you can select how you would like to create the receive payment. In this case, make sure to select the manual tab.
This screen will automatically be displayed after selecting manual.

The selected company will be added to the receive payment. The company's relevant information will also appear.
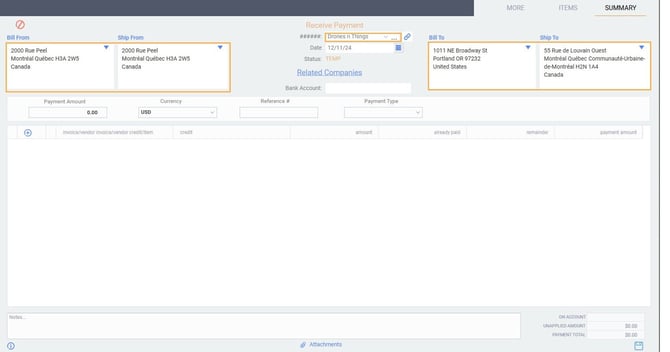
Fill in header attributes

The bank account is set up in my company. When you click on this field you will see a list of all possible bank accounts. Choose the bank account to be used for this customer's payments.
Enter the payment amount from the payment received.
Select the currency from the drop down list or accept the default currency set up in the customer file.
Enter the reference #, for instance you can enter the check # from the customer.
Select the payment type from the drop down list, e.g. check, cash, etc.

This screen will automatically appear with multiple options for you to choose from. In most cases you will want to select either invoices or credits.
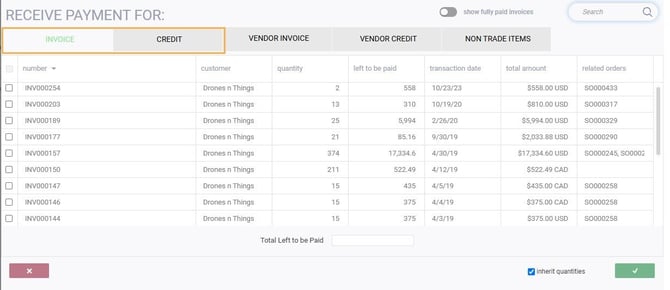
As soon as you choose invoice or credit, the transactions available for selection will only list the transactions for the selected customer.
Select the invoices or credits to be applied to the payment by checking the box(es) at the left of the screen.

The selected invoices and/or credits will appear once you click the accept button:
Completing your receive payment
Once you've clicked on the accept button, you'll be redirected to the receive payment page. Note that the header payment amount and the line payment amount must be equal to ensure that the unapplied amount equals 0 in bottom right corner of the screen, right above the payment total.
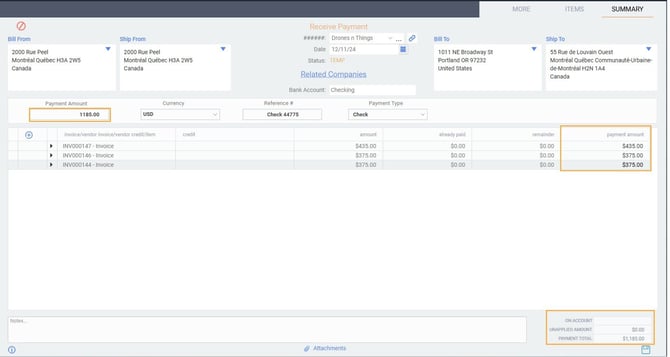
Once you're done entering the payment amounts, click the save button at the bottom right corner of the screen. You will then be able to issue the payment by clicking the action button, and clicking issue.

Once you issue your payment, you will receive several notifications, letting you know which invoices or credits have been auto-completed and showing you that a journal has been created.

I have issued my payment. Now what?
Once your payment has been issued, the action options will show as follows:
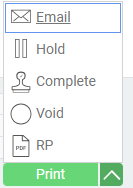
Remember to complete your payment if you are satisfied with the transaction.
Receive payment from invoices
If you receive a payment from a customer that is specifically for certain invoices, you can choose invoices instead of manual from the initial add payment screen.
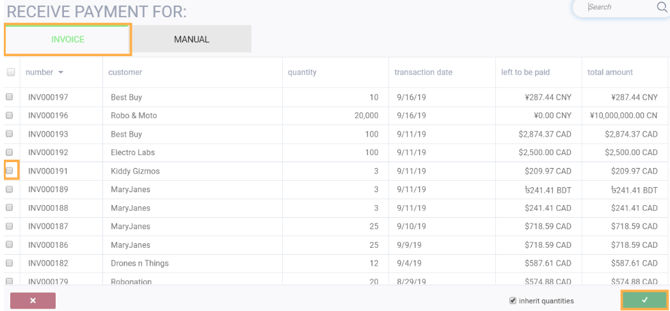
As soon as you choose one invoice, your screen will only show invoices for that customer.
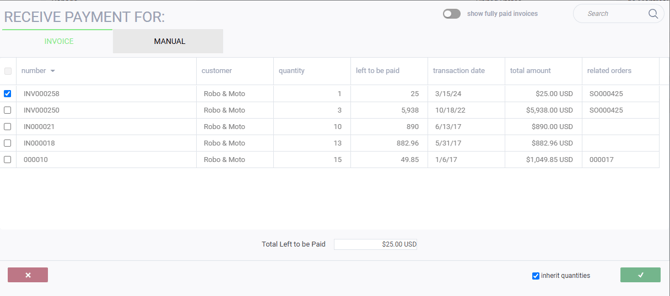
Choose any or all of the invoices for that customer and click the accept button to go back to the main receive payment screen.
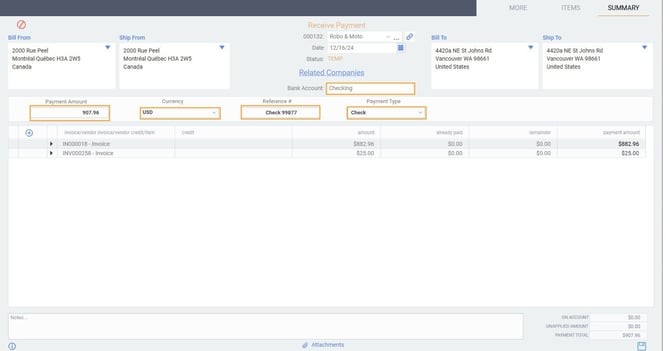
Fill in all of the header information as shown in the manual section above, then save and issue your payment.
Receive payment on account
Your customer may pay for goods in advance, or they may send a bulk payment without letting you know which invoices or credits to apply to that payment. You will still want to update the customer account and the AR. For this scenario we will use the on account option.
Create a manual receive payment as explained at the beginning of this article. Fill in all of the information in the header of the payment, and enter the amount of the payment in the payment amount attribute.
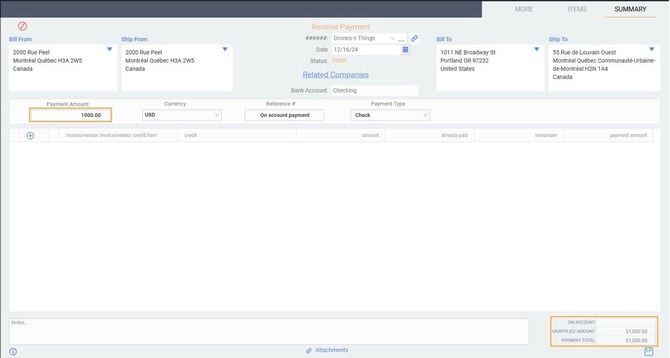
In the amount fields at the bottom of the screen, you will see that on account = 0, and unapplied amount = the amount of the payment. You are not able to leave an unapplied amount on a receive payment. Enter the payment amount in the on account field.

You will now be able to save and issue your payment.
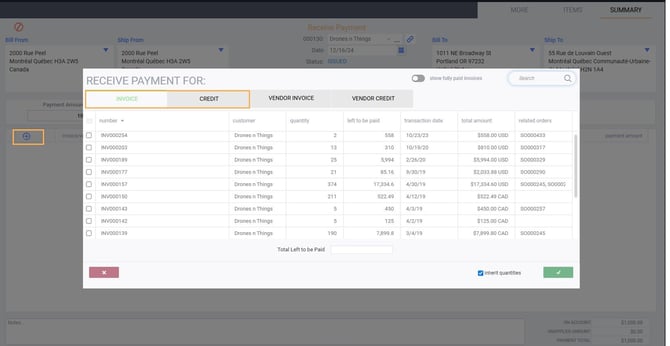
When you know which invoices or credits are to be applied to the on account payment, go back to the receive payment module, and find the on account payment. Edit the payment and select the transactions to be applied to it.
Receiving payment directly from an invoice
From the home screen, navigate to the invoice module.
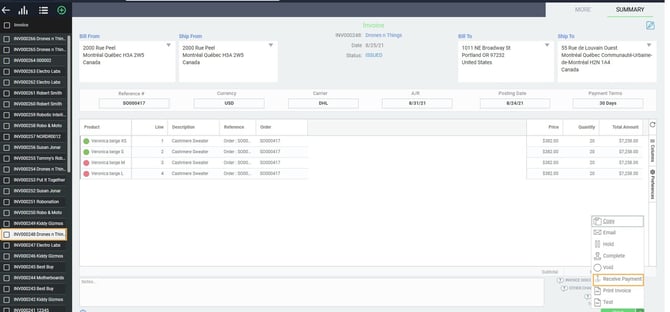
From the invoice screen, you have the option of receiving the full payment from the action button. Clicking the green action button at the bottom right hand corner of the screen. From here, click receive payment.
A modal will pop up and you'll be prompted to enter a reference number.

Enter the reference number and click the green accept button.

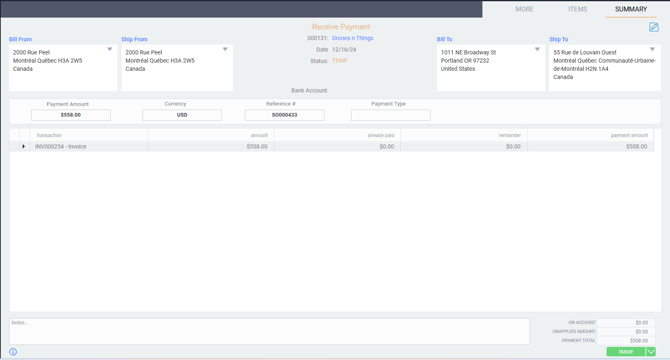
Once you click the accept button, the system automatically generates a receive payment transaction in Temp status. To complete the process of receiving your payment, navigate to the receive payment module.
What's next?
These articles may be of further use to you:
![paragon logo-1.png]](https://support.paragon-erp.com/hs-fs/hubfs/paragon%20logo-1.png?height=50&name=paragon%20logo-1.png)