![paragon logo-1.png]](https://support.paragon-erp.com/hs-fs/hubfs/paragon%20logo-1.png?height=50&name=paragon%20logo-1.png)
Introduction
There isn't a limitation on the number of attributes you can create in Paragon.
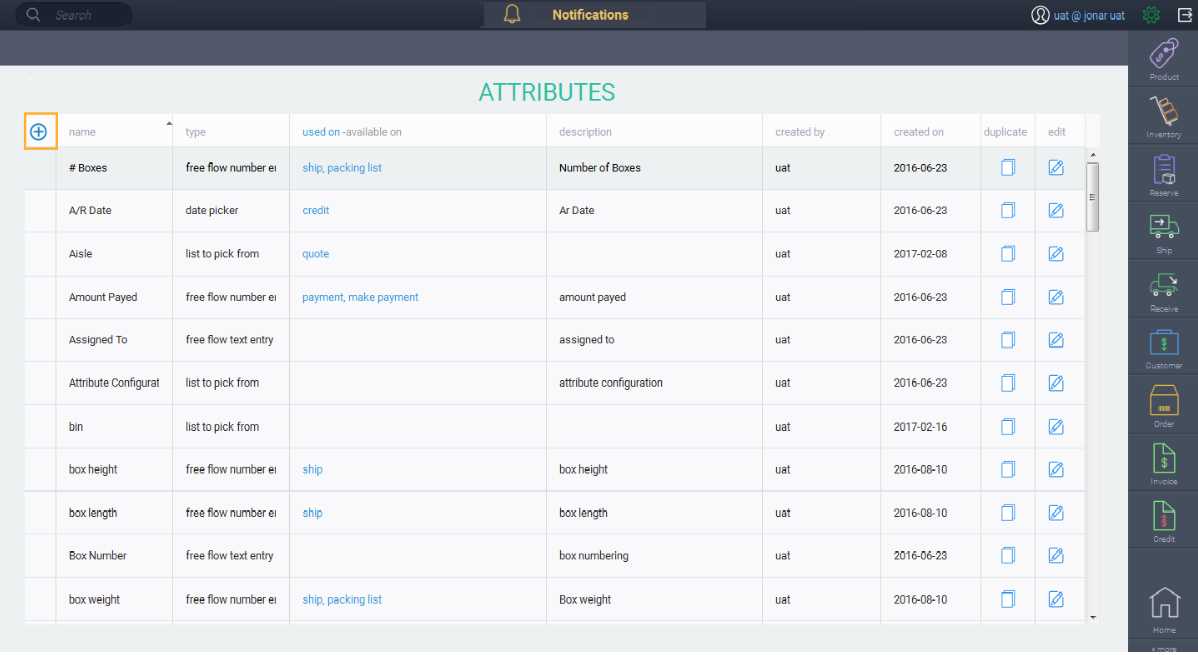
Open attribute setup
From any screen, click the settings button. This will bring you to the settings page.

Under the attributes card, click on attribute setup to access the attributes setup module.

Create a new attribute
To add an attribute, click the create new attribute button.
Name your attribute
First, enter the attribute name. Then, click the next button.
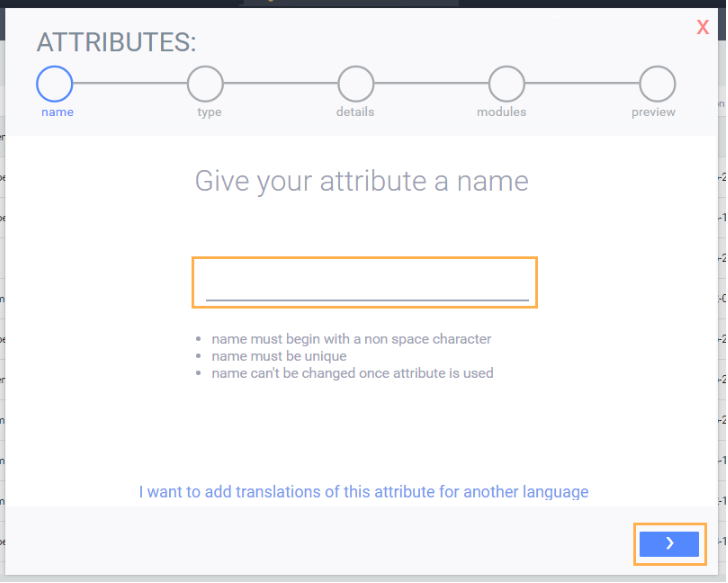
When you click the next button, certain conditions will be validated:
-
The name must begin with a non-space character
-
The attribute name must be unique
Note that once you've completed setting up your attribute, the name of the attribute cannot be changed.
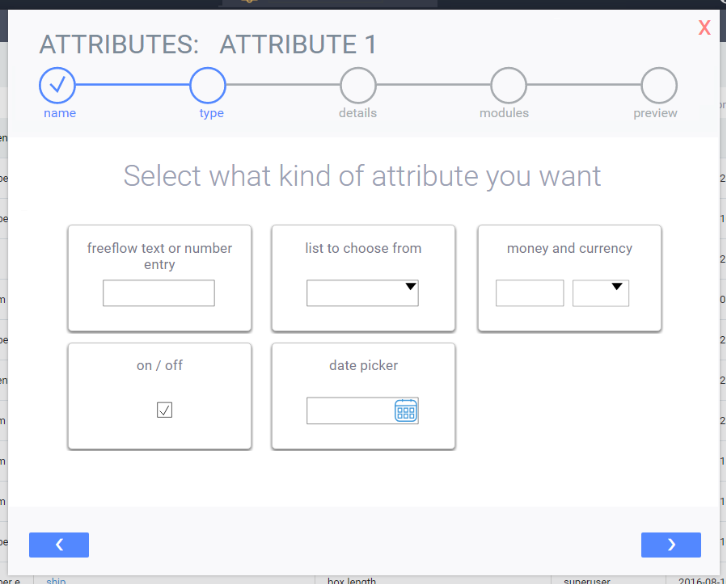
Choose an attribute type
Now, choose the type of attribute you want. You can select from:
- Freeflow text or number entry
- List to choose from
- Money and currency
- On/Off
- Date picker
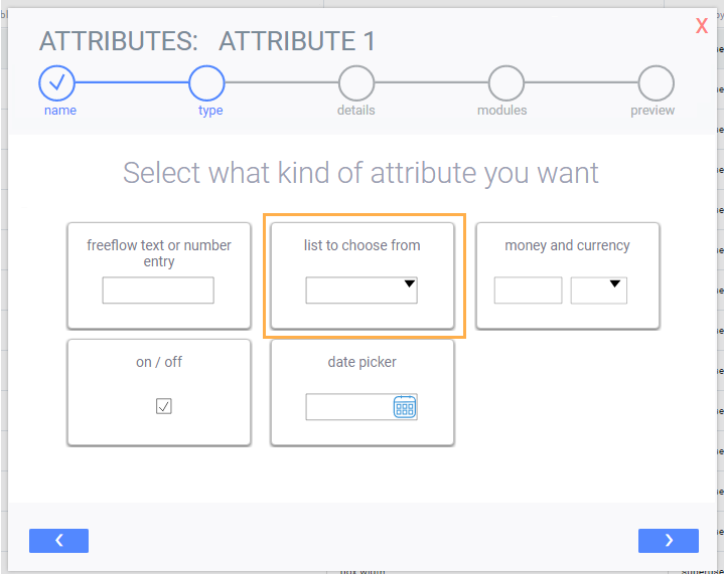
In this case we want to select list to choose from. Once you've selected an attribute type, click the next button.
You will be brought to a screen for you to enter the list of drop down items.
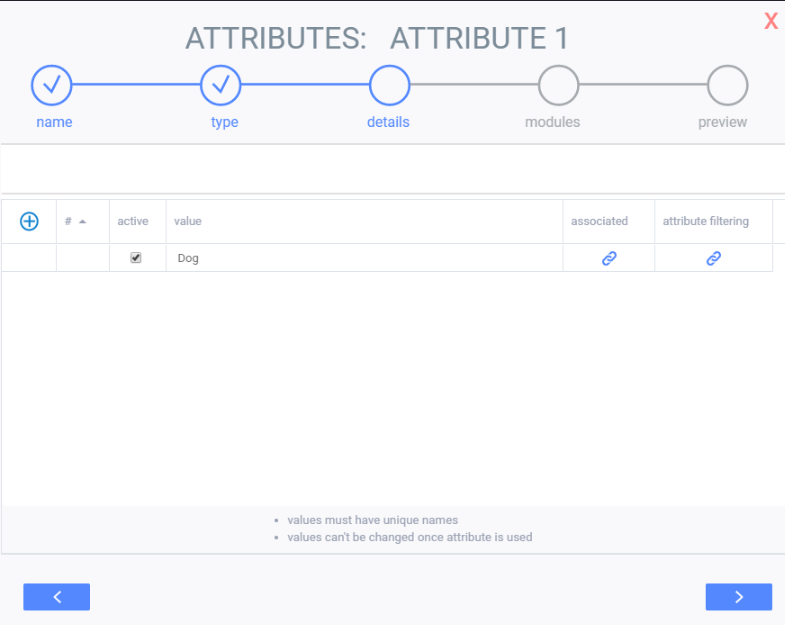
To add an attribute value, click the add new attribute value button in the top left and enter the value under the short description header.
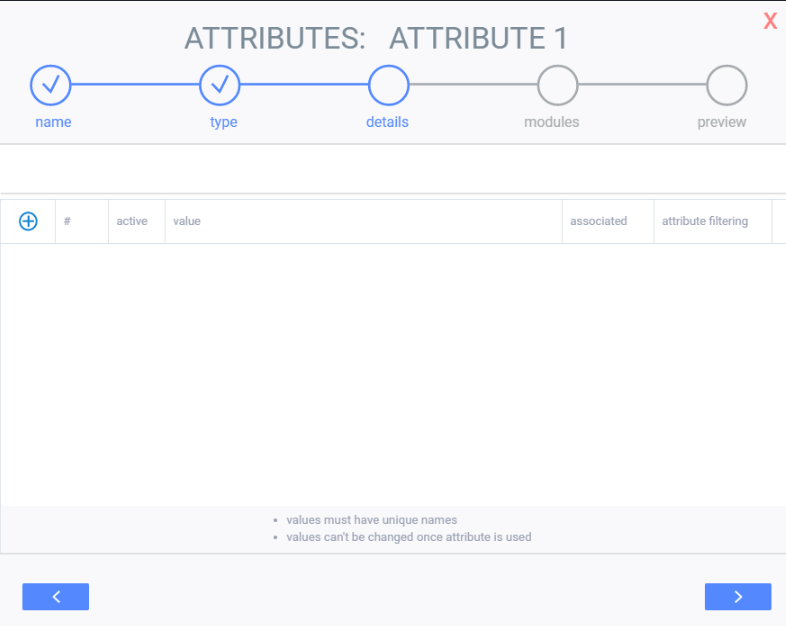
A blank line will appear. Enter in the details of the attribute.
If you have more than one attribute value, you can decide the order in which they appear. Do this by entering numbers into the first column.
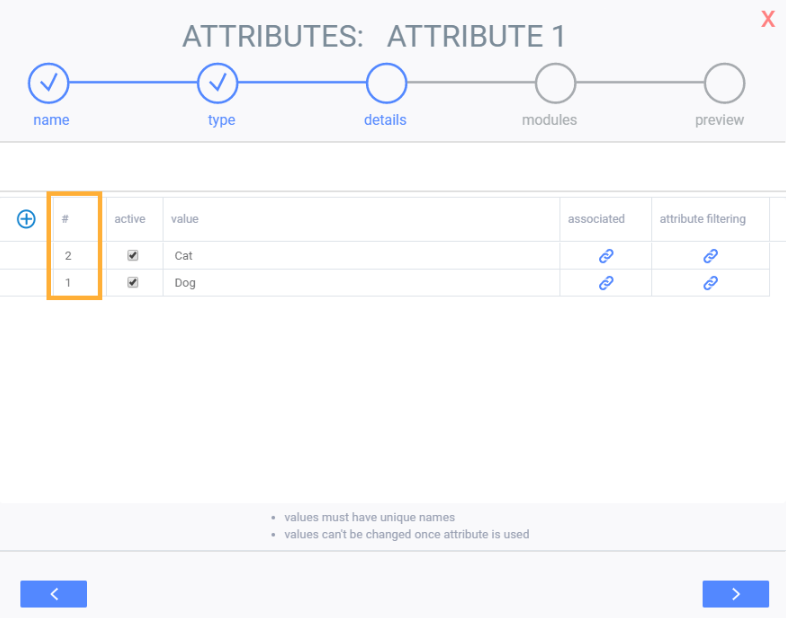
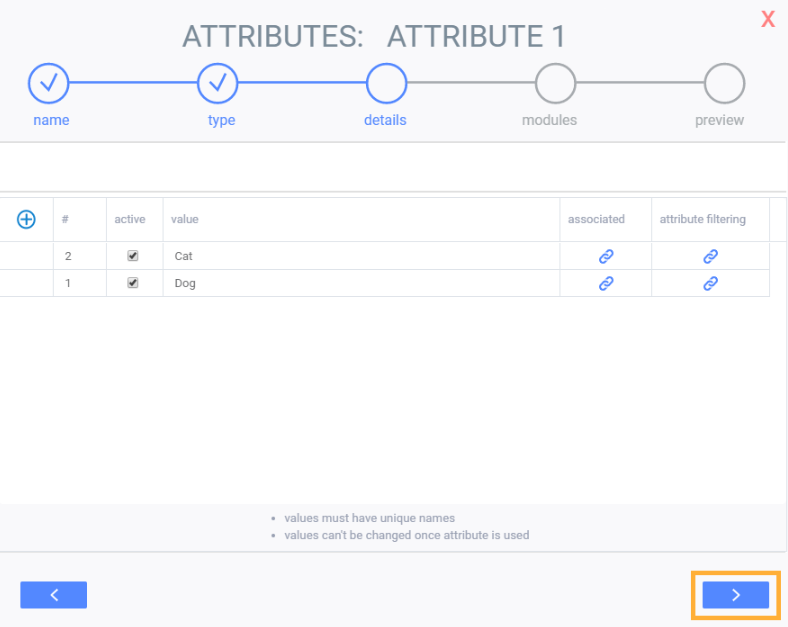
Once you've added all necessary values, click the next button.
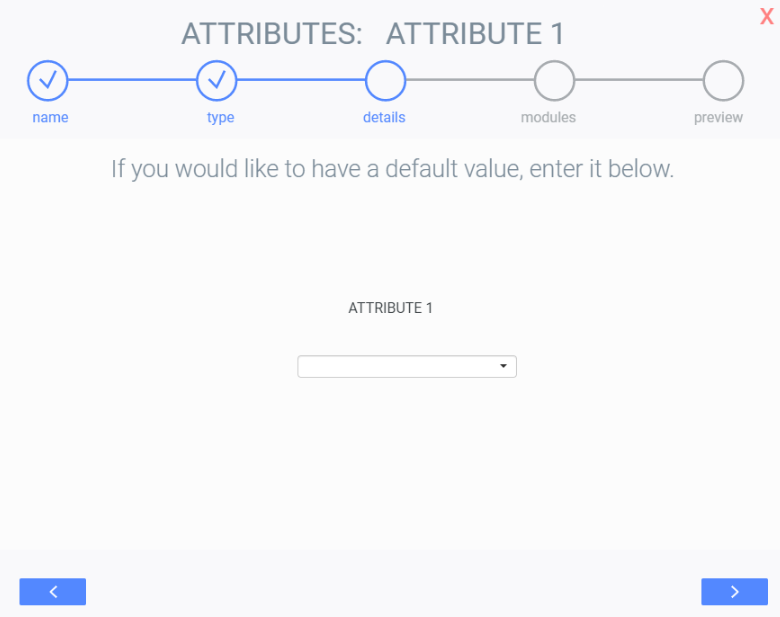
The system will allow you to choose a default value or you can leave the field blank. Once you're happy with your selection, click the next button.
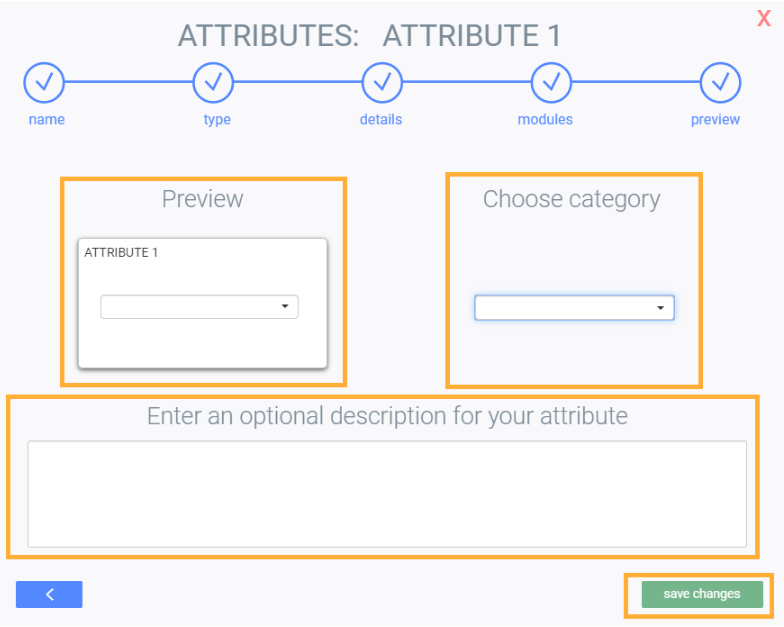
You can now choose a category for your attribute here and add an optional description. There is also a preview of what the attribute will look like. When you're happy with the attribute, click the save changes button.
What's next?
Once you've created all your attributes, the next step will be to associate them to reference modules or transaction modules.