![paragon logo-1.png]](https://support.paragon-erp.com/hs-fs/hubfs/paragon%20logo-1.png?height=50&name=paragon%20logo-1.png)
Introduction
Information that is important to see on a product may not be the same information that is important to see on a material. For this reason, Paragon allows you to decide, on a module by module basis, how all your screens are configured. This document will explain how to set up all your reference modules using attributes you've already set up. Likewise, you can also learn about how to set up your transaction modules.
Go to screen setup
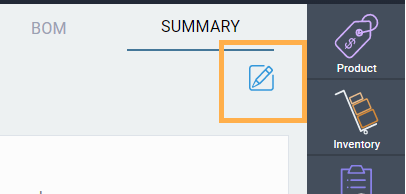
From any screen in Paragon, click the settings button.
Select the module you'd like to set up
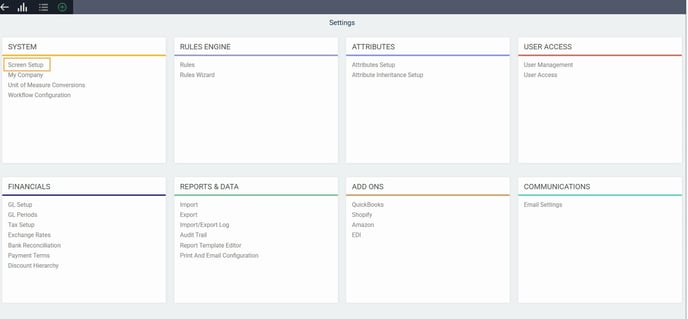
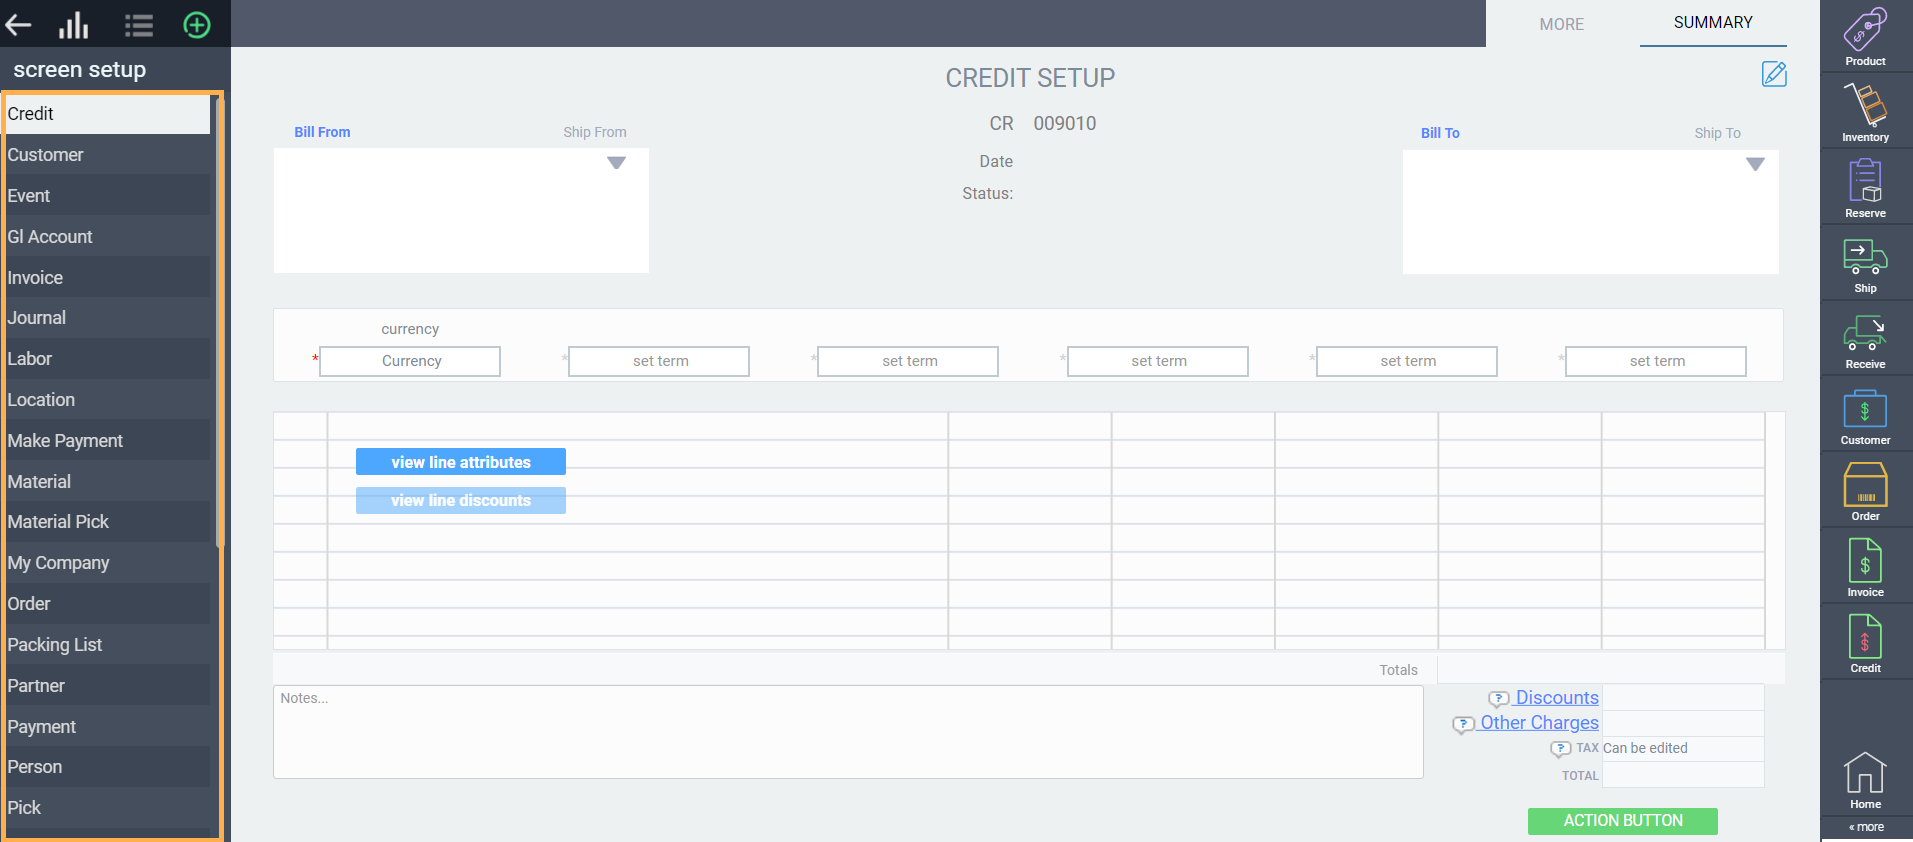
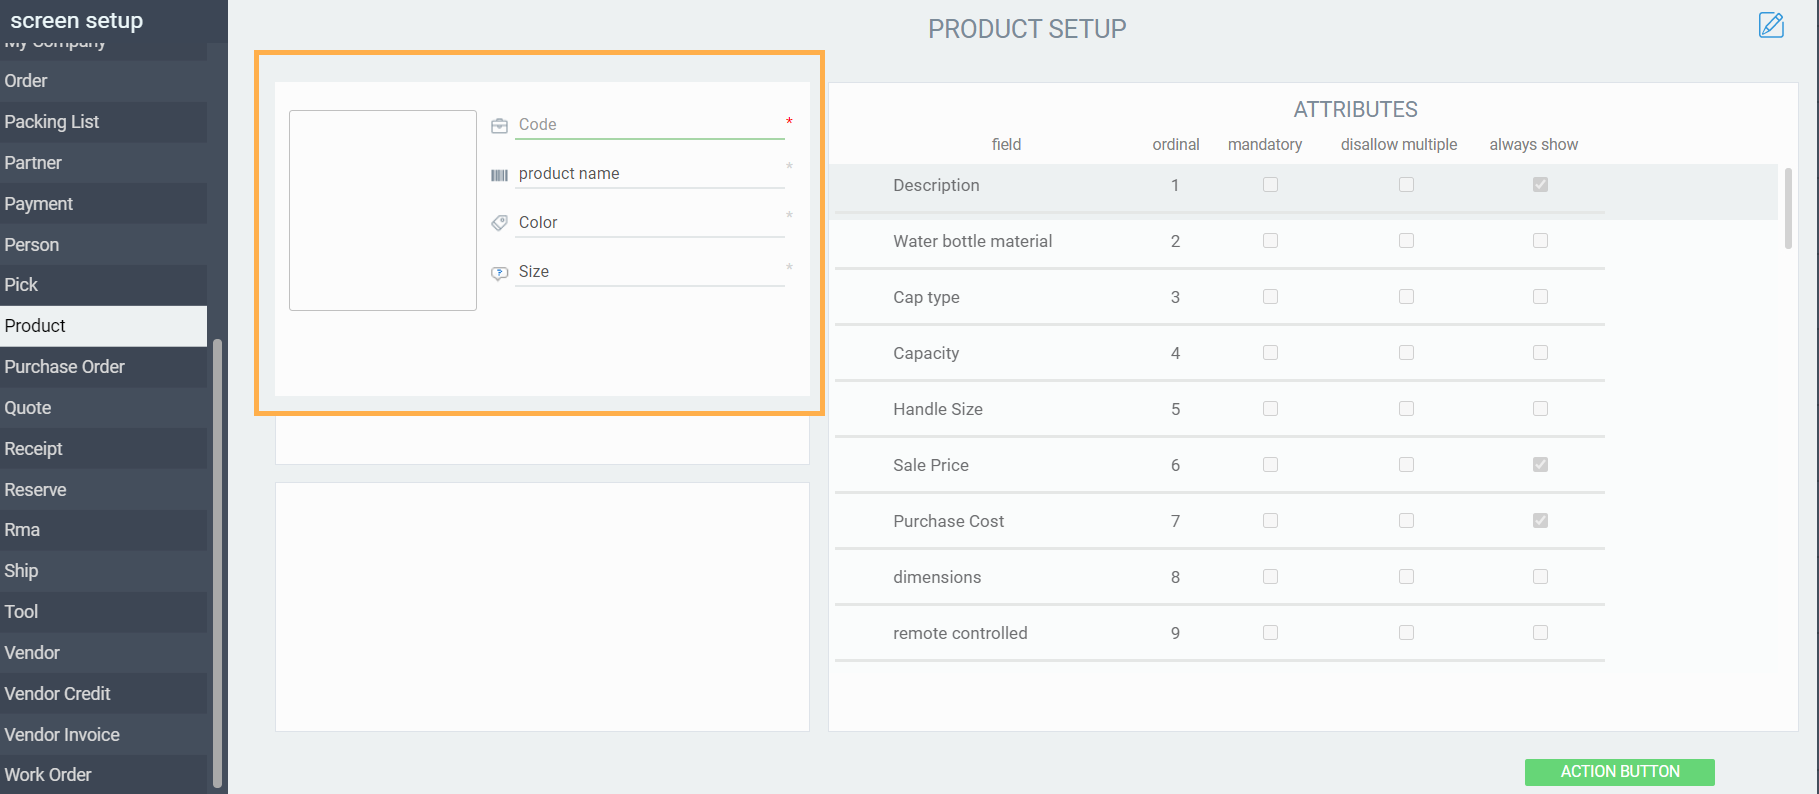
The list on the left hand side of the screen below, show all the modules whose screens can be configured. Choose the reference screen you'd like to set up. All reference screens have a consistent layout, which means that once you're familiar with one, you can do them all.
As an example, product was selected. This is the screen that will be used to set up the product screen. It looks very similar to the product screen itself.
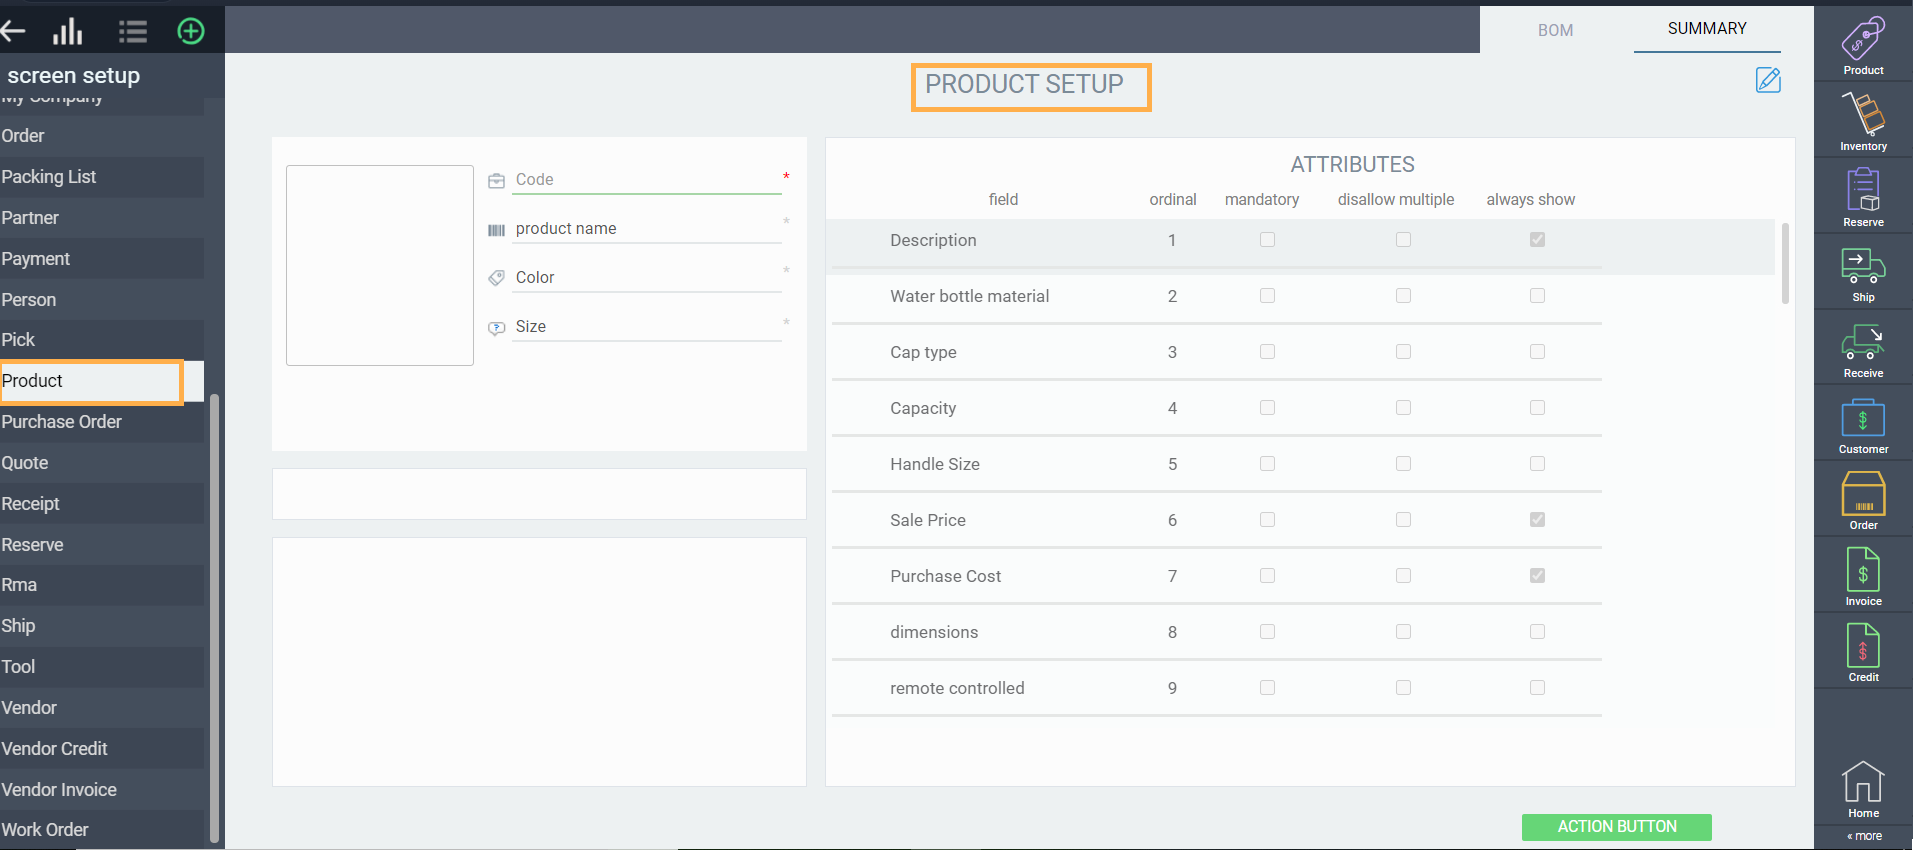
To begin making changes, click the edit button.
Edit the business card
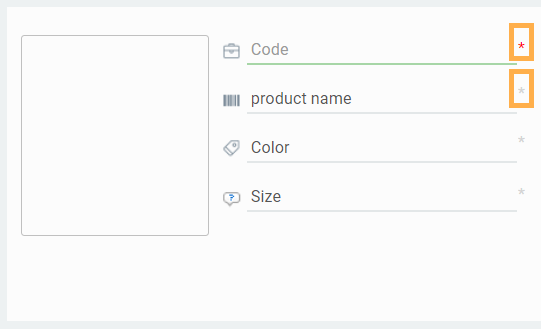
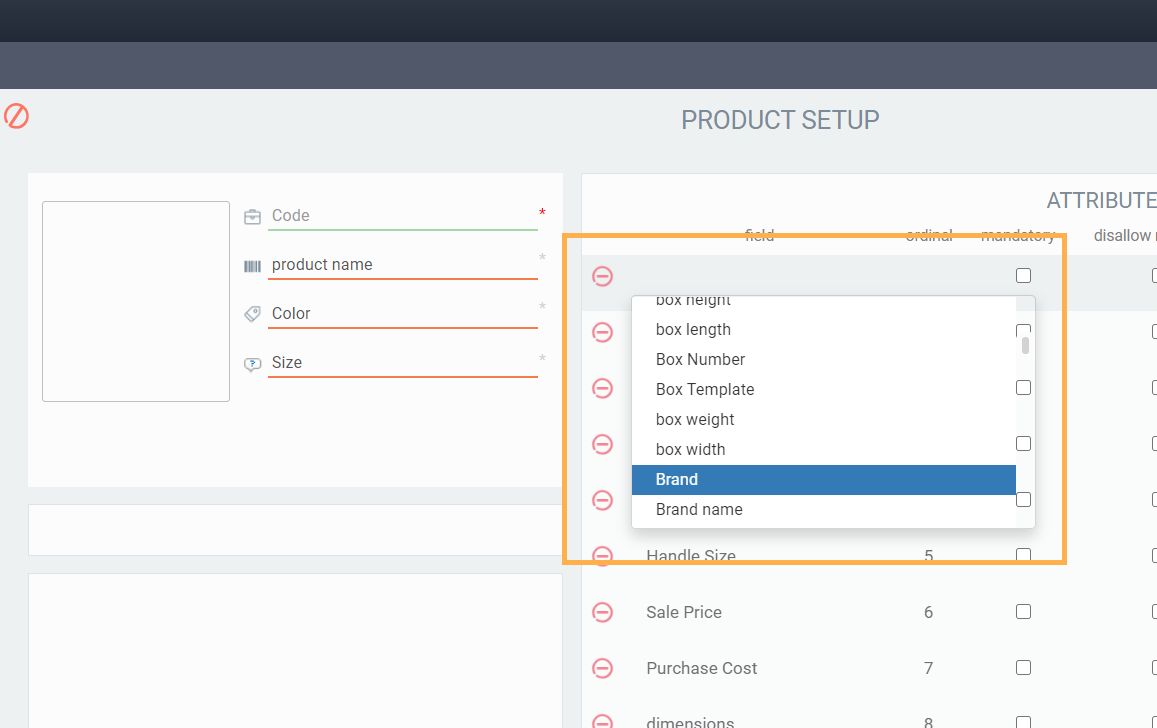
The business card on reference screens all have a very similar layout. To begin adding the attributes that you would like to show here, click into each field and select from the list of attributes that show in the drop-down menu.
You'll notice that you cannot change the first term in the business card. This is intentional. The first term of the business card is always the unique ID given to a reference. For product, this is usually SKU. For customer, this is usually customer code. When creating references, you cannot create more than one with the same code.
Edit the attribute panel
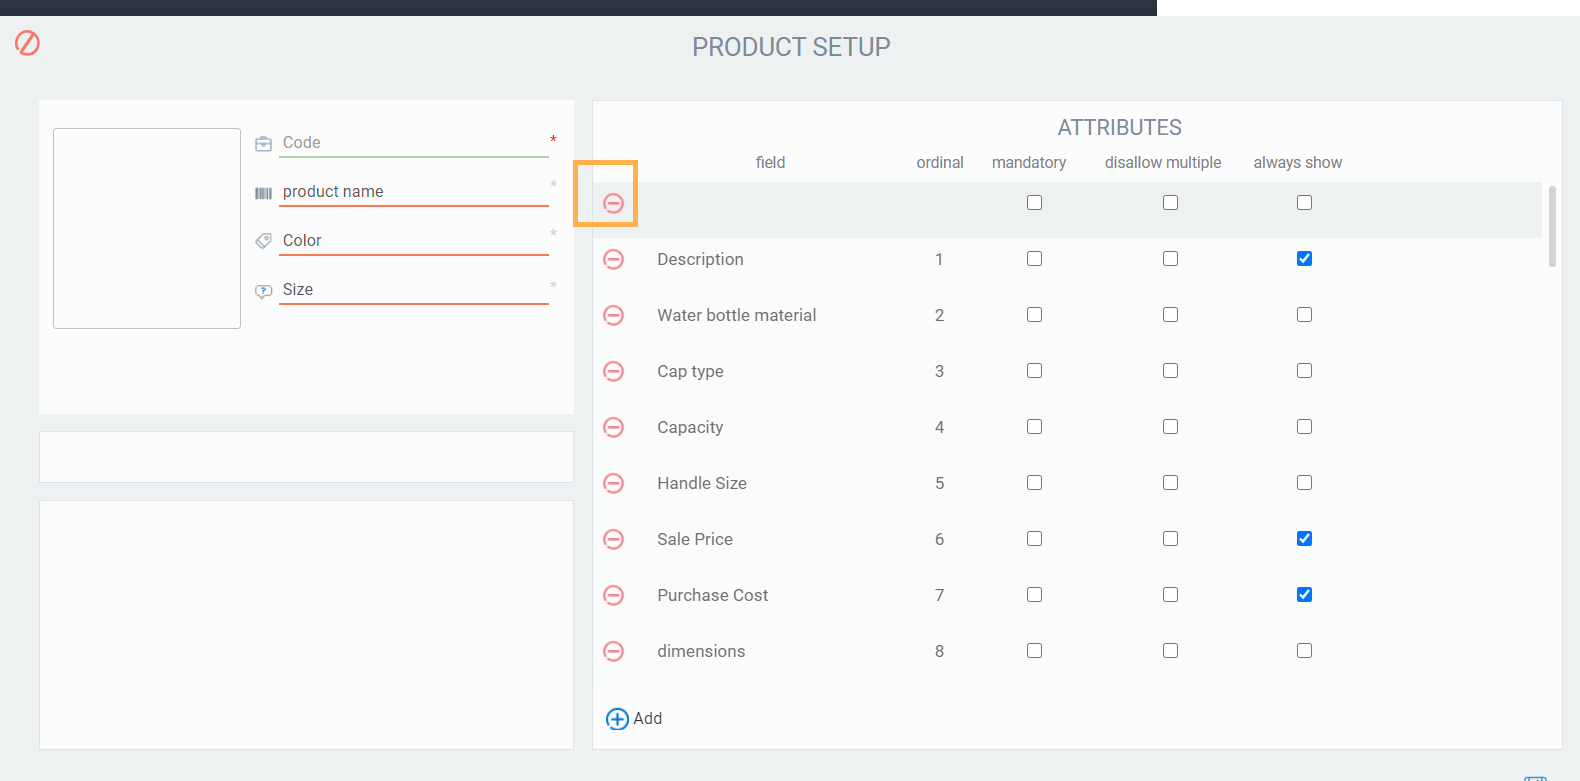
The attribute panel is the largest section on the reference module screen and is simply titled attributes. Unlike the business card, you can add as many attributes as you want to this section.
To add an attribute, click the add button at the bottom of the screen and a new row will be created at the top of the attribute panel.
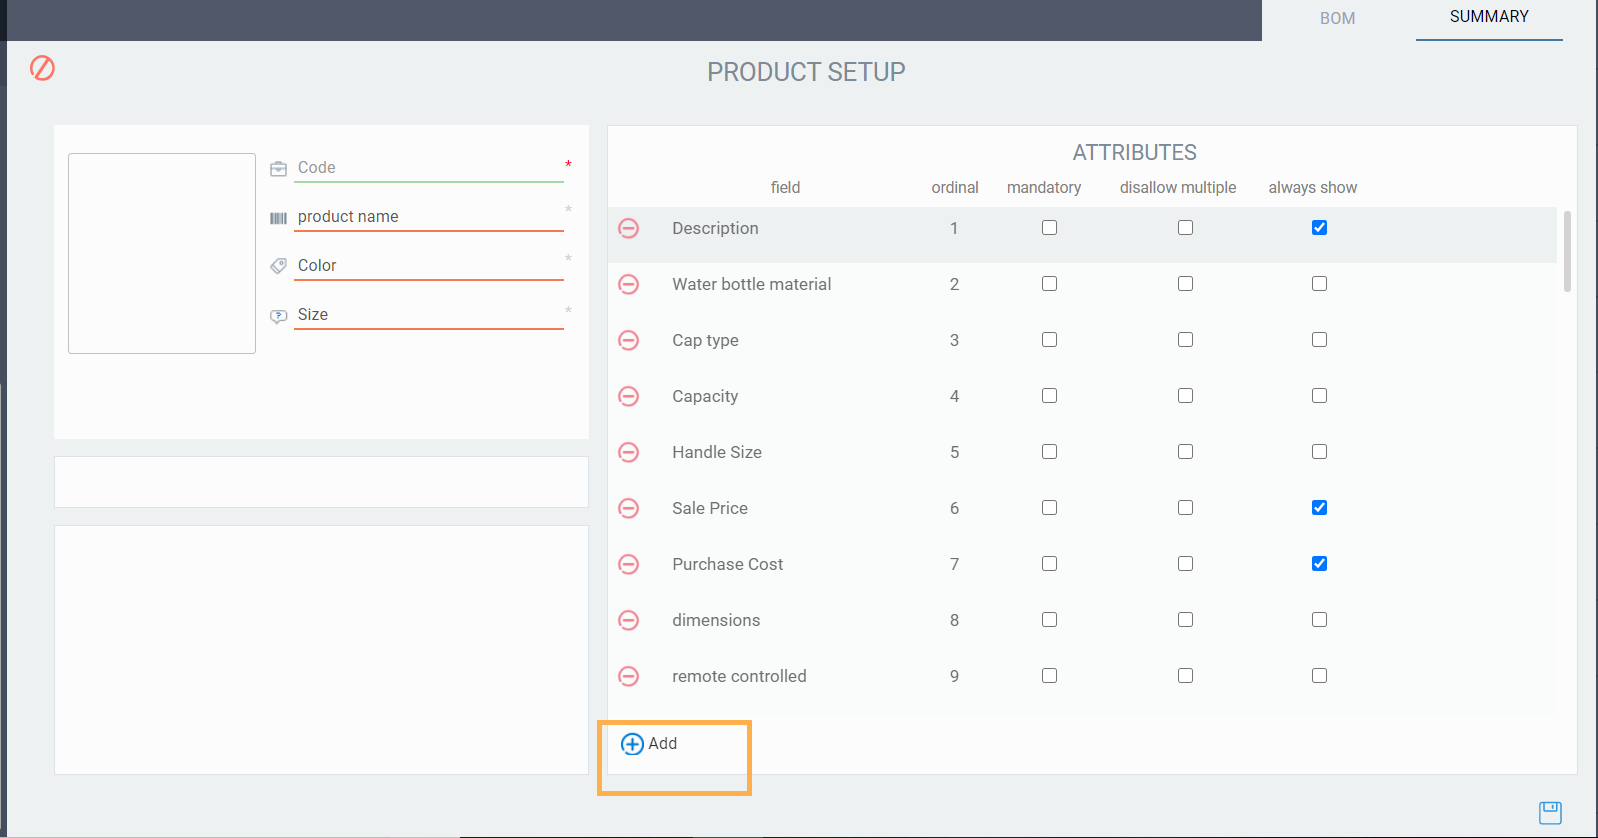
- Assign the order of the attributes: This is done by assigning numbers, starting at 1, into the ordinal column.
- Make the attribute mandatory: If you check off this box, the attribute must be filled in before the reference is issued. For example, if you want to make sure that a sales price is always filled in on a product, make the sales price attribute mandatory.
- Allow the attribute to be added to the module more than once: This is useful for information like phone numbers and email addresses. If a customer has more than one email address you can enter that information into separate email attributes on the product. If you only want attributes to be filled in once on the reference, check the box for disallow multiple.
- Make the attribute always visible on the screen: When you are creating a new reference, you are given a list of default attributes to fill in based on the setup you're doing here. If you want an attribute to always be part of this default list, check the box for always show. If you do not check this off, the attribute will be found in the blue plus button of the reference screen.
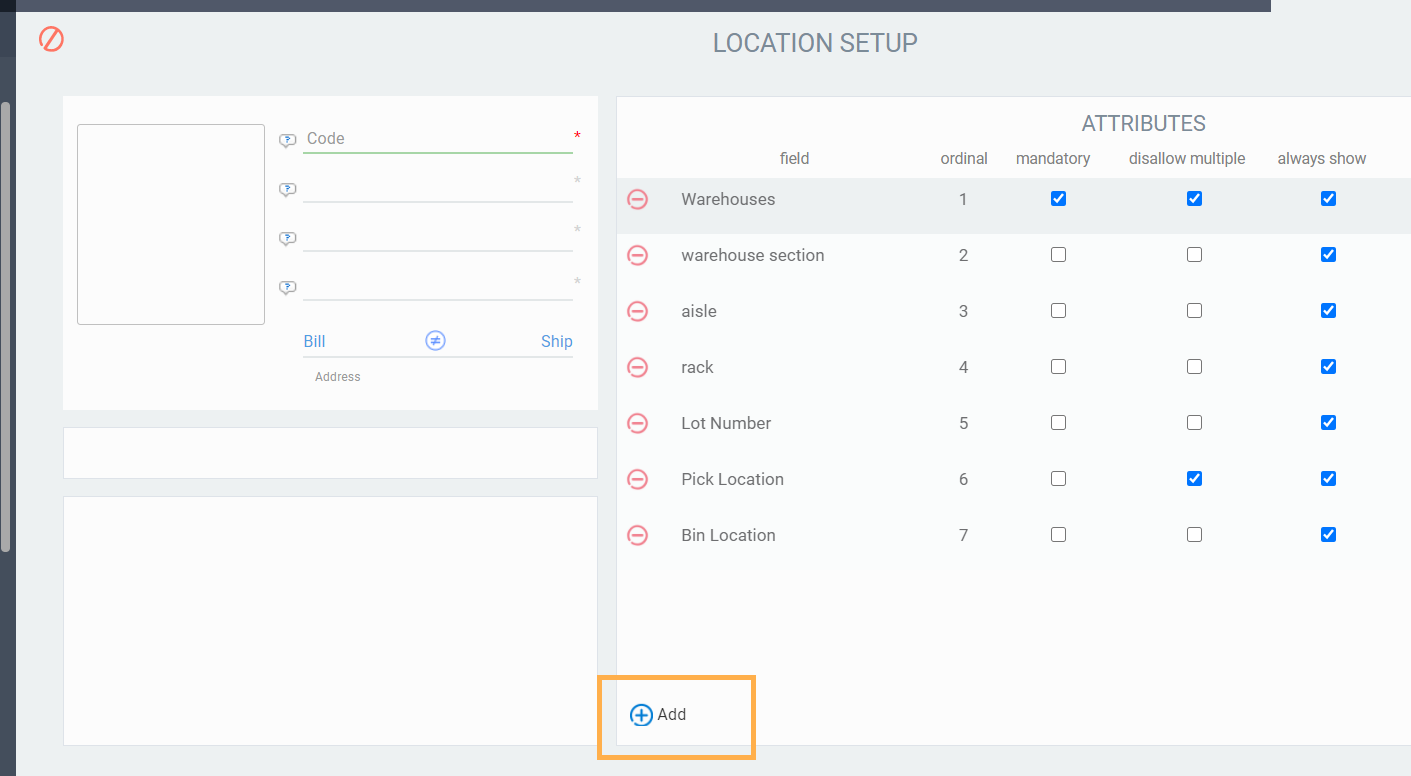
Configure location module
First, select the location module from the screen setup page, and click the edit button to add/change attributes.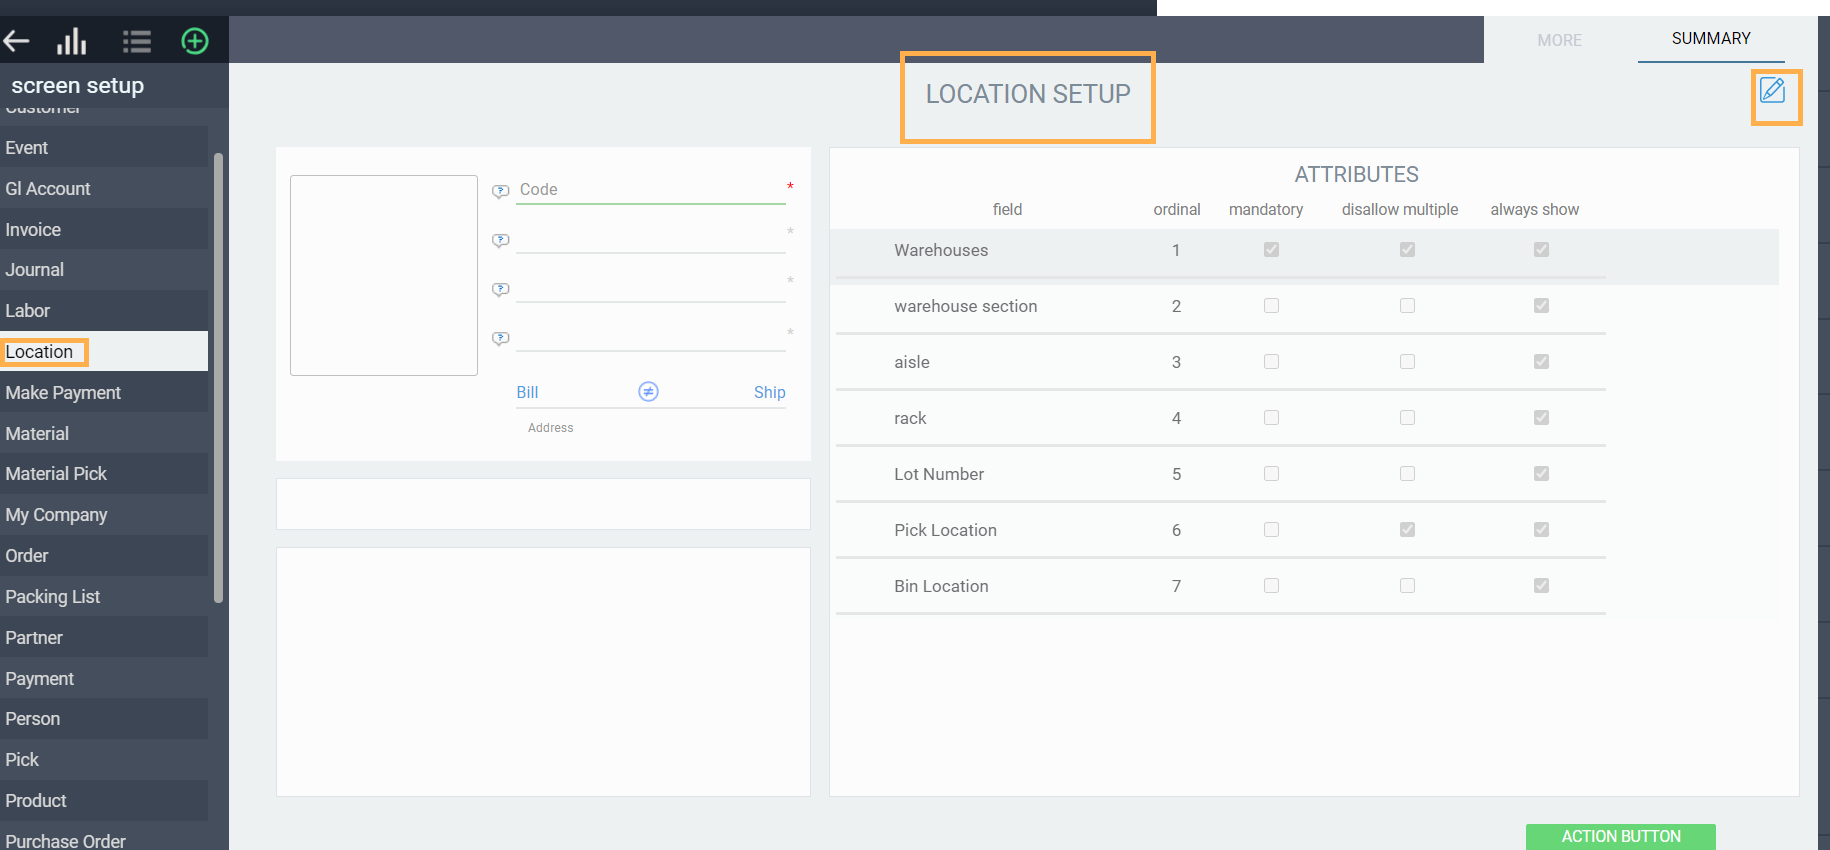
Set up GL account module
First, select GL account from screen setup, and click the edit button to change/add attributes.
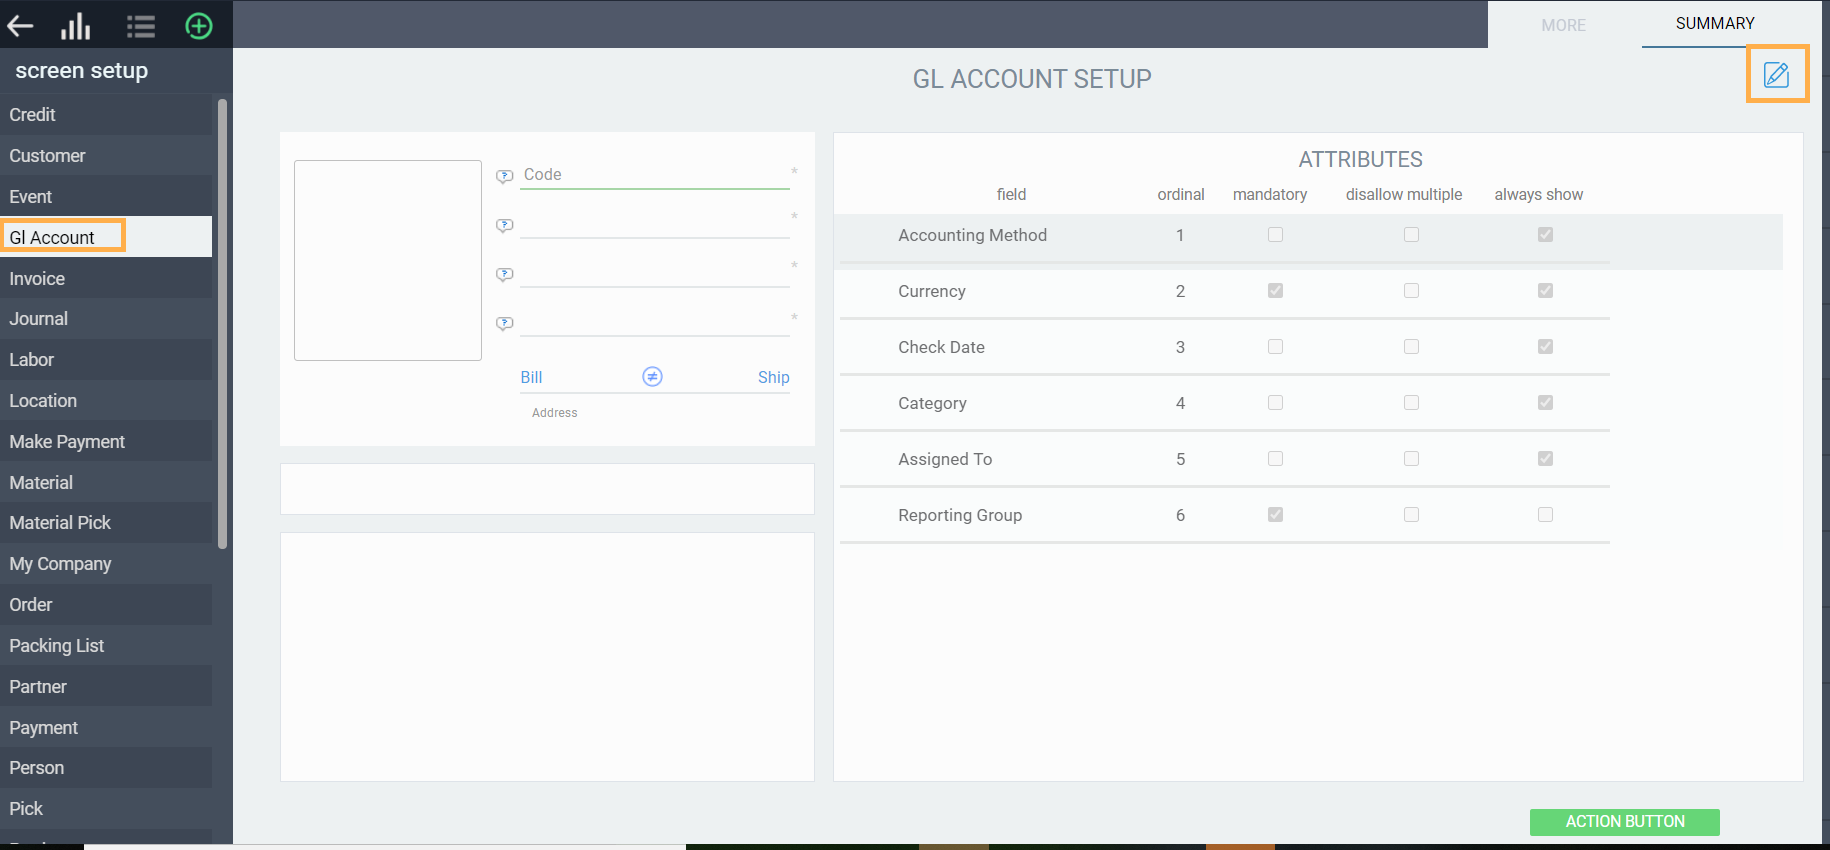
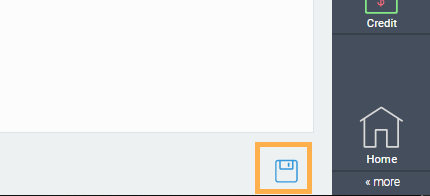
You can set up the attribute panel as you see fit by following the end steps in step 4 seen above. When you're done, click the save button.

What's next?