Importing and exporting associations

Introduction

ParagonERP allows you to import and export associations that are used to link different pieces of information throughout the system. This can be useful when you want to add an association for multiple items at once.

Export the association file

From any screen click on the settings button at the top right corner.

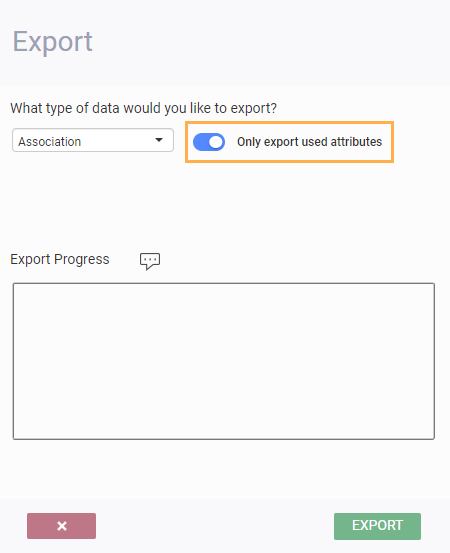
Go to the reports & data system card and click export.

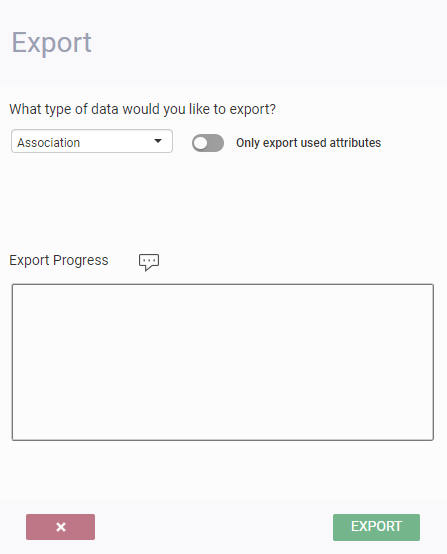
Select association from the drop list.
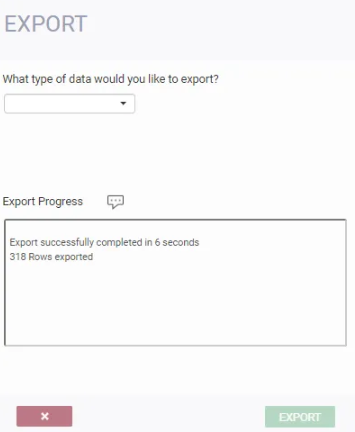
Click export and the file will download.

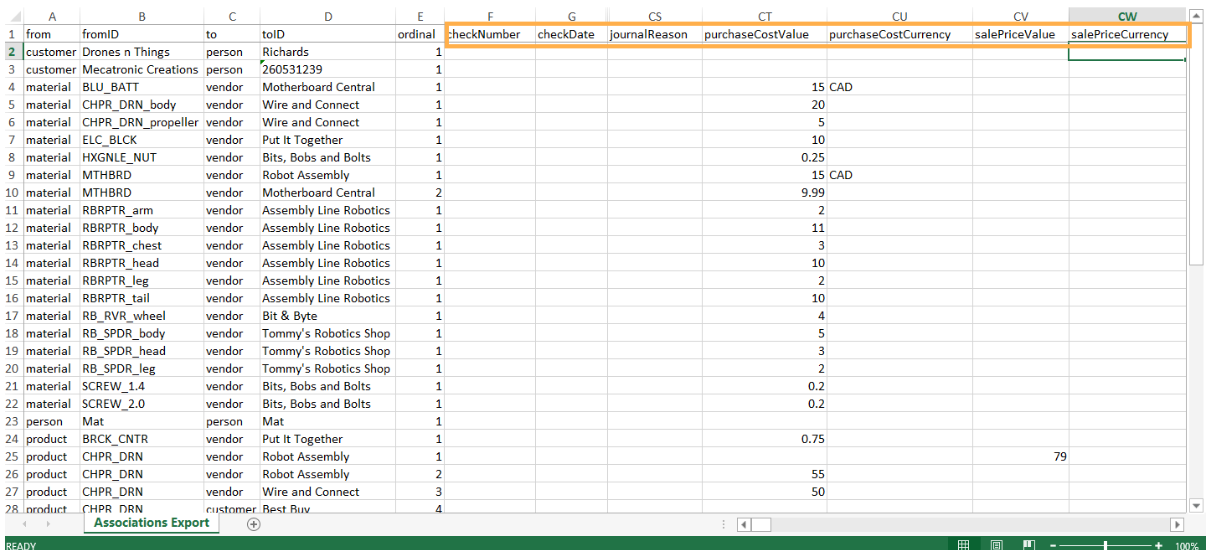
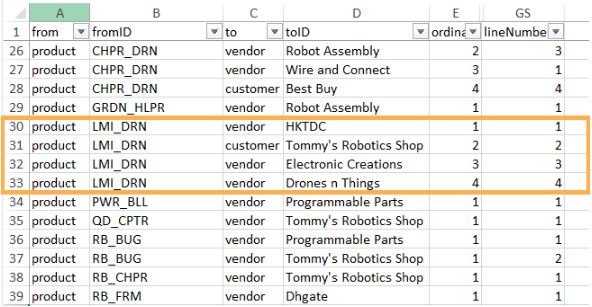
You will now be able to open and edit the exported file. Here is a sample:


Please note that all of the attributes that are currently in the system are listed as columns in the exported file. You can navigate to the right of the file to explore the attribute values related to a specific association. As an example, in the sample file above, you can see all of the purchase costs for materials and products that are associated with certain vendors. Material BLU_BATT from vendor Motherboard Central has a purchase cost of $15.


Hide attributes not in use when exporting associations 


Associations allow you to create relationships within the information in Paragon. For example, you can use the sales price to create an association between customers and products (hint: this is a price list!). Using the data import/export feature, you can do mass updates and entries of all of these associations. Since an association can be created using any attribute in the system, the export includes all attributes (even ones that were created but then abandoned).  And, with virtually unlimited attributes in the system, this spreadsheet can be very overwhelming. For this reason, we added the option to exclude any unused attributes from this export. 


Import an association file

After you have made adjustments to your association file, it can be saved and imported into the system. Make sure that your file is correctly formatted before uploading.

From any screen hit the settings button at the top right corner.


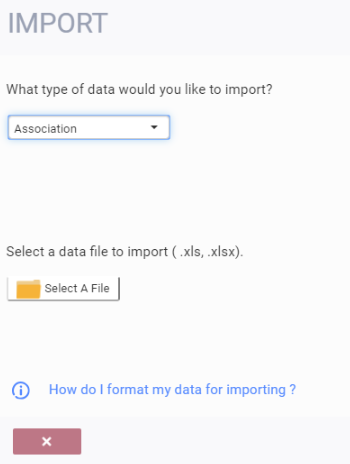
Go to to reports & data system card and select import.


Select association from the drop list.


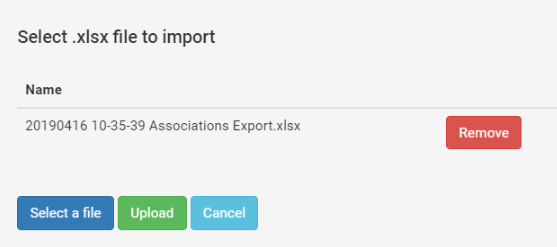
Hit the option to select a file and choose the file you want to import and hit upload.


Once the file has been successfully uploaded, you will be notified. If there are any errors with importing, you will see the reasons in an error log, which will display on screen. You will be able edit your file.


Hit done when the file has finished importing.
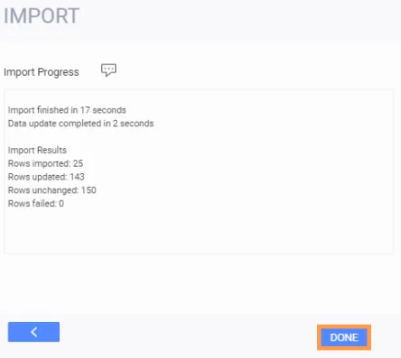
The associations in the system will now be updated based on the file that was just uploaded.

Adding new and updating existing associations

The import tool can be used for both adding new associations, or to update existing ones. The difference between both of those functionalities depends on the value in the line number column in the imported excel file. A line number is added to all associations in the system, and is based on the parent of the association. For example, in the example below, the product LMI_DRN has 4 associations with vendors and customers. All of those associations have a line number related to them.


If you wish to update an existing association, simply keep the same line number as the one that the system assigned to this association. You can edit any of the columns except the from and fromID.

If you wish to create a new association, create a new line and do not fill the line number column. At the time of the import, the system will recognize that this is a new association and will automatically assign it a new line number.

Finally, note that this line number cannot be viewed within Paragon. It can only be viewed when exporting the file.


What's next?

You've learned how to use the associations export and import tools.  You can head over to our documentation pages for more articles.

General information about associations