![paragon logo-1.png]](https://support.paragon-erp.com/hs-fs/hubfs/paragon%20logo-1.png?width=240&height=75&name=paragon%20logo-1.png)
Introduction
Go to the labor module
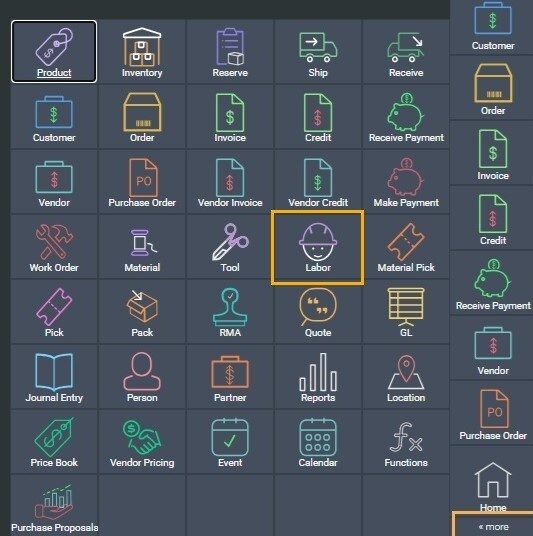
First, from the Home Screen, click the more tab, and navigate to the labor module.
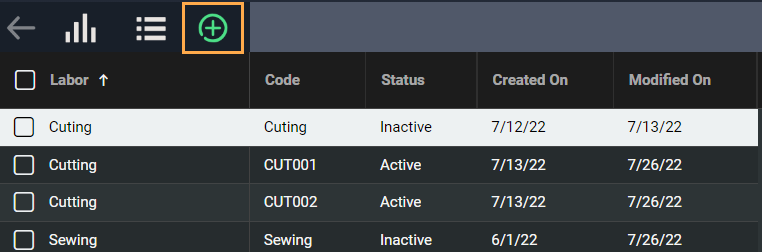
From the labor screen click the create new labor button at the top left hand corner.
Add more attributes and information
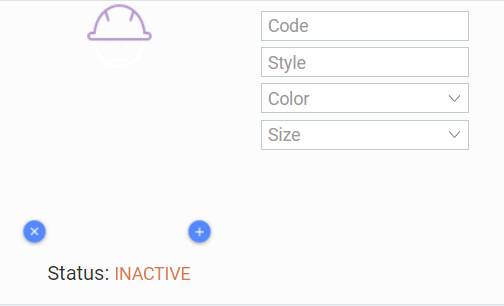
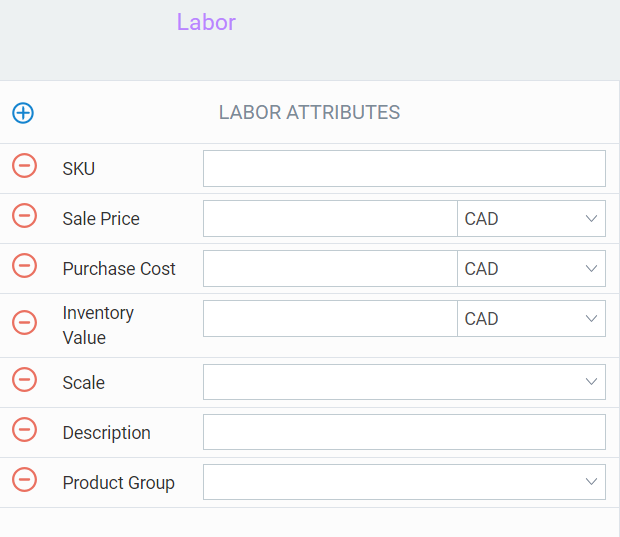
Here, you'll be redirected to an empty template to enter labor information. You'll notice it looks very similar to other reference screens in Paragon.
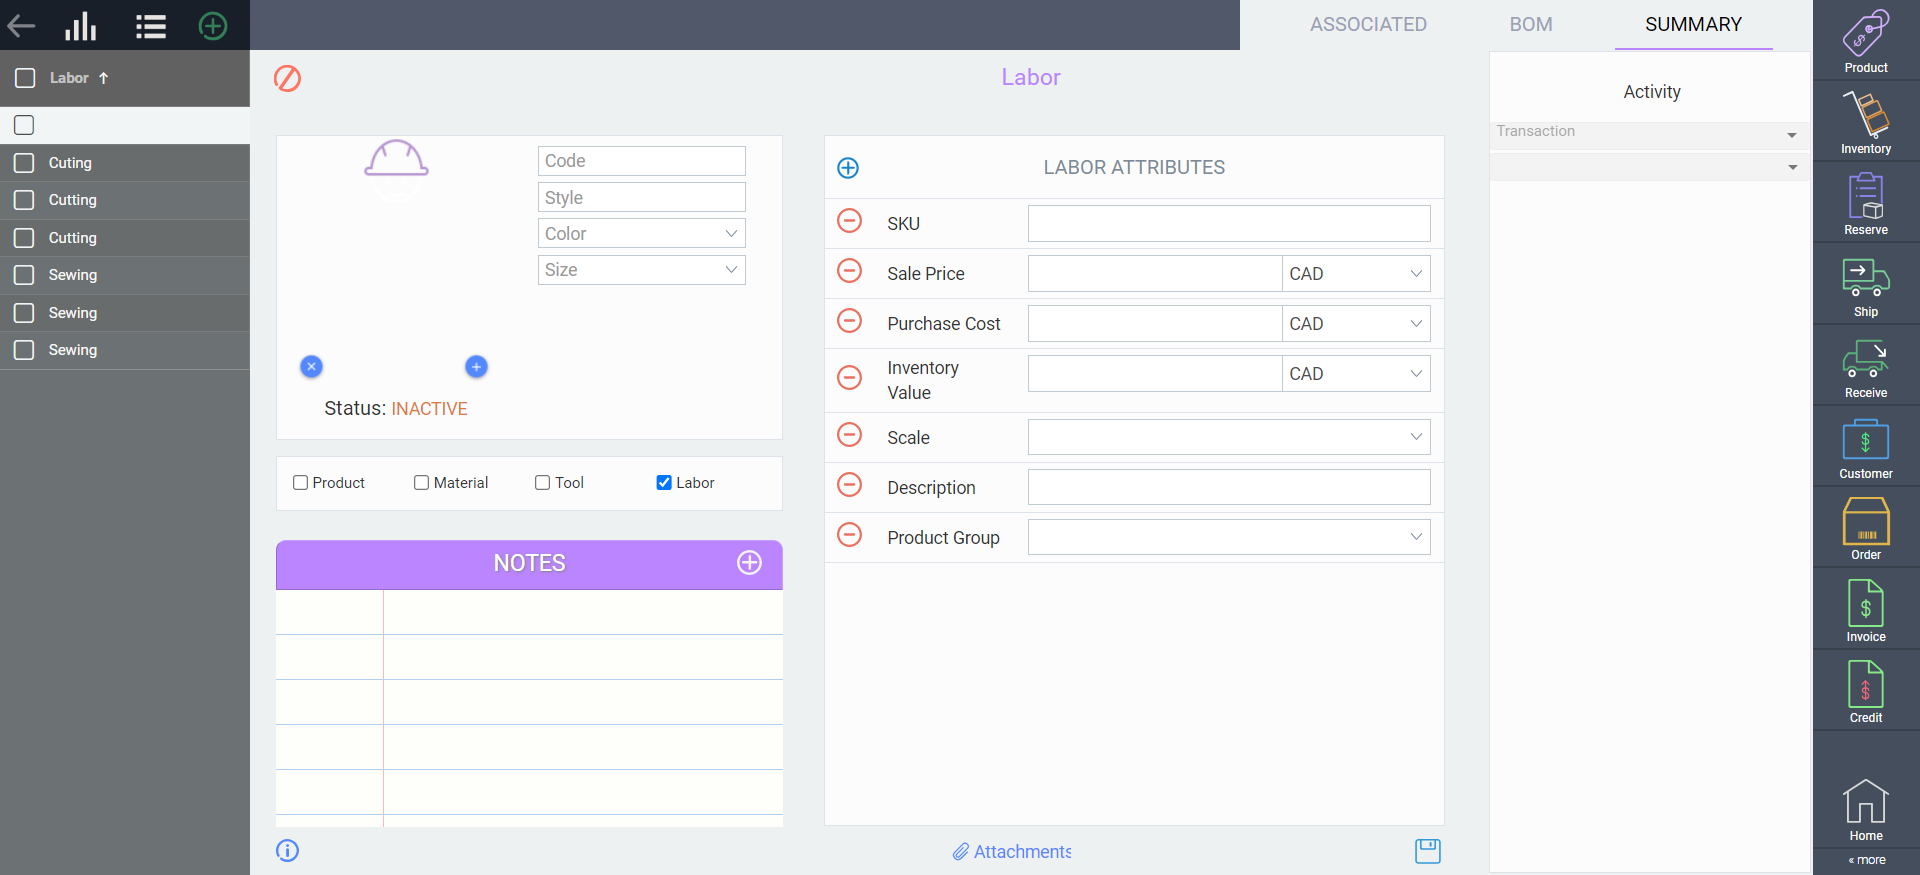
In this step, you can begin to enter the appropriate information pertaining to the labor required.
If the information you'd like to enter is not in this list either, you will need to add it to Paragon through reference screen setup .


Activate Labor
Once you're all done. Activate your labor by clicking the action button in the bottom right corner of the screen.

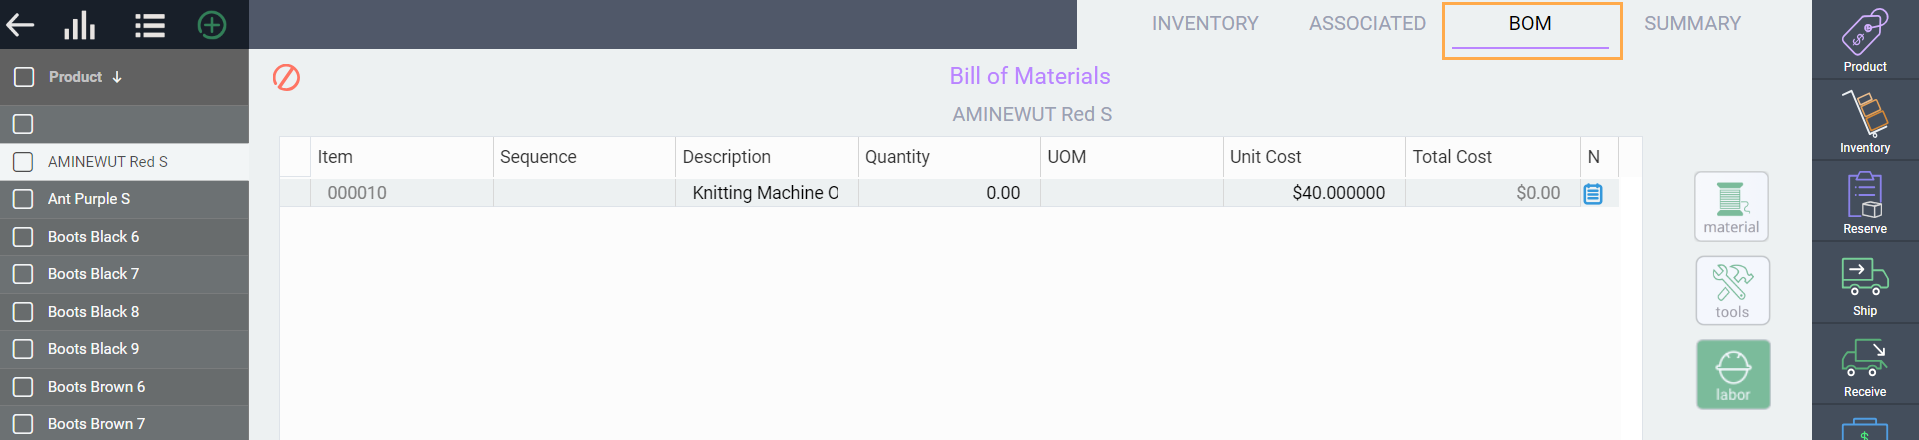
Add labor to your product module (BOM)
Once your labor is active and ready to use, you can add it to your Product BoM.
What's next?
Now that you know how to set up labor, take a look at these other articles to familiarize yourself with references in Paragon.