![paragon logo-1.png]](https://support.paragon-erp.com/hs-fs/hubfs/paragon%20logo-1.png?width=240&height=75&name=paragon%20logo-1.png)
Introduction
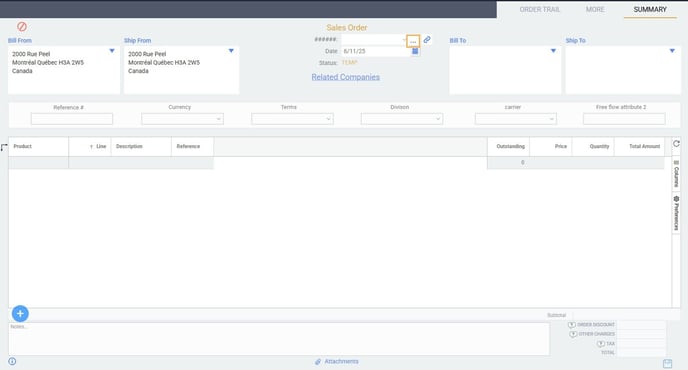
When you are creating or modifying a transaction, you can search for the company you want to use by entering the code in the customer or vendor drop-down search field. However, in order to see all possible companies, it is better to use the three dots option next to the main search field.
This document will explain how to find a customer or vendor using your full list of companies.
How it works
In Paragon, any time you are creating or modifying a transaction you will find the select a company modal by clicking the [...] button next to the customer or vendor drop-down menu.
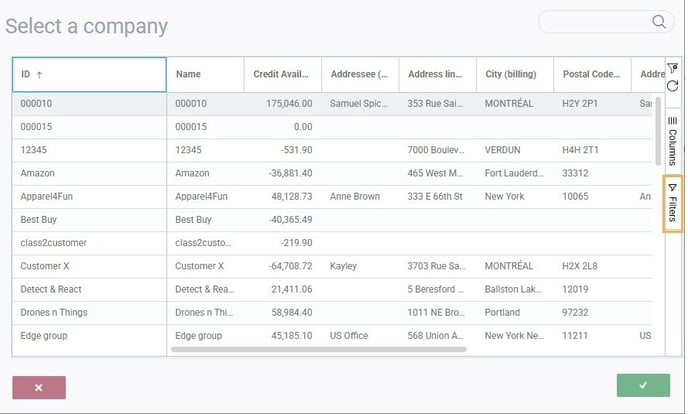
Doing this will open a modal where you will see all the companies (customers or vendors) you have in Paragon.
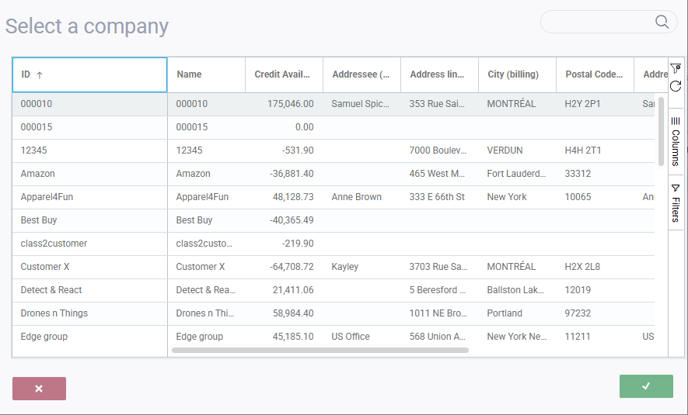
On the first column in the grouping grid, ID, you will see a small arrow. This arrow represents how that column's information is being displayed to you. By click the arrow you can reorganize the display. There are two possible orientations to pick from.
Ascending alphabetically

Descending alphabetically

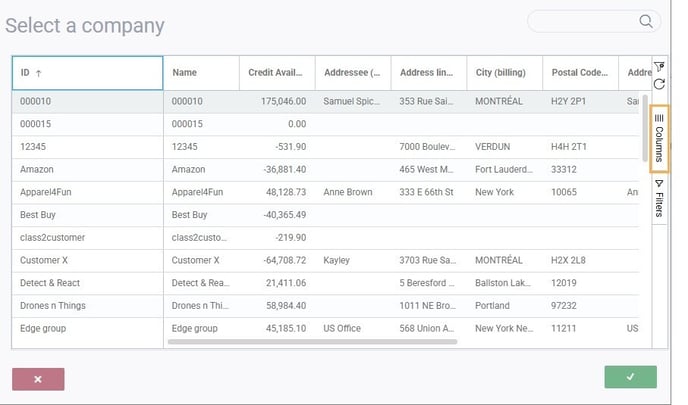
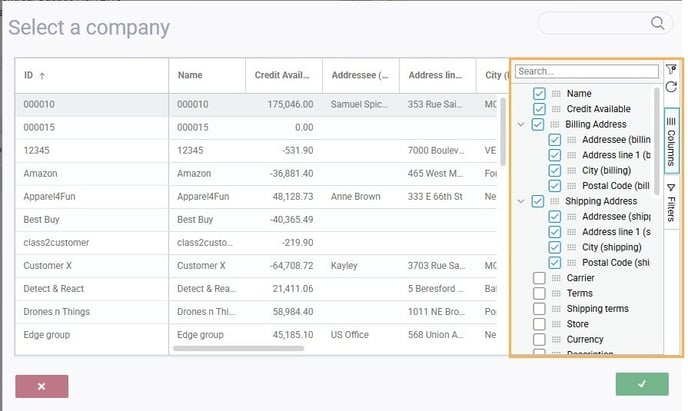
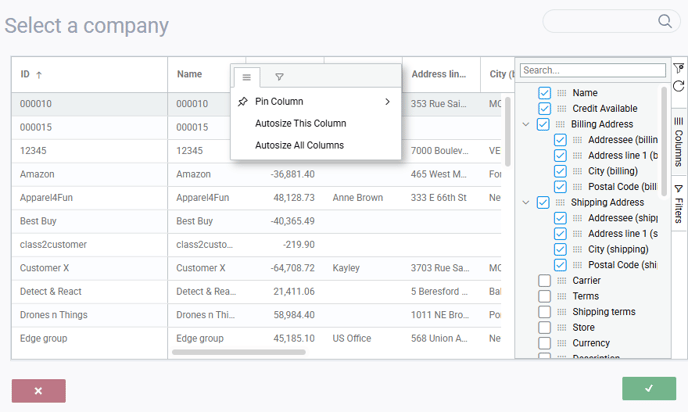
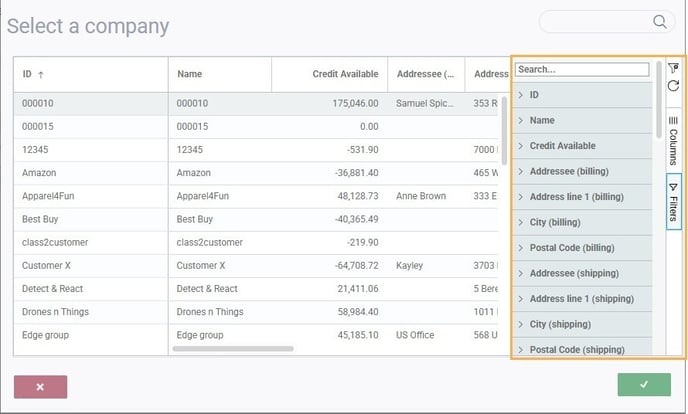
When you first open the select a company modal you may notice that there is a section on the right side called columns. You can click that section to expand it to select which of the default columns you want to see in your grid. All column options are derived from attributes in your reference screens. Any changes made to the columns will be saved by user. This means that the next time you log into Paragon, the settings made last visit will be saved.
What's next?
You can find a more detailed explanation of the grouping grid feature in the following articles: