Configure conditional custom PDF printing and emailing

Introduction

Communication with your customers and vendors is vital in maintaining successful business relationships. Using the report template editor in Paragon, you can create custom PDF output templates that can be assigned to each module in Paragon. To find out more about creating your own templates, you can read our article on How to create a custom PDF template for any transaction.


Using the report template editor along with our print and email configuration module gives you a centralized area to configure where and when each template should be used in printing and emailing through the print and email action buttons. The print configuration grid can be found in the reports and data card in the settings screen.


Adding a configuration

When you open the print configuration screen, you are presented with a table consisting of the following columns: module, priority, action, template and conditions, see all, and email template. To get started, click the edit button at the top of the screen. In edit mode, click the add button to create a new line.


When adding a new configuration line, you will be asked to provide the module and template to be used under a specified set of conditions. These conditions can be any combination of attributes on the transaction or the company associated to that transaction. For example, if an attribute was not filled on the transaction but is present on the company being used, Paragon can pull the data from the company instead. We have shown a complete walkthrough of triggering these configurations in the next sections.


Set priorities

Paragon will stop looking for print conditions as soon as it finds a match for the transaction being printed. So if one condition is more important than the rest, it should get a priority of 1. In the example below, a specific invoice template will be used if the invoice is marked as overdue. Because of the priority settings in the print configuration screen, the conditions for the invoice - due immediate template are only checked if an invoice is not marked as overdue. If a transaction doesn't meet any of the conditions, the default template for that transaction type will be used. 
 

Triggering print configurations

Continuing with our example, when we create an invoice with the attribute overdue set to yes, we should now be able to print our overdue template pdf.
In the more tab, we can see the attribute has been checked and we can now hit print from the action button.


After hitting the print button, we triggered the conditions to give us the overdue template instead of the default template attached to the invoice module.
 
 
If you use any template rules for your printouts, you will still need to use the configurable action buttons.
 

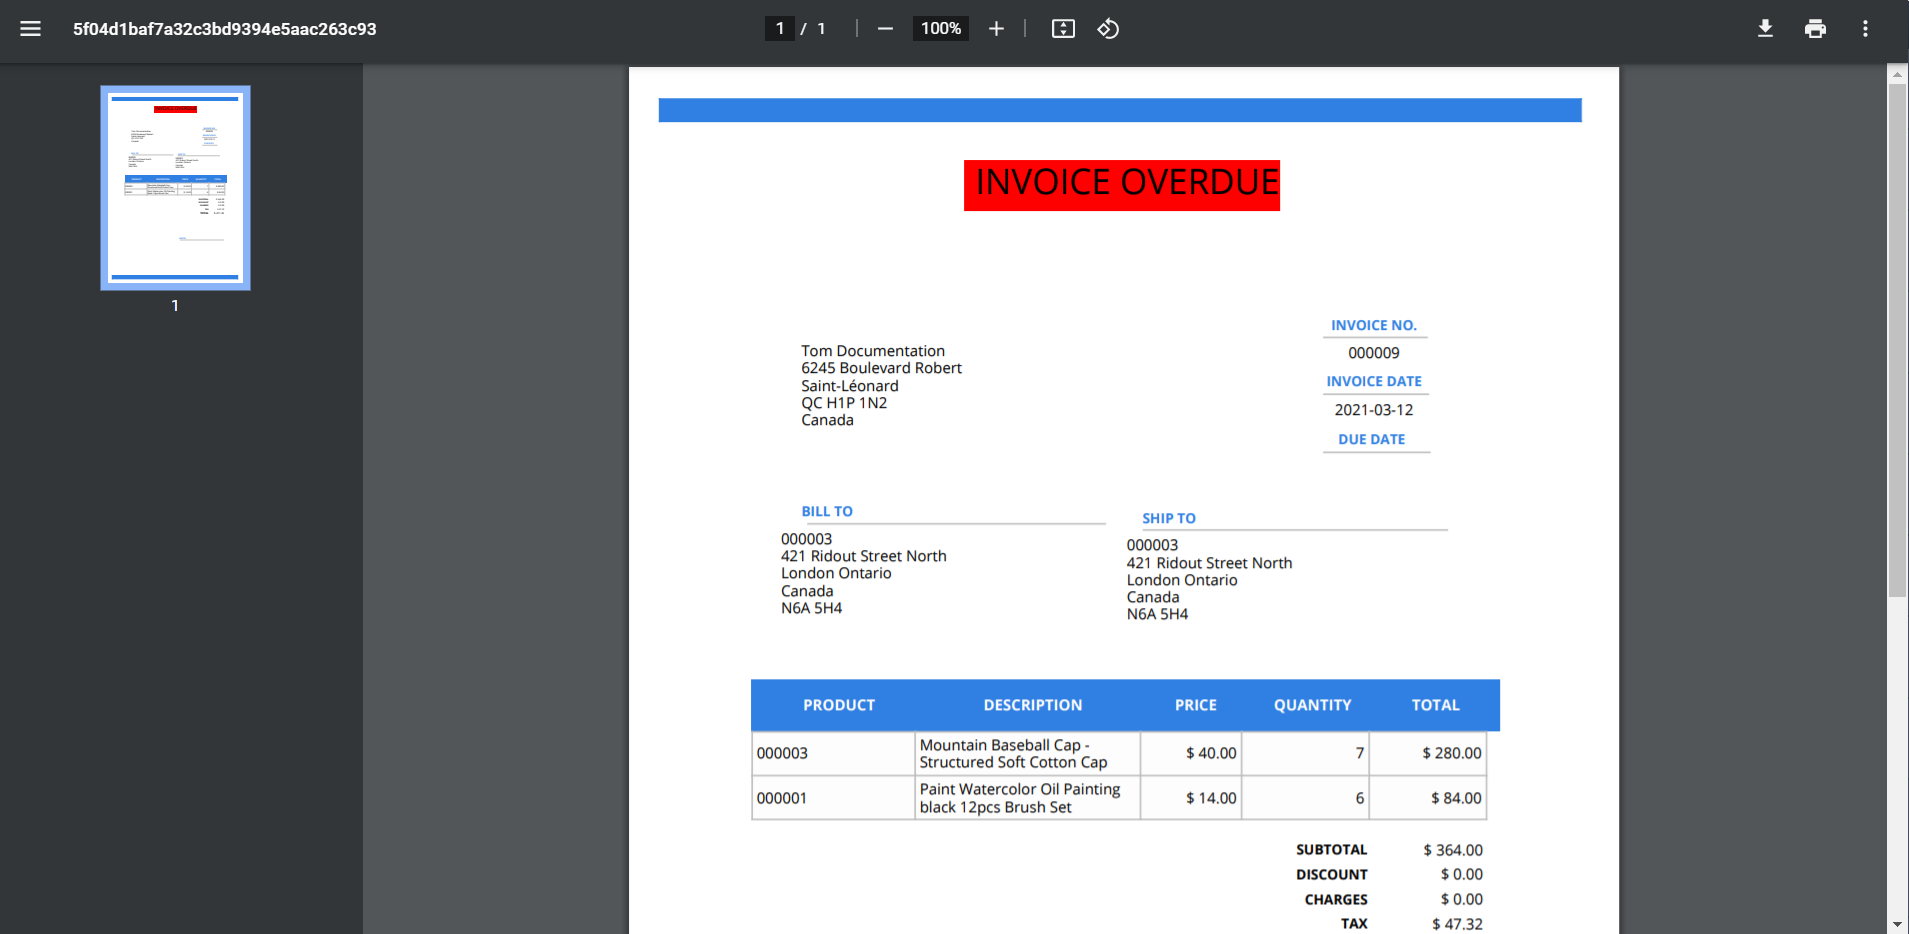
Print configuration with company attributes

As mentioned previously, you can also trigger print configurations based on attributes of the company used in the transaction.  For example, if you have a company that requires their PDFs to be in a different language, we can automatically trigger this by using the attributes related to that company, as long as that attribute is blank in the transaction . If the attribute has been filled on the transaction, the print configuration will use this instead.
 
Start by creating your configurations. In this case we will have a French example template that requires the company to be using the currency EUR in order to use the French credit printout.
 
image
 
Next, you will need to make sure that the company you will be using on the template has the correct attribute set up; in this case currency EUR.
 
Once this is confirmed, we can create a new credit transaction.
 

Remember to use the correct company on the transaction!


Now, when we go to print or email our credit, we get the French example template.
 

We can also fill out the attribute on the transaction itself to trigger our configurations regardless of the company being used. Therefore, if you want to quickly change to the French template on any transaction, using the currency setting, you simply have to change the currency on that transaction to EUR, and your printout will use the French template.


Once you are happy with your configuration, the specified template will be automatically attached to any emails you send using the email action button on any transaction. 

The set of conditions for each template are limitless, so you can be as detailed as you need to be in order to fit your business needs. 
 

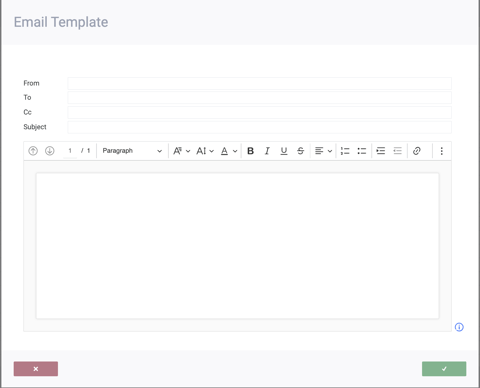
Email template configuration

While using the print configuration screen, you also have two other options available besides print: email and print & email. Email allows you to set up a separate configuration from your print settings, or you can use print and email to set up the same template for both functions. Simply choose the module, template, and set of conditions that must be met to use that particular template. 
 

Set up the emailing feature in Paragon before using the print and email configurations.

 
While in edit mode, click on the module's corresponding email template button on the right. In this example, we will be editing the Order module's emailing template.
 
A modal will appear, allowing you to create and edit an email template for the selected transaction.
 
 
You can add default emails to the From, To, and Cc fields and even fill in a default subject line. Once saved, this template will be used when emailing from the selected module, saving you time and lowering the risk of mistakes and typos.

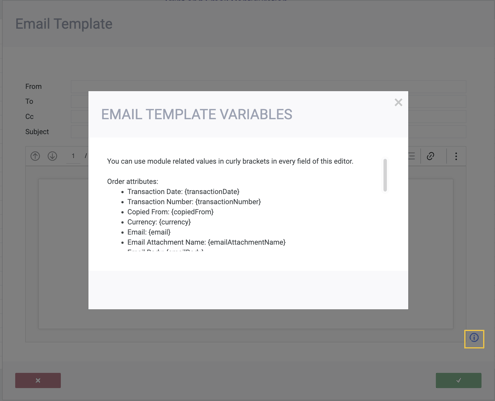
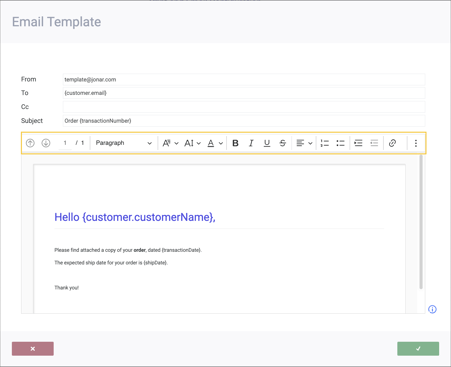
If you would like to use variables in the template to easily use attributes relevant to that module, you can do so in any field in the template. To view the variables available to you for that module, click the info button in the bottom right corner of the modal.
 
A smaller modal will appear, showing you exactly what each variable is called, leaving no room for doubt as you easily fill your email templates with relevant data without having to manually add it to each email. The screenshot below is an example of how to use the variables.
You can also use the toolbar to customize the template to your liking. The toolbar allows you to use standard document features like editing font styles, using bullet points, adding attachments, tables, images, and more.
 
Once you are happy with your template, click the accept button in the bottom right corner of the modal first, and then click save.
 

View your template

If a template has been saved, you will see a view button under the email template column. Clicking on it will give you a quick glance at your template.
 
To see this feature in action, navigate to the module -  we will use the Order module for this example. From there, click the email action button.
A very familiar email modal will appear, showing you the template you created and saved earlier, with the variables filled in with the selected transaction's data, along with an automatically generated PDF attachment of the transaction. You can modify the email as you like, before sending it.
 
 
What's next?
For more guidance on printing with Paragon, browse this handy article for the next steps: