![paragon logo-1.png]](https://support.paragon-erp.com/hs-fs/hubfs/paragon%20logo-1.png?width=240&height=75&name=paragon%20logo-1.png)
Introduction
To send documents like quotes and invoices directly from ParagonERP, you must configure your Simple Mail Transfer Protocol (SMTP) server settings. These credentials allow ParagonERP to communicate with your email provider to deliver messages on your behalf.
Access email settings
To configure your outgoing mail server:
-
Navigate to the top-right corner of your screen and click settings.
-
Go to communication > email settings and click the add credentials button.
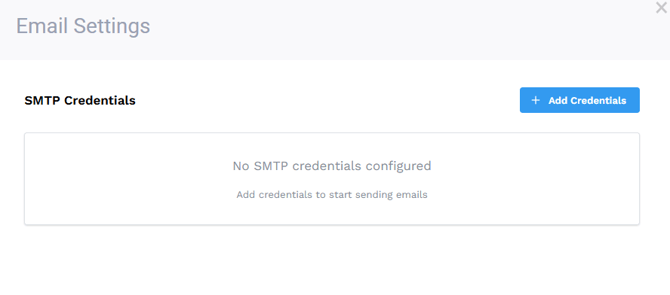
Now you can fill in the email credentials that ParagonERP should use for all communication from the software.
If using SMTP:

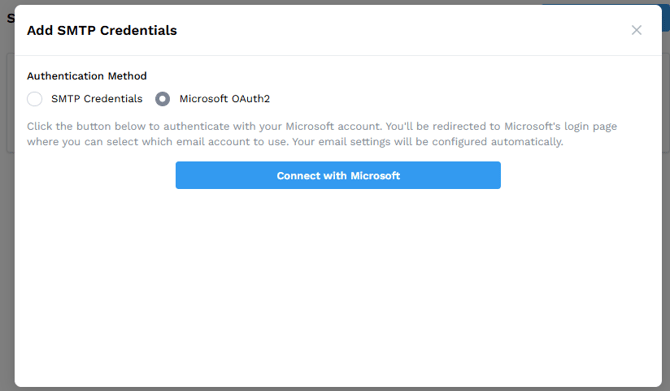
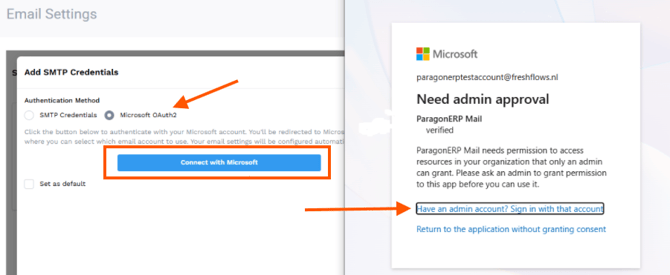
If using Microsoft oAuth2:
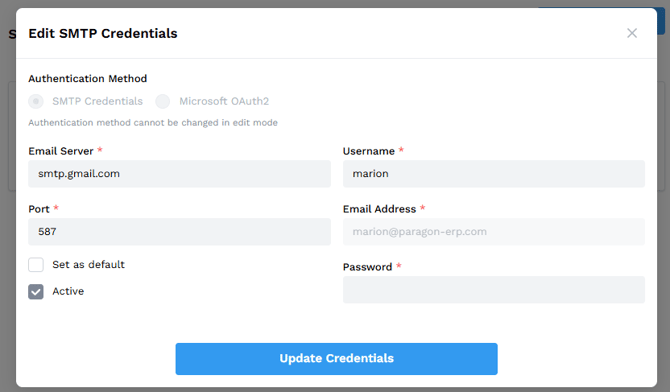
Add SMTP credentials
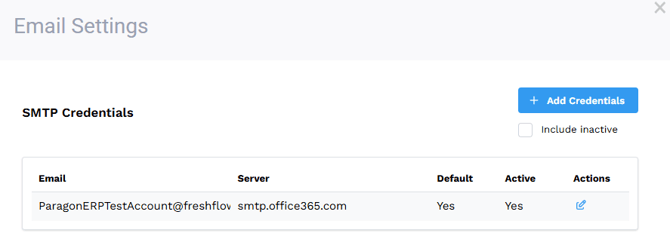
You must have at least one valid email account configured to use Paragon's mailing features. Click the add credentials button to enter your server details.
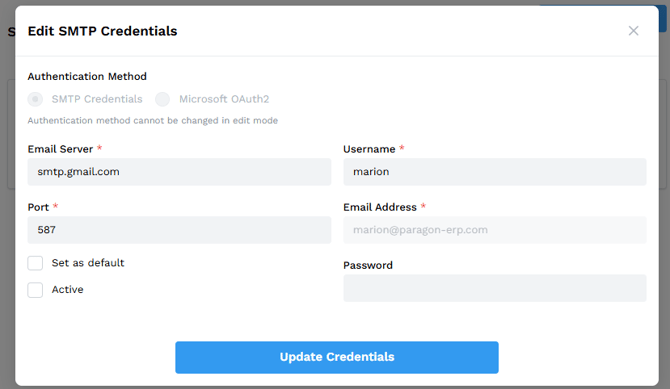
| Field | Description |
| Email Server | Your provider's SMTP server (e.g., smtp.gmail.com or smtp.office365.com). |
| Port | The port number required by your provider (commonly 587 or 465). |
| Set as Default | Check this box if this is your primary sending address. |
| Username | The email address used to log in to the server. |
| Email Address | The "From" address recipients will see. Usually the same as the Username. |
| Password | Your email account password or an app-specific password. |
Important: Email providers often require specific security settings (such as 2FA or App Passwords) to allow third-party apps like Paragon to send mail. Consult with your IT provider or email host for these specific details.
Instructions for Gmail
- Access https://myaccount.google.com/security and log in with your email and password
- Under the heading How you sign in to Google, select 2-Step Verification
- Follow the setup procedure that Google provides
- You will receive a notification that you have successfully setup 2-step verification
- Go back to https://myaccount.google.com/security
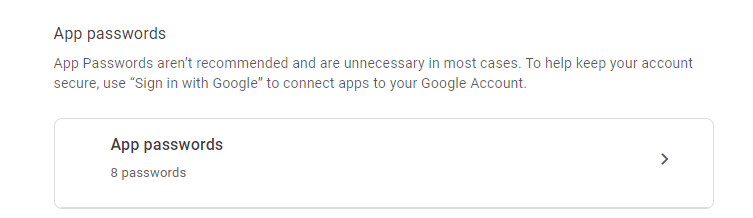
- Under the heading How you sign in to Google, select 2-Step Verification, scroll down and click on App passwords
- 2 drop downs will appear. Select the app type to Other (Custom name)
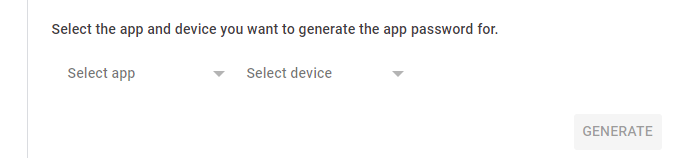
- The drop downs will then change to a text field
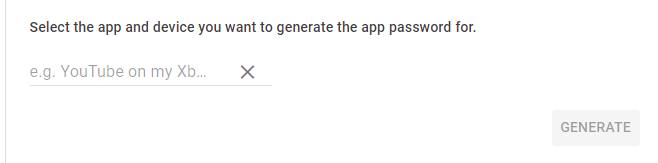
- Enter the name paragon (or whatever you please) and click on generate
- You will be given a 16 digit password code with spaces (#### #### #### ####), this password is what you will use for email authentication. Save the code somewhere and click done
- Go back to https://myaccount.google.com/security
- **Optional**: At this point you are setup, but if you want to turn off 2-Step Verification you can do this now, under the heading 2-Step Verification
- Click turn off at the top of the screen and confirm the decision
- Now access Paragon and login
- Click the settings button at the top right corner of the page
- In the settings card, scroll to the end and select email settings
- Set email server to smtp.gmail.com, port to 587, Email Address to your gmail email, and password to the password generated by google, and ensure that the starttls and auth boxes are both checked
- Click the accept button
- Log out Log in
If you receive this email in your inbox it means the email set up is well configured.

Instructions for Microsoft
If connecting Microsoft to your email settings, you will need admin approval:

Once your credentials have been confirmed, you will see a status modal:
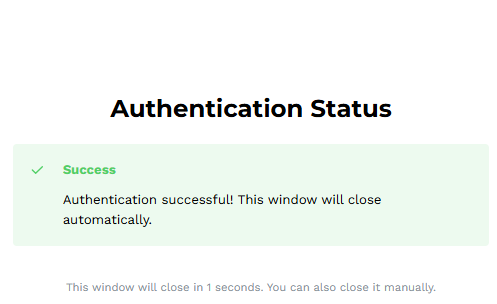
Now your credentials have been saved and you can send emails (invoices, quotes, customer statements, etc.) from ParagonERP.
Deactivate email credentials
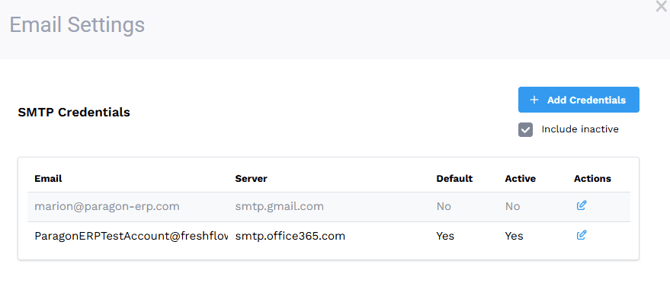
You can also now deactivate an email address after it has been configured (if no longer in use). Just remove the checkmark next to Active and click update credentials.
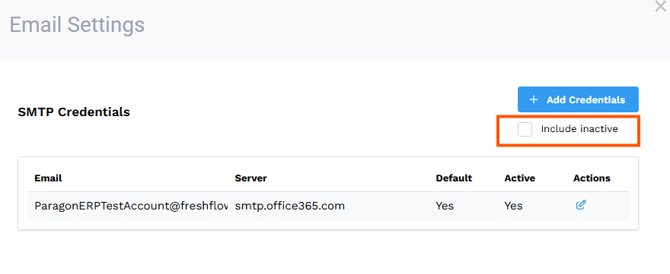
If needed, you can add another set of credentials and then hide any deactivated ones.
If you need to reactivate credentials, open the one you want to reactivate, check the active box, add the password again and click the update credentials button:
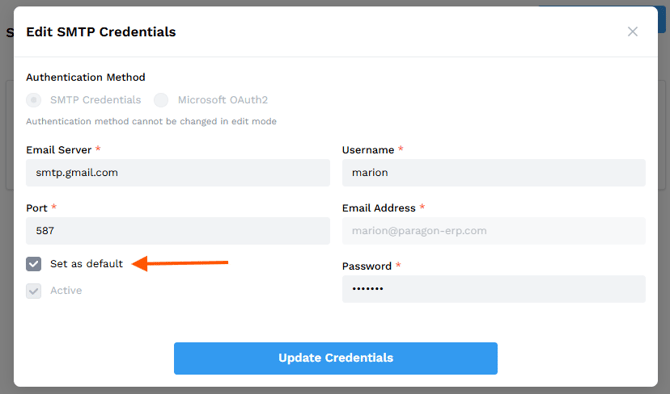
Setting a default email address
You can also decide to flag one email address as the default for all your outgoing mail from ParagonERP. Edit the credentials that will become the default, and check the set as default box, then click the updated credentials button.
Managing email templates
After your server is connected, you can customize the text for your automated messages. This is managed through the print and email configuration within settings > reports and data.
By defining templates for different documents, you ensure consistent communication with your customers. For more advanced styling, see our guide on Customizing email subjects and body text.
Related articles
Conditional custom PDF printing and emailing
Email settings for multiple addresses