![paragon logo-1.png]](https://support.paragon-erp.com/hs-fs/hubfs/paragon%20logo-1.png?width=240&height=75&name=paragon%20logo-1.png)
Introduction
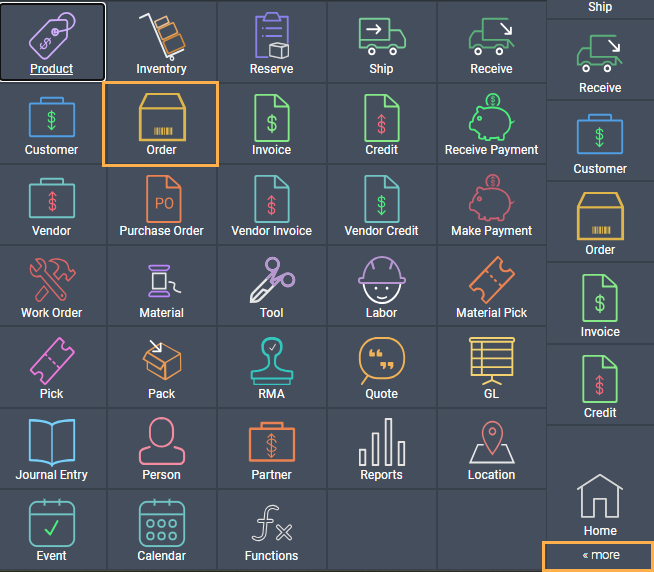
Open the order module
You can open the order module in two ways; by clicking on the order module in the right-hand navigation bar or through the more menu.

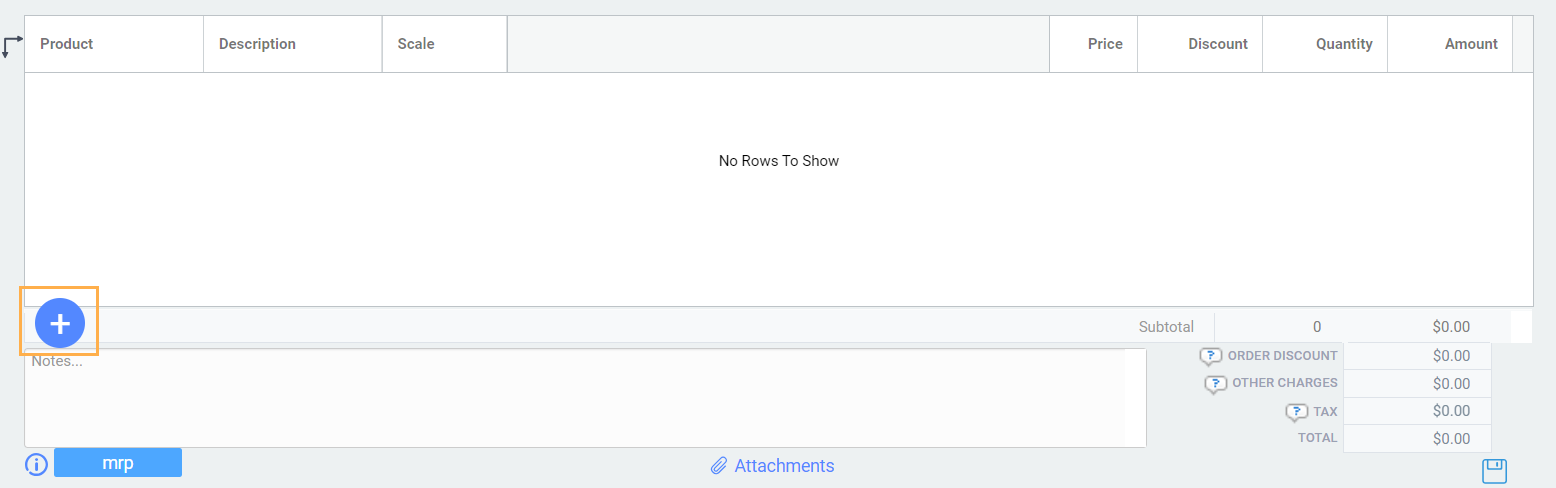
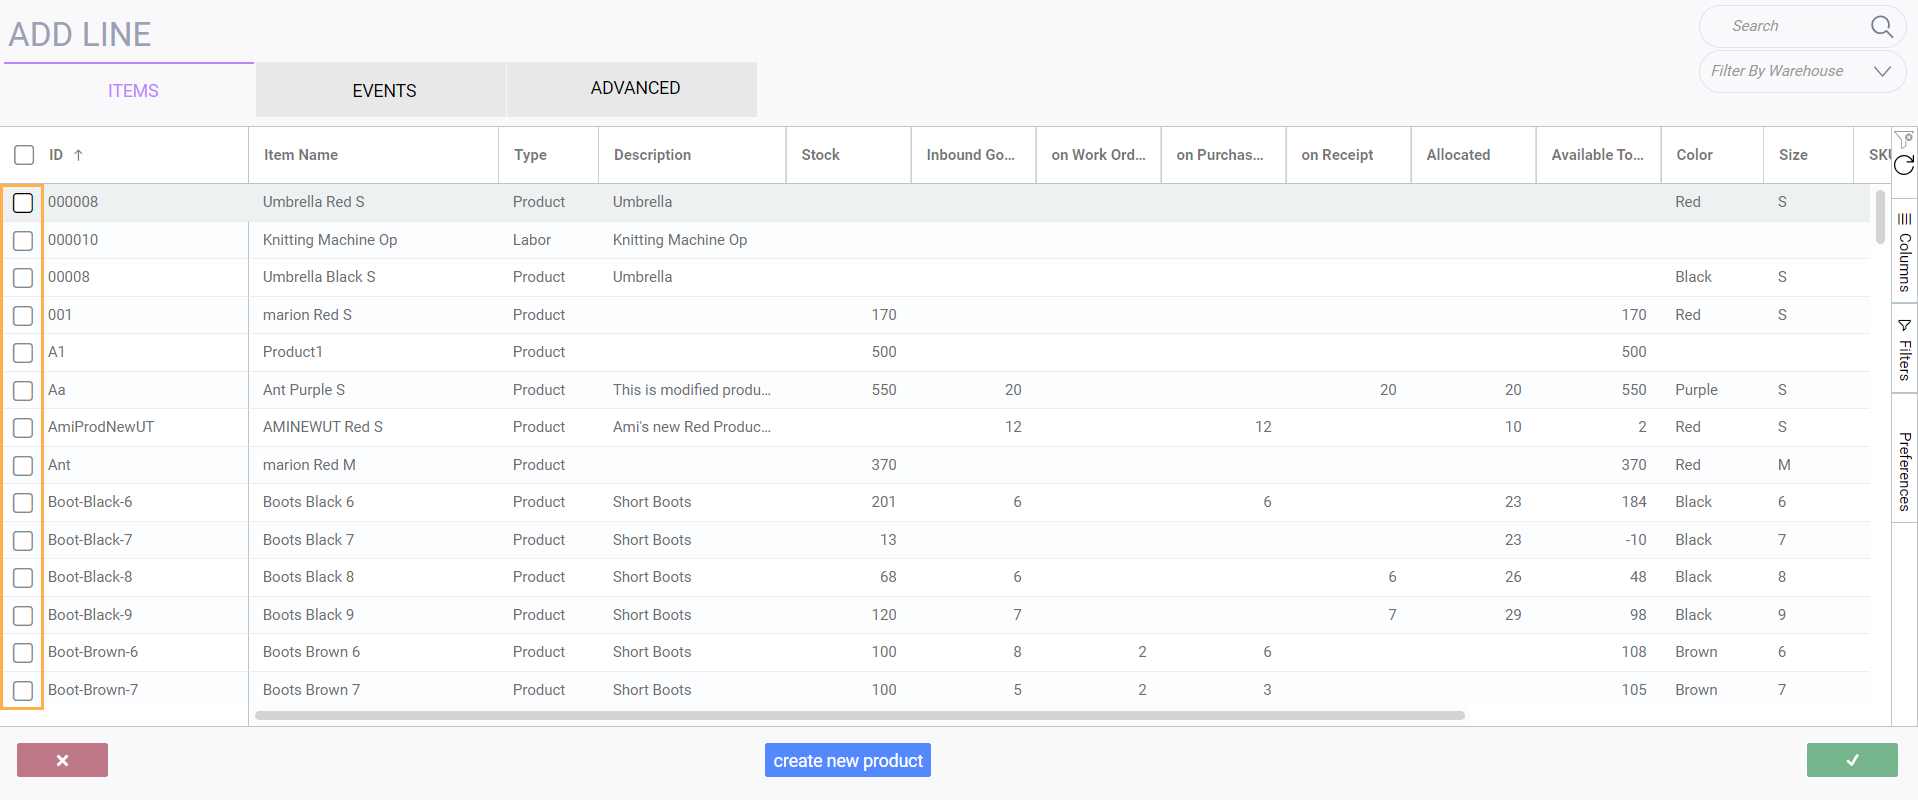
Creating an order manually


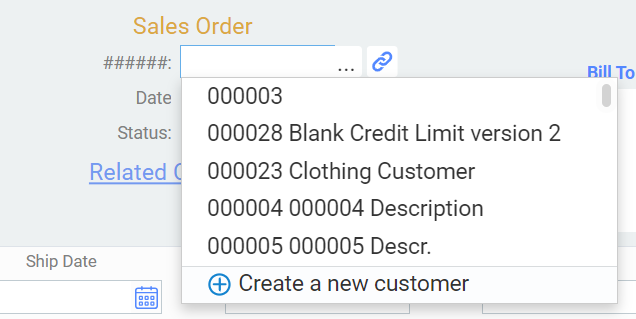
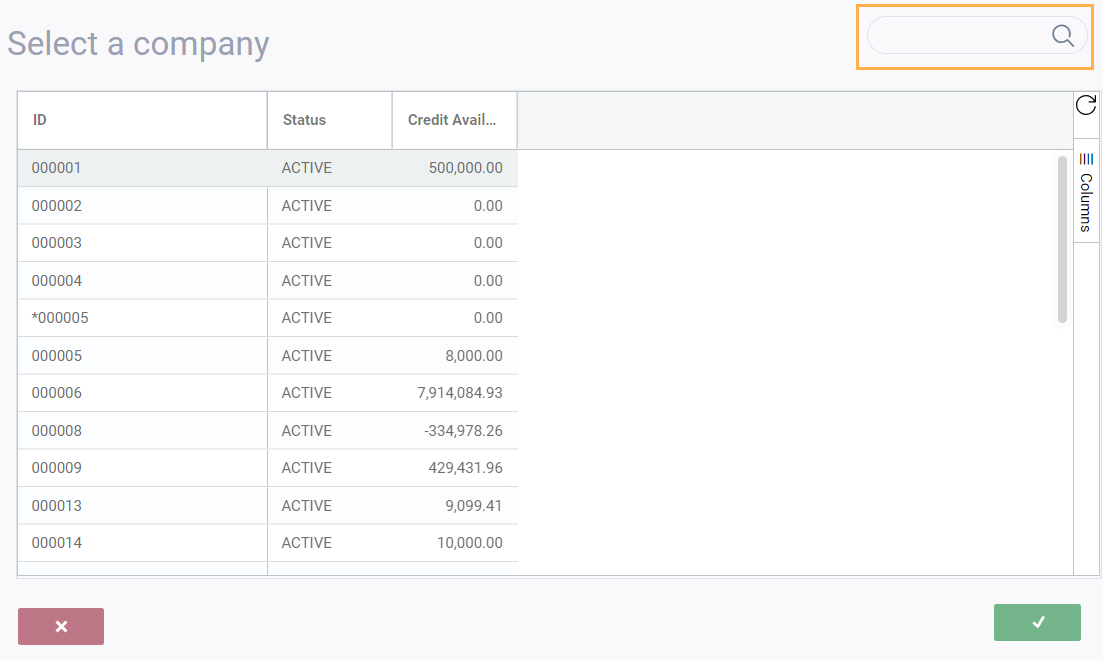
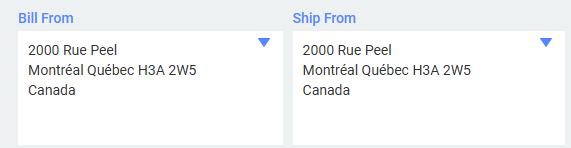
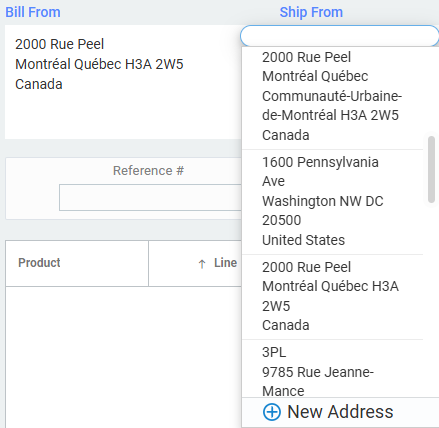
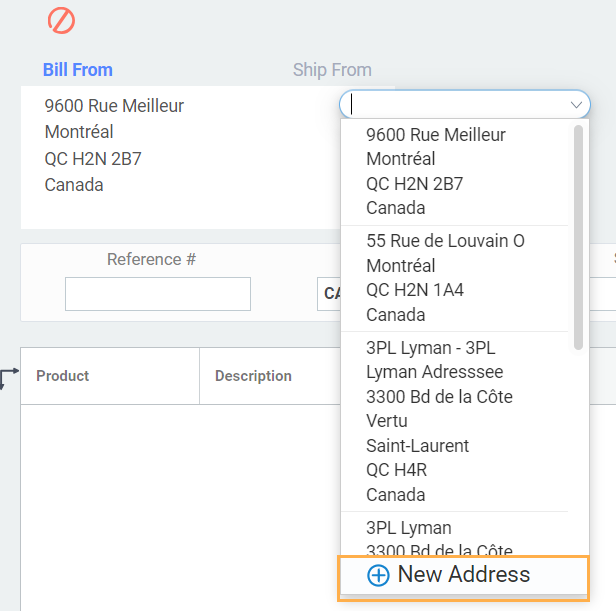
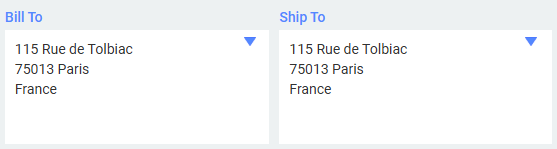
 button and search for the company using the drop down list.
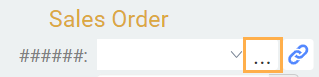


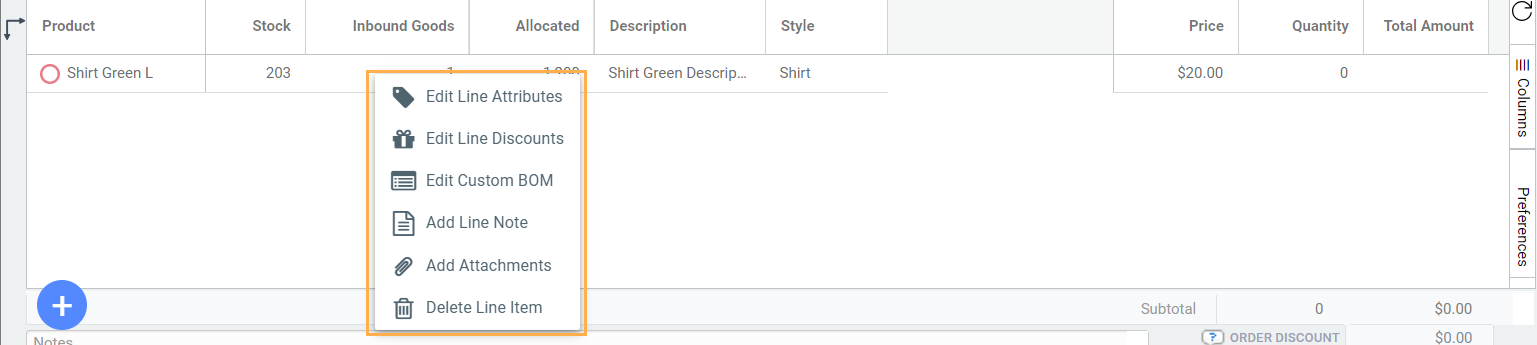


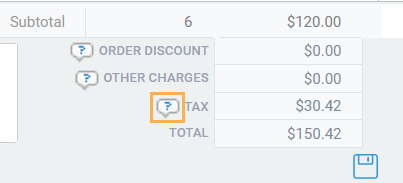
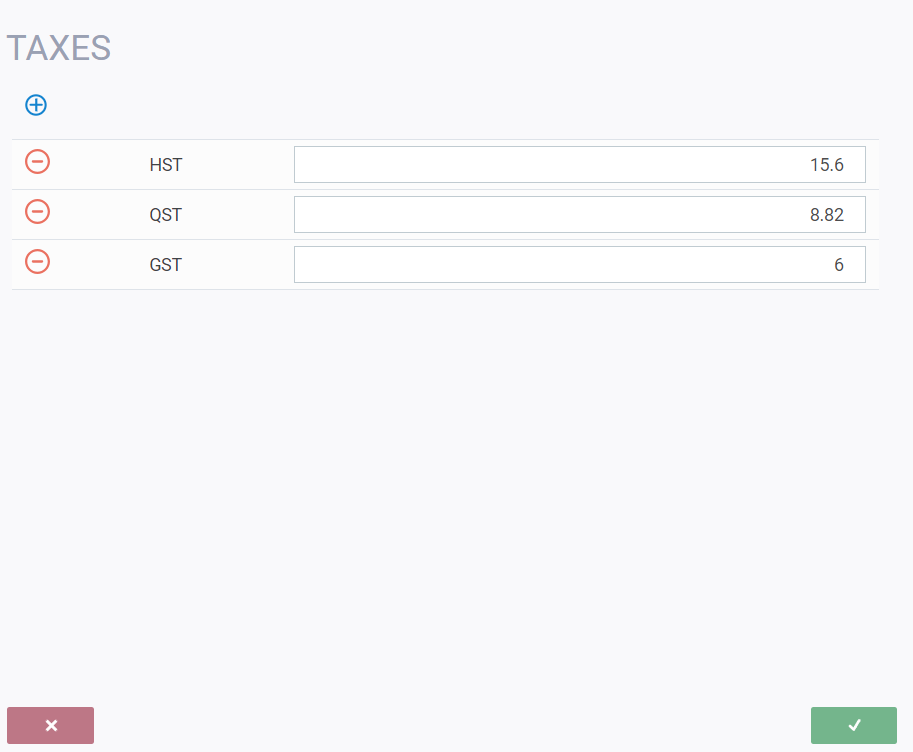
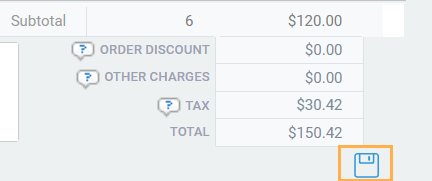
At the bottom of the order, there are fields for discounts and other charges. The other fields, tax and total, are calculated automatically. Discounts and other charges can be added to the transaction here. Click on either field and a modal will appear where you can make modifications based on the configuration in screen setup.
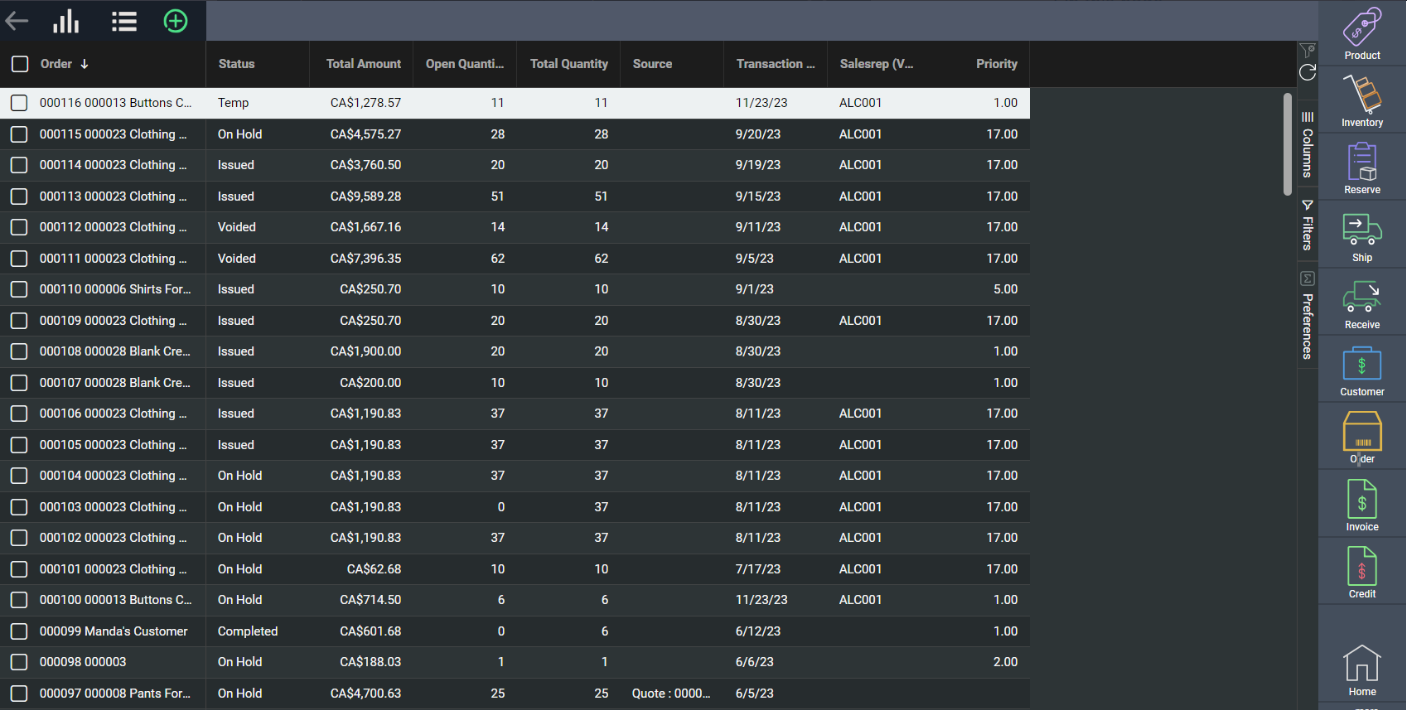
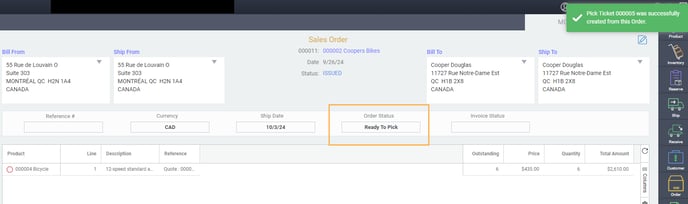
Store and view the order and invoice status on your source orders
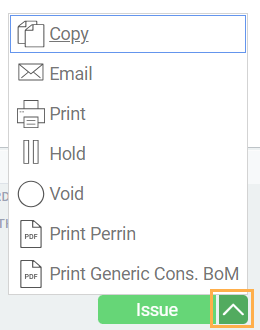
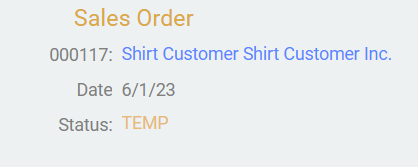
Saving an order
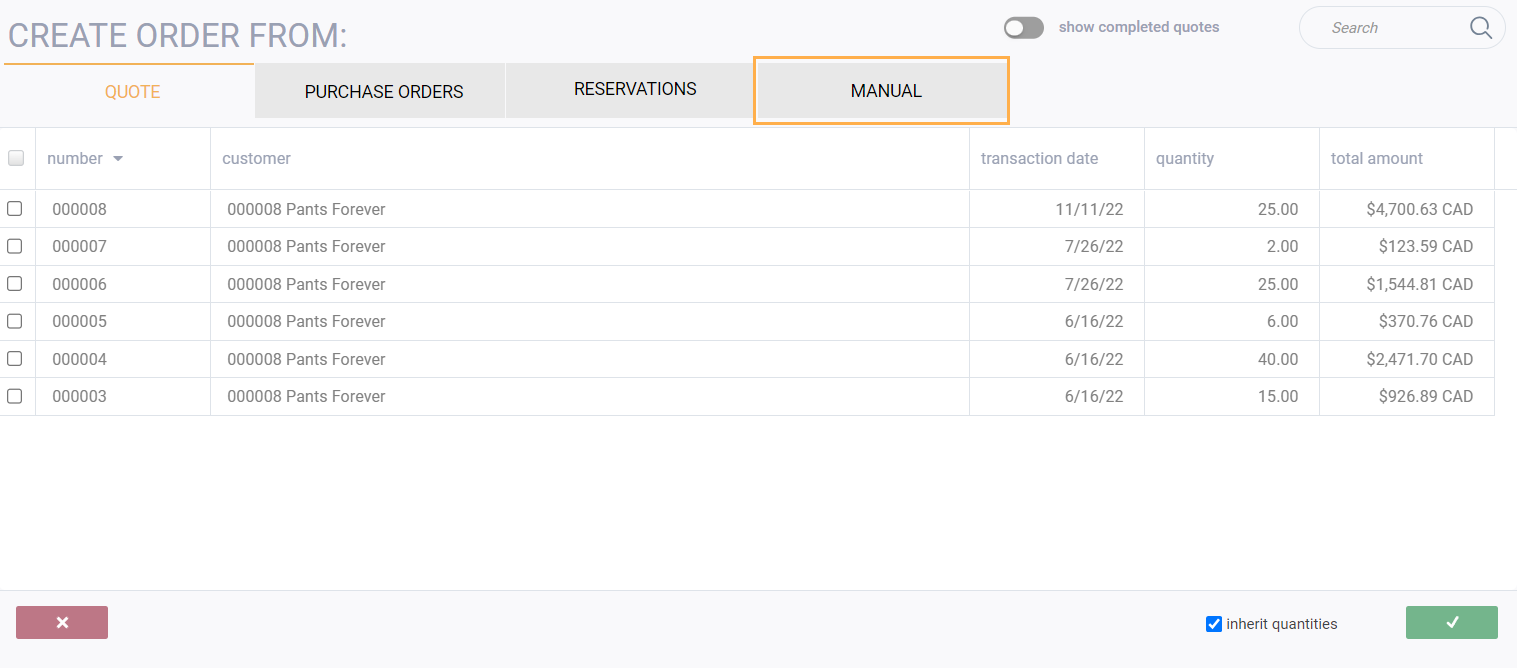
Creating an order from a purchase order
Select how you would like to create the order. In this case make sure the purchase orders tab is selected.
It is selected when purchase orders is highlighted in orange.

Select the purchase order you want to use to create the order by checking the corresponding box on the left. Once you select a purchase order, if there are multiple purchase orders for that vendor, only those purchase orders will show on the screen.

Follow the rest of the instructions for creating manual sales orders to complete your sales order from a purchase order.
Creating sales orders from reservations
Select how you would like to create the order. In this case make sure the reservation tab is selected. It is selected when reservation is highlighted in orange.

Select the reservation(s) you want to use to create the order by checking the corresponding box on the left.
Once you select a reservation, if there are multiple reservations for that customer, only the reservations for that specific customer will show on the screen.

You can choose just one of the reservations, or multiple reservations to create your sales order.
To deselect a reservation, uncheck the box.
Follow the rest of the instructions for creating manual sales orders to complete your sales order from a reservation.
Creating a sales order from a quote
Select how you would like to create the order. In this case, make sure the quote tab is selected.

Select the quote(s) you want to use to create the order by checking the corresponding box on the left.
Once you select a quote, only the quotes for that specific vendor/customer will show on the screen.

You can choose to select one quote or multiple quotes for that vendor/customer to create your sales order. The selected quote(s) will show a blue check mark on the left side of the screen.
To deselect a quote, uncheck the box.
Once you are satisfied with your choice(s), click on the green check mark at the bottom right of the screen.
Follow the rest of the instructions for creating manual sales orders to complete your sales order from a quote.
I've created my order, now what?