![paragon logo-1.png]](https://support.paragon-erp.com/hs-fs/hubfs/paragon%20logo-1.png?width=240&height=75&name=paragon%20logo-1.png)
Introduction
Open the tool module
First, from the home screen, click the more button and navigate to the tool module.

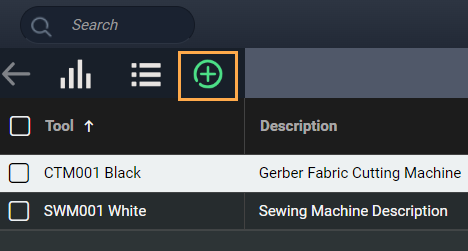
Create a new tool
This is the list view of the tool module. To create a new tool, click the create new tool button.
Add attributes and information
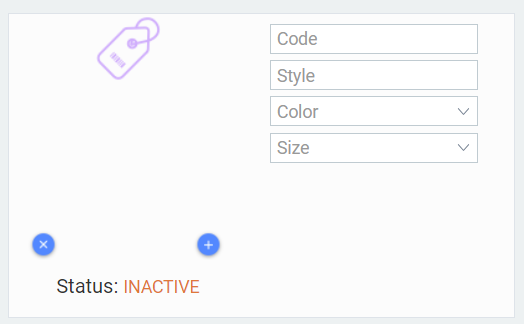
Here, you'll be redirected to an empty template to enter tool information. You'll notice it looks very similar to other reference screens in Paragon.

Once you have created transactions for the tool, they will appear in the activity panel.
1. Enter the tool code, and other necessary information. We suggest using a SKU or UPC (anything that is unique).
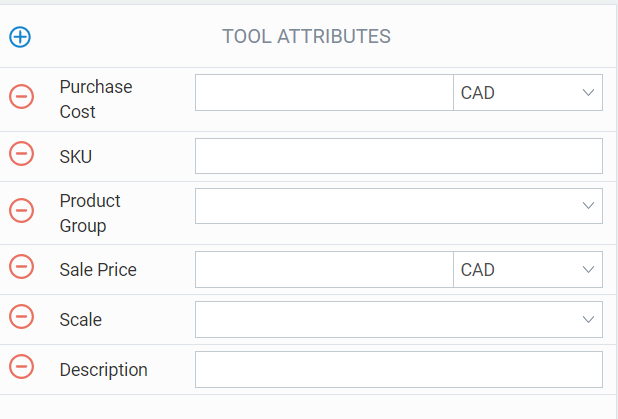

4. When you are done entering all the relevant information, click the save button.

Any fields that are left blank will no longer show on the screen when you save the tool.
Activate the tool
In order to add the tool to a transaction, you will need to activate it. As long as the tool is in inactive status, you will not be able to add it to a transaction. To activate the tool, click the action button in the bottom right corner of the screen.

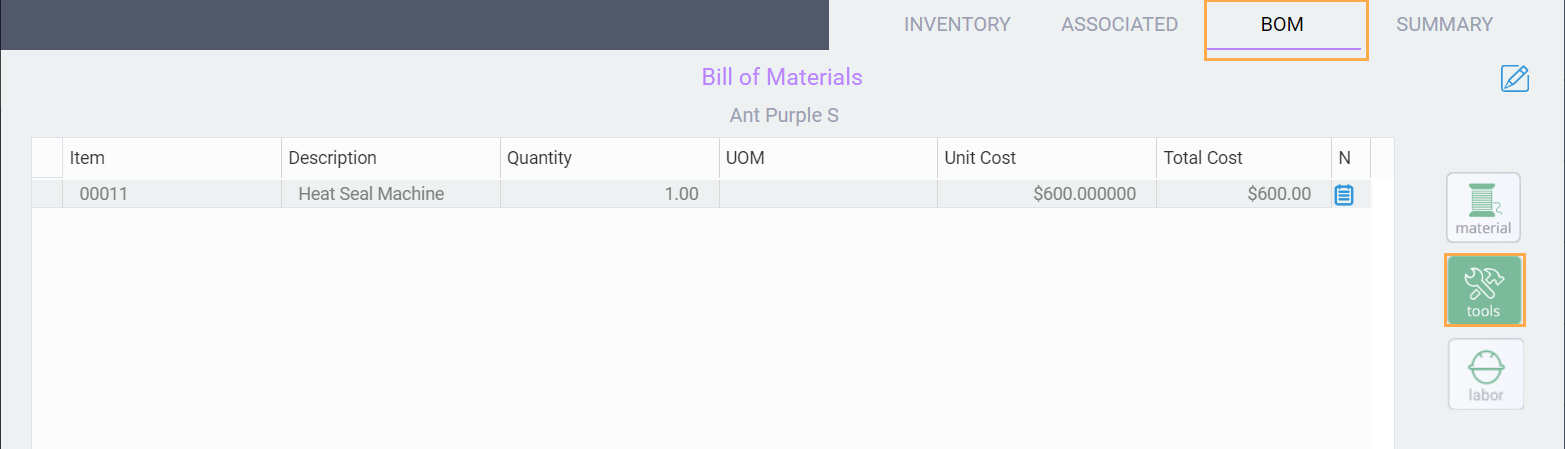
Add tool to your product BOM
What's next?