Inventory management
Introduction
Setting up locations


Use transactions to move and adjust stock
The following transactions affect your product's inventory: receive, pick, pack and ship. In order to work properly, these modules require warehouse locations to be set up. The key is to indicate the location type for each location as it will determine which module can pull or add stock to that location.
Once the locations have been set up, issuing or completing a transaction will update the inventory numbers accordingly.
Moving stock manually
Moving inventory is used to transfer stock from one location to another, within the same physical warehouse.
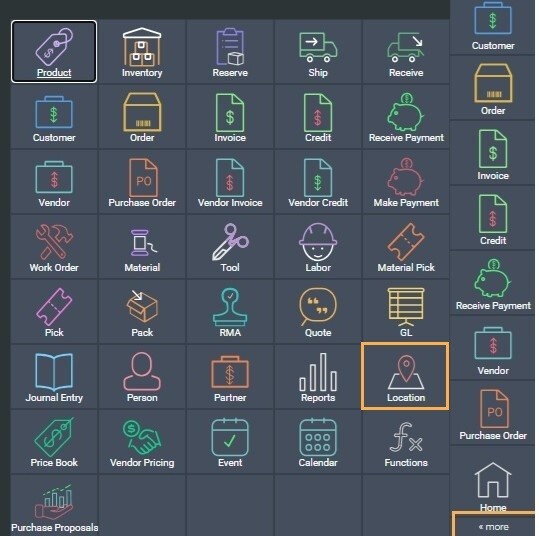
In Paragon click on the more button and open the inventory module.


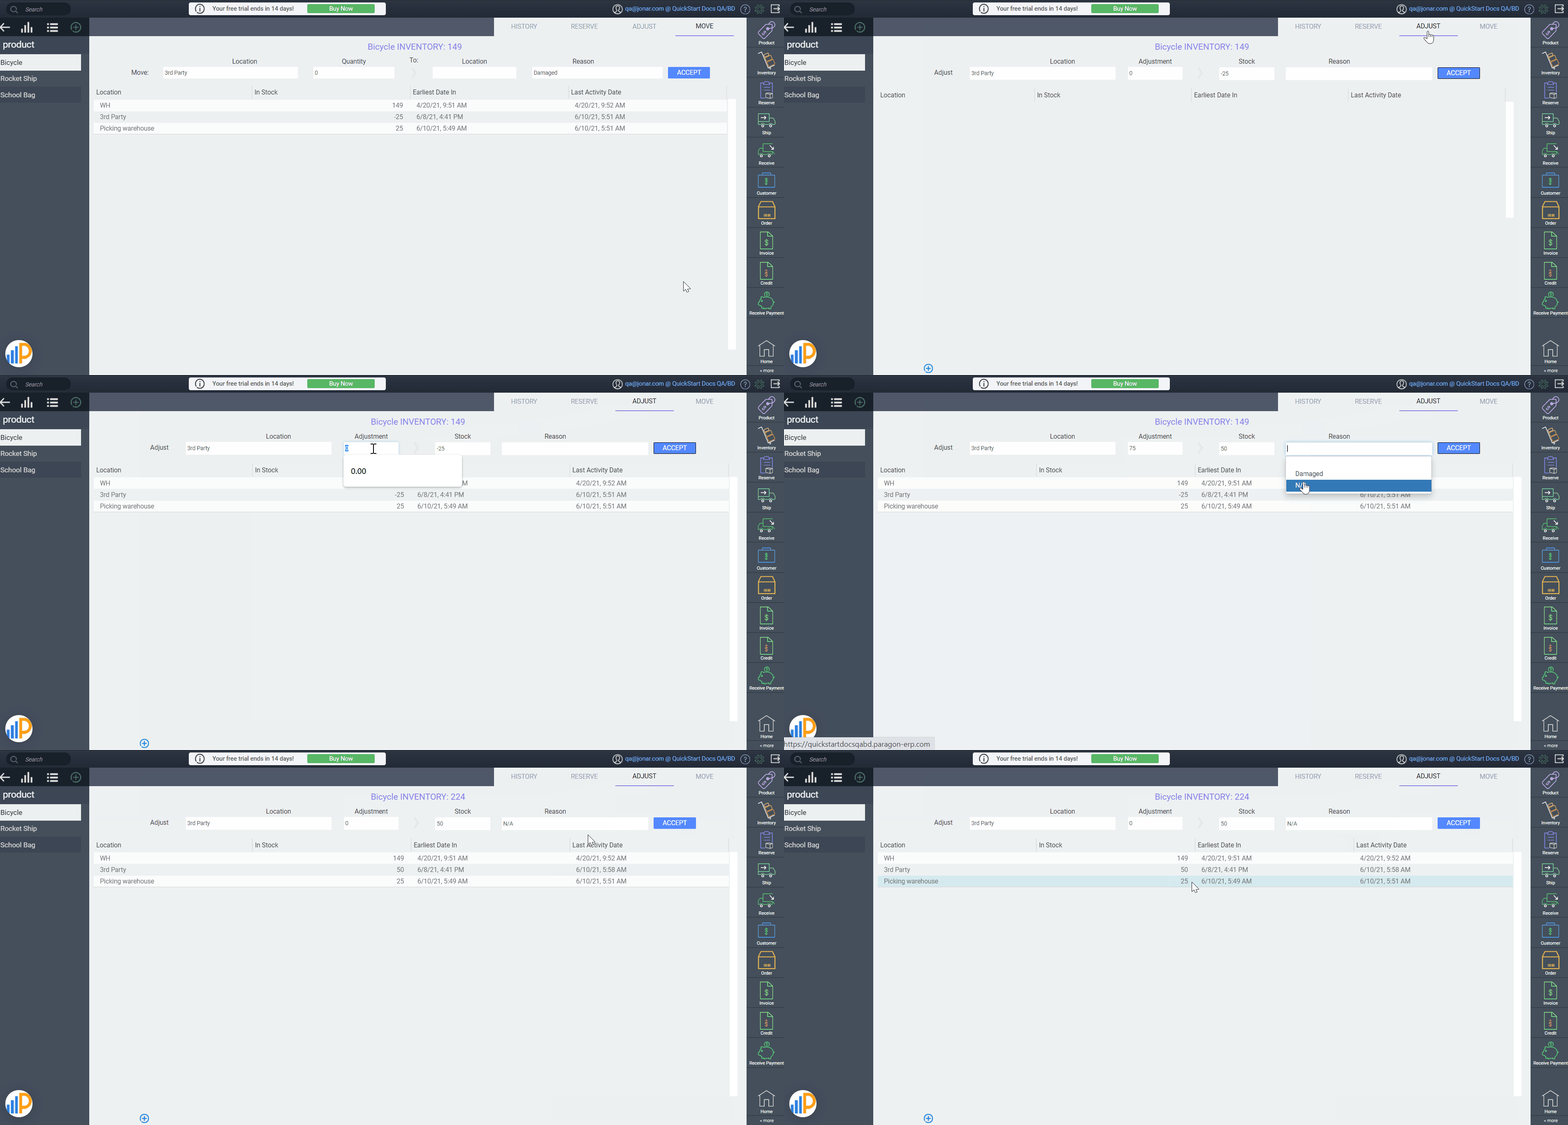
In the move tab:
-
Click on the desired location from which to move the inventory.
-
Select the warehouse location to which you want to move the inventory.
-
Enter the quantity to move.
-
Click accept to validate.


Adjusting stock manually
In Paragon, you can update your inventory number using adjustments. This feature allows you to increase or decrease your stock in a specific location as needed.
For example, you forgot to count 3 units and wish to add them to your inventory. In the adjust tab, you will enter 3 to add 3 units to the current stock. On the other hand, if you've counted 3 extra units, you will enter -3 to remove 3 units from the stock.
- Click on the create new button on the bottom left-hand side of your screen.
- Select the warehouse location for which you want to adjust the inventory.
- Enter the adjustment quantity, select a reason if applicable, and click accept to validate your change.
The recalculated stock will now appear. Note that each adjustment is listed with its date for tracking purposes.

You can also adjust the stock of a product or a material directly in the product or material module.

What's next?
![paragon logo-1.png]](https://support.paragon-erp.com/hs-fs/hubfs/paragon%20logo-1.png?height=50&name=paragon%20logo-1.png)