![paragon logo-1.png]](https://support.paragon-erp.com/hs-fs/hubfs/paragon%20logo-1.png?width=240&height=75&name=paragon%20logo-1.png)
Introduction
It is important to note that ParagonERP needs to be configured with attributes and screen setup BEFORE you try to import new data for your references and transactions.
Address import and export
Please refer to this specific article for instructions about importing and exporting address data in ParagonERP.
Access the import and export functions
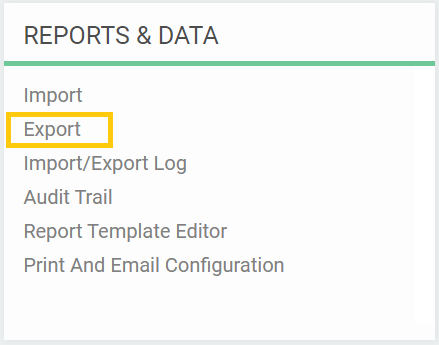
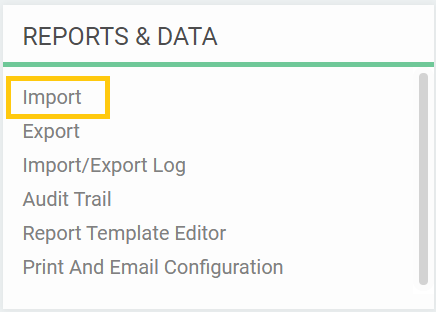
To access the import and export functions, click the settings button from anywhere in Paragon and you will see import and export under the reports & data card.

Export your configuration or data
Click on export under the reports & data card.
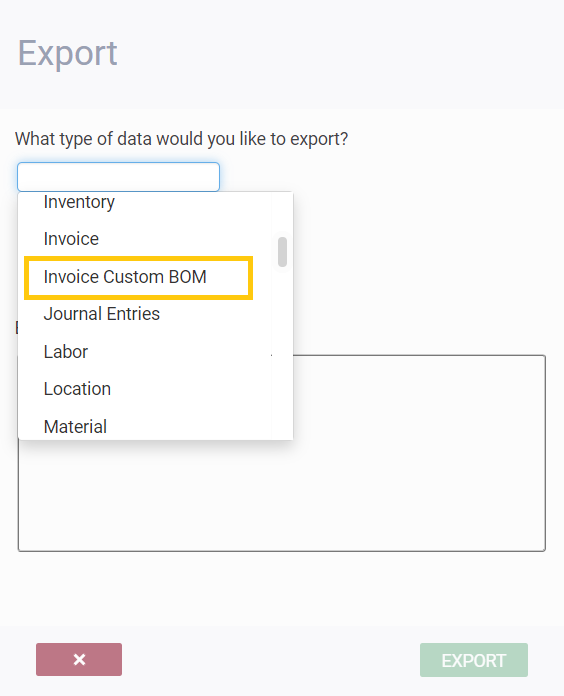
From the first drop-down scroll, select the module you'd like to export.

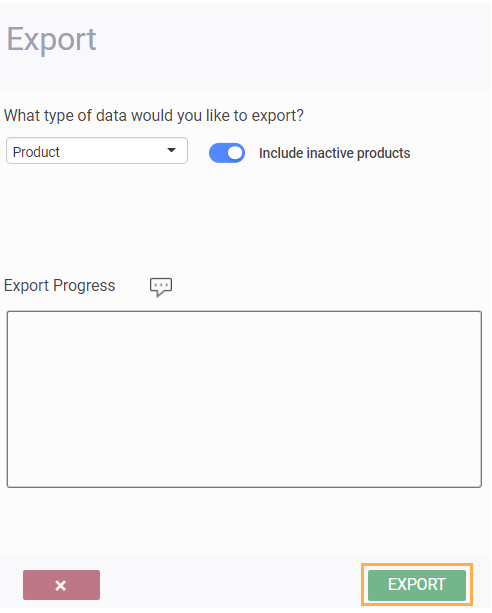
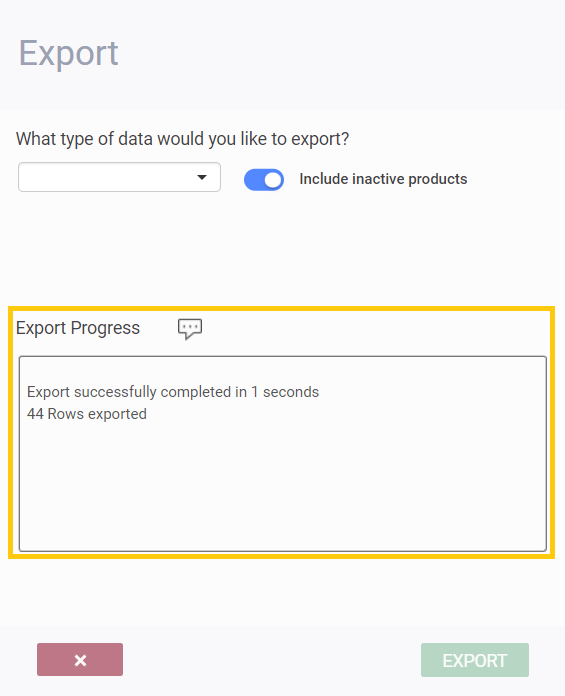
 Note that your browser may block the file as a security measure. Be sure to allow popups for this URL. The export will go into your downloads folder.
 Viewing your exported data
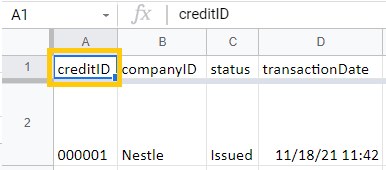
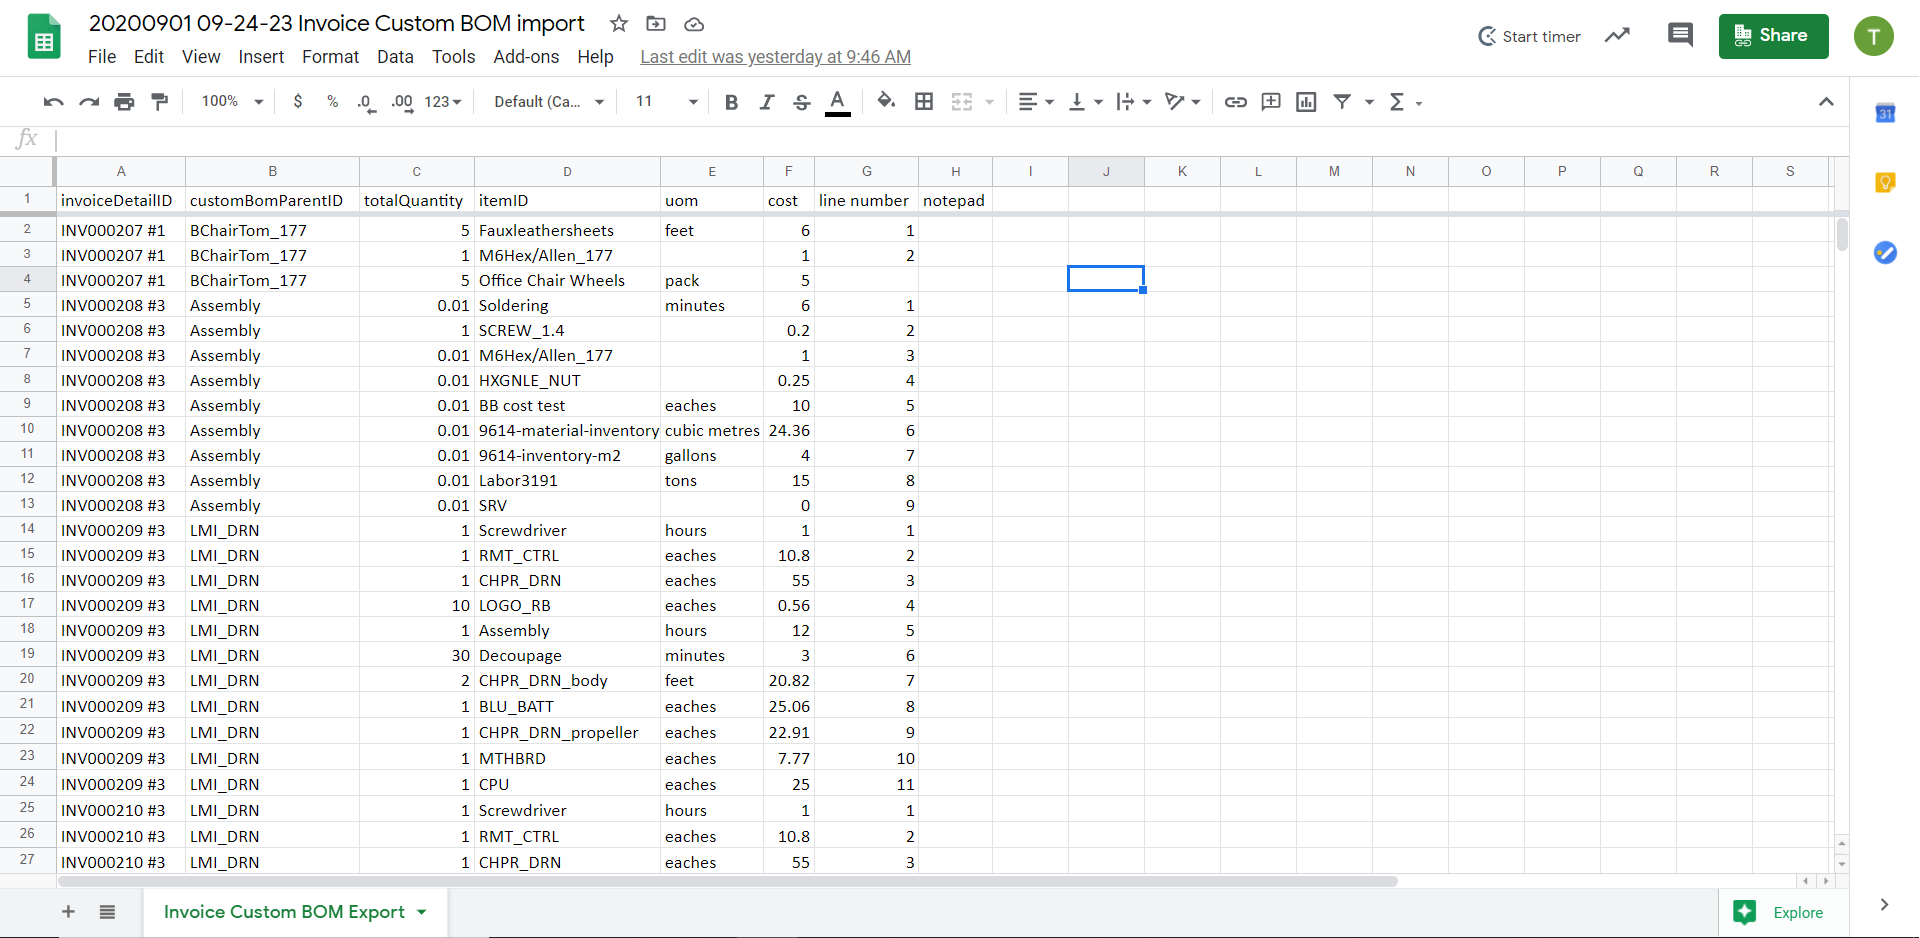
After opening your newly downloaded file, the attributes that are configured on the product screen will appear as columns in your excel sheet.
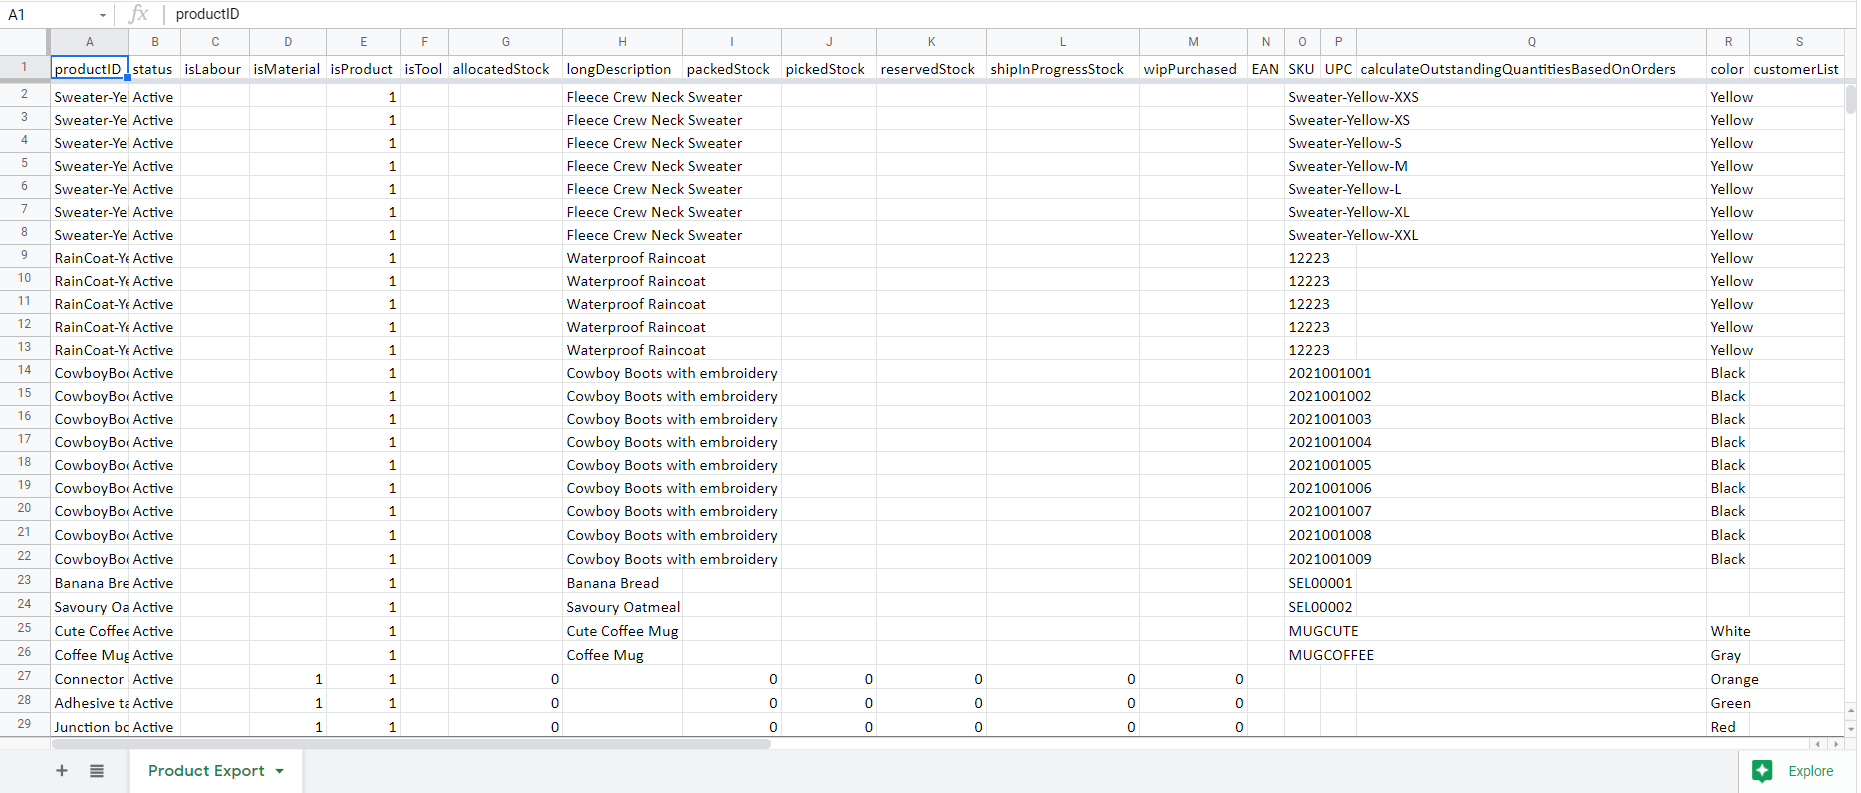 To understand the structure of the export, it may help to visit the module or screen set up for the module in order to view all of the attributes related to your export.
 The first column is always the unique identifier of the record. This corresponds to code in the screen setup. There are additional columns in the spreadsheet as well, including:
- Status - This can be set to active and inactive. Depending on the status of the reference, you can perform specific actions in Paragon.
- isMaterial, isProduct, isTool, isLabor - Use these columns to identify the type of record that you are importing. If the record that you are importing is a product, set the isProduct field to 1. Follow the same rules for material, labor or tool.
Do not modify the names of columns. As explained, the columns are mapped to attributes that are set up on the module you're exporting
Add to or manipulate your export
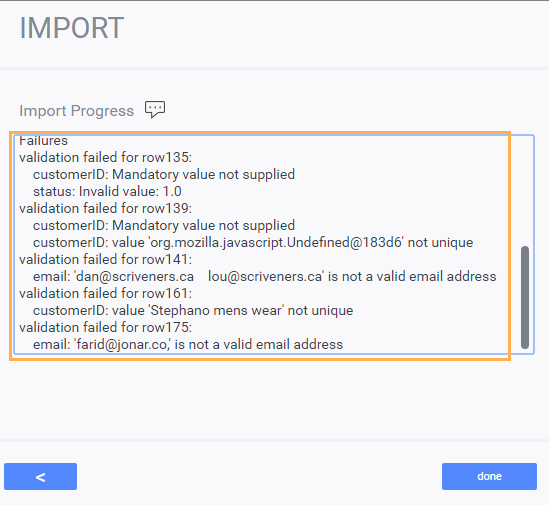
Here are the requirements for importing your edited file. If these are not respected, the import log will inform you that some of the data could not be loaded and will provide an explanation as well as the corresponding row number(s) on the spreadsheet.
-
Attributes set up as drop-down lists must be entered exactly as is on the spreadsheet. Suggested values will not appear. If you have not added attribute values to the attribute you set up, they will not be automatically loaded.
-
You must set the status, i.e. temp (only for transactions) active or inactive (only for references)
-
Check-mark attributes need a value of 0 or 1 (0 = unchecked and 1 = checked)
-
For references: You must enter a unique record ID in the column "xxxxID"
-
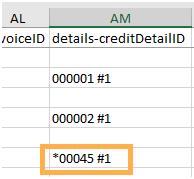
For transactions: You must enter a unique record ID in the column "xxxxID" and for each line in the column "detailsxxxxDetailID"
- Certain attributes come in (and need to stay in) pairs (like money attributes); therefore the sequence of the columns is important when importing your data. If the import column order does not respect those pairs, your import will fail.

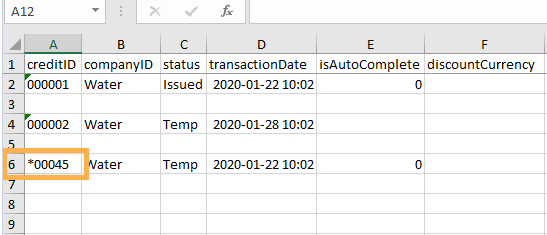
If you want to add new transactions or references (such as product or customers, for example) manually, please make sure to put an asterisk (*) before the transaction ID.
If you would like to use your own ID number for your new transaction(s) or reference(s) instead of Paragon generating them for you, prefix your ID number with a '~'
If you do not use either prefix, the transaction/reference will be rejected on import as invalid.
In this example, we have imported the credit data and we have added new data manually:
-
imported data ID : 000001, 000002
-
new data ID : *00045
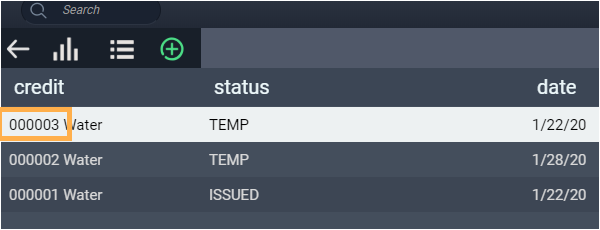
After importing, ParagonERP will automatically set an ID based on the existing transactions ID.
Here, we set *00045 as the credit ID and ParagonERP renamed it to 000003. This is to avoid any inconsistency of data and to prevent errors.
Import your data
Click on import under the reports & data card.
Please note that the current maximum size limit of a file to be imported should not exceed 1MB.
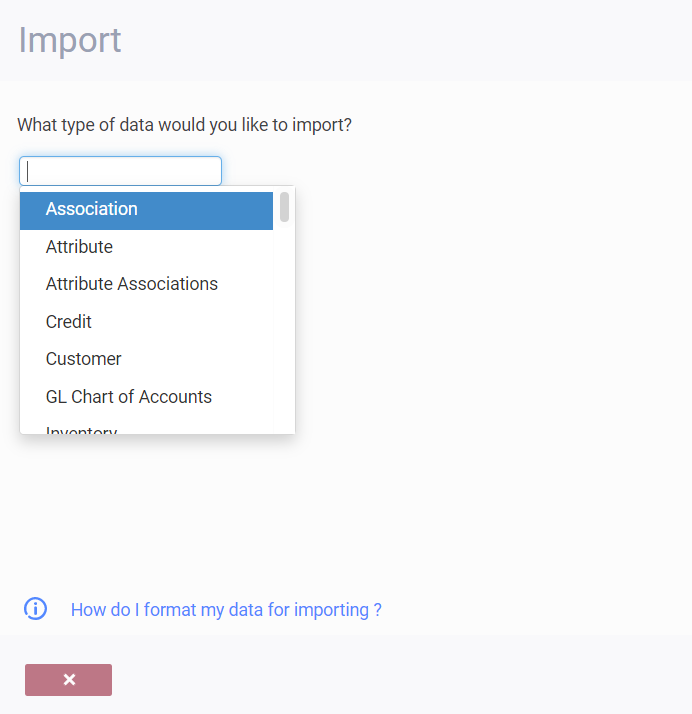
Select the type of data that you wish to import or update - e.g. products, customers, vendors.
Be aware that if you are importing data that would usually include address information, please refer to the Import Addresses article for more in-depth explanations.
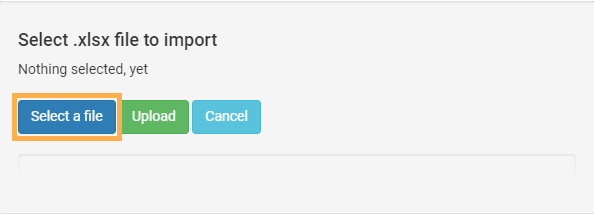
Then click select a file.
Once you've chosen the correctly formatted file you'd like to import, click upload.
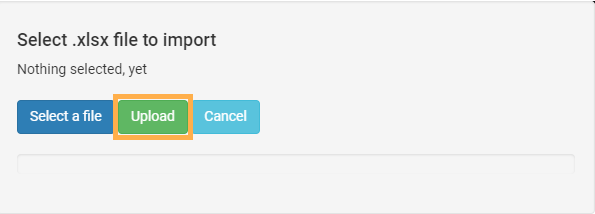
Paragon will start importing your data from the spreadsheet selected.
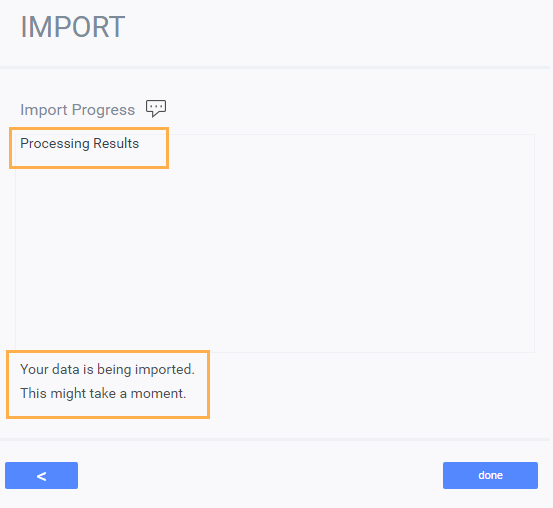
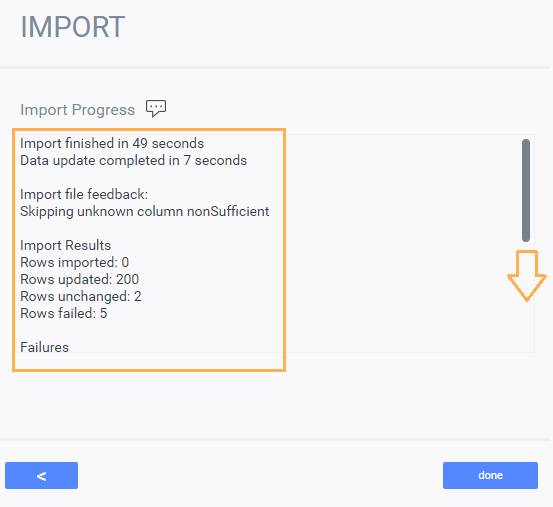
The import modal screen will provide you with the detail of the actions taken and their outcome. If any rows in the spreadsheet were unsuccessful in the import, a reason will be given. If you do not see this information on the modal screen, you can scroll down to see additional information.
Any columns in the excel file that failed to import will be mentioned under Import file feedback. In this example, the attribute code nonSufficient failed to import because it was removed from the screen set up for product at the time of import. You will see a similar error message if you try to import a column for which the attribute was never created and applied to screen setup in Paragon.
You can also see your import feedback in real-time messages. Click the refresh button at any time to see a dynamic view of the imported rows and any errors encountered.

If there are failures, you can correct your file and return back to the previous step by clicking the back button.
Please note that any column that fills data in a drop down attribute will fail to import if the data has not already been configured for that attribute. For example, if you are trying to import colors in your product file and your file contains color black but the color attribute in Paragon only contains options for colors red, blue and green; the import for that record will fail and return a message like the one sampled above.
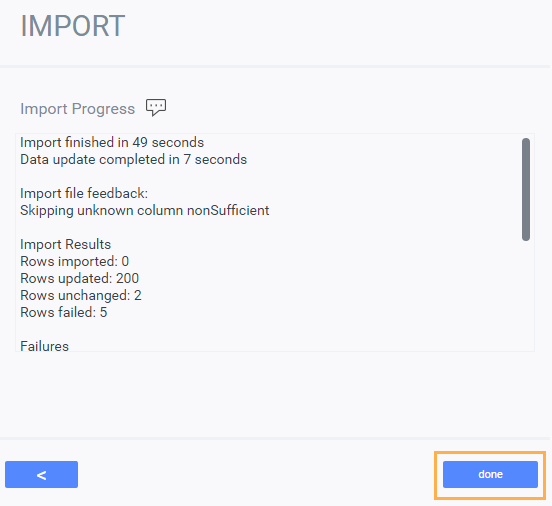
If you're satisfied with the import, click done.
Halt an import before it's completed
If for any reason you decide to stop an import after it has begun, click the stop import button at the bottom of the import modal.

The same button will change to say confirm. Click it to stop the import.

The import modal will show a message saying User aborted.

Any data already imported or updated before the confirmation button is pushed will be saved in Paragon.
Language attributes
Importing and exporting translated attributes - You can also include translated attributes with the import and export feature.
Export/import custom BOM
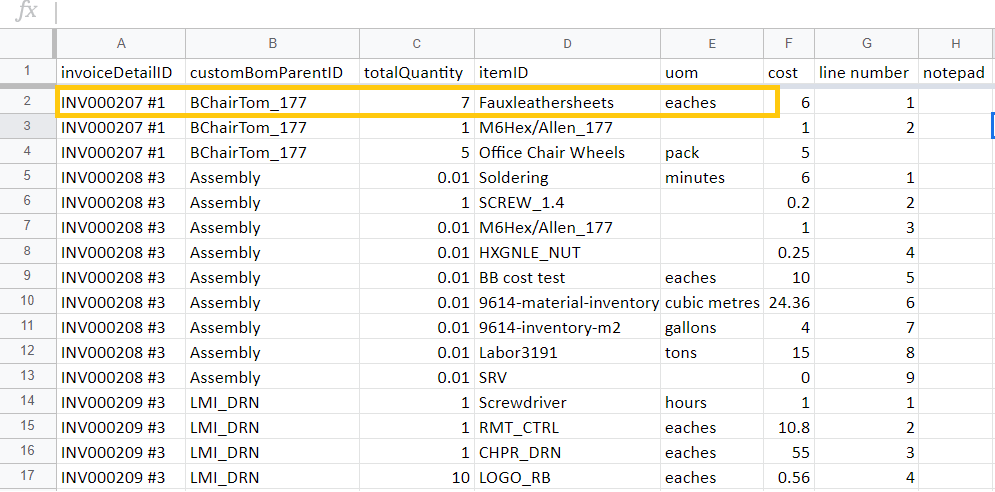
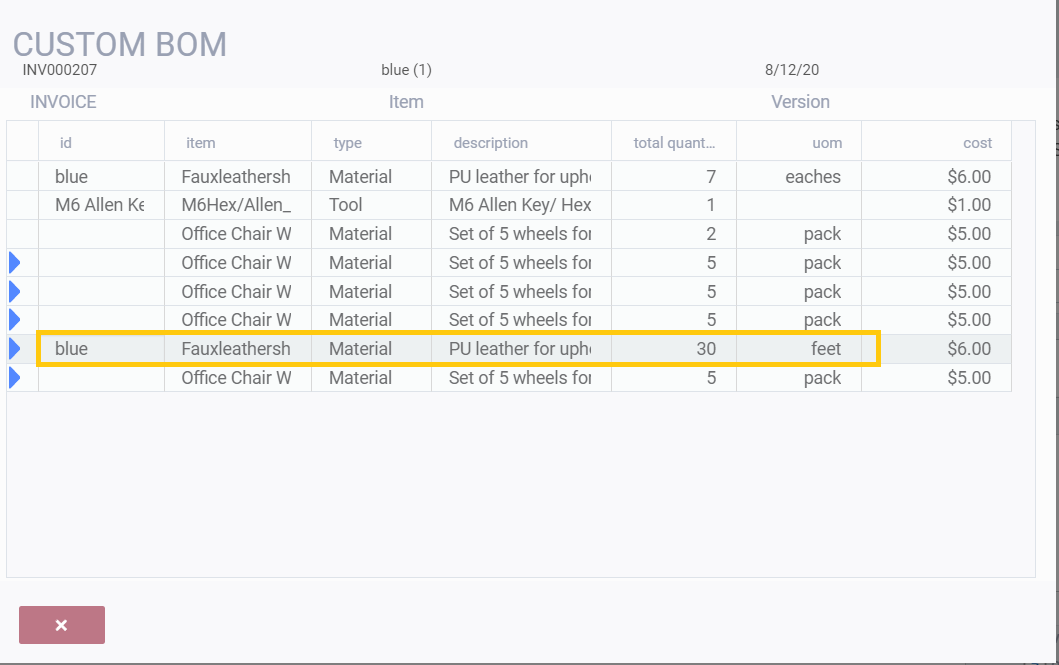
Once you have made your changes, save and Import to Paragon using invoice custom BOM. When the process is complete, navigate to the invoice screen to view your changes in the custom BOM.

Adding a new item to the custom BOM
If you decide to add a new item to the custom BOM, leave the line number blank and a new line will be created when your file is imported.

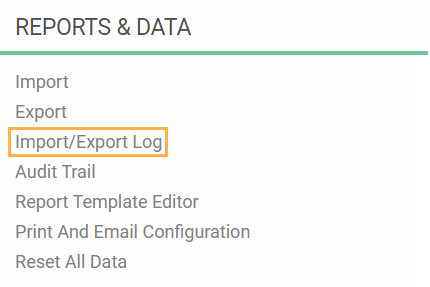
Import/export log
In the import/export log you can see the history of the imported files as well as the details of the actions taken and their outcome.
Go to Settings -> Reports & Data and open the import/export log:
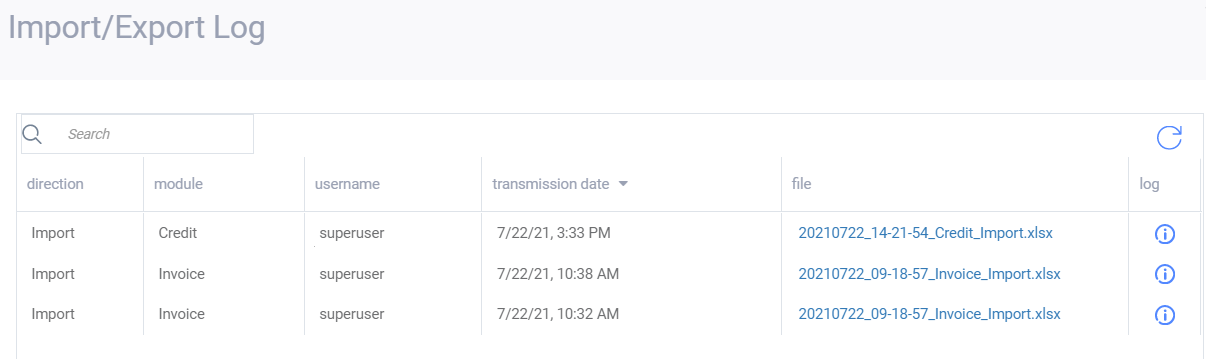
You will see the history of all the imports that have been made:
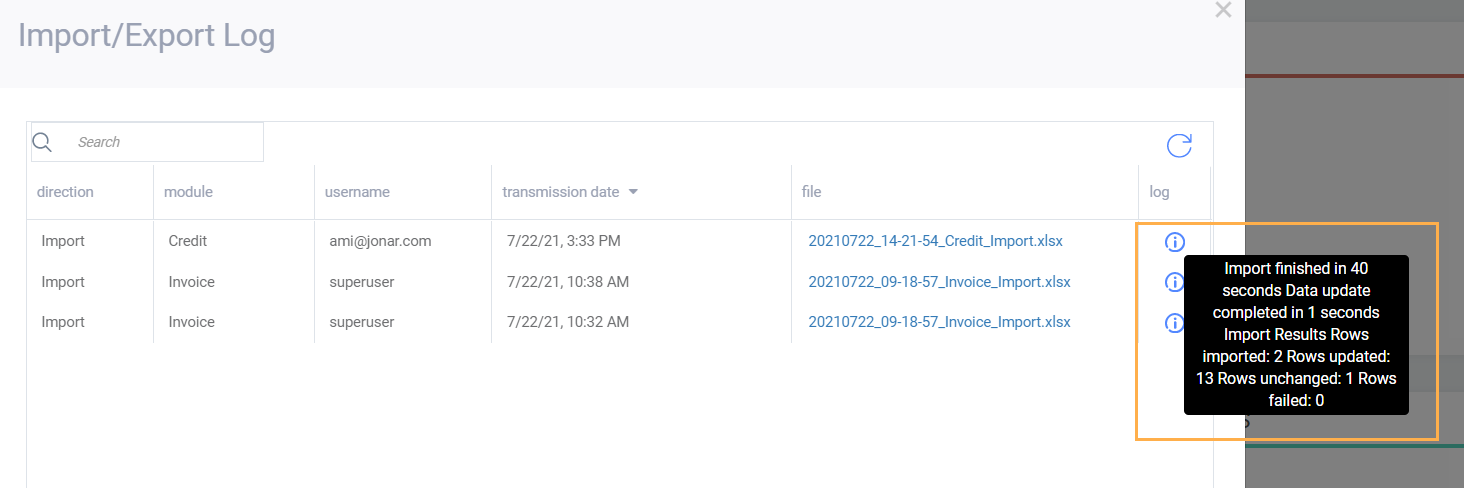
If you hover over the information button it will show you the details about the import:
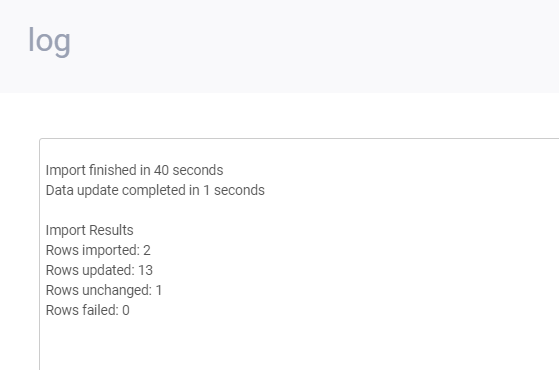
If you want to see the details in full - click the information button and a log modal will appear.
From the Import/Export Log you can also download the imported files by clicking on the file name.
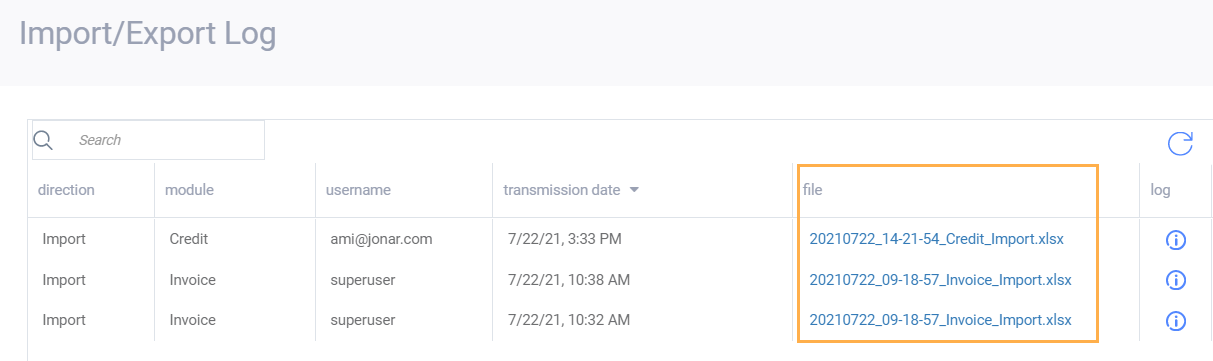
If you are looking for details on a specific import you can also use the search bar to filter the log entries.

What's next?
Check out the following documents for more information on importing data.
-
How to import warehouse locations
-
How to import journal entries
-
Adjusting stock by importing inventory