![paragon logo-1.png]](https://support.paragon-erp.com/hs-fs/hubfs/paragon%20logo-1.png?width=240&height=75&name=paragon%20logo-1.png)
Introduction
Process Description:
Key features:
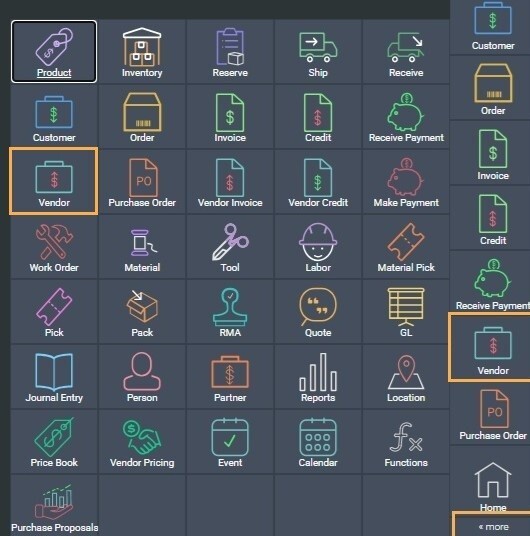
The following are the transaction modules that ParagonERP offers and are all based on the same structure.
- Pack
- Order
- Quote
- Invoice
- Receive
- Pick
- Material Pick
- Purchase order
- Work order
- RMA
- Credit
- Reserve
- Ship
- Receive payment
- Vendor invoice
- Vendor credit
- Make payment
Navigate to any transaction
-
List view for transactions

- Back button:

- Clicking this button will take you back to the previous screen you were on. This action does not undo any changes but simply preserves the current state of the previous screen in the exact condition you left it.
- Reporting button:

- Clicking on the reporting button from any module will direct you to the reports module, where you can choose from a comprehensive list of all available reports in Paragon.
- List-detail toggle:

- This button allows you to switch between viewing a list of all records in the module and examining a single record in detail. In the list view, selecting a line and clicking this button will open up the record in detail. You can also double-click a line to access its details. When in the detail view, clicking this button will return you to the list view.
- Add new button:

- By clicking this button, you can create a new transaction or record within the current module.
-
Detail View

Top section

You have control over what attributes are shown in this area when you configure your transaction screens.
Bottom section

-
Entering line notes on transactions
When you're editing a transaction line, right-click on the product you want to enter a note for and select Add Line Note.

Add the line note as required, and save.
-
Deleting transaction lines
Once again, we will use the sales order as our example.
Select the order that you want to modify and click on the edit button.

Right-click on the line item you want to delete and select delete line item.

The deleted line will no longer display. Click save.

-
Reordering line items on transactions
ParagonERP allows you to choose the order in which to list the line items, regardless of the sequence in which they were entered. This can be used for different purposes, such as grouping items or listing them by price or quantity.
Using the sales order as our example, we have chosen an order and clicked the edit button.

Each transaction line has a line number associated with it (the first column in the line grid). Click on the line number of the item you want to reorder, and replace that number by its new position.
The line numbers follow the logic below.
Given the lines numbered 1,2,3,4,5:
- By changing line number 4 to 1, line 4 has moved up to line 1, and all the subsequent lines have moved down.

-
Track when your transactions are printed
In the more tab of your transactions, you are able to see when your transaction was last printed, as well as who triggered the print from the last printed and last printed by attributes.

-
Navigating to the customer or vendor from a transaction
While on a specific transaction, you may want to access the company information related to it. Clicking on the company at the top of a transaction in inquiry mode will bring you to the appropriate customer or vendor module.
Here, we'll show you how to access this function and company information.
For customer type transactions such as order, invoice, pick, pack, etc. you will be brought to the customer module.
For vendor type transactions such as purchase order or vendor invoice, you will be brought to the vendor module.
In this example we will be using a customer order.

At the top of the screen and to the left of the transaction number, click on the hyperlinked company name.
After clicking the transaction's company name, you will be brought to the customer or vendor module.

For transactions that accept both types of companies (make payment & receive payment) the system's first choice will be to bring you to the appropriate module. For example, in the case of a make payment transaction, the vendor module will appear.
Related articles