
Introduction
Selling goods online has never been easier with our integration with Shopify. Here we'll walk you through how to set up the Shopify integration add on. This setup connects your online e-commerce store to your Paragon ERP system, allowing your products, orders, customers, and inventory levels to sync between Shopify and Paragon.
Create the private app in Shopify
First, you will need to set up the Paragon private app in Shopify.
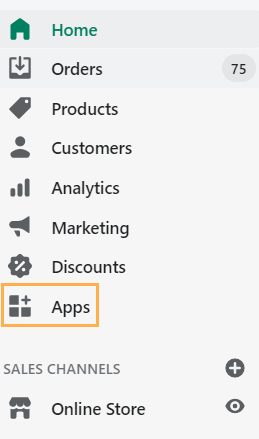
Log into your Shopify account and hit the apps section.
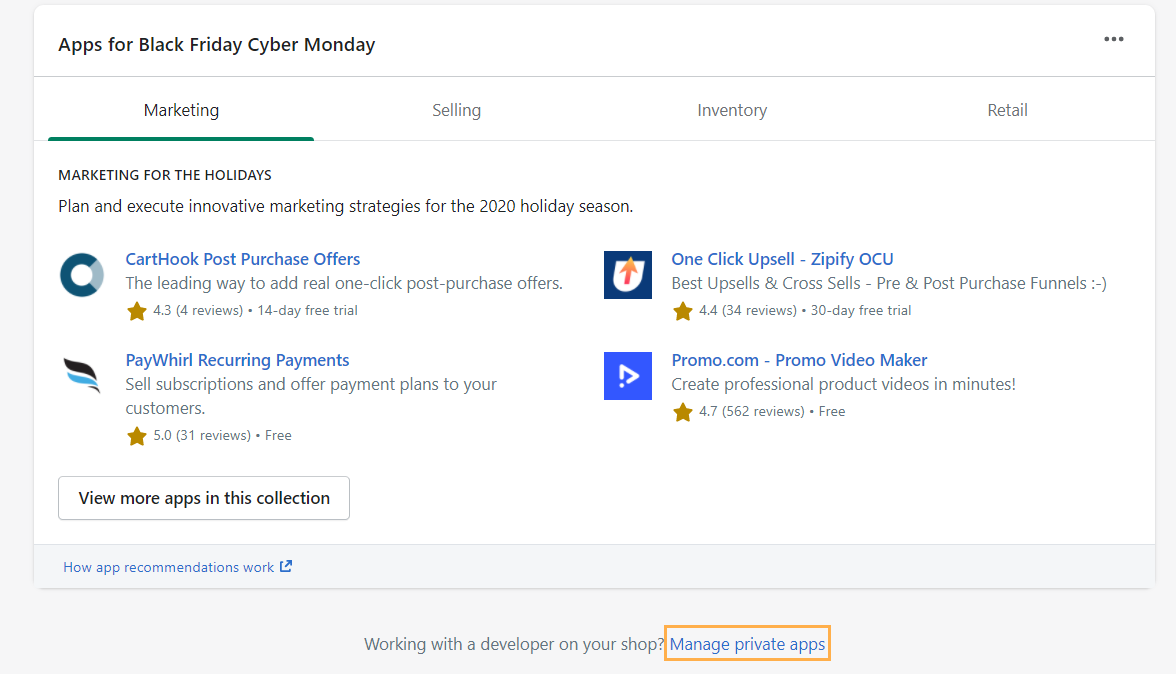
Hit manage private apps.
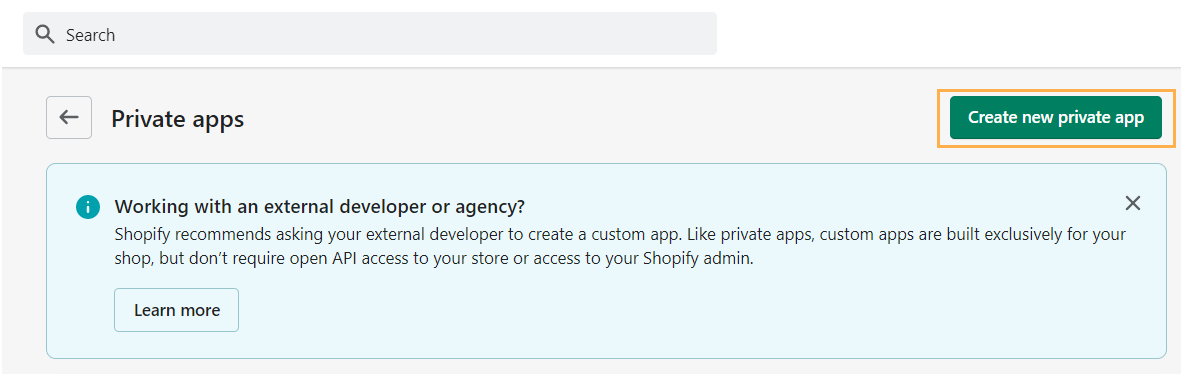
If you already have private apps in Shopify, they are listed here. To create a new one, hit create new private app.
Here, you'll be able to add the details for your private app with Paragon. The description information can be of your choice.
The following options in the Admin API section must be selected as read and write.
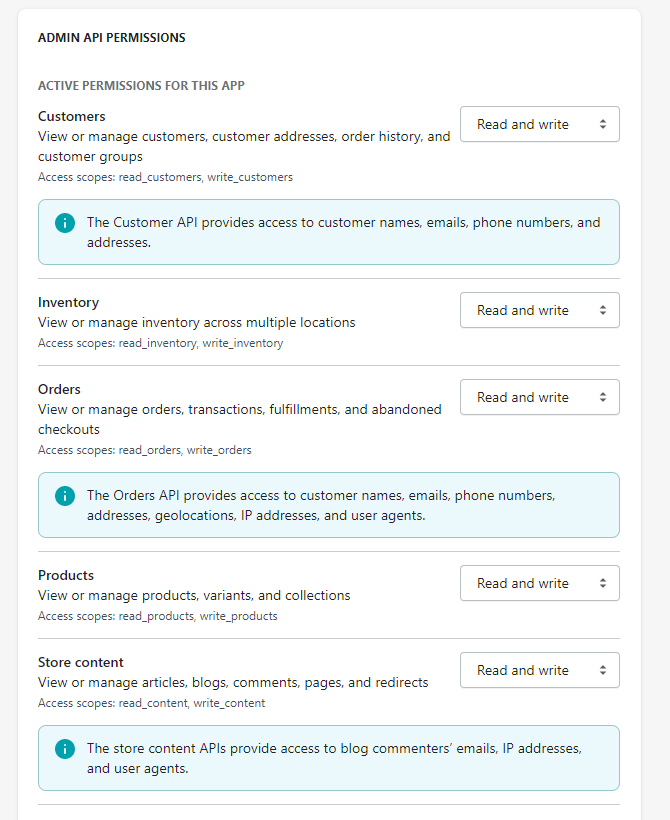
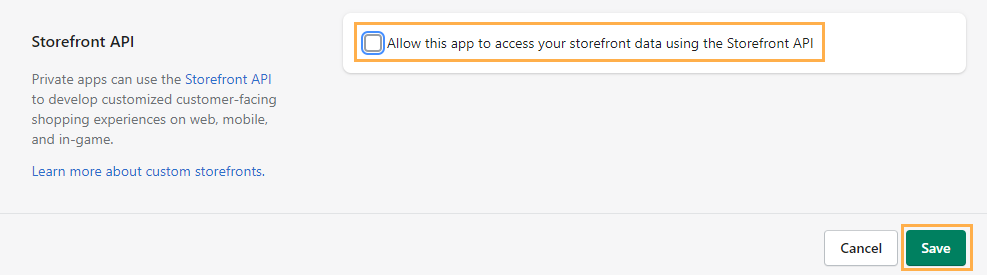
Make sure the Strorefront API box is checked. Hit the save button to create your private app.
Once your new private app is saved and created, your admin API information can be viewed.
Click on show to view your admin API password.
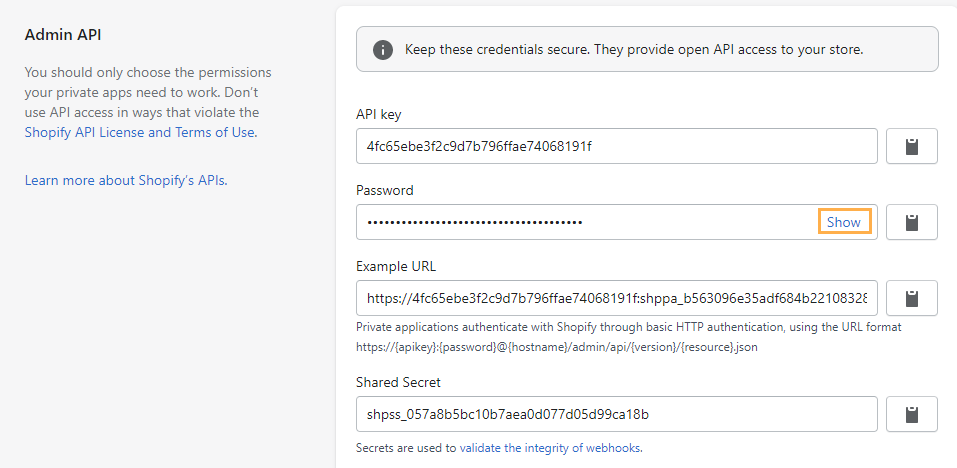
Take note of the admin API key and password as you will need these in Paragon when you create the Shopify add on. This password is referred to as the Private App password in Paragon.
Purchase the Shopify add-on
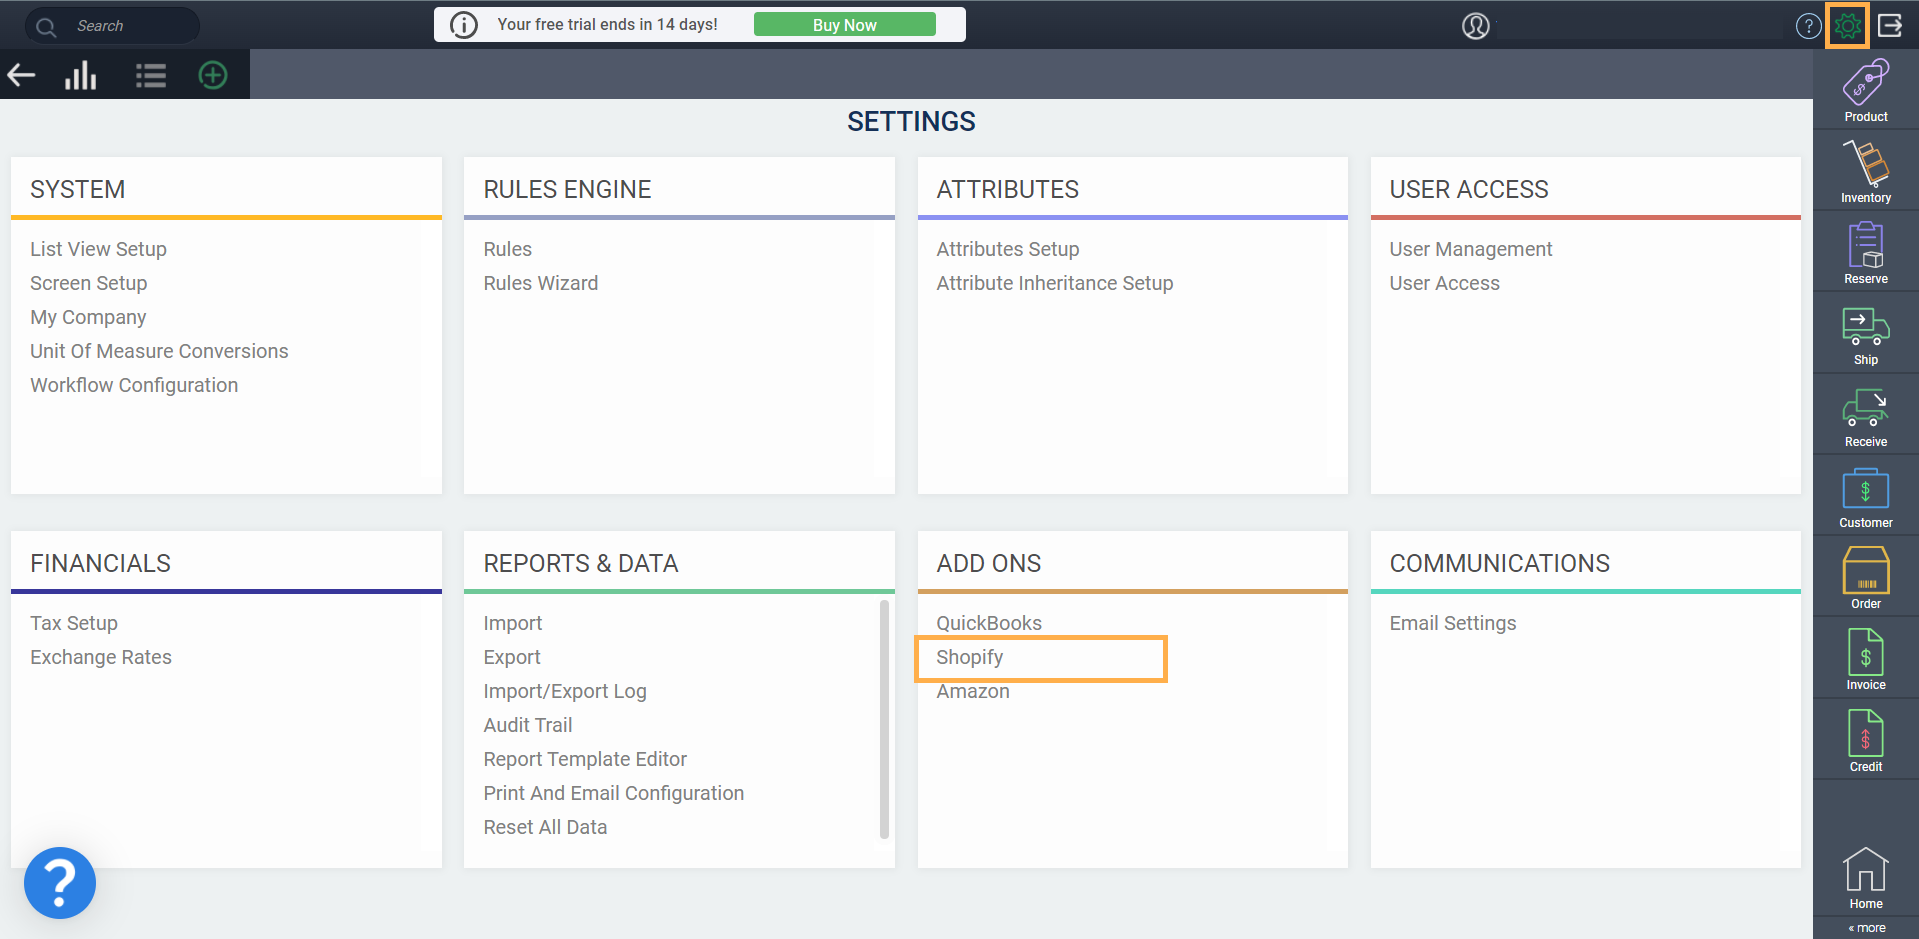
Log into your Paragon system and hit the settings cog at the top right corner of the screen.
The Shop URL refers to your standard Shopify URL, NOT the example URL from the API setup. We already fill in most of the URL, simply add your store name as it appears in the URL.
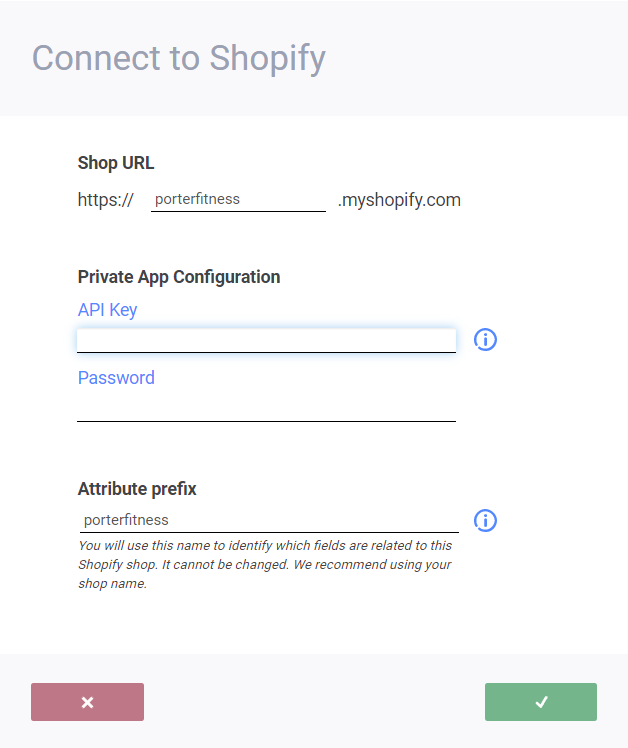
Click done to confirm your private app configuration and continue with the set up.
View your Shopify add-on
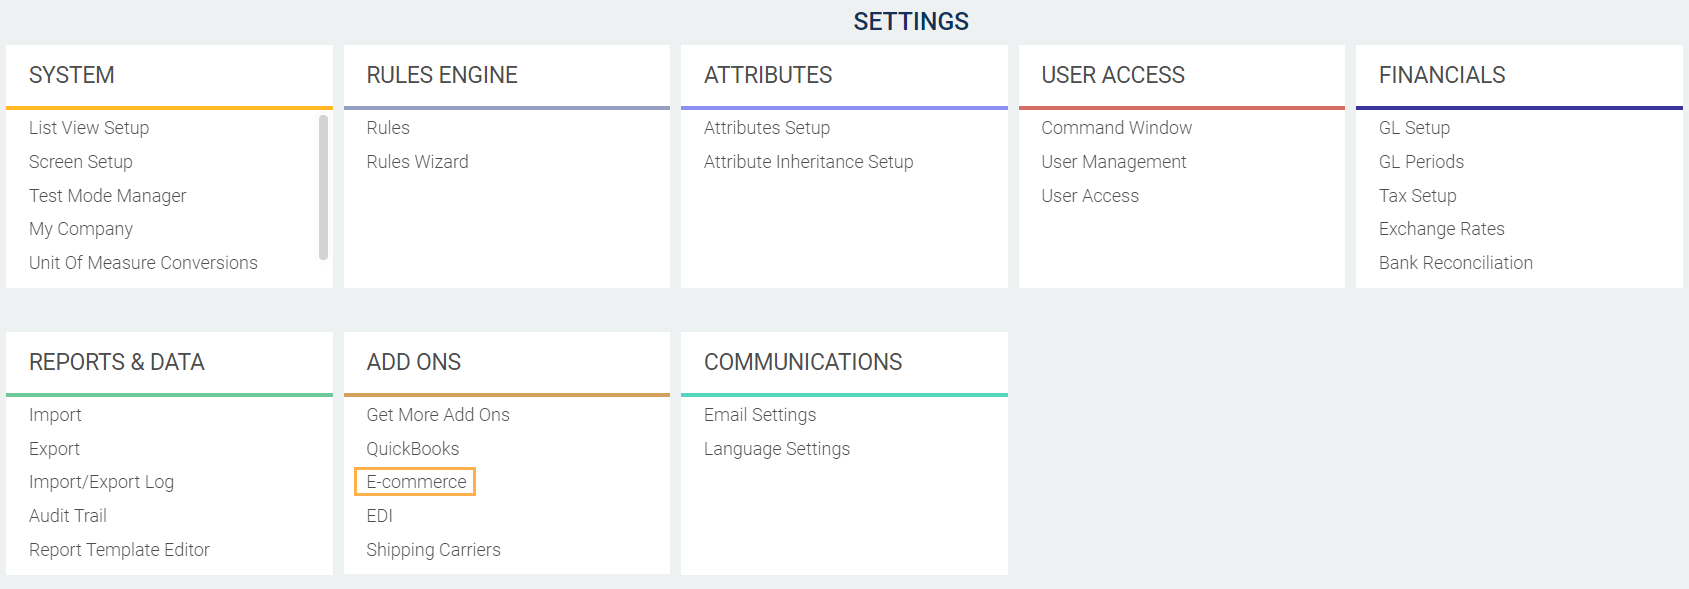
After logging back in, hit on the settings cog at the top right hand corner of the screen.

In the settings screen, under the add ons card, hit Ecommerce.
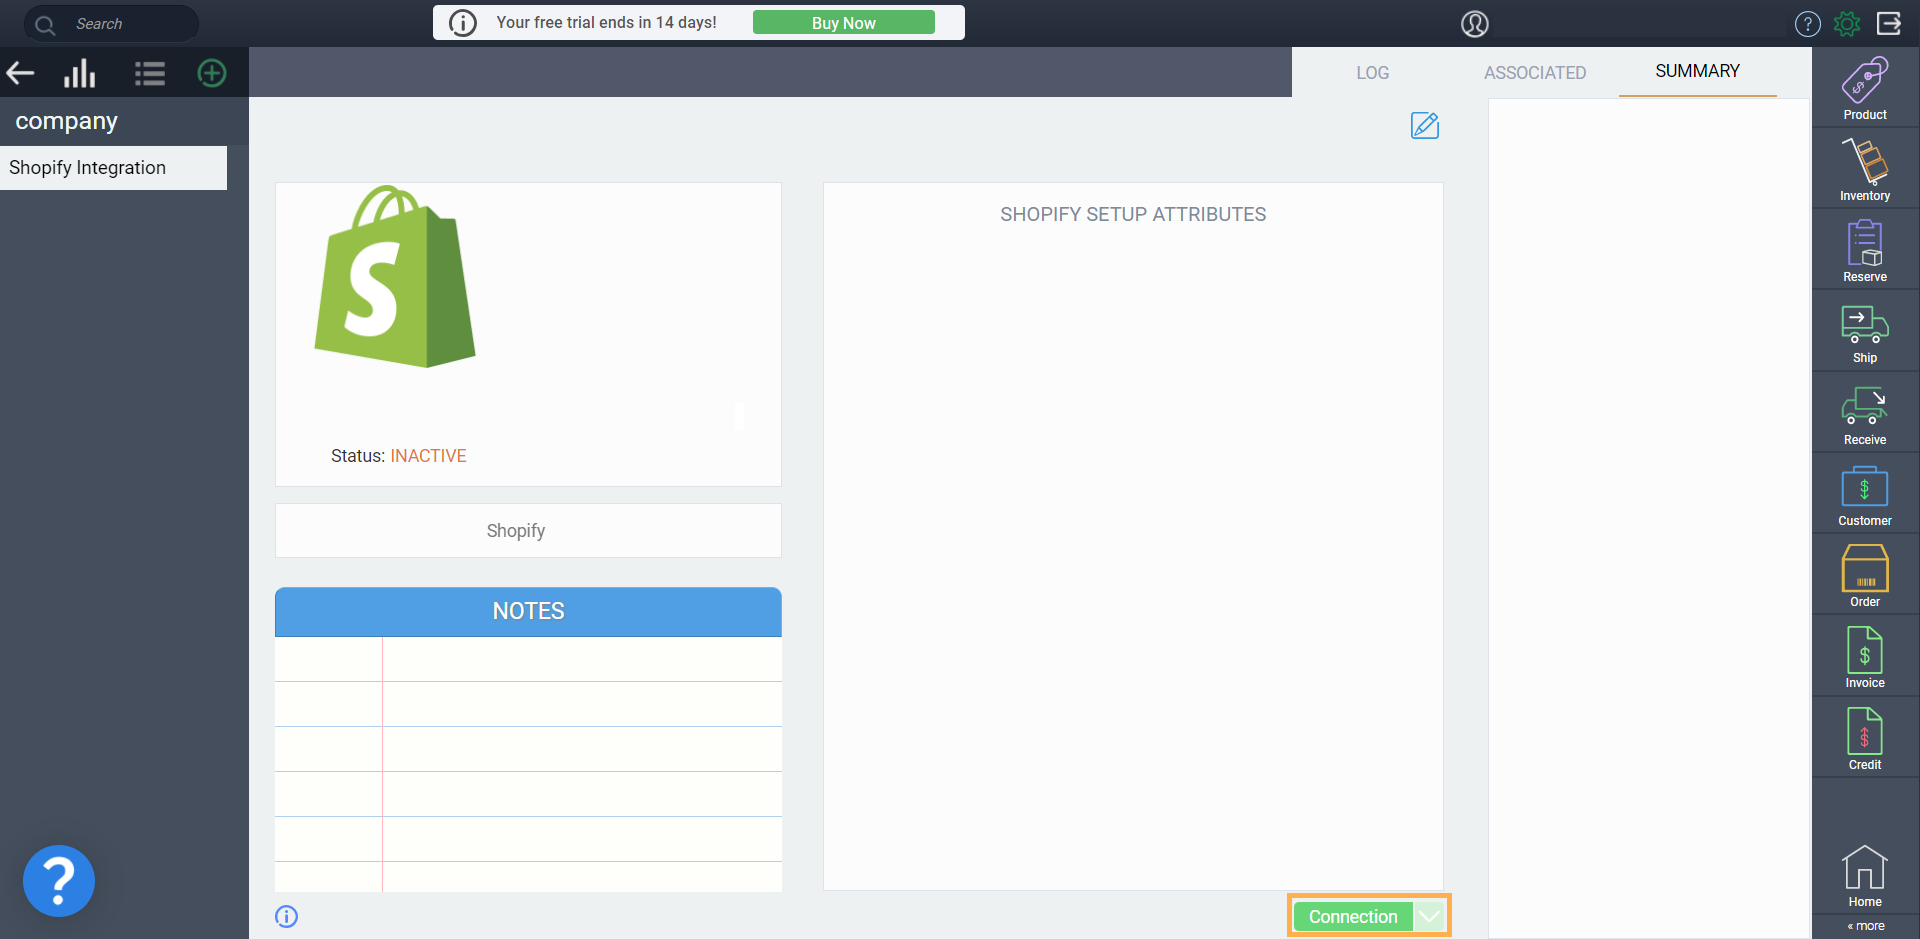
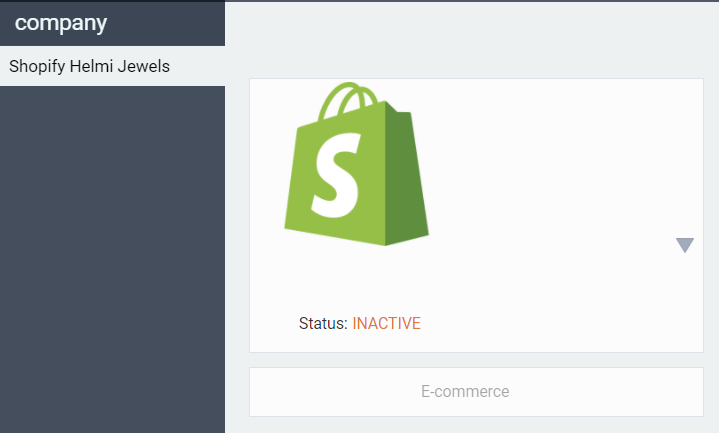
You will see your Shopify stores connected to your system listed to the left, under company.
Setting Up Shopify Shop in Paragon
There is no automatic flow of data between Paragon and Shopify when the shop is inactive in Paragon. Therefore, the next step is to set it up.
First, make sure you select a bank account for your Shopify store.

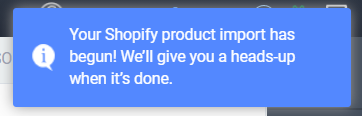
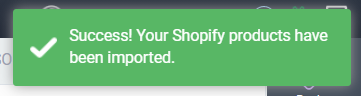
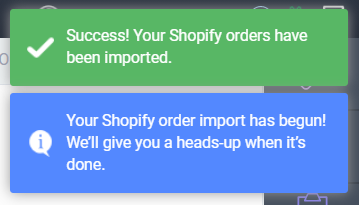
You will get a blue toaster telling you that the import has begun and a green one confirming of the success to import all your products from your Shopify shop:
After the import is done you can check your products by going to the product module:

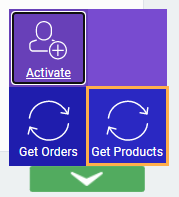
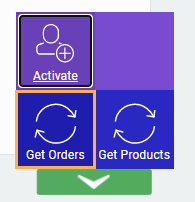
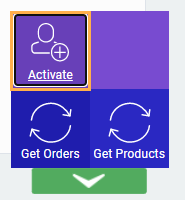
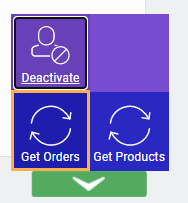
After you have activated your shop you can sync the existing orders on Shopify by pressing the action button and then the get orders button.
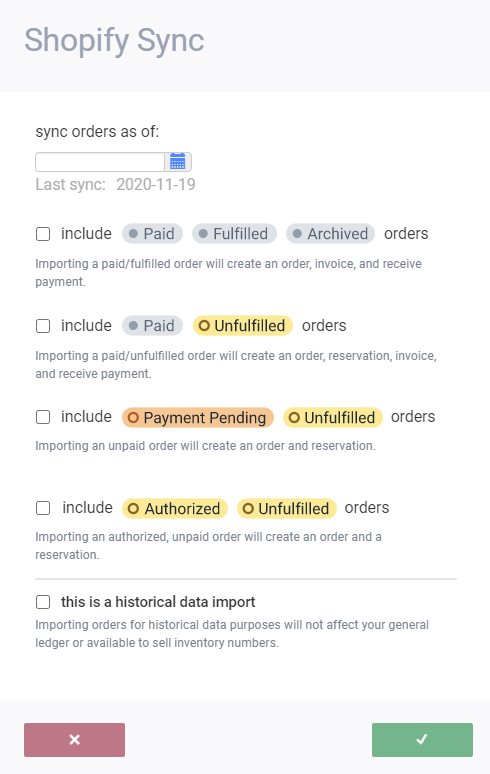
You will get the following screen, where you can input the date to sync orders as of, and what orders to include.
In addition you can check off the box for this is a historical data import to only import the orders as historical data and therefore it will not affect your general ledger or available to sell inventory numbers.
Lastly, just press the green accept button to begin the syncing:
Then, when you are ready to begin using your Shopify shop, activate the shop by pressing the green action button and later the activate button.
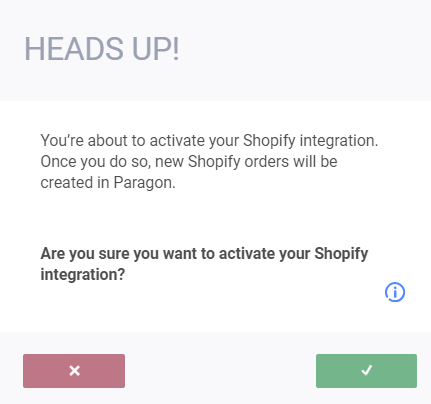
A heads up message will appear to make sure you are ready to activate the shop. Click the accept button to proceed with the activation:
View orders
If you want to view the log of orders synced from your Shopify store, to your Paragon, hit the log tab.
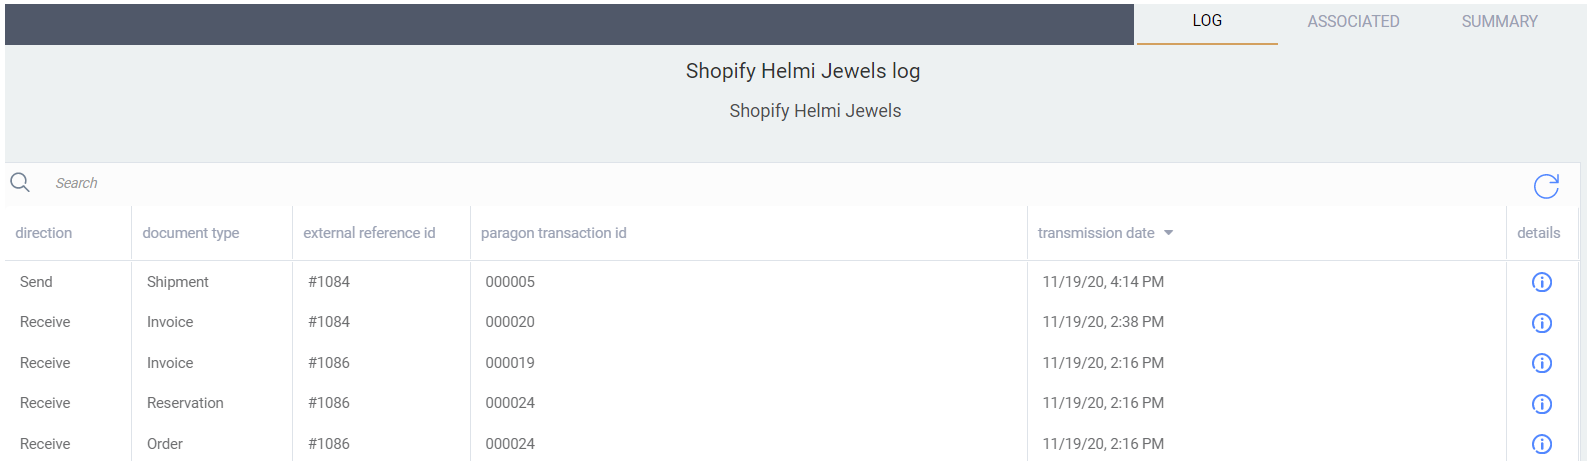
You will be able to view the transmission date and details on the Shopify order. If you notice that orders are not syncing, hit the summary tab.
Re-Sync orders
In the summary tab, hit the action button and hit get orders button, following the similar process as mentioned above for importing orders..
This will re-sync the orders (import them into Paragon if they are not already there) and ensure that the log is up to date with your Shopify orders.
Associations
To view the associations between the Paragon attributes and Shopify field names, hit the associated tab.
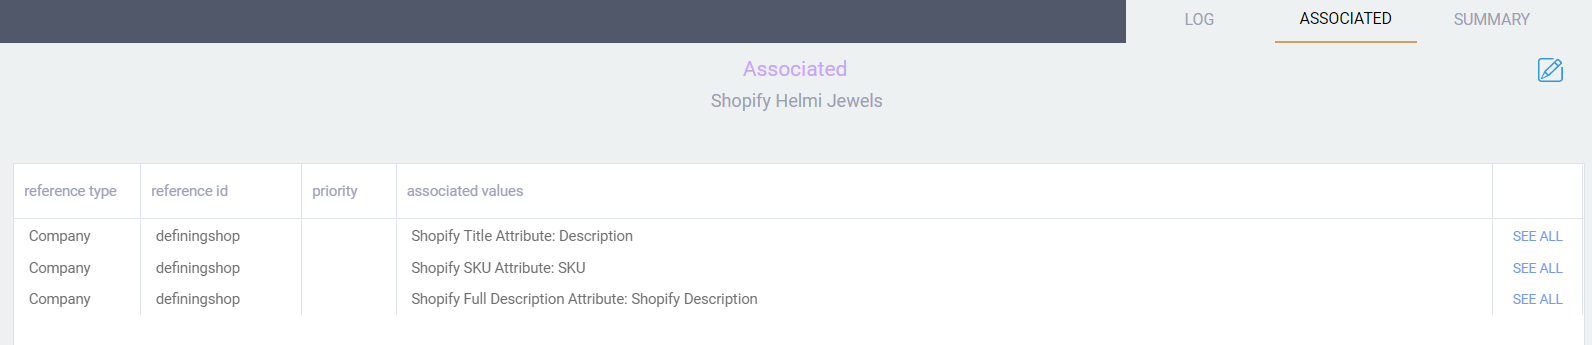
This allows you to setup your Paragon attributes, to best match your Shopify store setup.
What's next?
You can now begin using the Shopify integration with your Paragon system:
Get the Shopify product catalog